
Blog

Dirk Zangen - Celtman Champion
A photo shoot with German triathlete Dirk Zangen ahead of his win at the Celtman Extreme Scottish Triathlon.
For a time, each year, in June, I looked forward to spending time with friends in the far north of Scotland, in Shieldaig and Torridon, at the Celtman Extreme Scottish Triathlon. A few days before one year’s race, I had the pleasure of photographing elite German triathlete, Dirk Zangen, of Brussels Triathlon Club, who went on to win the race in a time of 11:51:14. It was Dirk Zangen's second time competing in the Celtman. We had met before, in appalling weather, as Dirk descended out of the mist into Coire Mhic Fhearchair on 3,000ft+ high Beinn Eighe. I was walking out with camera gear, trying (and eventually failing) to keep up with Dirk, who had an injured foot. Once healed, Dirk's resolve was to return and compete in the Celtman once again. Trained by Scottish professional triathlete, Graeme Stewart, Dirk returned to Scotland and stormed to a first place finish.


Patagon Journal interview
An interview with Patagon Journal, Patagonia's magazine for nature, the environment, culture, travel and outdoors.
I was pleased to be invited by editor Jimmy Langman to be a judge in the annual Patagon Journal photo competition. This was after the relationship I built with Jimmy following the publication of a trekking guidebook I wrote on Patagonia’s Los Glaciares National Park. The book itself is long out of print but the experiences I had when visiting Patagonia, the challenges and rewards of researching and writing a book and having it published and the contacts I made throughout have long lasted. The thoughts I provided below for the competition were published on the Patagon Journal website.
1. You wrote a guidebook to Los Glaciares National Park. What are some of your favorite places in the park to photograph and why?
My single favourite place to photograph in Los Glaciares National Park has been Glacier Fitz Roy Norte. Access to the glacier is via Paso del Cuadrado, a small pass high above Piedra del Fraile that leads to the remote west face of Cerro Chaltén and the frankly awesome 1600m high Supercanaleta, or Super Couloir (the route of the second ascent of Chalten, by Argentinian climbers Carlos Comesaña and José Luis Fonrouge, in 1965). If you don’t have the technical skills to be on a glacier, just visiting the pass itself provides you with mighty views. The great rocks walls of Aguja Guillaumet, Aguja Mermoz and Cerro Chaltén to your left and the three Torres - Cerro Torre, Torre Egger and Cerro Standhardt - are in front of you, the glacier far below. Paso del Cuadrado was not difficult to access when I last visited (crossing a glacier and cramponing up a steep frozen snow slope) but with warmer temperatures globally and the effect this is having on mountain regions, current conditions may mean it is more dangerous or challenging. Be confident in your mountaineering skills or I’d recommend you hire a local guide.
Not far behind Paso del Cuadrado in terms of mountain views I’d propose is Circos de los Altares, an even more remote glacial cirque that is situated beneath the ice-encrusted west face of Cerro Torre. Unless you’re a climber, and an expert one at that, the cirque is accessible only via a demanding trek up Marconi Glacier out onto the Southern Patagonian Ice Cap, a great ocean of ice sweeping west from the southern coast of Chile to its border with Argentina. Up to 650 metres thick and almost 13,500 kilometres square, the ice cap is said to be one of the largest expanses of ice outside the Polar Regions.
Both of the locations above appeal to me because of the challenge required in getting there. Add to this the spectacular views and they tick two important boxes for me as regards to what I'm passionate about in photography.
2. In the current edition of Patagon Journal you have a photographic essay about travel opportunities in Scotland. What are some of the challenges to doing photography in Scotland, and how does it compare to doing photography in Patagonia?
The hardest part I’d propose about photographing outdoors in Scotland (which is parallel to photographing in Patagonia) is managing the weather. Our maritime climates are very similar and unfortunately I’m no stranger to cold, wet or windy weather (often all three). I don’t crave bright blue skies - meteorological drama in the landscape adds immeasurably to your images - but when you’ve spent many days or weeks (sometimes months) planning a photo shoot and the weather is forecast to be sideways rain and strong winds, it’s difficult to a.) manage the disappointment it’s a personal project or b.) meet the brief if it’s a client shoot. We have to either go to plan B (always have a plan B) or reschedule.
3. What are some of your favorite places or things to photograph in Patagonia, and any plans to visit Patagonia soon? Where else do you want to photograph in Patagonia?
Regrettably, I’ve no current plans to revisit Patagonia (a recent potential trip to help promote the Los Dientes de Navarino circuit on Isla Navarino unfortunately didn’t come to fruition). I’d love to come back though, either with the goal of delivering a respected brand’s advertising campaign - the potential in Patagonia for inspiring the outdoor market is superlative - but I'd also like to support conservation activity in Patagonia from a photography and story-telling perspective, helping to reduce the impact we’re having on the environment and encouraging change (although I appreciate the contradictory aspect of that statement, given I live over 8,000 miles away in Scotland).
On a personal level, mountains are my passion and anything particularly rocky or snowy piques my interest (with glaciers and small mountain lakes being an added bonus). Locations in Patagonia I’d love to visit for photography include Cordillera Darwin - for Monte Sarmiento and Monte Bove - plus Perito Moreno National Park, home of Cerro San Lorenzo (I read many years ago about an adventurous trek which circumnavigates the mountain and it regularly resurfaces in my memory). An exploratory boat trip photographing the landscape around the fjords on the western coast of Chile would be awesome, as would the opportunity to be on the crew again to photograph the Patagonian Expedition Race (the locations the race director takes competitors into are amazing). The crowning glory I’m imagining would be a in-depth photo essay on one specific area, where I could cover the mountain and coastal landscape, key flora and fauna, the people who work there and are involved in its protection, plus those that play. In that regard, Kawésqar National Park in southern Chile holds great personal appeal.
4. You have specialized in outdoor photography for many years. What are a few of your most memorable moments and images in your outdoor photography career and why (Also, please explain a little of the backstory in your answer on what was happening at the time and how you got the shot)
My most memorable photos aren’t always those I’d class as being my best work (the initial image I’ve chosen was actually before I started as a photographer).
a.) Cerro Torre, Torre Egger and Cerro Standhardt from Circos de los Altares
Aside from the ‘firsts’ (first payment, first magazine publication, first cover, first advertising campaign), a particularly memorable moment - given it led to me starting my photography business - was having eight pages of pictures of Cerro Torre, Torre Egger and Cerro Standhardt from Circos de los Altares in a UK magazine called High Mountain Sports. The editor had been wanting to publish a Patagonia climbing special but the capricious nature of the weather had thwarted his efforts up until that point. Fortuitously, on a trek across the Southern Patagonian Ice Cap to camp in Circos de los Altares, we had perfect weather and I was able to share images that met the magazine's needs.

A photograph which led to me starting my photography business - Cerro Standhardt, Torre Egger and Cerro Torre from Circos de los Altares on the Southern Patagonian Ice Cap.
b.) Kayaking with dolphins during the Patagonian Expedition Race

Team East Wind sea kayaking with dolphins on the Strait of Magellan during the Patagonian Expedition Race.
The Patagonian Expedition Race is an adventure race par excellence held in the wilderness of southern Chilean Patagonia. Teams of four are challenged to navigate a remote 700km+ course, with minimal support, that demands advanced skills in the disciplines of mountain biking, trekking, mountaineering and sea kayaking. I captured this image as Team East Wind from Japan kayaked the Straits of Magellan ahead of their final 100km mountain bike into Punta Arenas. I was aware dolphins swam in the waters, having researched the history, flora and fauna of Patagonia thoroughly for the book I’d written on trekking in Argentina’s Los Glaciares National Park. I also had a feeling they would follow boats on the water, based on my understanding that dolphins are naturally inquisitive. It was a combination of this knowledge and, likely, some luck that led me to drive down a dirt road in a 4x4 along the shore as I followed the kayakers and waited for a dolphin to emerge. Every time one did, and sometimes there was more than one, a cheer arose from the team, their enthusiasm buoyed as they battled their way to a second place finish.
c.) Celebrating the dawn in Scotland

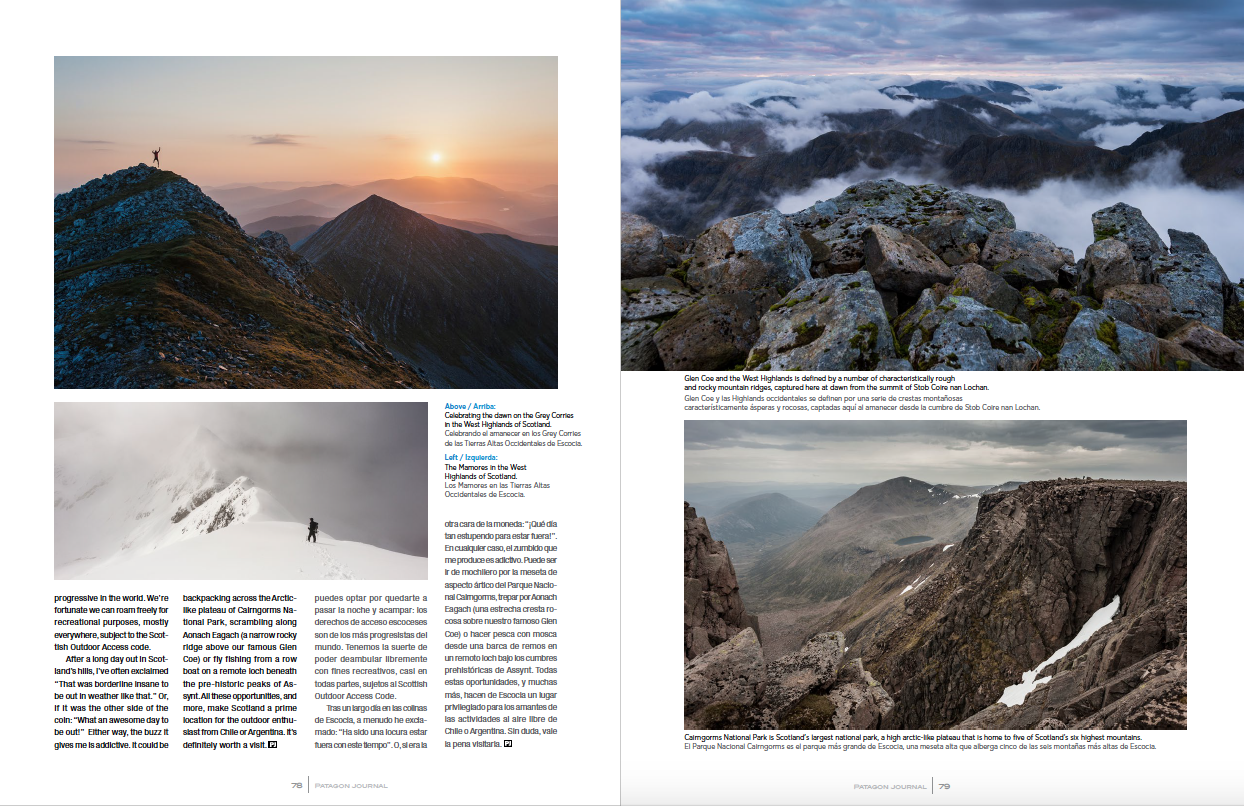
Charlie Lees early in the morning running on the Grey Corries ridge in the West Highlands of Scotland
The image I'd pictured in my head before this shoot was of a mountain runner navigating a ridge that snaked into the distance as the sun set far in the west over Ben Nevis, the UK's highest peak. I'd roped in a friend, Charlie, to help and we’d hiked up the mountain the previous afternoon so we were in a perfect position for the shoot. Unfortunately, as is often the case in Scotland, the weather didn’t play ball. The forecast was good but the light at sunset was muted by low-lying cloud and so we improvised instead, shooting a variety of shots until it got too dark. I wasn’t too concerned as we’d had the foresight to bring sleeping gear with us and we planned to spend the night on the summit so we could shoot again the following day.
The following morning, I awoke well before sunrise. I was disappointed to find the clouds were still there but a wild mountain hare, stationary not five feet from my head, buoyed my spirits. The hare and I sat in silence for a while, perhaps both of us just admiring the view, before it hopped away out of sight. My intentions were still to shoot facing west, catching my subject as the sun caught the ridge lines out to Ben Nevis. The view to the east though caught my eye and as the sun rose we turned around and focused on the opposite direction. As Charlie crested the summit, he leapt in the air slightly and I knew I had my shot. After a few repeat takes, including some without the leap, I was happy.
Capturing this image reminded me that it's best to keep an open mind and consider all options available to me when I'm executing a shoot. It also reminded me to keep an eye on an athlete’s natural traits and take advantage of them, when it’s appropriate, to produce a compelling image.
d.) Scotland 282 Munro Round Record Holder

Donnie Campbell running on the Horns of Beinn Alligin, in the North-West Highlands of Scotland
Scotland has 282 hills over 914.4m high (3,000ft) that are designated as Munros. Many if not most people (including me) take years or a lifetime to complete them all. Donnie Campbell is a running coach and endurance athlete from Scotland who, in 2020, ran all 282 peaks in just under 32 days, covering a total of 833 miles and 126,143m ascent (not including the cycling and kayaking he did to travel in between) to break the record at the time for the fastest completion of the Munros. This image, taken after the fact, showcases Donnie on the Munro Beinn Alligin in Torridon in the North-West Highlands of Scotland. It summarises what I particularly enjoy about photography - having the opportunity to illustrate someone’s athletic ability in the mountains.
e.) Backpacking Scotland's Munros

Alex Haken backpacking in the Mamores in the West Highlands of Scotland
One of the joys I find in backpacking (aside from poring over maps as you plan a trip) is staying up high in the mountains and walking right to the very end of the day, knowing you'll very likely be the only folk left on the hill. Many times over my hill-walking career I've experienced the solitude of being the 'last person standing' on a mountain. Backpacking has enabled me to camp on a number of high bealachs and summits in superb regions of Scotland such as Glen Torridon, Glen Coe, the Cairngorms and Glen Affric, as well as further afield in the Alps and Patagonia.
One of my favourite backpacking locations is the Mamores in the West Highlands of Scotland. Totalling 10 Munros (Scottish mountains over 3,000ft/ 914m high), the Mamores are grouped into 3 sets of hills, all easily tackled by a number of different routes. The central Mamores are characterised by narrow ridges, including the rocky arete on An Gearanach and the ominously named Devil's Ridge on Sgurr a'Mhaim. Shown here is us descending off the sweeping ridge of Na Gruagaichean one November, headed for a wild camp up high between An Garbhanach and Stob Coire a'Chairn. We had started our trip the previous day in Glen Nevis, planning to climb only three of the Munros but good stable weather meant we were able to continue over a fourth and put ourselves into position the next day for an easier round of the more well-known Mamore peaks that make up the Ring of Steall.
f.) Last light on the Scottish hills

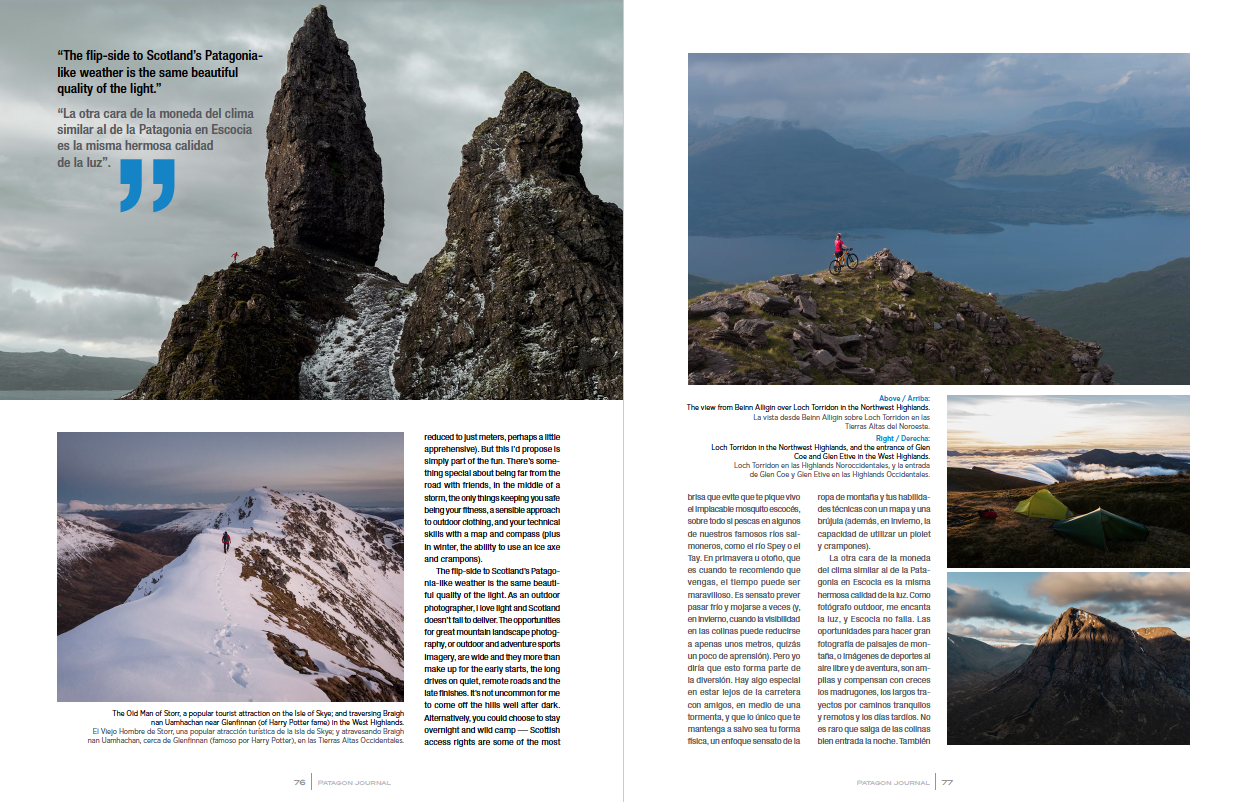
Footprints in the snow at dusk during a winter hillwalking day out on Braigh nan Uamhachan in the West Highlands of Scotland.
This photograph is of a friend of mine, David Hetherington, as we headed along the snowy ridge of the Corbett, Braigh nan Uamhachan, in the West Highlands of Scotland. For pure satisfaction, it’s right up there with others in my portfolio, captured during a weekend that ticked many boxes for what I look for in a hillwalking adventure;
A night in my sleeping bag - We’d stayed the evening before at Gleann Dubh-lighe bothy, a stone building with a fireplace that the Mountain Bothy Association renovated in 2013 after it was accidentally burnt down)
A bluebird winter’s day hiking entirely on our own up a striking peak with a narrow ridge – We'd climbed first the 909m high Corbett, Streap, which is located right across the glen
Pure and simple hard work - After we descended 650m to the waters of Allt Coire na Streap we had a relentlessly steep 400m ascent back up to the ridge where we are in this photograph
Add in a setting sun, which we just caught before it dipped below the horizon, the fine view we had across to Ben Nevis, the UK’s highest peak (top left), and a descent by head-torch down a steep gully in the dark (lured by the thought of hot food and whisky back in the bothy to finish the day) and it had all the ingredients I like to look for when I’m planning a trip away in Scotland’s hills.
g.) Celtman Extreme Triathlon

Competitors heading pre-dawn towards the swim start of the Celtman Extreme Scottish Triathlon.
An iron-distance triathlon, Celtman is part of the XTRI World Tour series of races, of which Patagonman is also a fixture. This demanding race in the Scottish Highlands challenges competitors to swim 3.4km across a tidal, jellyfish-infested sea loch, cycle 202km on scenic highlands roads and then run a marathon 42km distance over two Munros on Beinn Eighe, both over 990m high.
Photographing Celtman means being up at 3am for the 5am swim start, driving the 202km cycle route in a 4x4 vehicle and then ascending 860m to run after and photograph the triathletes on this 3km long mountain ridge.
5. What advice do you have for aspiring outdoor photographers?
The following is an excerpt from a separate article I wrote about ‘Hints and tips for capturing great outdoor sports photography’.
The six things I would suggest to focus on are;
Know your camera
Shoot sports you know
Choose great locations
Prioritise good light
Try different angles
Focus on composition
Key takeaway -
Practice and master the above until it becomes second nature so you can free yourself up to focus on your creativity, seeking out moments which can help you to stand out from the rest
Appreciate that, other than exposure, there’s no real right or wrong. Try different things and see what happens. Take lots of shots and share them widely. Gather feedback and keep learning and, above all, enjoy the process.
6. What will you be looking for when deciding the winning photos of the Patagonia Photo Contest? What for you is the difference between a great photo and a good photo, for example.
Why someone proclaims an outdoor sports photograph to be a ‘great photograph’ is usually a personal thing but when I see an image that really captures my attention, it’s usually because two or more things have taken place;
People — A dynamic moment has been captured, usually in a creative way.
Place — The photographer has used an inspiring location that really connects me with the scene and helps me understand what’s going on (either a location I’ve not seen before or, if I have, they’ve photographed it in a unique way).
Lighting — They’ve made great use of natural or artificial light to bring the image to life.
I’ll have these three things in mind when I'm reviewing the submissions, which I'm looking forward to.
7. What are some projects you are working on right now, and what projects do you hope to do in the future?
My most recent efforts have gone into re-designing my website, adding new work that I feel is worthy of sharing. I'm hoping to have this launched before the end of March.
In the Spring, I'm looking forward to continue a mountain landscape photography project focusing on the Glen Coe and Lochaber region in Scotland, rounding out what I have already with images from lower down in the glens to produce a more complete representation of the area.
Adventure sports-wise, I've got a three trail and mountain running projects on the horizon, plus a specific mountain bike photography shoot planned, where I'm planning to use strobes to make the athlete really stand out from the landscape.

Visiting Scotland - From Chile or Argentina
Reasons for why people in Chile or Argentina may choose to visit Scotland for outdoor adventure instead of heading south to Patagonia and enjoying their own compelling landscape.
Written for and published by Patagon Journal - Patagonia's magazine for nature, the environment, culture, travel and outdoors. To support the launch of a new Destinations feature called ‘My Country’, I chose to focus on the rationale for why people in Chile or Argentina would choose to visit Scotland instead of heading south to Patagonia and enjoying their own compelling landscape.
(See also my Q&A with Patagon Journal)

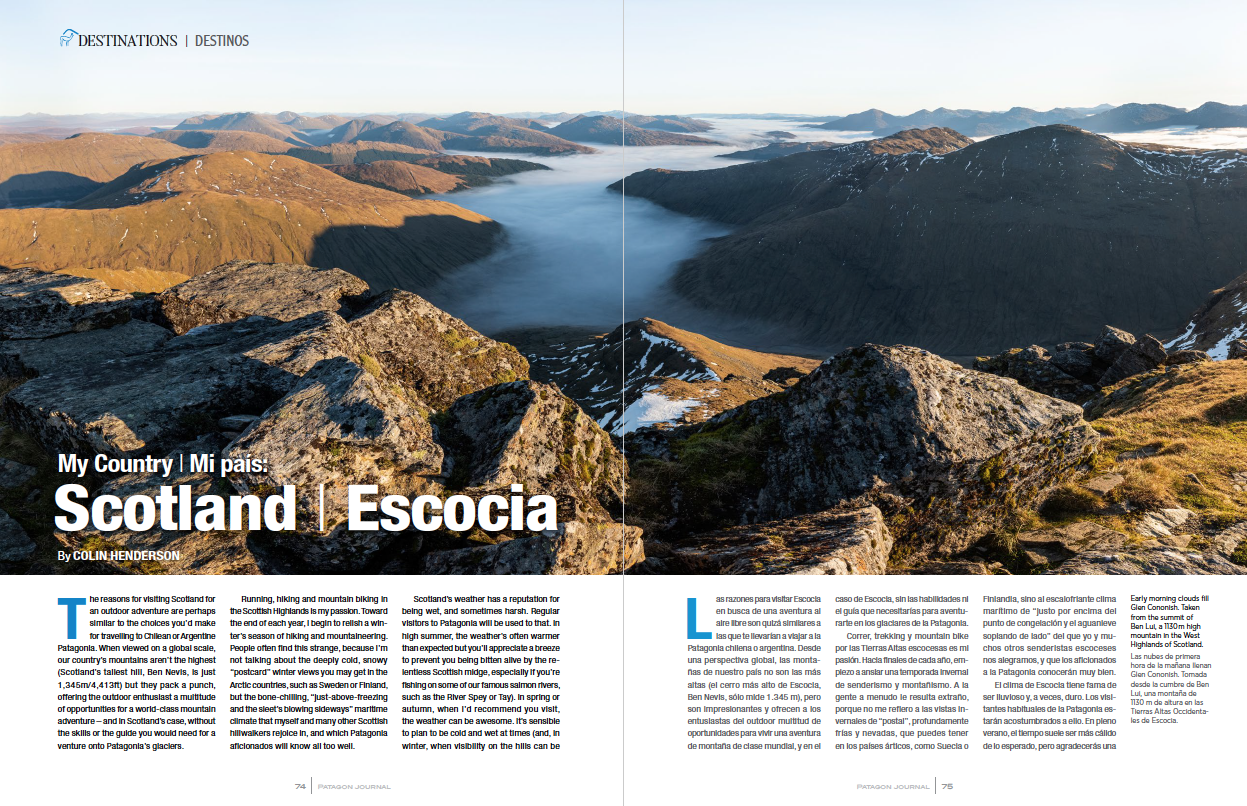
Morning view from the summit of Ben Lui, a Munro in the West Highlands of Scotland
The rationale for visiting Scotland for an outdoor adventure is perhaps similar to the choices you’d make for travelling to Patagonia. Northern giants of Chile and Argentina aside, when viewed on a global scale, neither of our country’s mountains are the highest (Scotland’s tallest hill, Ben Nevis, is just 1,345m/4,413ft) but they pack a punch, offering the outdoor enthusiast a multitude of opportunities for a world-class mountain adventure — in Scotland’s case, without the skills or a guide needed for a venture onto Patagonia’s glaciers.
Running, hiking and mountain biking in the Scottish Highlands is my passion. Towards the end of each year, I’ll start to relish a Winter’s season walking and mountaineering. People often find this strange, because I’m not talking about the deeply cold, snowy ‘postcard’ Winter views you may get in the arctic countries, such as Sweden or Finland, but the bone-chilling, ‘just-above-freezing and the sleet’s blowing sideways’ maritime climate that myself and many other Scottish hillwalkers rejoice in (and which Patagonia aficionados will know all very well).
Scotland’s weather has a reputation for being wet, and sometimes harsh. Regular visitors to Patagonia will be used to that. In high Summer, the weather’s often warmer than expected but you’ll appreciate a breeze to prevent you being bitten alive by the relentless Scottish midge (especially if you’re fishing on some of our famous salmon rivers, such as the River Spey or Tay). In Spring or Autumn, when I’d recommend you visit, the weather can be awesome. It’s sensible to plan to be cold and wet at times (and, in Winter, when visibility on the hills can be reduced to just metres, perhaps a little apprehensive). But this I’d propose is simply part of the fun. There’s something special about being far from the road with friends, in the middle of a storm, the only things keeping you safe being your fitness, a sensible approach to outdoor clothing and your technical skills with a map and compass (plus in Winter, the ability to use an ice axe and crampons).
The flip-side to Scotland’s Patagonia-like weather is the same beautiful quality of the light. As an outdoor photographer, I love light and Scotland doesn’t fail to deliver. The opportunities for great mountain landscape photography, or outdoor and adventure sports imagery, are wide and they more than make up for the early starts, the long drives on quiet, remote roads and the late finishes. (It’s not uncommon for me to come off the hills well after dark). Alternatively, you could choose to stay overnight and wild camp — Scottish access rights are some of the most progressive in the world. We’re fortunate we can roam freely for recreational purposes, mostly everywhere, subject to the Scottish Outdoor Access code.
After a long day out in Scotland’s hills, I’ve often exclaimed “That was borderline insane to be out in weather like that”. Or, if it was the other side of the coin, “What an awesome day to be out!”. Either way, the buzz it gives me is addictive. It could be backpacking across the Arctic-like plateau of Cairngorms National Park, scrambling along Aonach Eagach (a narrow rocky ridge above our famous Glen Coe) or fly-fishing from a rowing boat on a remote loch beneath the pre-historic peaks of Assynt. All these opportunities, and more, make Scotland a prime location for the outdoor enthusiast from Chile or Argentina. It’s definitely worth a visit.
Runner’s World - ‘Rave Run’
Words and images published as ‘Rave Run’, a regular double-page spread which opens the popular Runner’s World magazine.
Various words and images published to illustrate ‘Rave Run’, a regular double-page spread which opens the popular Runner’s World magazine.
Rave Run - Cairngorms National Park
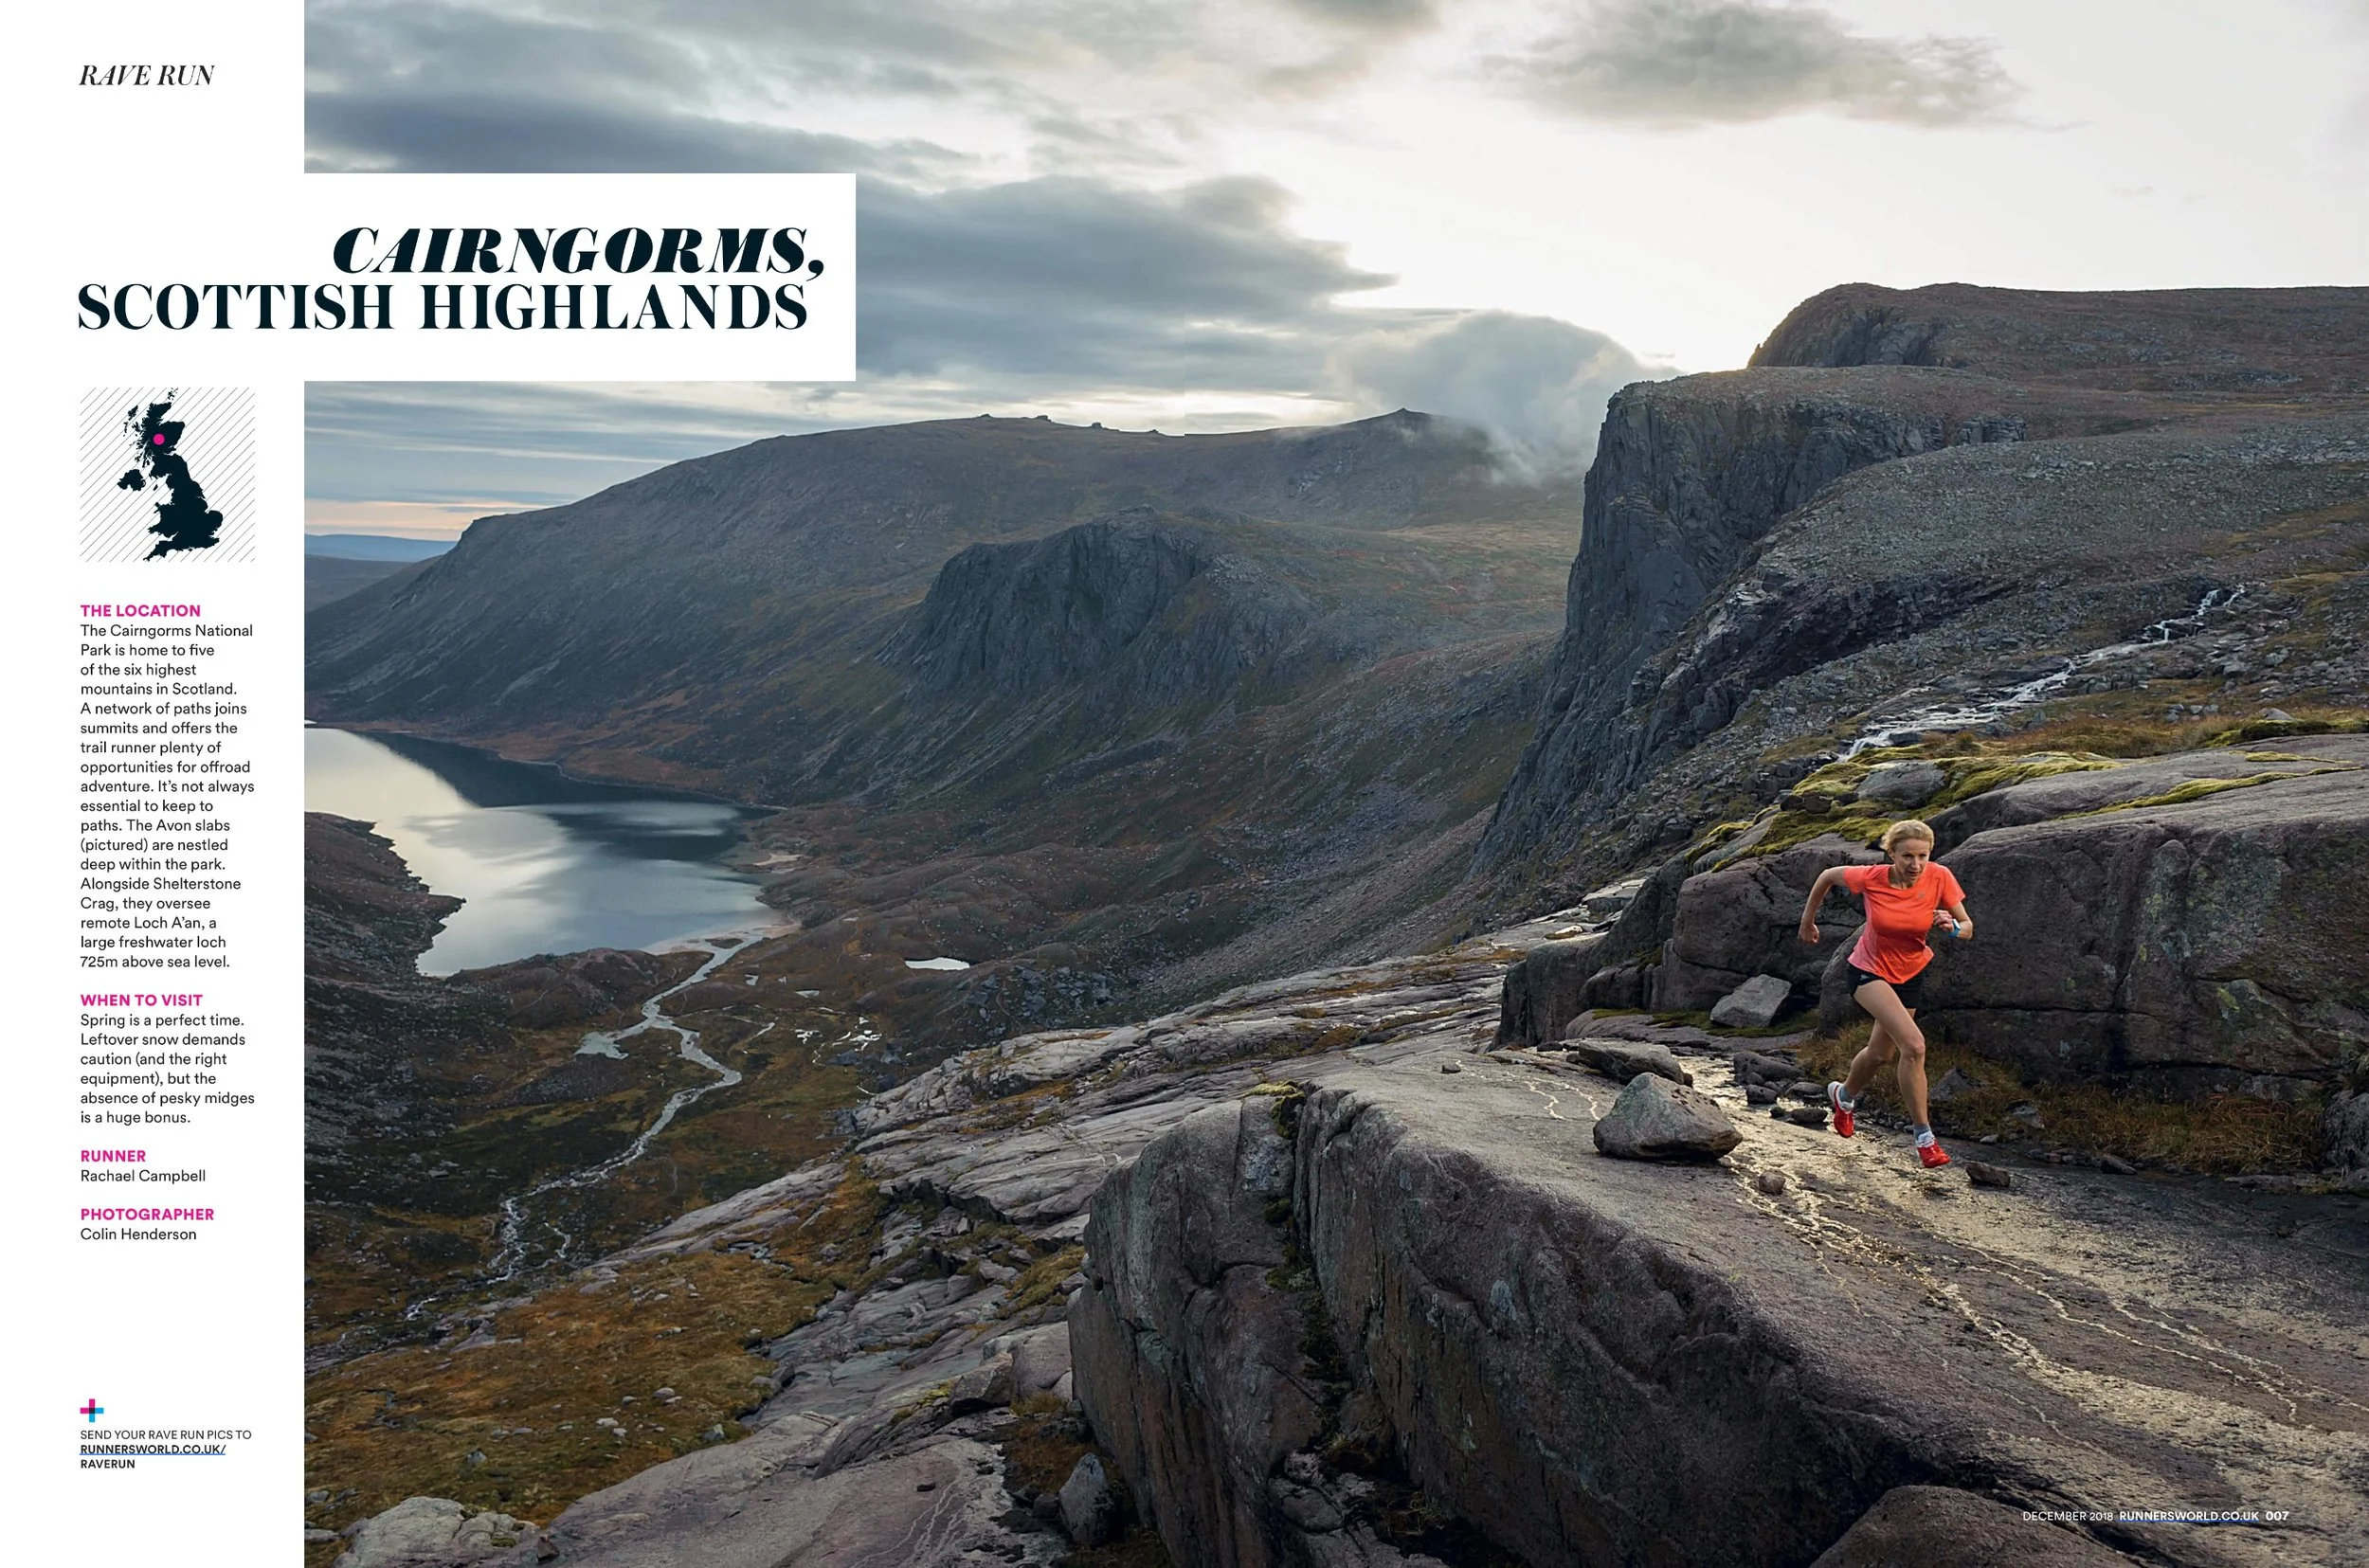
Rachael Campbell high above Loch A’an in Cairngorms National Park, Scotland
The location
Cairngorms National Park is home to five of the six highest mountains in Scotland. A network of paths join together summits and offer the trail runner plenty of opportunities for off-road, mountain fun. It’s not always essential to keep to paths. The Avon slabs (pictured) are nestled deep within the park. Alongside Shelterstone Crag, they oversee remote Loch A’an, a large freshwater loch 725m above sea level.
When to visit
Spring is a great season to visit. Remnants of snow will necessitate caution (and the right equipment) but, otherwise, often pleasant weather and the lack of the Scottish midge (Scotland’s famous but wretched biting insects) provides runners with positive returns.
Rave Run - Grey Corries
The experience
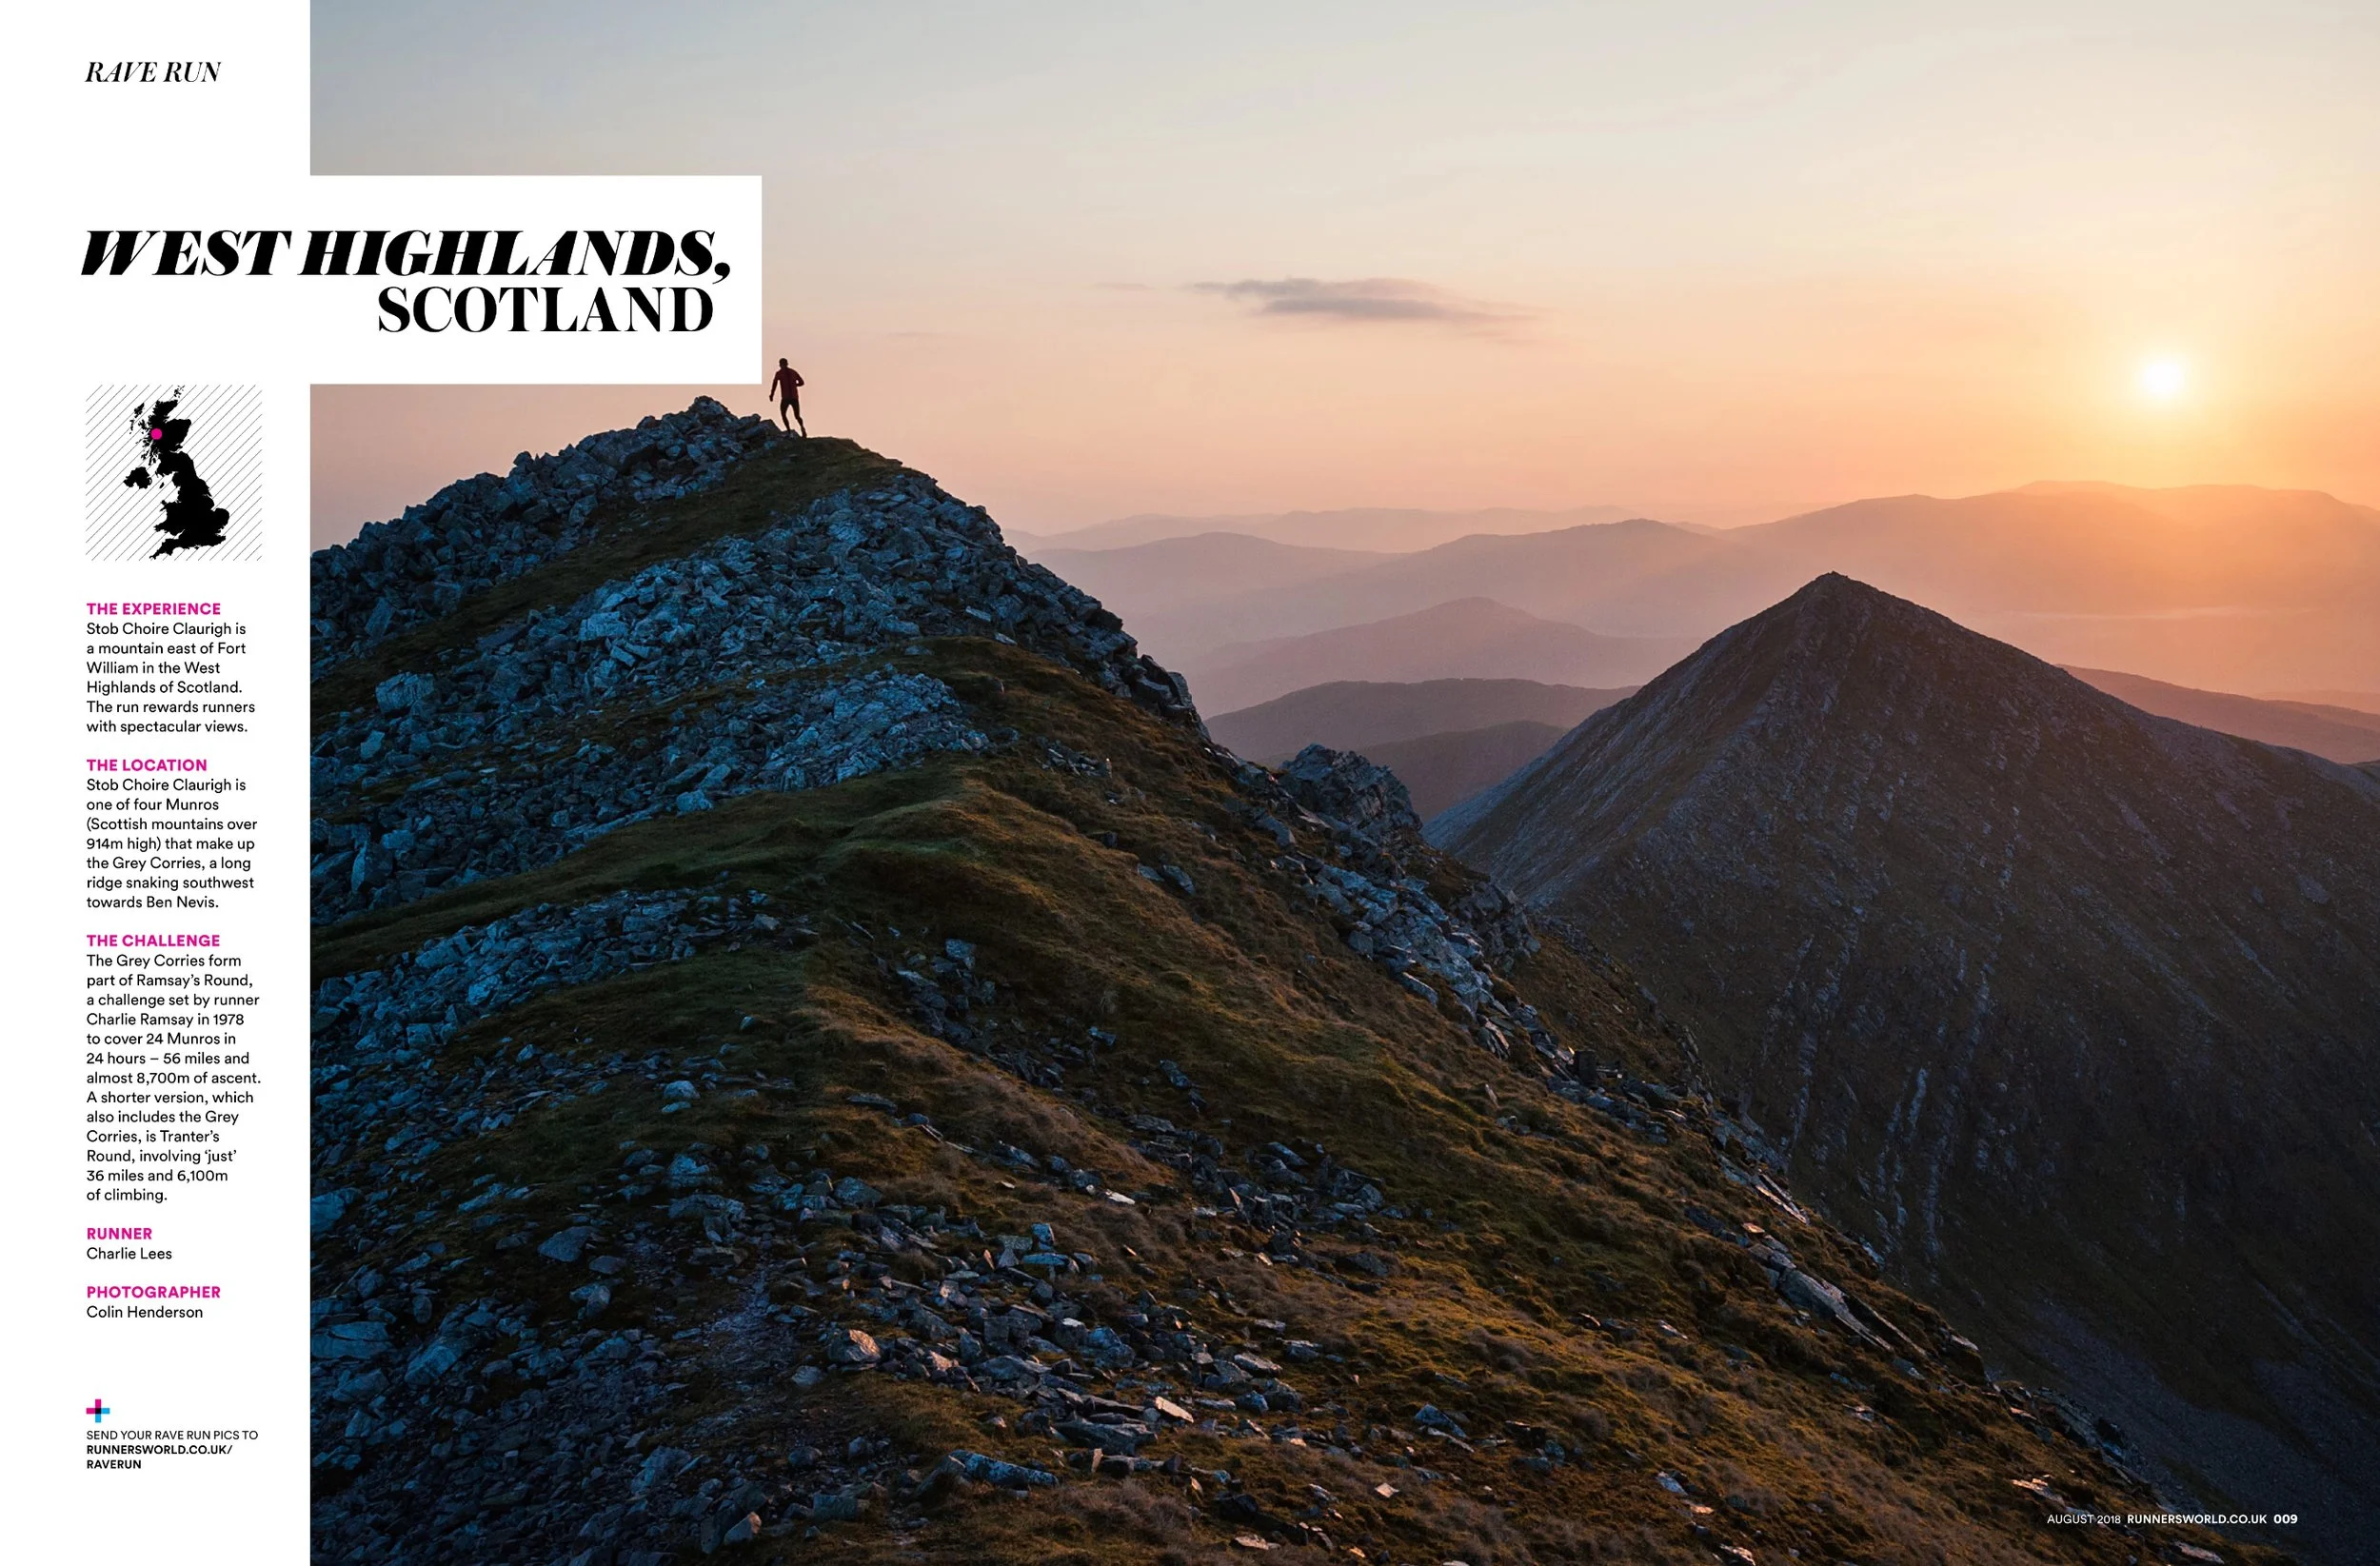
Charlie Lees on Stob Coire Chlaurigh in the West Highlands of Scotland
An ascent of Stob Choire Claurigh in the West Highlands of Scotland, at first on steep grass and then on broken quartzite, rewards runners with spectacular views. This vista, looking north-east at sunrise over the subsidiary top of Stob Coire na Ceannain, demonstrates the value of an early start.
The location
Stob Choire Claurigh is one of four Munros (Scottish mountains over 3,000ft) that make up the Grey Corries, a long, scalloped ridgeline that snakes its way south-west towards Ben Nevis, the UK’s highest peak.
A challenge
The Grey Corries form part of Ramsay’s Round, a challenge set by Charlie Ramsay in 1978 to run 24 Munros in 24 hours. A shorter version of Ramsay's round, which also includes the Grey Corries, is called Tranter’s Round. It is named after Philip Tranter, son of the novelist Nigel Tranter.
Rave Run - Liathach
The location
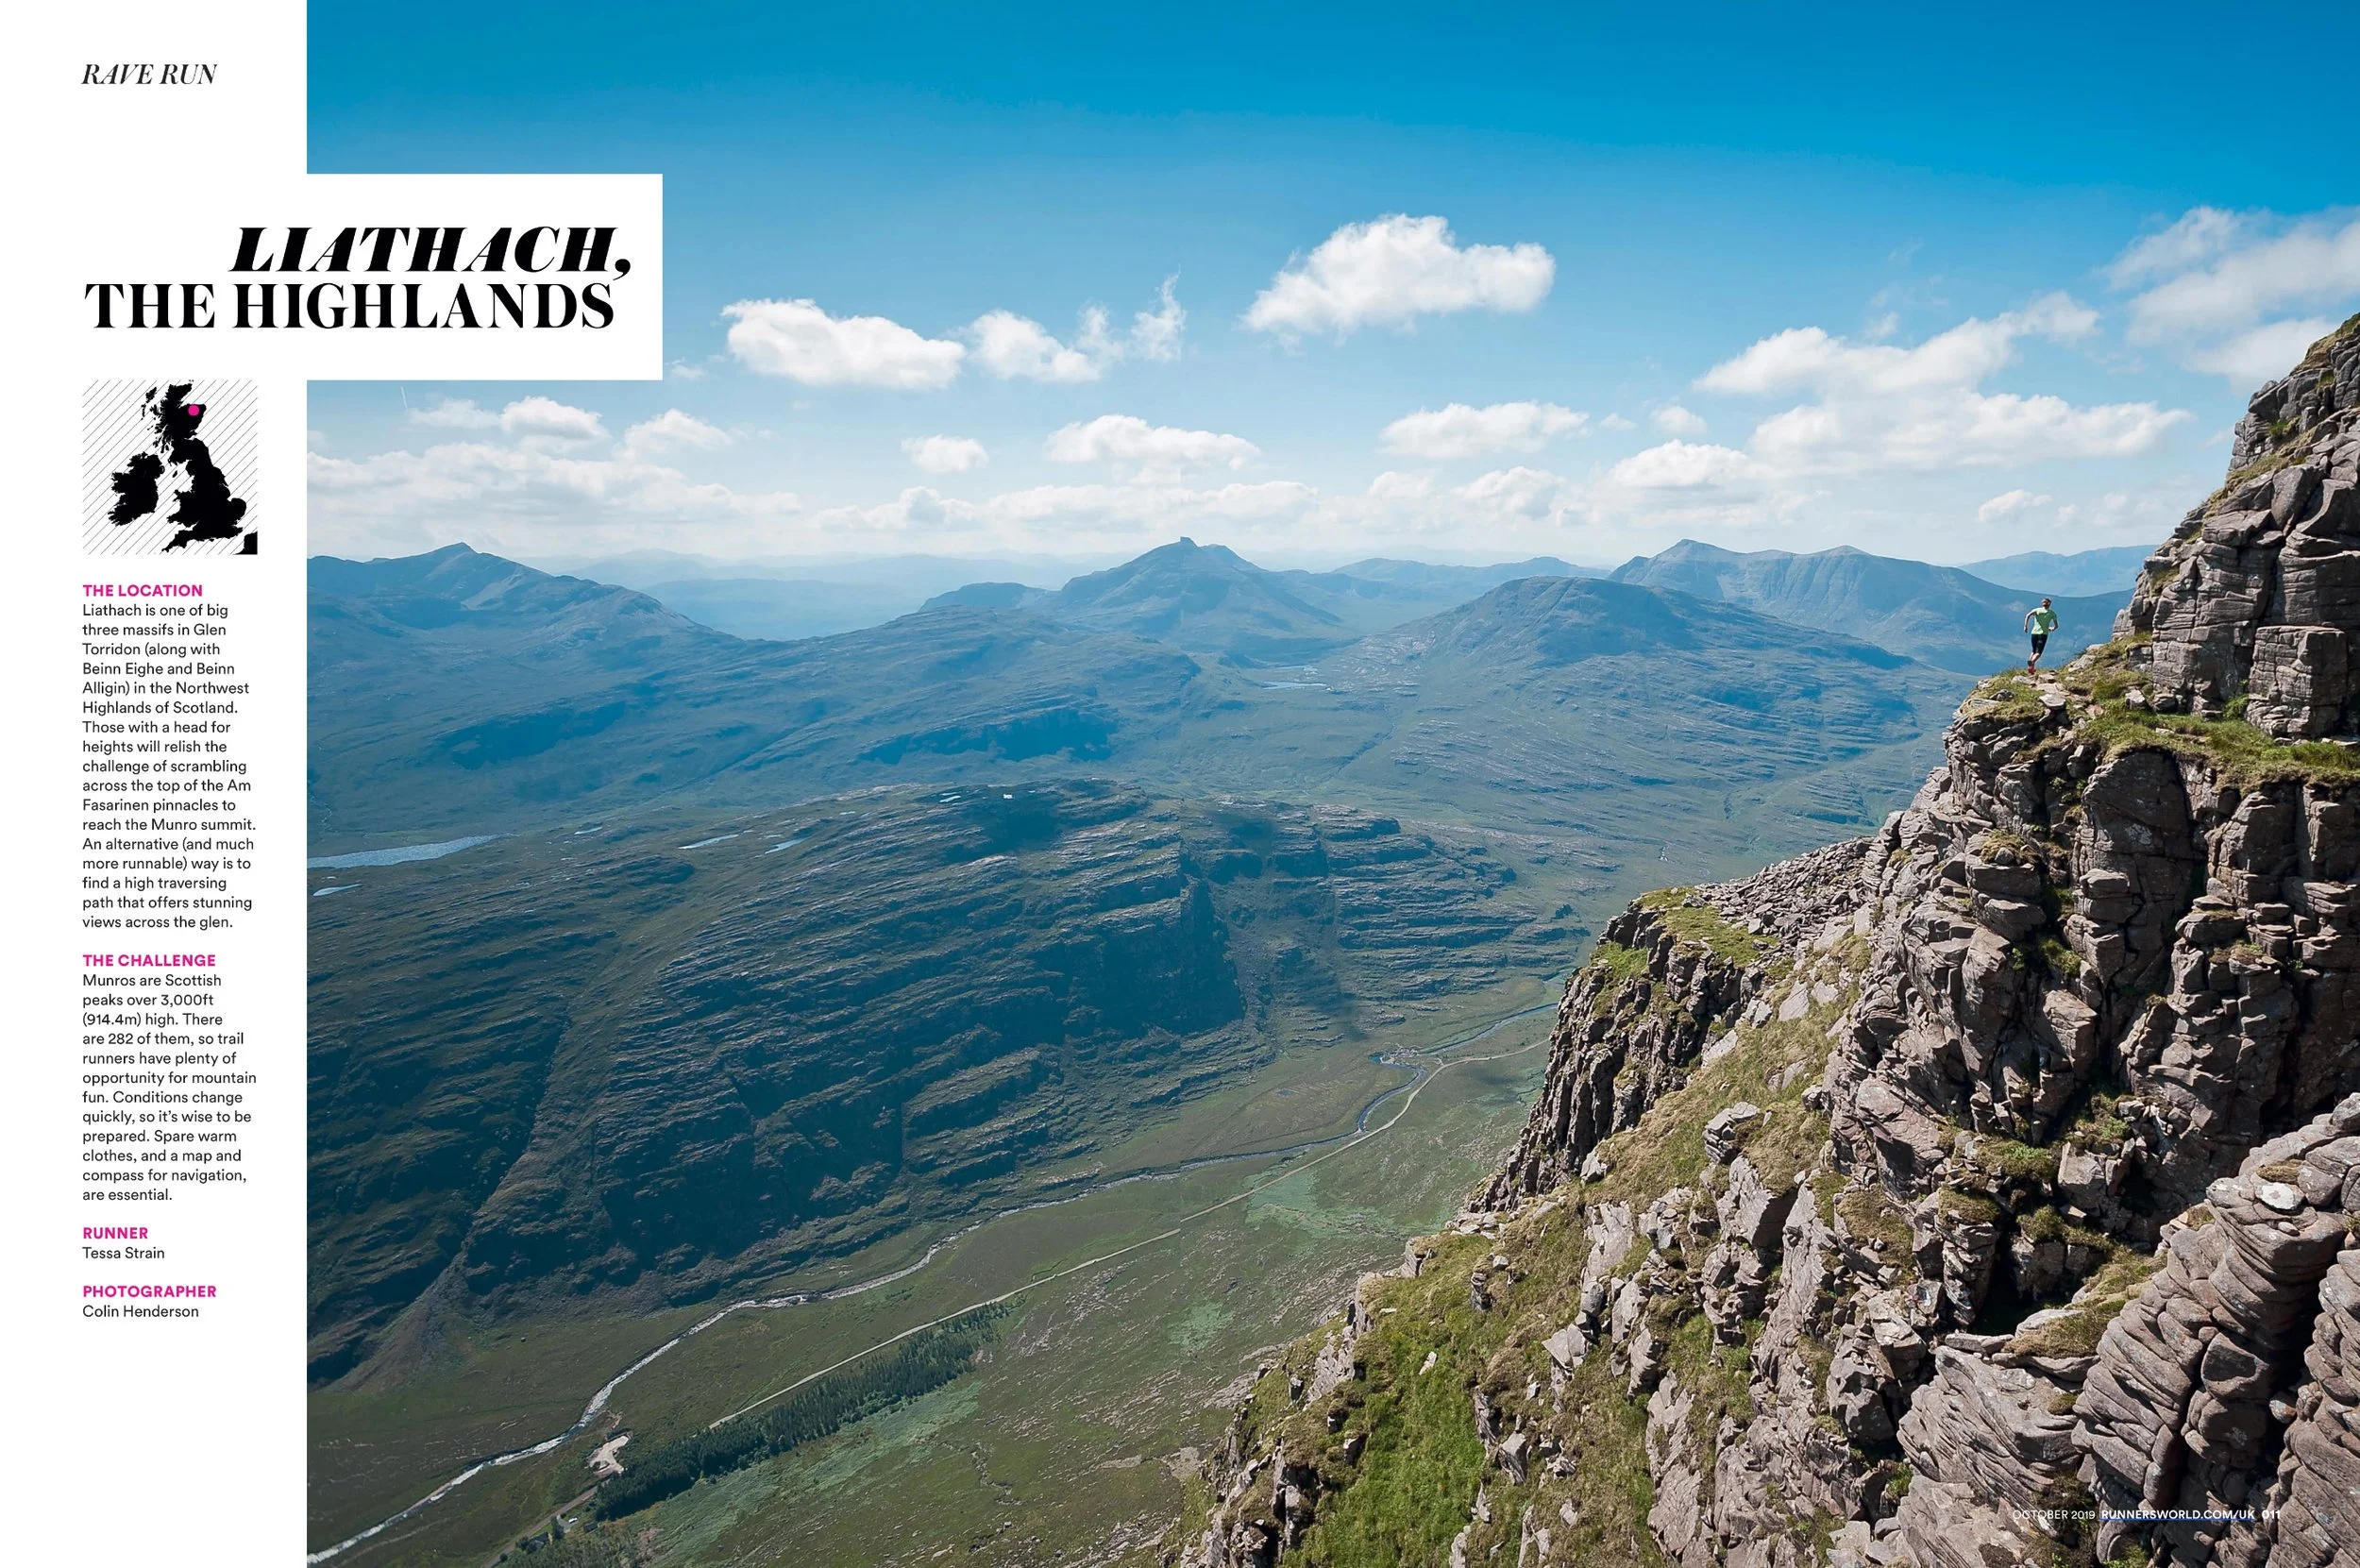
Tessa Strain on the balcony path on Liathach above Glen Torridon in Scotland
Liathach is one of big three mountain ranges in Glen Torridon (along with Beinn Eighe and Beinn Alligin) in the North-West Highlands of Scotland. Those with a head for heights will relish the challenge of the exposed scrambling across the top of the Am Fasarinen pinnacles to reach the Munro summit but an alternative route, that is much more runnable, is to find a high traversing path, which presents you with spectacular views across the glen.
The challenge
Munros are Scottish peaks over 3,000ft (914.4m) high. Numbering 282 in total, they offer adventurous trail runners a myriad of opportunities for mountain fun. Paths up steep sides provide access to ground such as the broad, Arctic-like plateau of the Cairngorms in the east to the narrow grassy ridges and rock that is more prevalent in the west. Conditions change quickly and it's wise to be prepared. Spare warm clothes and a map and compass for navigation, plus the knowledge to know how and when to use them, is essential.
Rave Run - Tarmachan Ridge
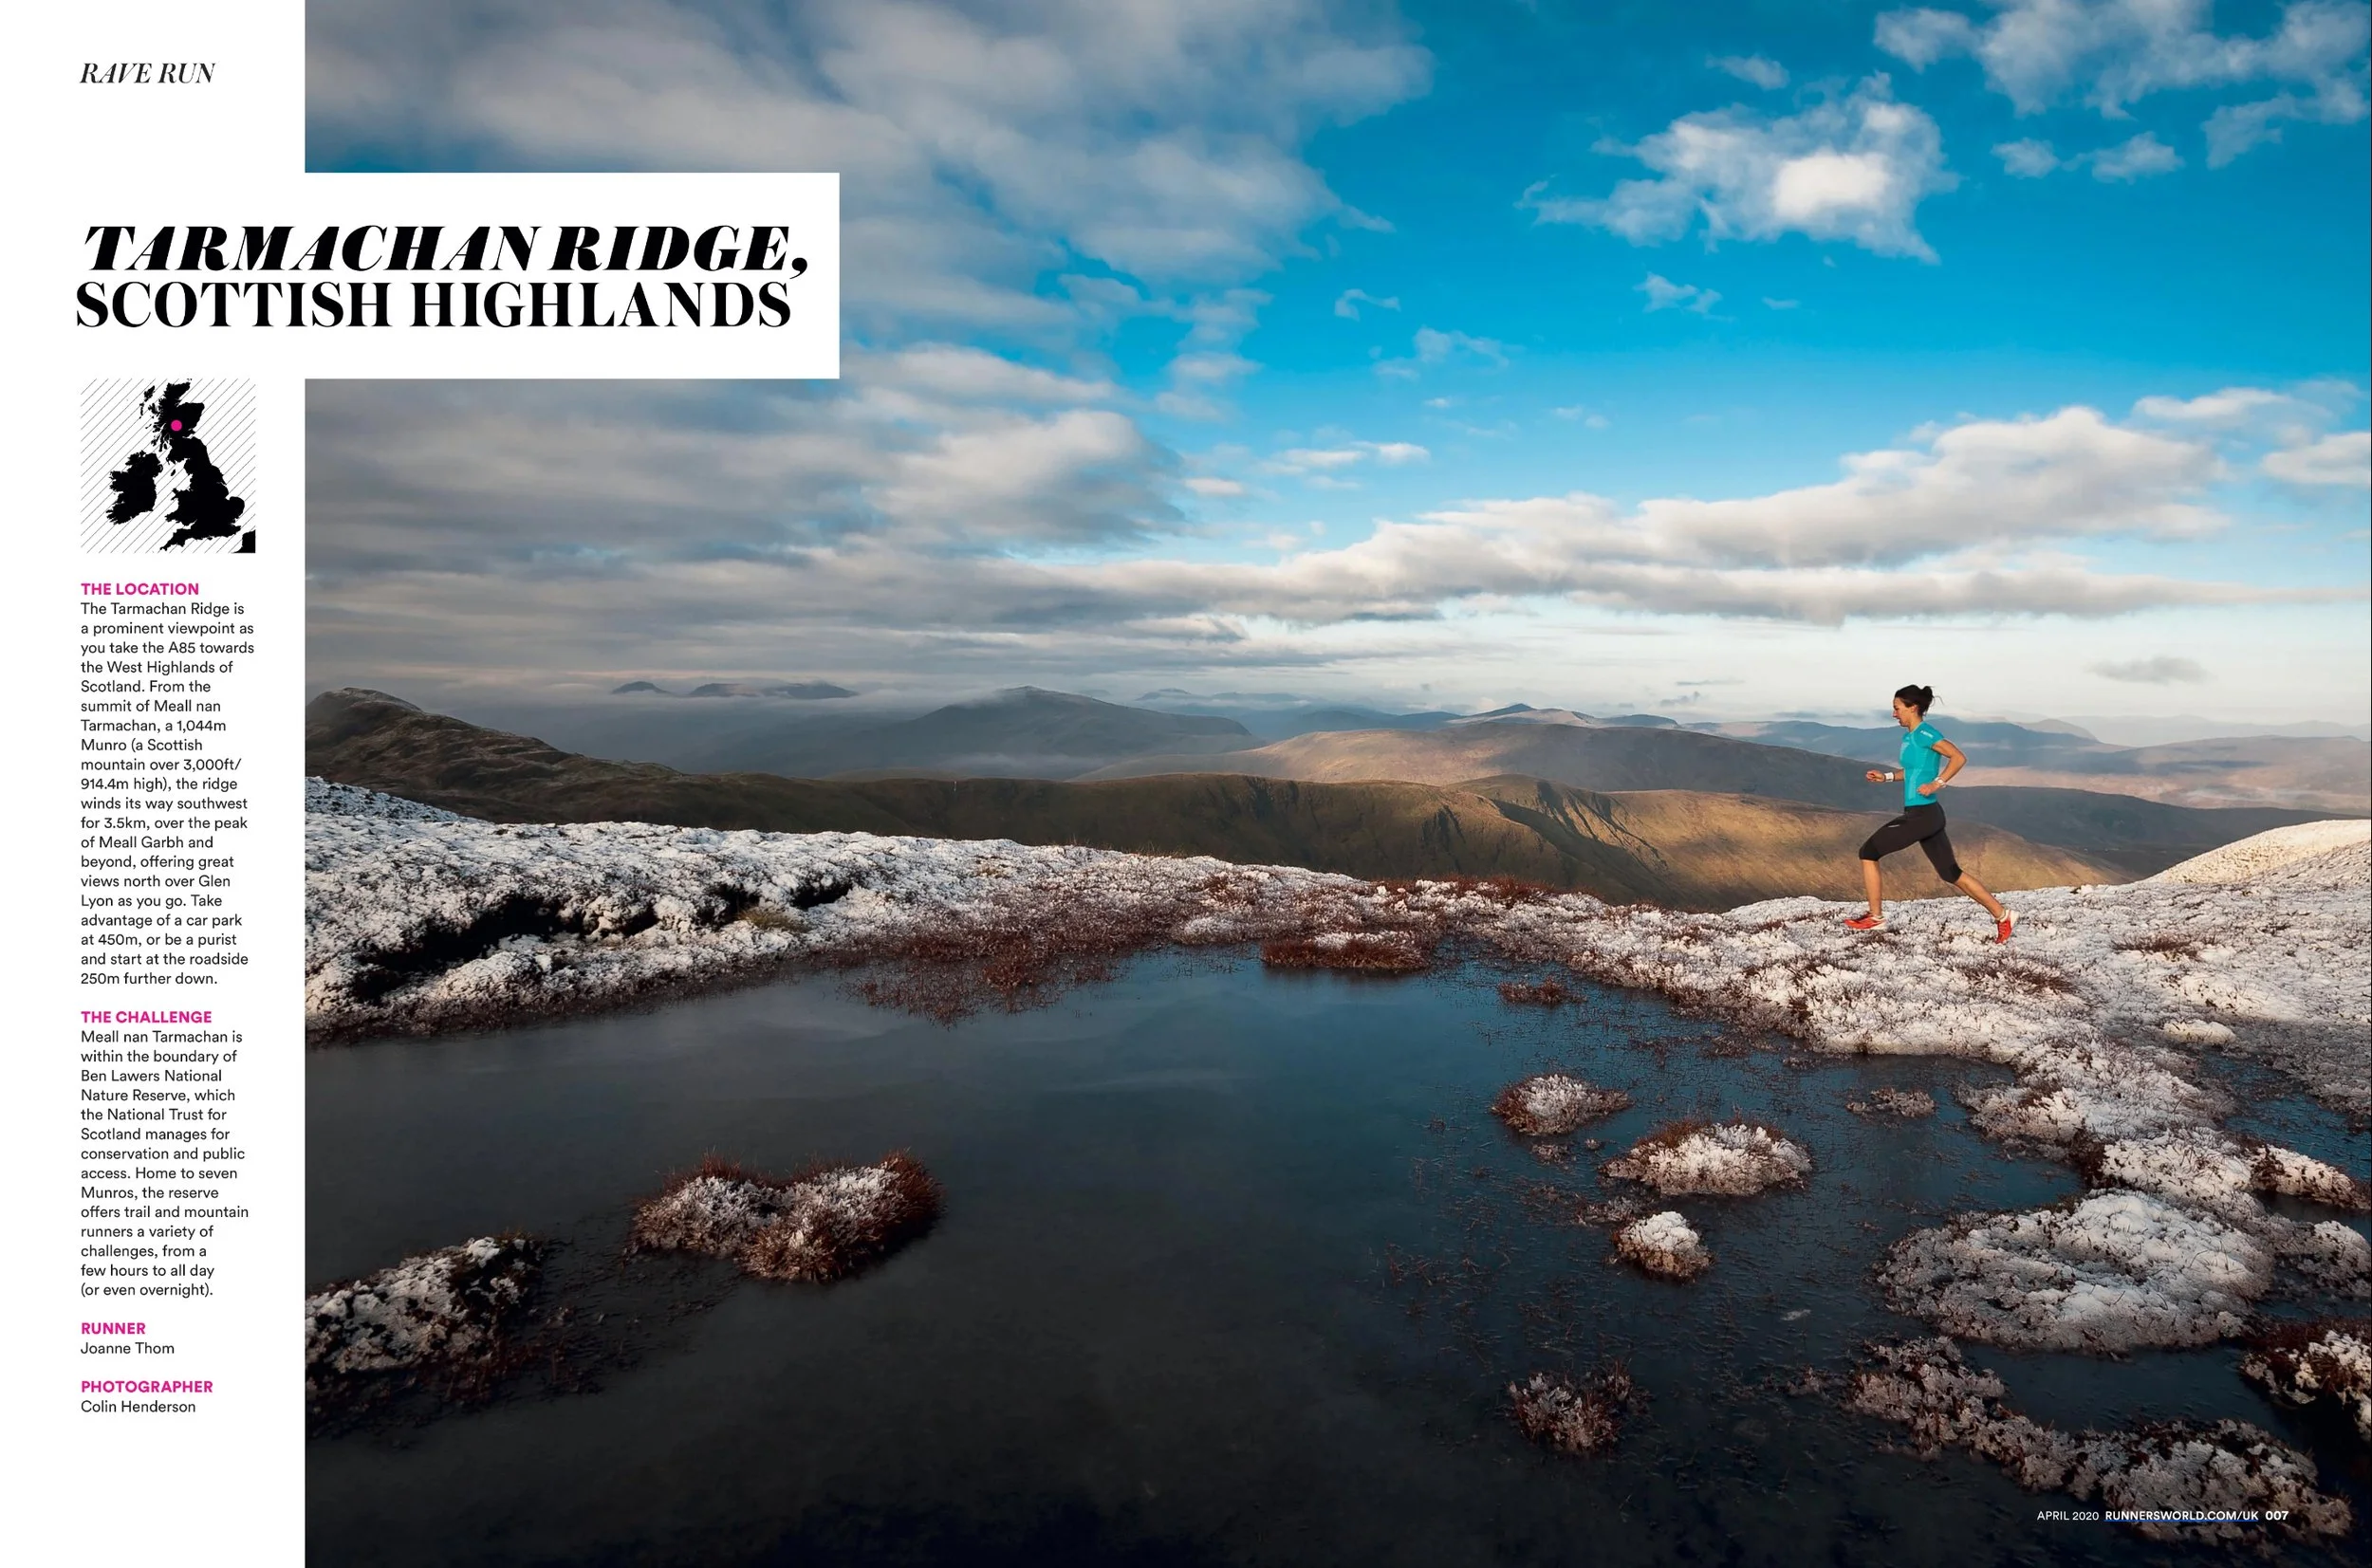
Joanne Thom on Meall nan Tarmachan in Scotland
The location
The Tarmachan ridge is a prominent viewpoint as you drive the A85 road towards the West Highlands of Scotland. Starting from the summit of Meall nan Tarmachan, a Scottish Munro 1044m high, the ridge winds its way south-west for 3.5km, over the shapely peak of Meall Garbh and beyond, offering great views north over Glen Lyon as you go. Take advantage of a car park at 450m, which takes some of the sting out of the initial ascent, or be a purist and start at the roadside 250m further down.
The challenge
Meall nan Tarmachan is within the boundary of Ben Lawers National Nature Reserve, which the National Trust for Scotland manages for conservation and public access. Home to seven Munros (Scottish mountains over 3,000ft/914.4m high), the reserve offers trail and mountain runners a variety of challenges, from a few hours to all day (or even overnight).
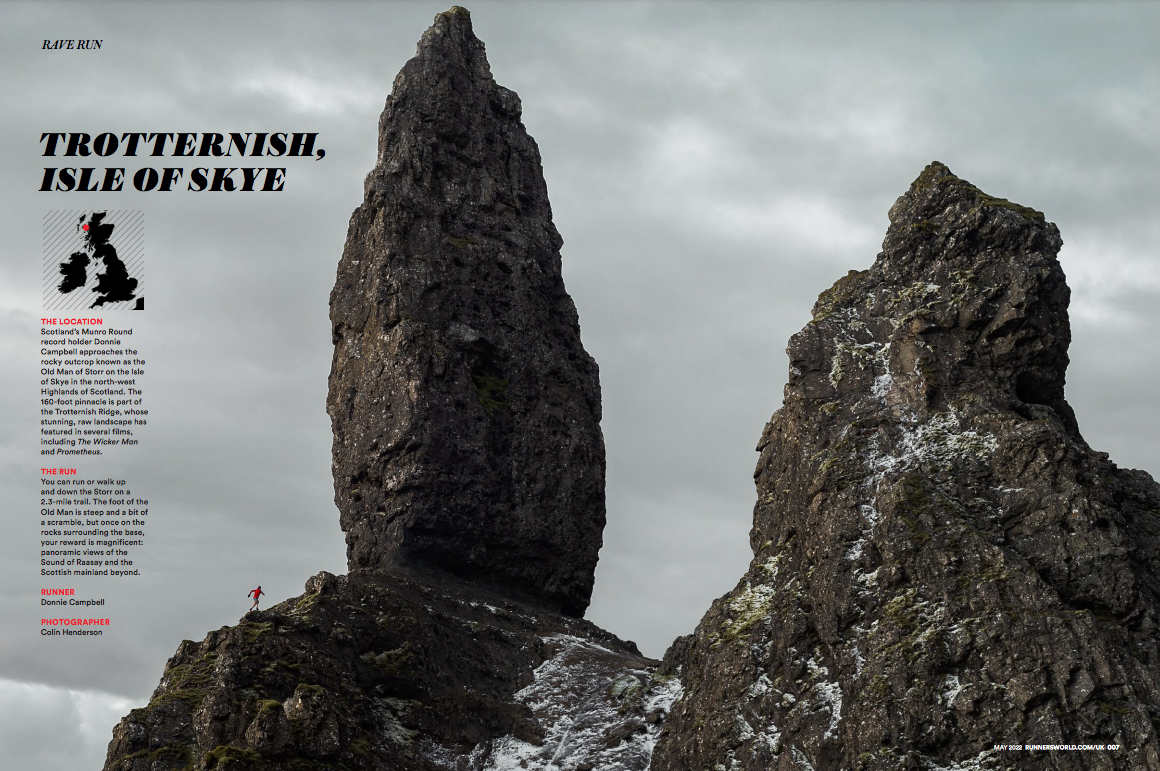
Rave Run - Black Cuillin, Isle of Skye
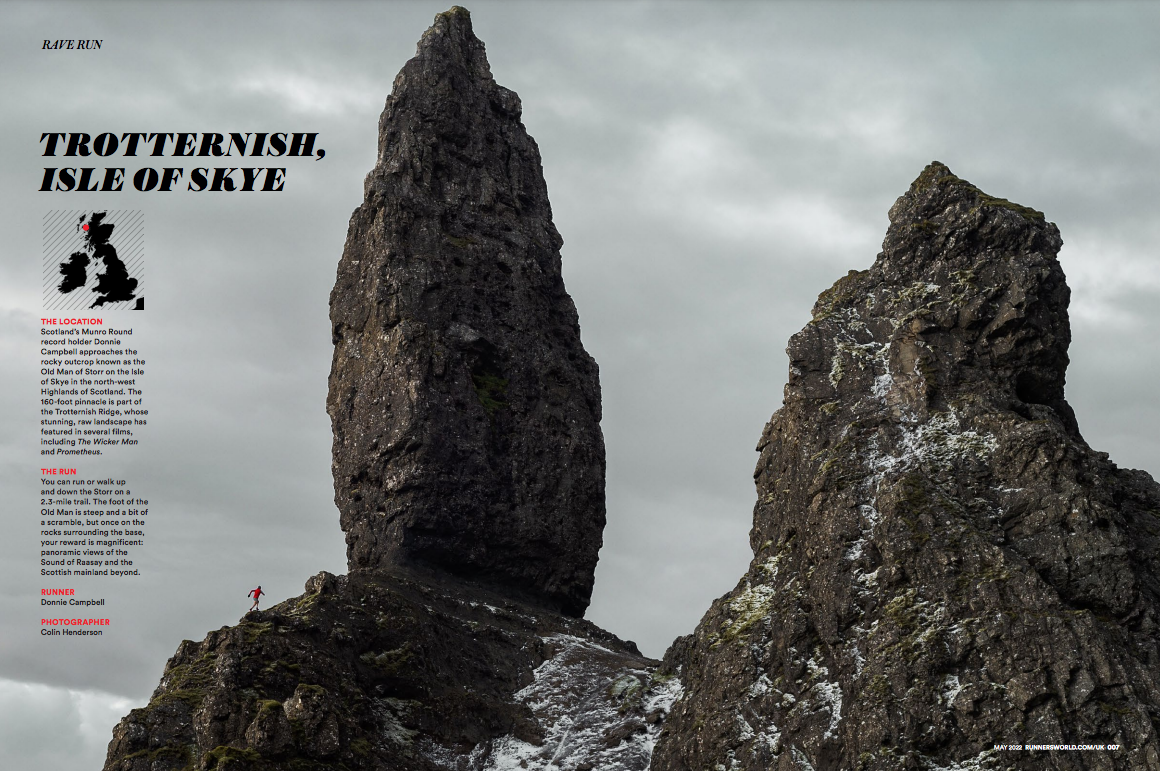
Donnie Campbell running on the Old Man of Storr in the Isle of Skye, Scotland
The location
Scotland’s Munro Round record holder, Donnie Campbell, approaches the rocky outcrop known as the ‘Old Man of Storr’ on the Isle of Skye in the North-West Highlands of Scotland. The 160-foot high pinnacle is part of the Trotternish Ridge, whose stunning, raw landscape has featured in several films, including The Wicker Man and Prometheus.
The run
You can run or walk up and down the Storr on a 2.3-mile trail. The foot of the Old Man is steep and a bit of a scramble, but once on the rocks surrounding the base, your reward is magnificent: panoramic views of the Sound of Raasay and the Scottish mainland beyond.
Creating great outdoor sports photographs — Six things to think about
Hints and tips on what to think about if you're interested in improving your outdoor sports photography.

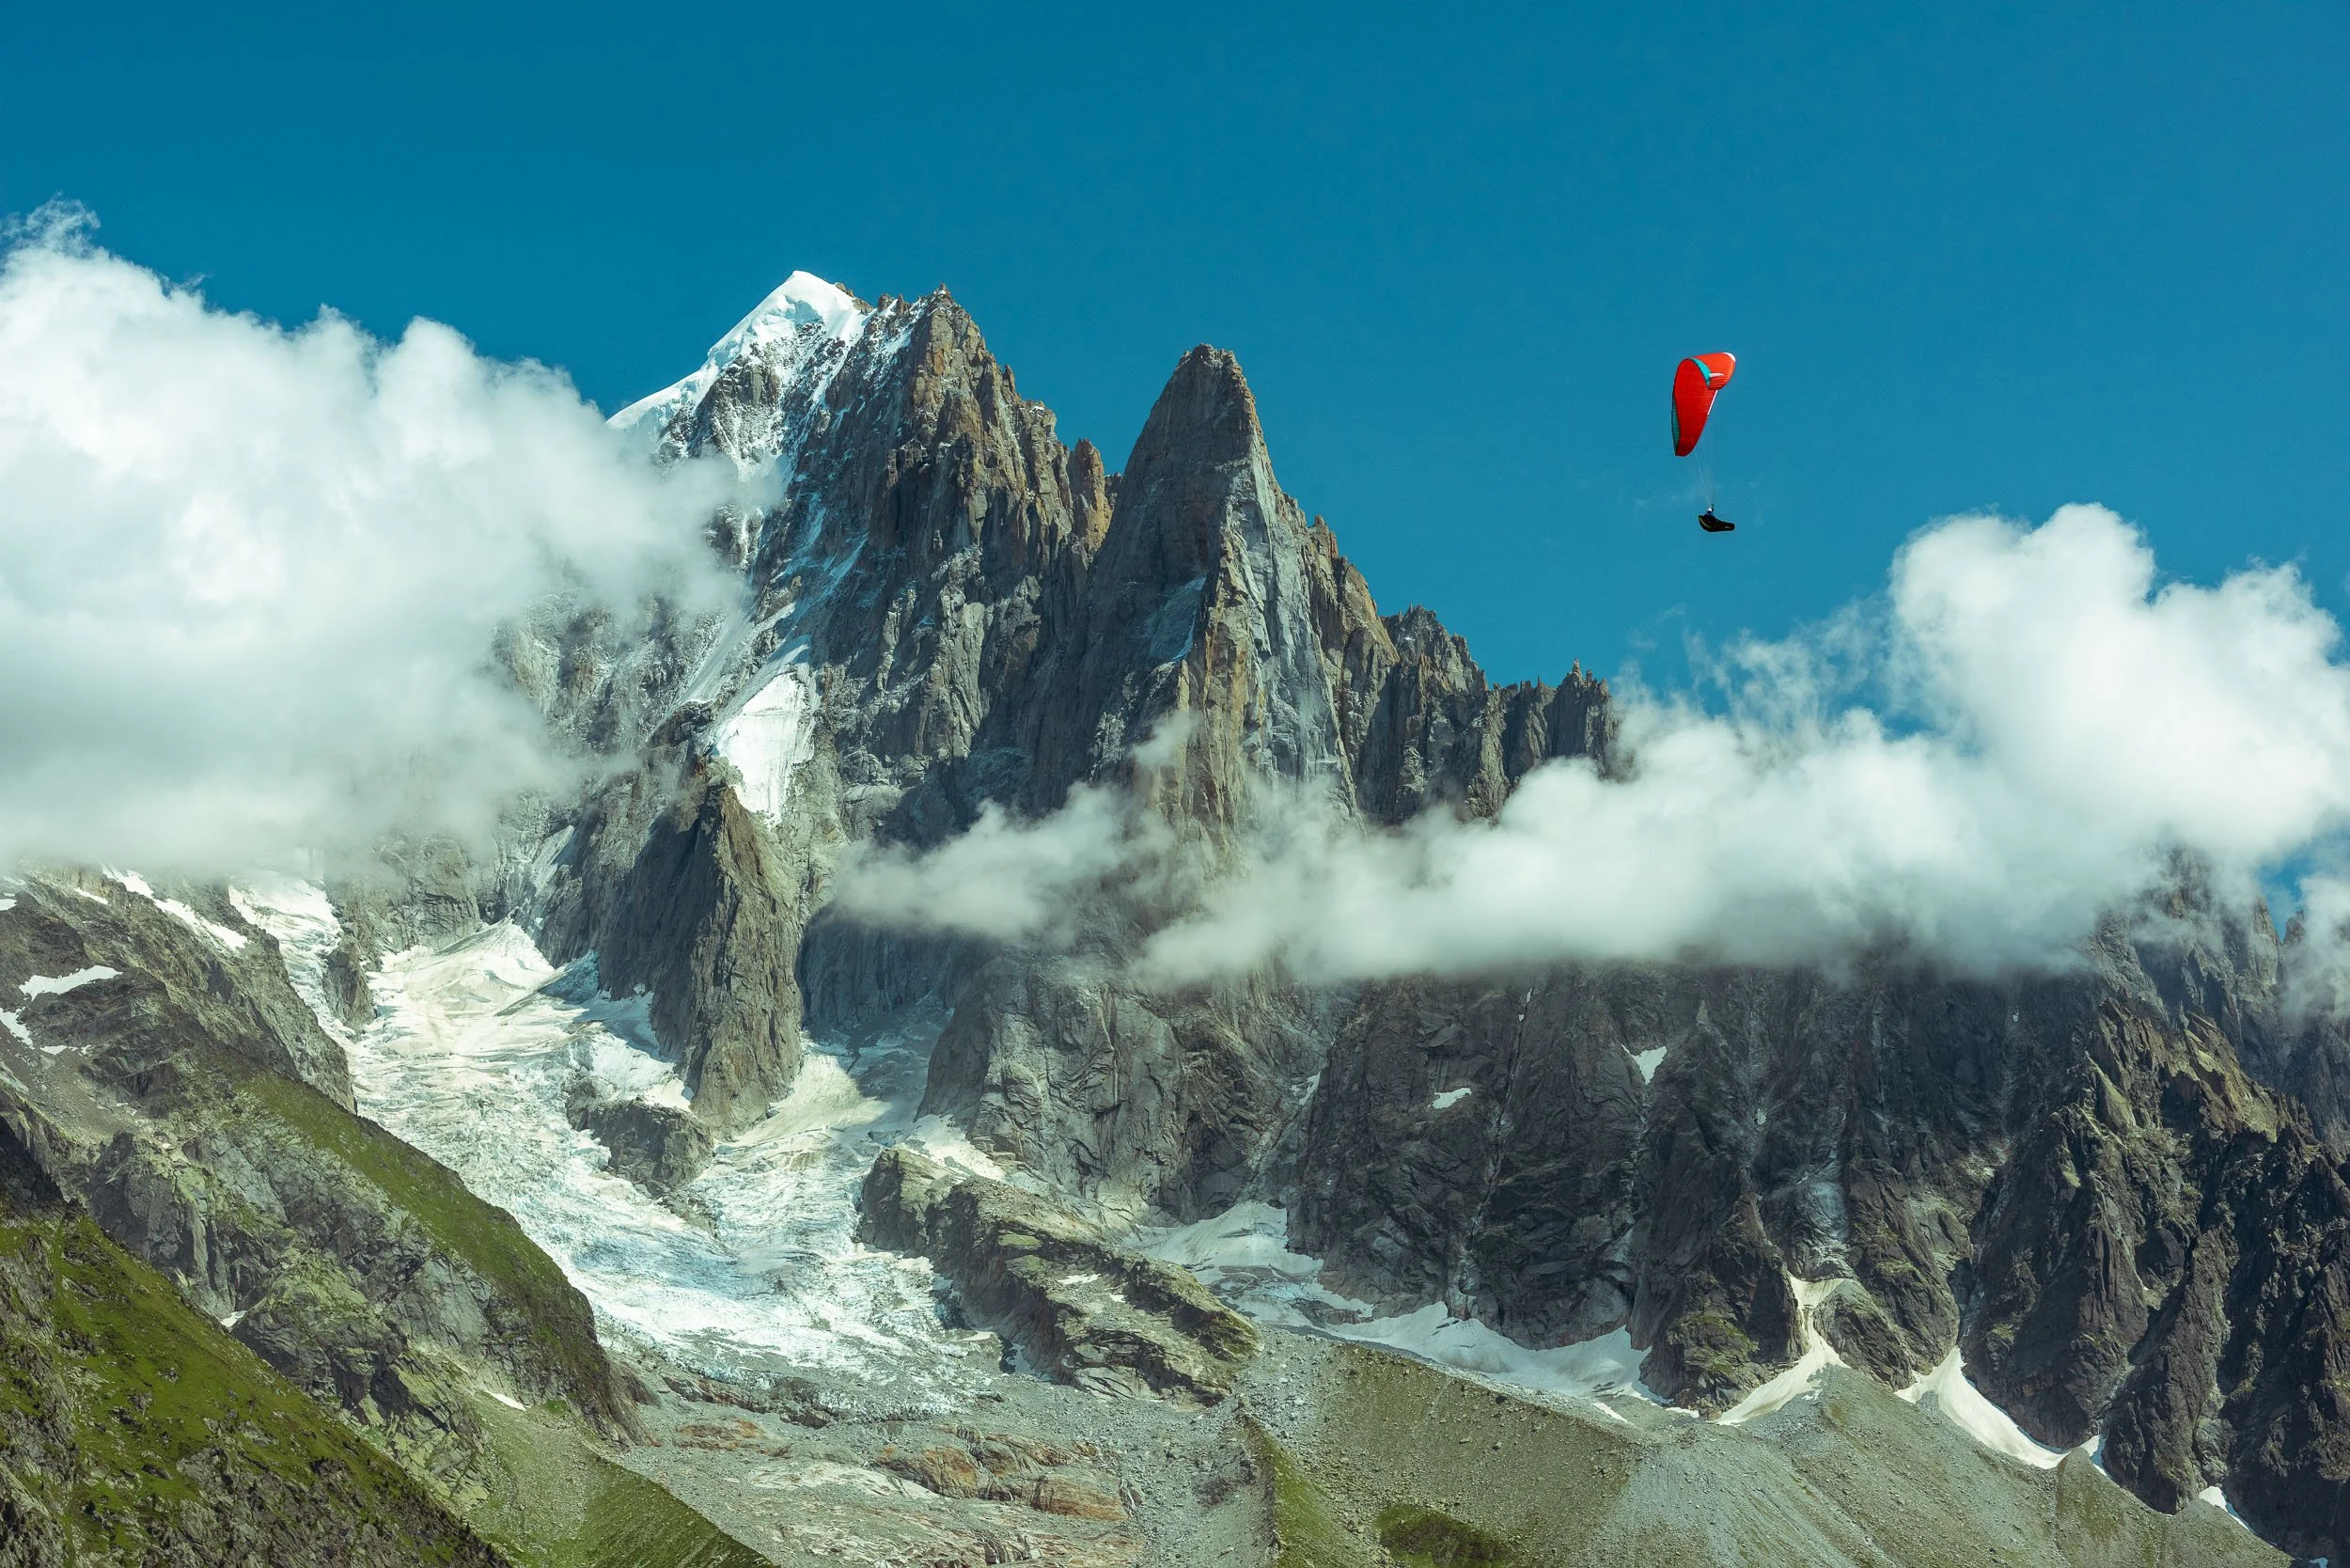
A paraglider in front of a glaciated Aiguille du Dru (Les Drus) near Chamonix in France
What makes a compelling outdoor sports photograph?
Why someone proclaims a photograph to be a ‘great photograph’ is usually a personal thing but when I see an image that really captures my attention, it’s usually because two or more things have taken place;
People — A dynamic moment has been captured, usually in a creative way.
Place — The photographer has used an inspiring location that really connects me with the scene and helps me understand what’s going on (either a location I’ve not seen before or, if I have, they’ve photographed it in a unique way).
Lighting — They’ve made great use of natural or artificial light to bring the image to life.
With the above in mind, here’s 6 tips you can apply when taking outdoor or adventure sports images, to help you catch people’s attention.
1.) Set yourself up for success
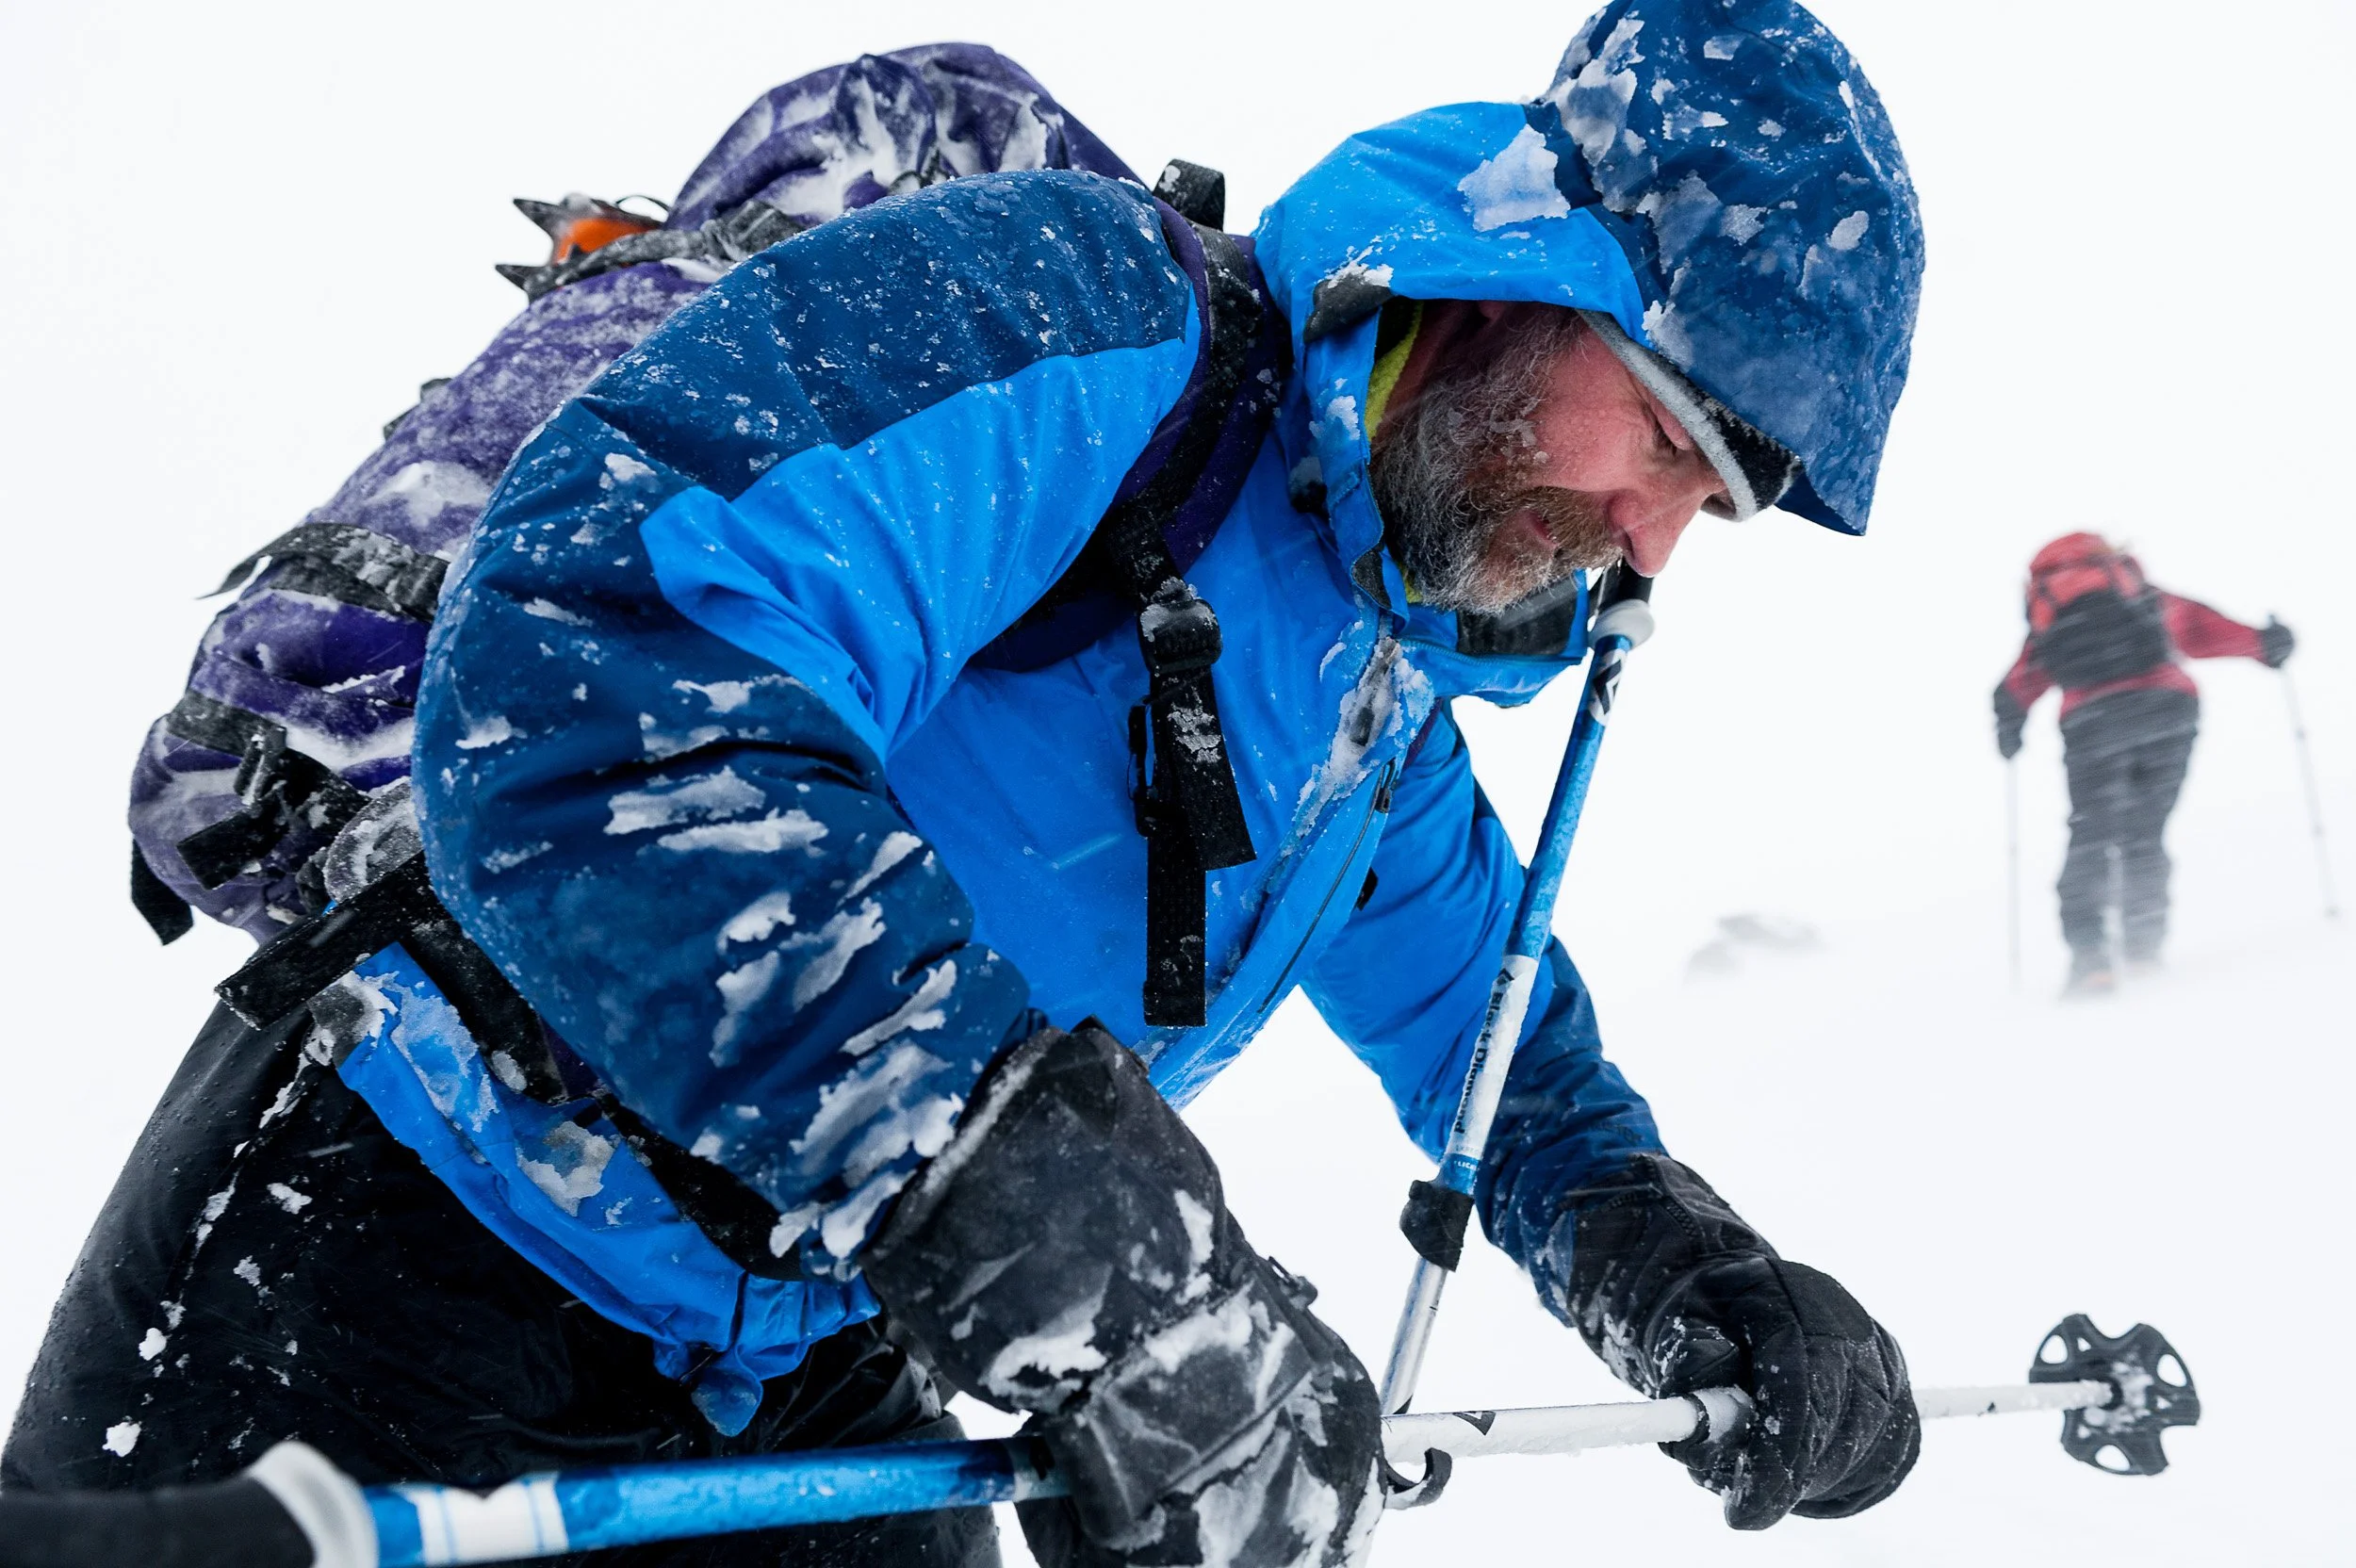
Anthony Meyer preparing his trekking poles for balance on a snowy, windy and wild Winter’s day out walking in the Scottish Highlands
A tedious opener, to be sure, but this is the only tip that’s related to the type of camera you have (e.g. a DSLR, mirrorless or compact camera which enables you to change camera settings). If you’re using a mobile phone, feel free to skip ahead.
a.) Prioritise a high shutter speed — I’d always recommend opening your camera manual and understanding how things work, if you don’t already. This will enable you to move out of Auto mode and optimise your chances of creating great outdoor or adventure sports images.
Shutter speed priority is a good choice initially, along with an understanding of ISO, so you can maintain the high shutter speeds required to freeze action. You can use slower shutter speeds, e.g. to express movement or when experimenting with panning techniques but if you don’t keep your shutter speed up, you’ll most likely have lots of shots of out-of-focus athletes.
Common shutter speeds for outdoor sports are;
1/2000s to 1/500s — Athletes moving quickly (e.g. running, swimming, mountain biking, etc.)
1/500s to 1/250s — Athletes walking (e.g. hiking, backpacking)
1/60s to 1/15s — Panning shots
b.) Shoot in burst mode — Professional outdoor sports photographers take a lot of shots. I’ll commonly shoot 1,000+ frames in a shoot where the athlete is moving quickly (and more if need be). A primary reason I do this is I’m looking to capture the athlete in the most dynamic pose for that sport. Whether it’s hiking, running, cycling or swimming, there will be certain body postures or movements a talented or elite athlete will repeat which look entirely natural and which epitomise the sport. (In trail or mountain running, for example, there are perhaps two moments in a stride that look hero worthy — the rest I often simply delete straight away). Shooting in burst mode maximises the chances you’ll capture those two moments.
c.) Use continuous auto-focus — Set your camera to continually auto-focus as you depress the shutter. Take lots of shots but don’t just ‘spray and pray’. Give your camera a chance and part depress the shutter long enough for it to to secure focus on the athlete before you actually shoot. Then take your burst of shots, giving yourself the best opportunity to capture the moment you’re looking for.
2.) Shoot sports you know
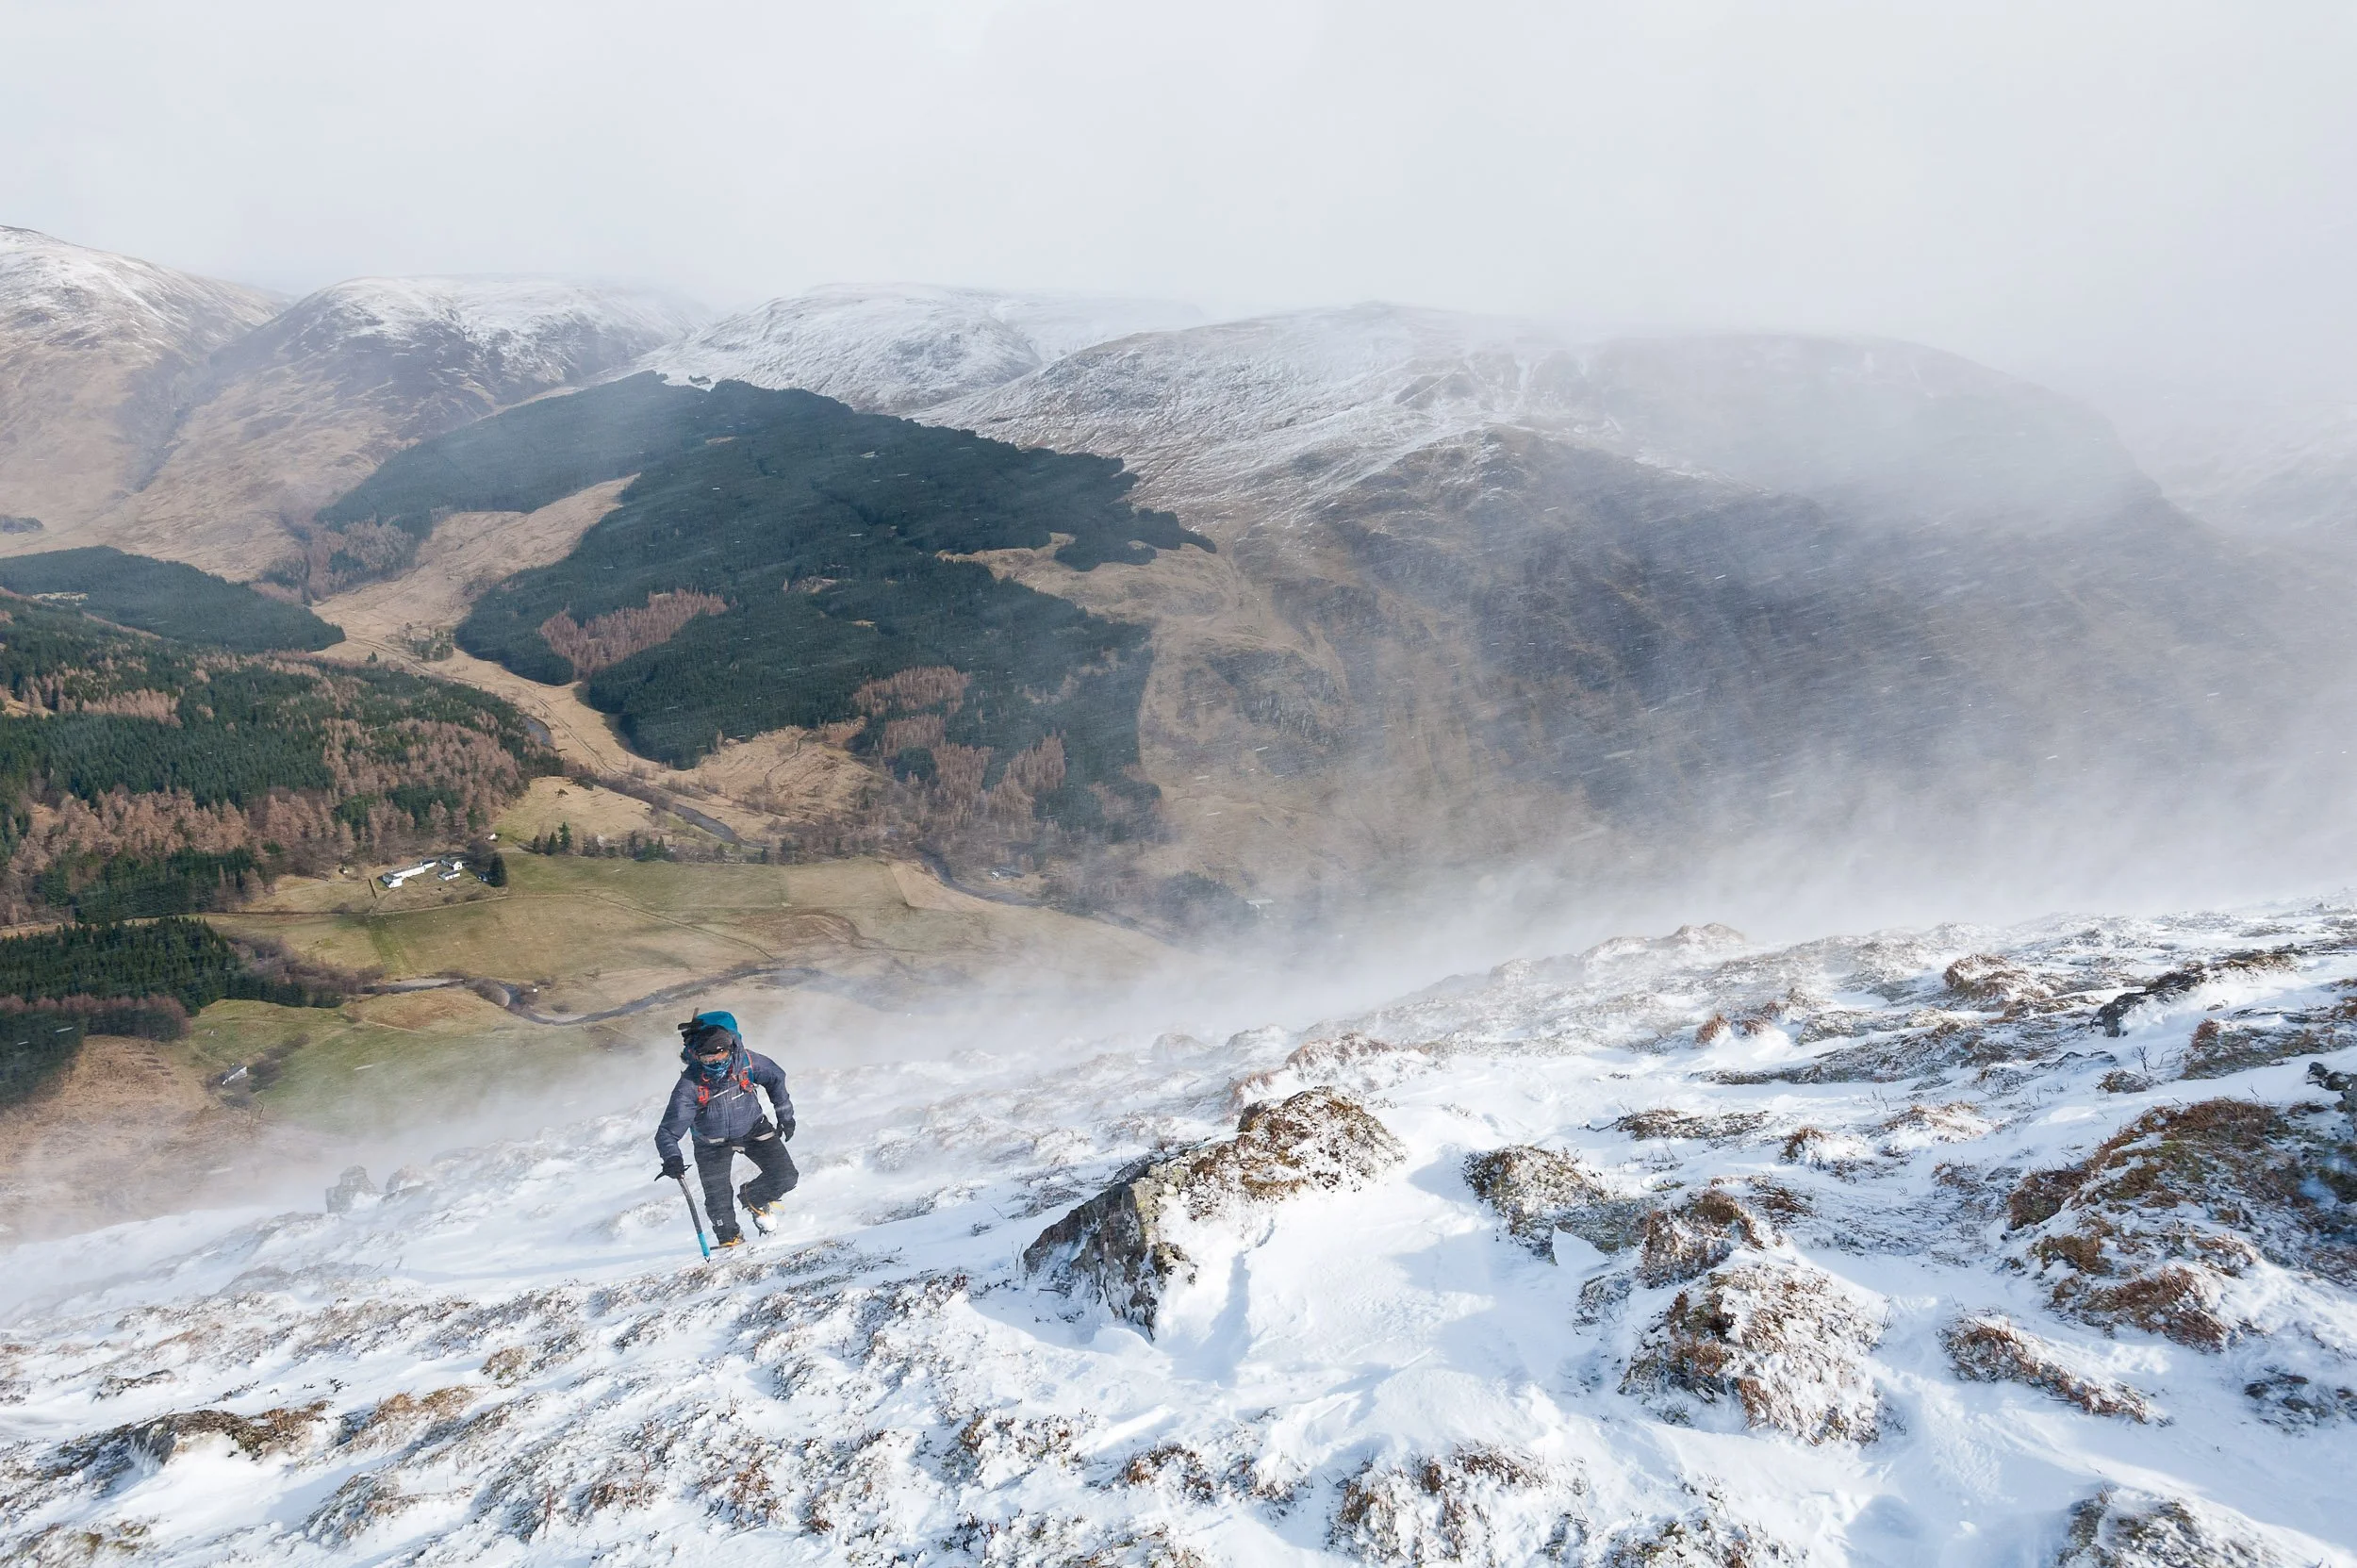
David Hetherington ascending the Scorrie on Driesh, a Munro in Cairngorms National Park, Scotland
Outdoor and adventure sports such as running, hiking and cycling all have pivotal moments that help define the sport (e.g. a whitewater kayaker powering through a foamy wave with one paddle in the air and the other immersed in the roiling water). If you shoot sports that you know, you’ll appreciate when these occasions are going to arise and it’s easier to anticipate the action. If you don’t know the sport, you can study videos or pictures of it online, or simply watch someone before you take photographs (contact your local sports club or team and see if you can make friends with who they view as the elite members). Establish the type of pictures you like, and why, practicing initially to emulate those shots before you advance and progress to your own style.
3.) Choose great locations
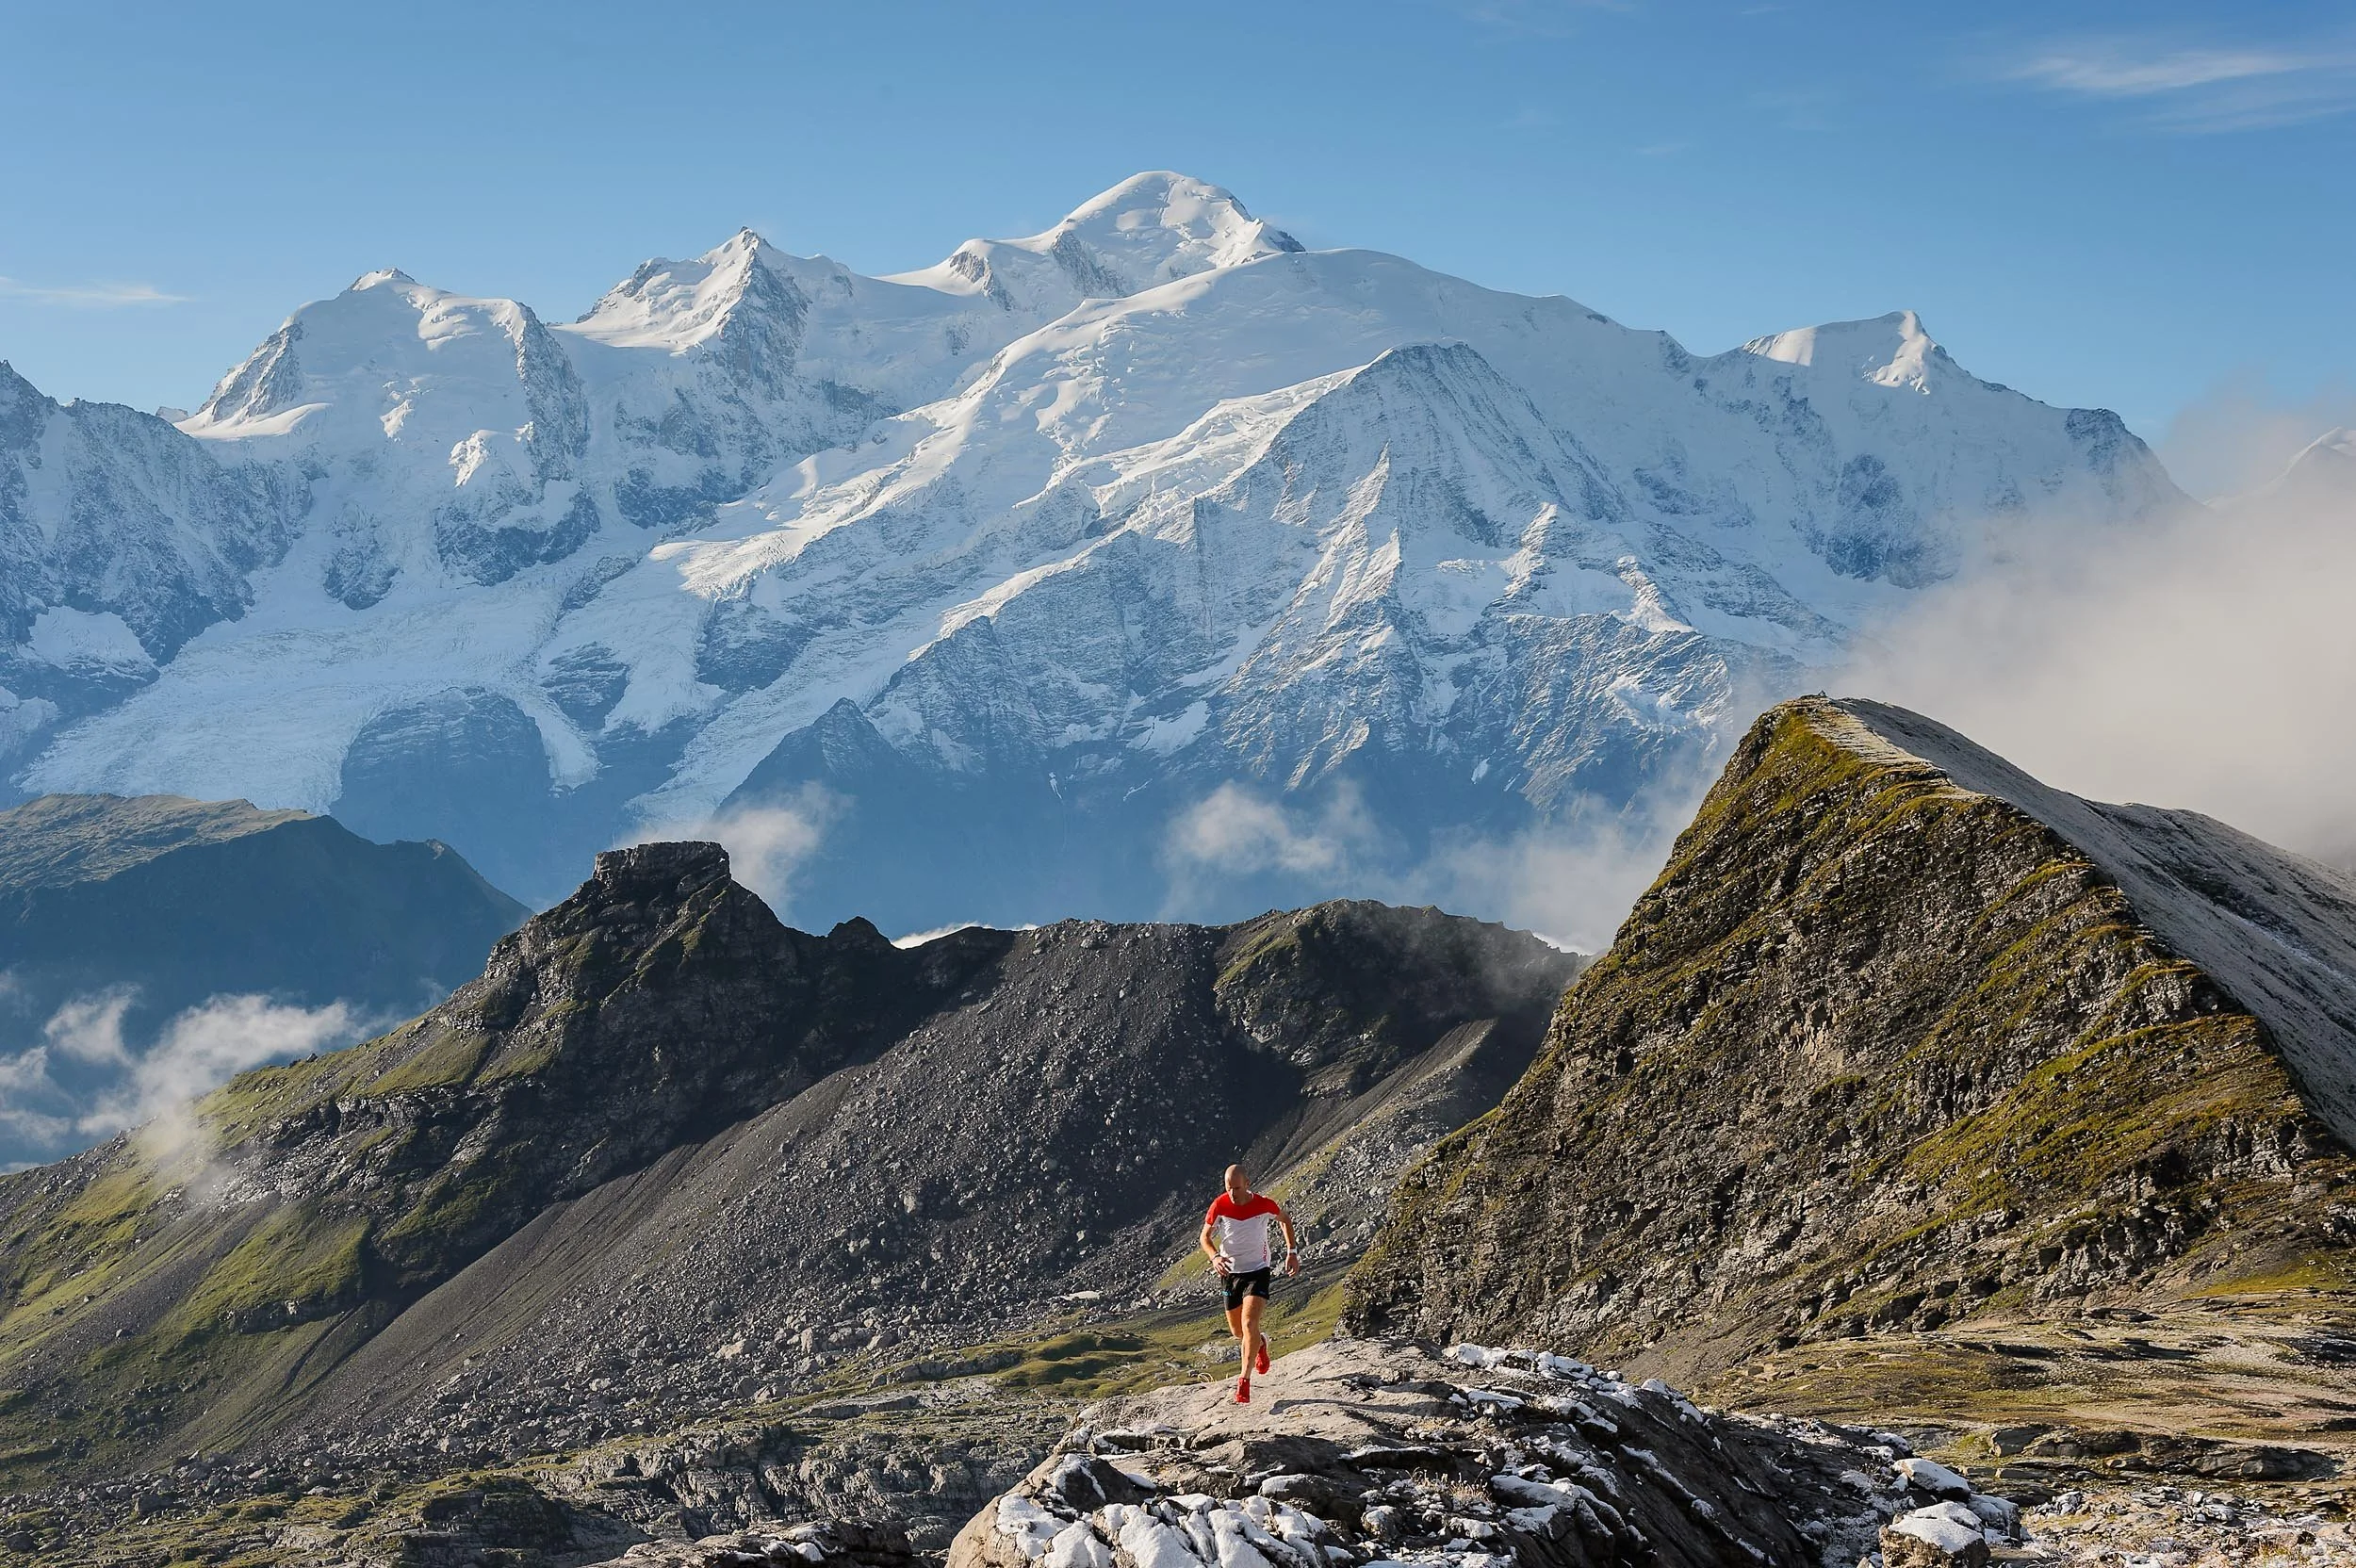
Donnie Campbell running at Désert de Platé near Chamonix, with Mont Blanc in the background
The internet is such a valuable resource these days for a landscape photographer and there’s many useful tools that will aid your planning (such as Google Maps, Google Images, Fatmap and the Sunseeker mobile app or Photographer’s Ephemeris). You can research in detail exactly which locations should be worth going to and when, with the huge advantage of knowing in advance where the light will fall. A great deal of work can be done at home or in the office and if you’ve planned correctly, it’s hopefully simply a case of waiting for a spell of good weather.
Once I’m on location, I’ll almost always start by thinking about the landscape first and then framing my images based on what I see in front of me. If I want the landscape to be a key element in a shot, say on a trekking or a mountain biking shoot, I’ll look for things that help bring depth to a scene (e.g. something in the front, middle and back of the image) and I like to have a strong horizon, such as a rocky mountain ridge, that helps me to offset an athlete in the frame. On a surfing shoot, where the landscape may be less of a priority, I’ll look instead to where the waves will break in a frame, so I can position the surfer accordingly. Whereas on a shoot with lots of graceful movement, say for a yoga or capoeira shoot, where I’d prefer to focus on the detail, I’ll choose to ignore the landscape altogether and focus completely on the athlete.
4.) Prioritise good light
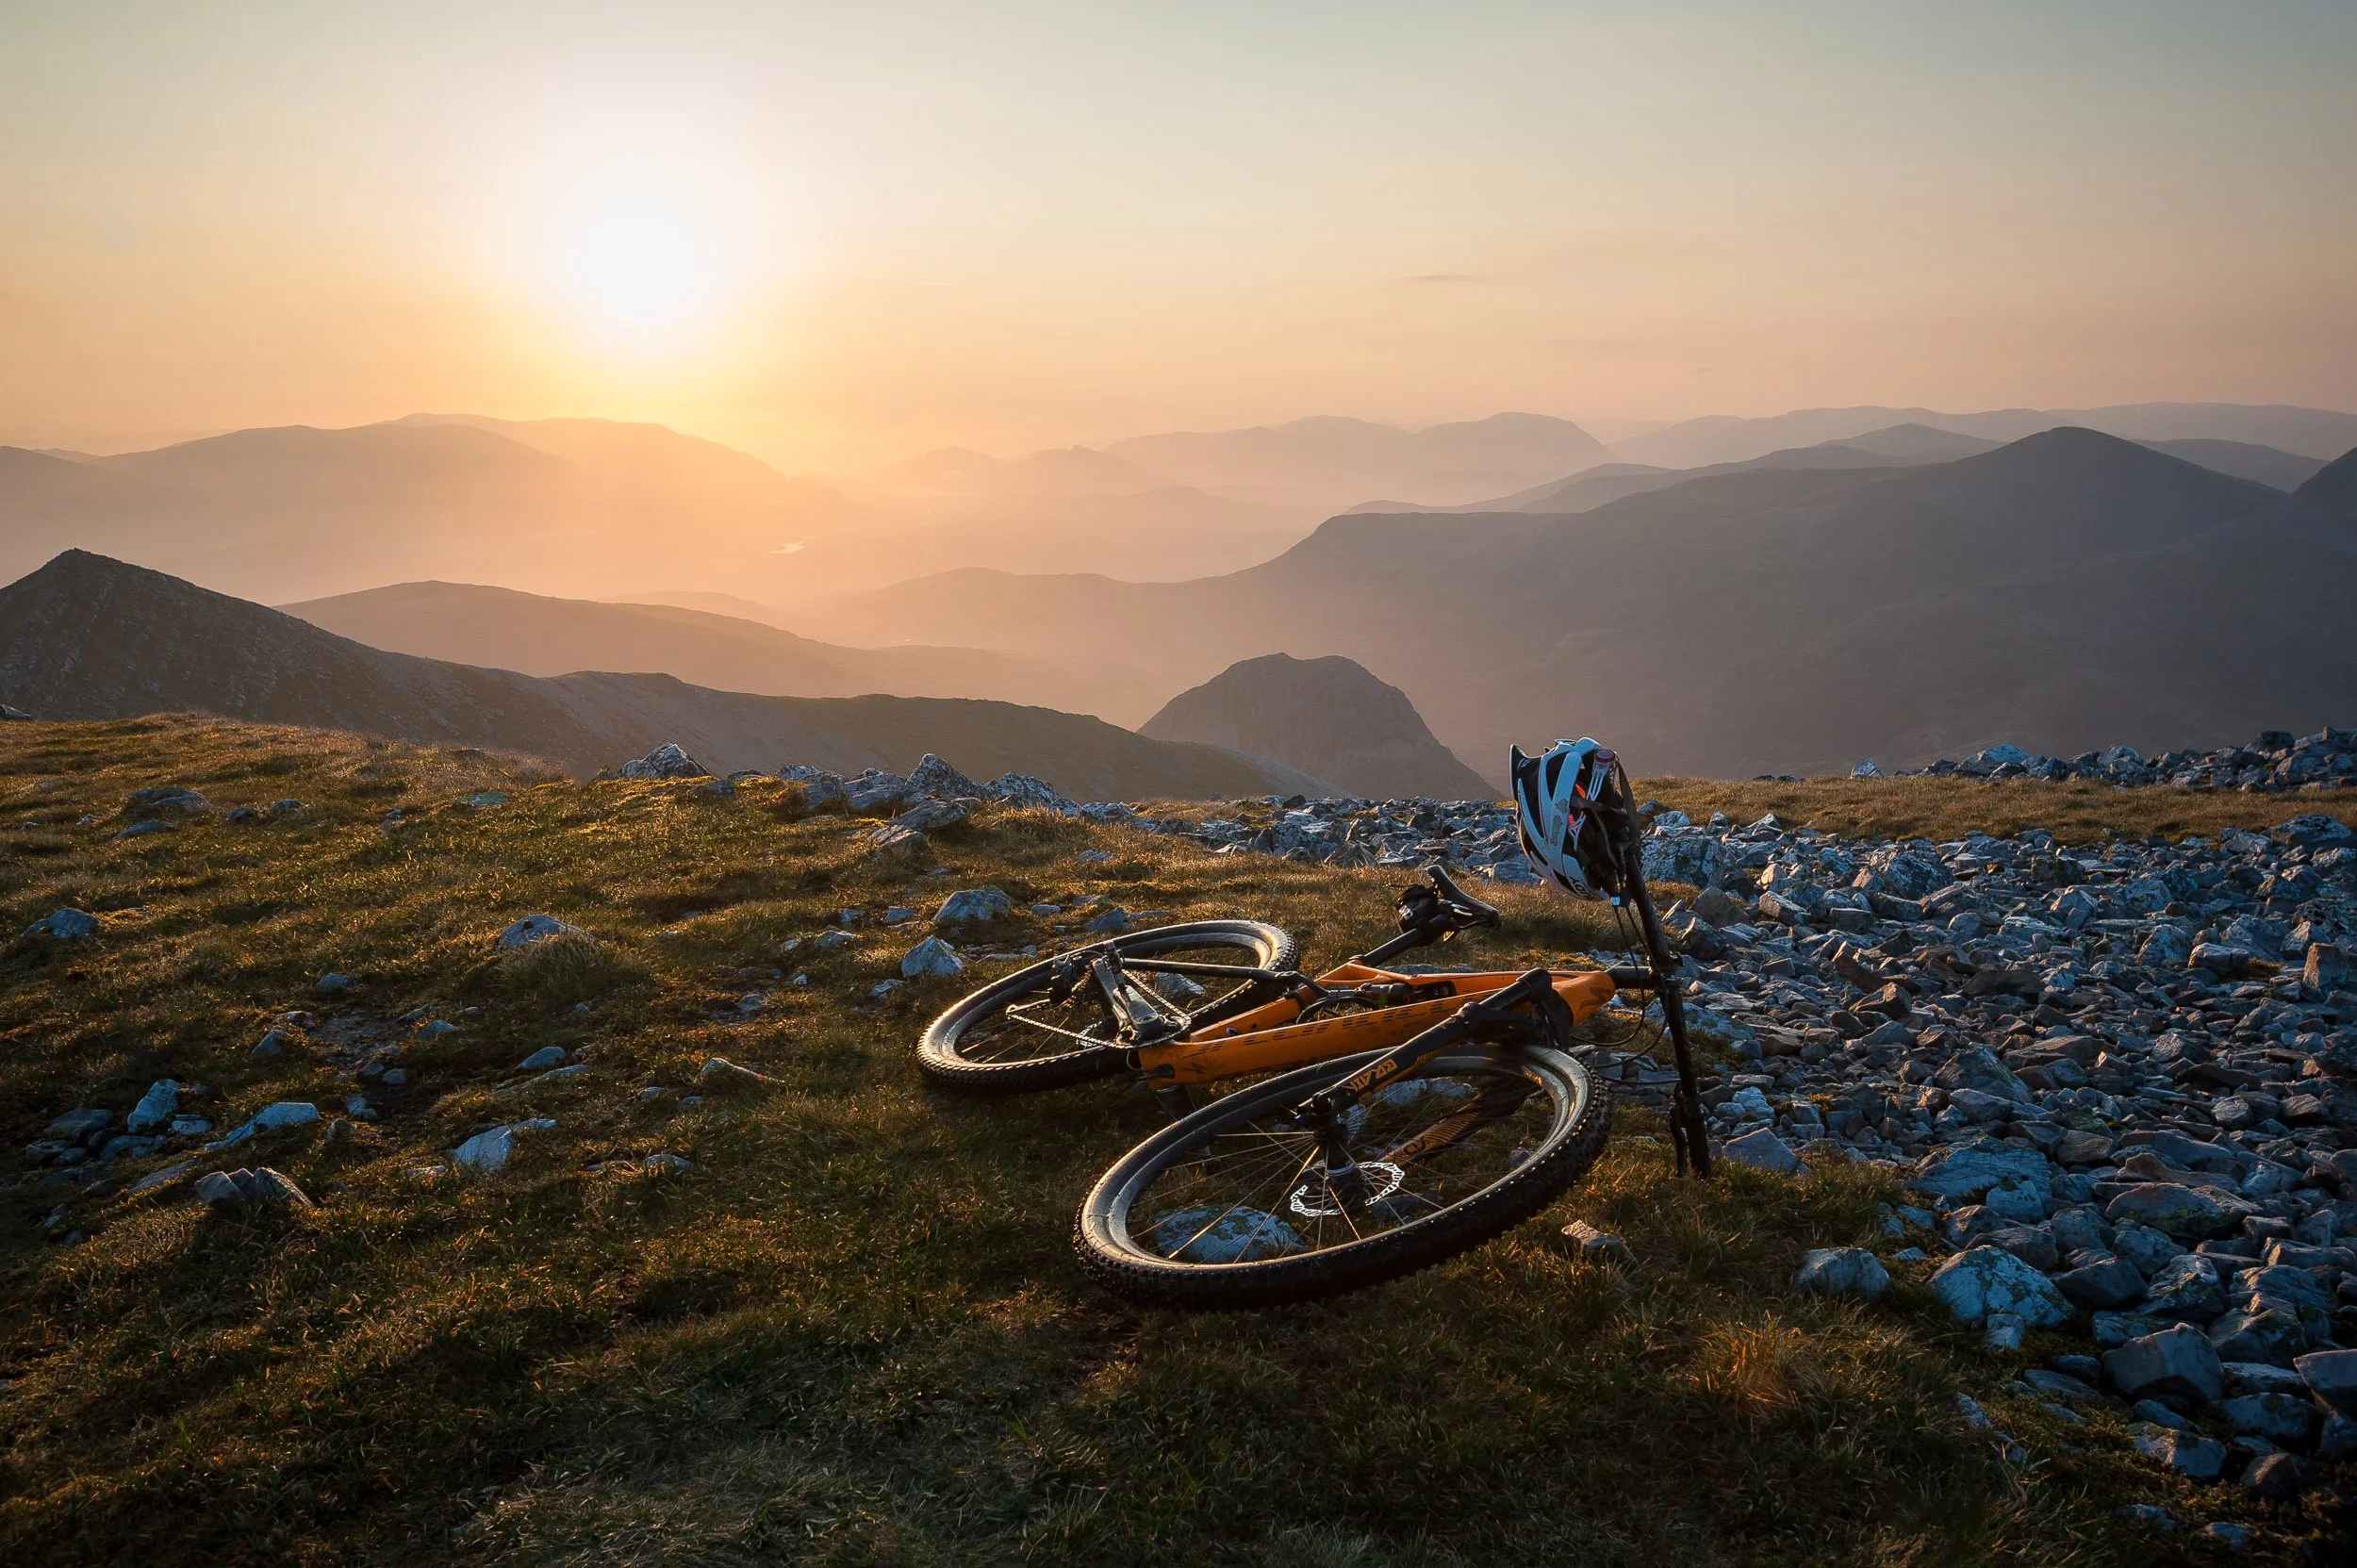
Mountain biking on the Grey Corries in the West Highlands of Scotland
Very simply, get up early and stay out late. Then get up early again the next day. Maximise the time you’re out shooting when the light is good. Don’t discount days when it’s really cloudy, as the sun can break through and shine magical light onto your scene in seconds. Consider adding your own light if the weather, or your vision, warrants it (for example, using a reflector or an off-camera flash to call attention to a certain part of the image, such as an athlete’s face or clothing).
Technology-wise, mobile apps such as Sunseeker are indispensable. They show the trajectory of the sun through the day, and more. When you’re researching a location, or you’re on location, think about where the sun currently is and where it’s headed. At dawn and dusk, an obvious position to place yourself would be facing east or west. Consider though positioning yourself at right angles to the sun or even shooting right into it, and see what drama it adds.
5.) Try different angles
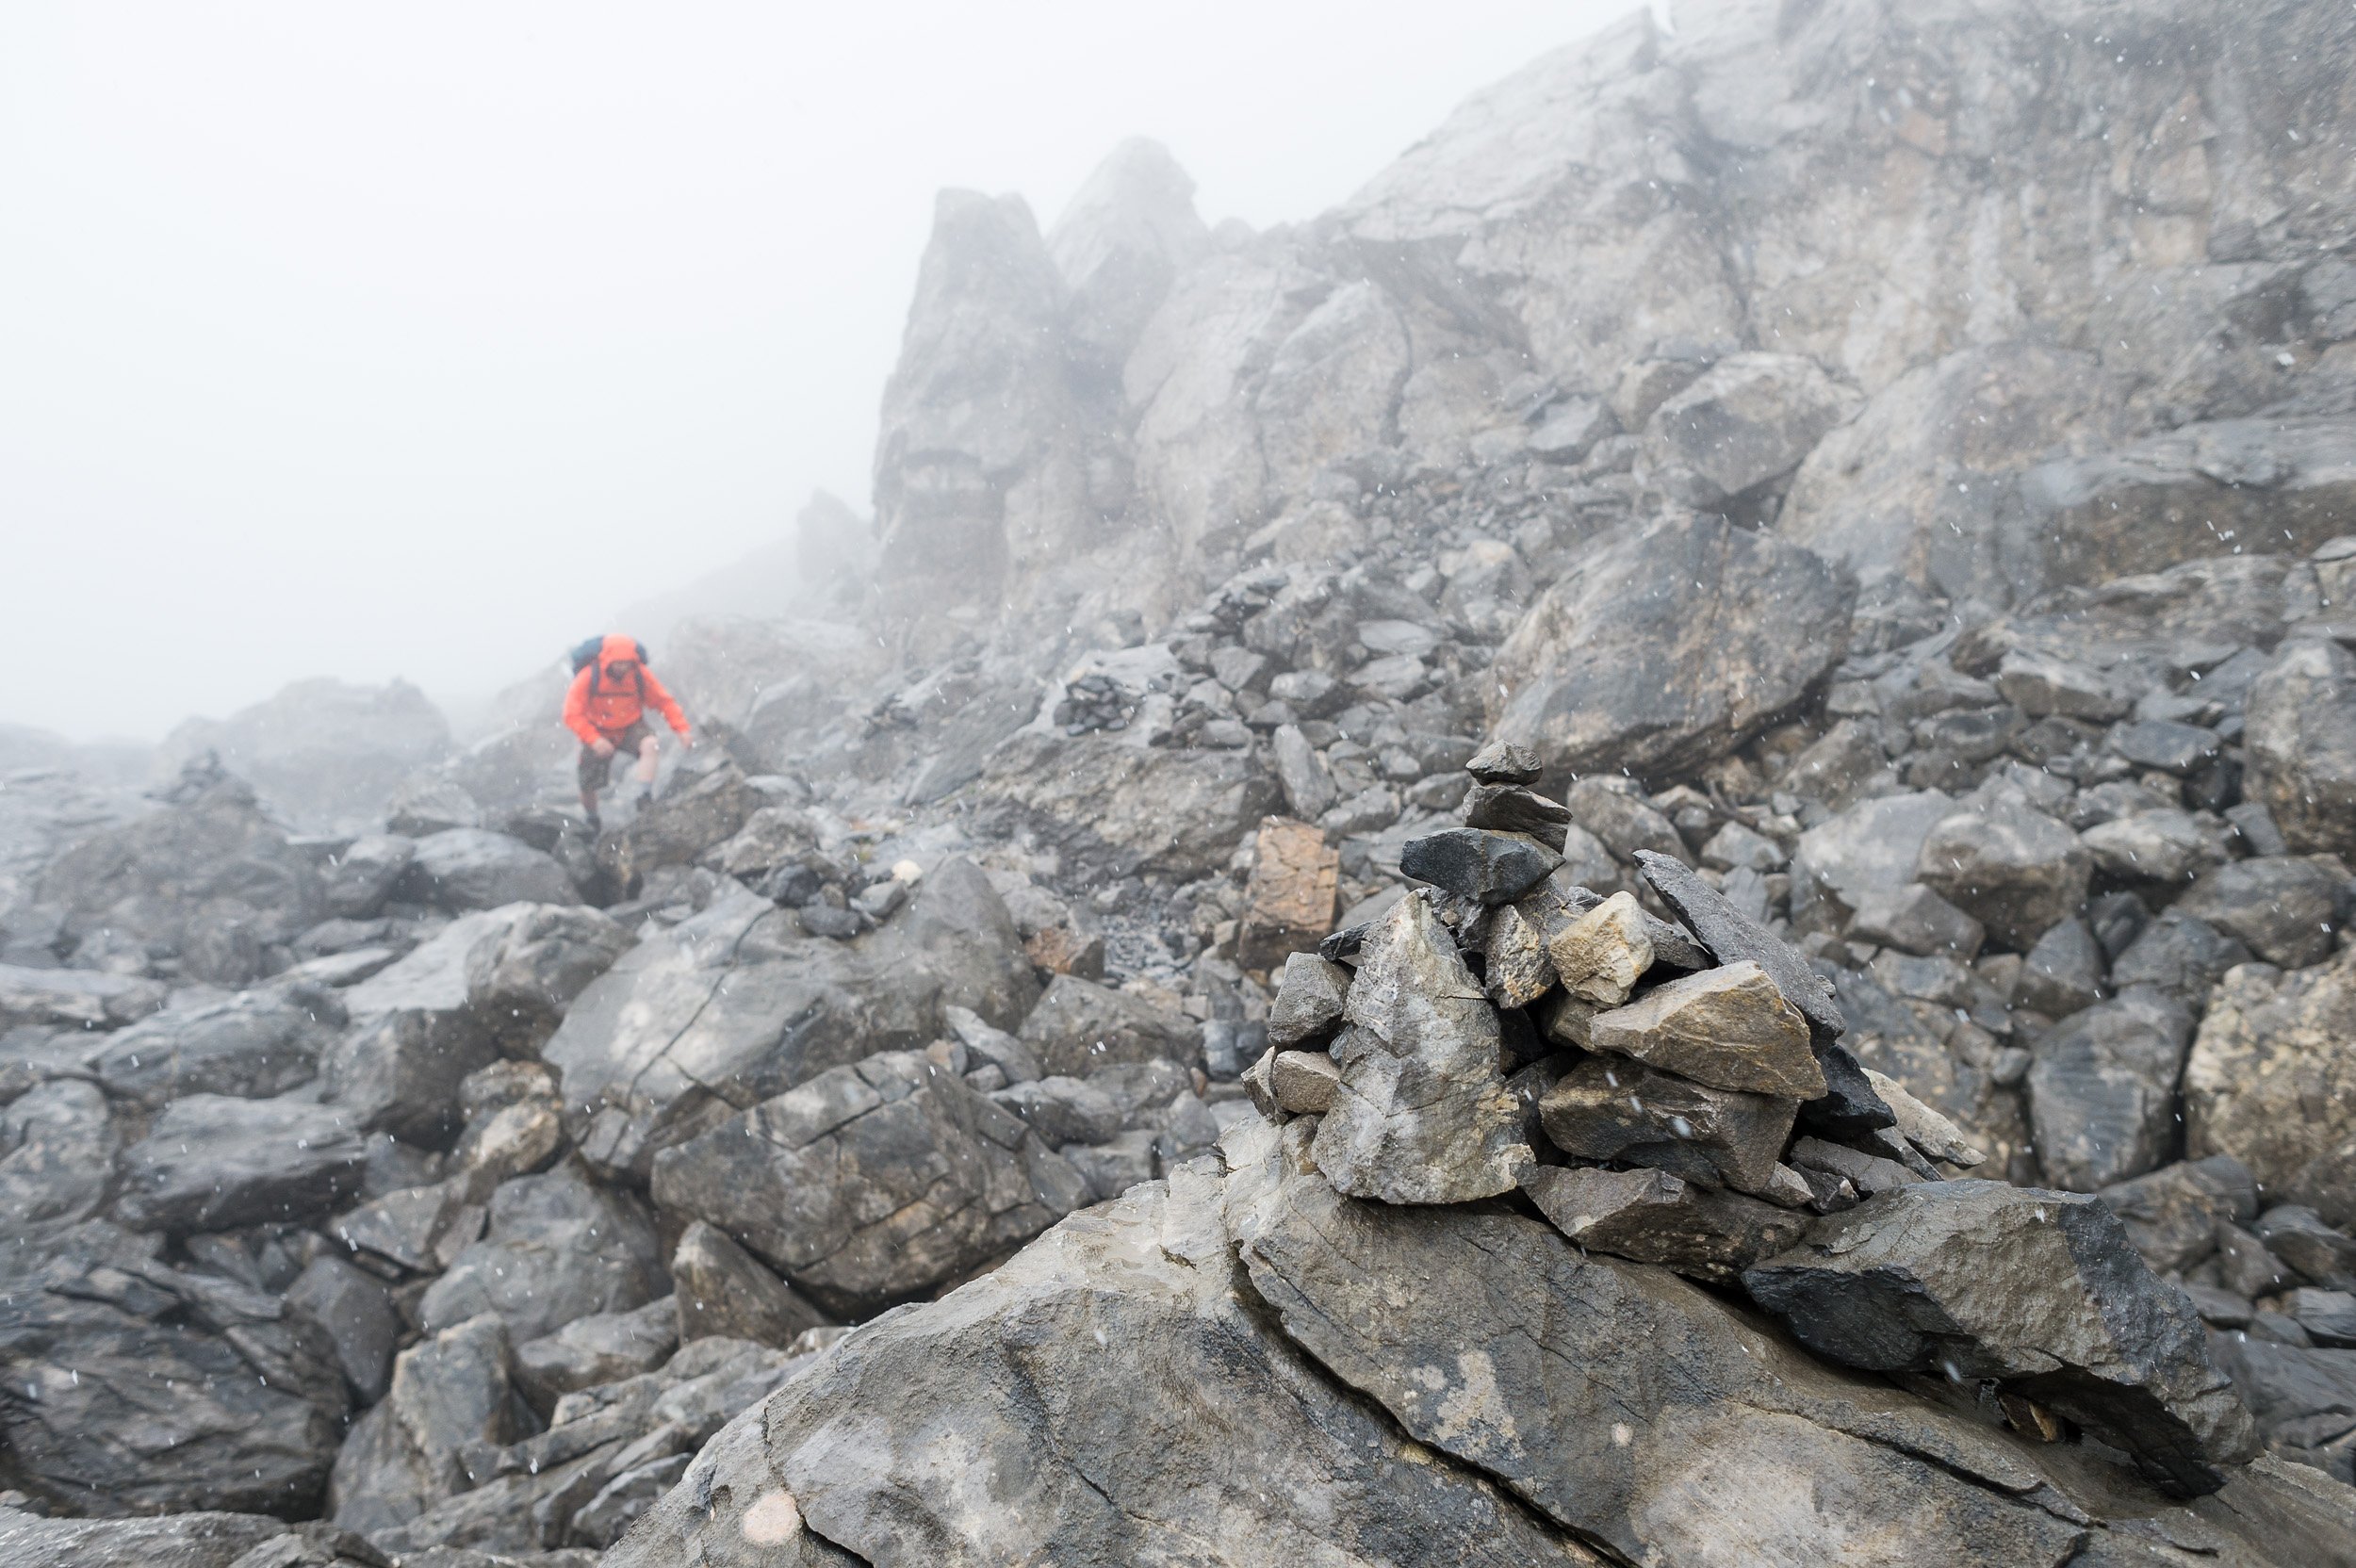
Alexis Basso trekking across the rocky boulder field en route to Col de la Portette and Refuge de Platé near Passy Plaine-Joux, France
There’s no specific position I’ll put myself in when taking a shot. I do though like being above a person so I will often look out rocky outcrops that I can climb upon and take in more of the scene. If there’s nothing suitable, I’m not averse to bringing a step ladder with me, if the location accommodates it. Or standing on the roof of a vehicle. One tip I’d share would be to try and get yourself into a position that someone taking a snapshot of the scene wouldn’t think of. Get up high or lie on the ground. Do both. And then try something else (such as using an element in the landscape as a foreground). Move around — consider a full 360 degrees — and seek to maximise the shot potential in every scene.
6.) Focus on composition
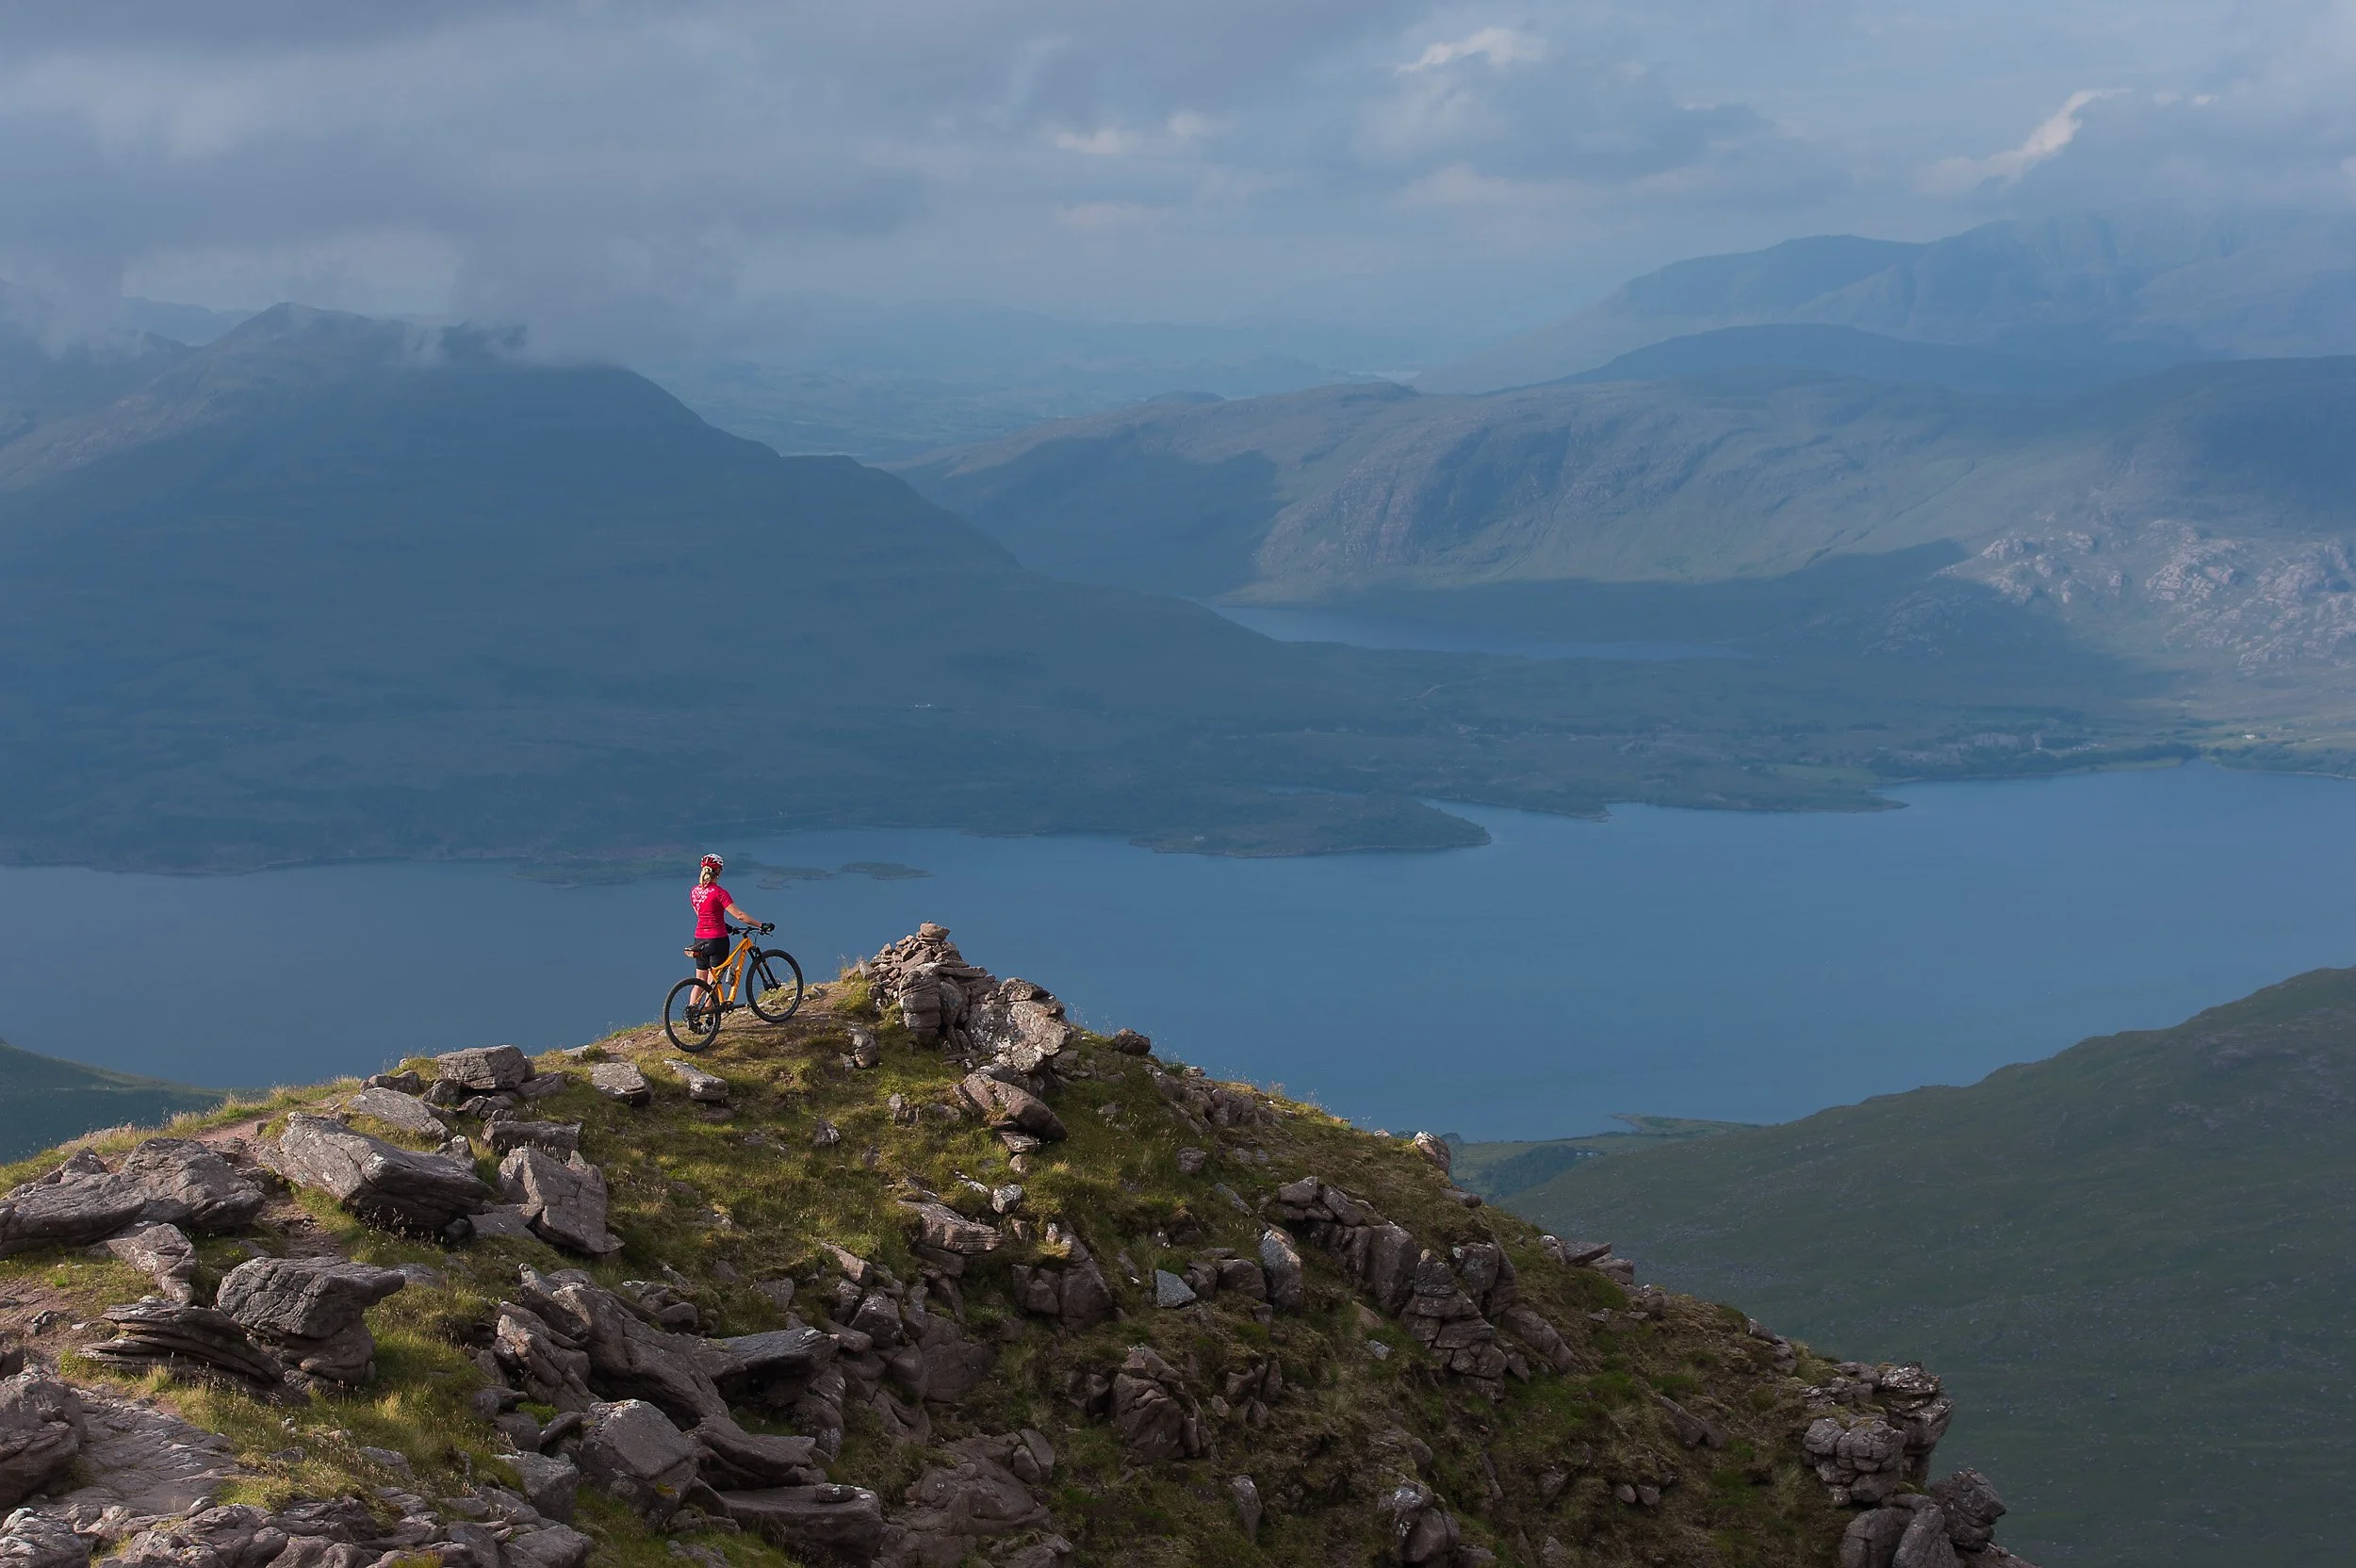
Gore-sponsored endurance athlete Naomi Freireich mountain biking on Beinn Alligin, a Munro in the North-West Highlands of Scotland
Once I’m happy with how I’ve framed the backdrop, I’ll consider how best to position a person or persons within it. When composing an image, I like simple backdrops, with no distractions around the athlete and really clean edges to the frame (which I think is super important — distracting elements at the borders of your image can take your viewer’s attention away from the key element, i.e. the athlete). To help you picture where I add people into my shots, think of an imaginary grid. My aim usually is to position folk on the horizontal and vertical intersections, either entering or exiting the frame. But I’m not averse to placing athletes right into the middle of a scene, if I feel it looks good.
Key takeaway?
Practice and master the above until it becomes second nature so you can free yourself up to focus on your creativity, seeking out moments which can help you to stand out from the rest
Appreciate that, other than exposure, there’s no real right or wrong. Try different things and see what happens. Take lots of shots and share them widely. Gather feedback and keep learning (and, above all, enjoy the process).

A Peale’s dolphin leads Team East Wind as they sea kayak on the Strait of Magellan in Chile, Patagonia, during the Patagonian Expedition Race
Attempting Tranter’s Round, a 24-hour mountain running challenge in Scotland
Route information, logistics and photographs for runners interested in the Philip Tranter Round or Charlie Ramsay Round, two long-distance routes across the mountains above Glen Nevis in the West Highlands of Scotland.
A resource with an account, photos and logistical information for people interested in Tranter’s Round, a 24-hour mountain running challenge to complete 18 Munros (Scottish mountains over 3,000ft high) above Glen Nevis in the West Highlands of Scotland. It includes the story of two failed attempts a friend and I have made so far along with a complete round, but which wasn’t within 24 hours.

Devil’s Ridge on Sgurr a’Mhaim in the Mamores
“Compared with all the huge routes and records that have been taken on and achieved by many people [during the Coronavirus lockdown], Tranter’s Round is quite modest. But it was a big deal for me and the perfect test of my new found running legs”
I can’t recall the first time I was aware of Tranter’s Round, nor when I became interested in accepting its challenge (which is to visit the summit of 18 Munro mountains in Scotland in a 24-hour period). It was likely around the time I first photographed sponsored mountain runners such as Salomon athlete Donnie Campbell and Arc’teryx’s Tessa Strain, or outdoor guide Paul Tattersall, all mountain athletes who make travelling quickly over rough ground seem relatively effortless. During those times, I received a sense of the pleasure that comes with moving in the hills without lots of equipment and I took inspiration from that, increasing my fitness until I was able to travel quicker over rougher terrain myself, for longer periods of time. The key attraction for me being I can join together otherwise unconnected hill-walking routes and spend more time outdoors.
Already a keen hill-walker, I wasn’t being entirely unrealistic with my ambition, which in this case was to finish Tranter’s Round in under 24 hours (or, if not, to complete the trip in a single push). I have a decent base level of fitness from many hours spinning each week and my body is used to the rigours of ascending and descending hills, having hillwalked and backpacked Scotland’s Munros and Corbetts for many of my 53 years, often for 12+ hours per day. I do also have experience of moving for much longer periods of time, such as 24 hours of alternate laps at the Strathpuffer and two consecutive 21 hour days in the Cairngorms Loop, but those efforts were on a mountain bike. Tranter’s Round is a mountain running challenge where, in a 24-hour period, you visit the summits of 18 Munros (Scottish peaks over 3,000ft high) in the Lochaber region of Scotland. I’m not however a runner. But I know my pace and, as long as I kept moving, and sustained forward motion, I felt I *should* be able to complete it in around 23h 30mins. If my feet didn’t play up — more on that later — and the fairy dust aligned.
What is Tranter’s Round?
Named after the son of the late Scottish author, Nigel Tranter, Tranter’s Round is a 24-hour mountain running challenge set for hill runners by Philip Tranter in 1964 when he connected (at the time) 19 Munros in the West Highlands of Scotland (the Mamores, Grey Corries, Aonach Mor and Aonach Beag, Carn Mor Dearg and Ben Nevis) in a 36-mile epic that covered 20,600ft of ascent. Today, Philip’s round ticks off 18 Munros (the Scottish Mountaineering Club demoted Sgurr an Iubhair in the Mamores after a re-measuring of the peak in 1997) but it still forms a challenging route over an aesthetic horseshoe of ridges and peaks that starts and finishes in Glen Nevis. From the Youth Hostel near Fort William, the route heads out of the glen onto the first Munro of the round, Mullach nan Coirean. From there, you head over Stob Ban, with two out and backs along narrow ridges to Sgurr a’Mhaim and An Gearanach, before completing all ten of the Munros in the Mamores on the 1010m high Sgurr Eilde Mor. A long grassy descent, a crossing of the Aibhainn Rath and a steep pull up to Stob Ban leads on to the Grey Corries, where you turn and head for home, with a great view in front of you as you traverse a fantastic series of ridges that culminates in the great bulk of Aonach Beag and Aonach Mor. A good choice of route is key to attaining their summits, over 4,000ft in altitude, where a steep descent and ascent to Carn Mor Dearg and an excellent traverse over its narrow, rocky arete leads you to Tranter’s Round’s final summit, Ben Nevis, the UK’s highest peak. ‘All’ that’s left is the 4,500ft descent to reach your starting point and the completion of your round.
Tranter’s Round is not an organised event. There’s no sign up or checkpoints, nor navigational aids. Neither is it a race but there is a fastest known time, of 8 hours 27 minutes 53 seconds by Fort William-based GP, Finlay Wild. This may give the impression that completing it in 24 hours is easy, more so when you understand that the route has been superseded in fell-running terms by Ramsay’s Round, named after Charlie Ramsay who lengthened the route to 24 Munros, 56 miles and 28,500ft of ascent in 1978. (The record for Ramsay’s Round is also held by Finlay Wild, who completed it in 2020 in 14hrs, 42mins, 42secs, beating the previous record of 16hrs, 12mins, 32secs which had been set in 2019 by his friend, Es Tressider). My desire to do a shorter route in 24 hours is nothing special (to anyone other than me). I’d read about people routinely doing it in under 20 hours. I have respect for anyone that can do it that quickly but when I extrapolated my times from shorter routes, I realised that they’re operating many, many (my wife recommends we should add a third many) leagues above me. It was clear that I’d be performing at my limit to finish with just 30 minutes spare. I had little margin for error or slowing down due to fatigue and it was much more likely that I’d fail to do it in 24 hours. (I did always, deep-down, have some confidence that I would finish it in one push or else I might have just as well gone camping).
-
An initial taste
In 2014, three friends and I set out on a two-day backpack of Tranter’s Round. At the time, I hadn’t any thoughts of attempting the route in one go. It wasn’t an entirely pure approach, as we ascended Mullach nan Coirean the night before to bivvy on its summit, and I missed out An Gearanach to dry out a wet sleeping bag. We also didn’t finish as we bailed off Aonach Mor in an unexpectedly cold blast of June rain, complete with hailstones, that chilled us to the bone. It did however allow me to appreciate the length of the route. Looking back, it also provided me with some good data to work from (16 hours from Mullach nan Coirean’s summit to the Aibhainn Rath), which is well behind a 24-hour time but this hadn’t been our intention.
During 2015 and 2016, I had casually pondered the 24-hour challenge, going so far as to make notes and do some detailed planning. Eventually, in January 2017, I committed and began to prepare myself for the rigours of 20,000ft ascent and descent in a single day. I started by teaching myself how to run, jogging from lamp-post to lamp-post along a cycle path as I walked the dog at night (the classic ‘couch to 5km’ approach). Benefitting from the additional fitness, I took to the Pentland Hills, a collection of grassy peaks c.500m high overlooking Edinburgh which hadn’t attracted me as a hillwalker but provided the stimulus for me to put in extra effort, as I interspersed fast walks uphill with jogging along the tops and running back towards town, initially on my own but later with a friend, Chris Hill. I really enjoyed these excursions but, throughout, I was increasingly afflicted by an acute discomfort in the soles of my feet.
My earliest recollection of foot pain when hiking was in 2011, towards the end of a 4-day backpack in the Knoydart peninsulas, when I experienced an intense burning pain in the ball of my feet. Since that trip, I’d often had pain on hill-walking trips but I did nothing about it other than blame my boots. A painful memory is on the aforementioned backpack of Tranter’s Round where, at the end of our first day, the balls of my feet were so tender, I recall crying out when I put weight on them as we crossed the waters of the Aibhainn Rath barefoot to spend the night at Meanach bothy. The crux however was when I was photographing Donnie Campbell on a Ramsay’s Round attempt in December 2016. Donnie was successful (setting a new record time for Ramsay’s Round in the winter season) but the pain I experienced as I descended Ben Nevis was, frankly, awful. In 2017, after multiple visits to a podiatrist, I was referred to a surgeon who diagnosed Metatarsalgia in both feet plus multiple Morton’s Neuromas, an affliction that I learned is commonly found in females who wear too-tight high-heel shoes. (At the time, I was on my sixth pair of La Sportiva approach shoes, which have a narrow toe box and perhaps this, plus repeatedly strapping my feet tightly into cycle pedal straps, pre-cleats, whilst spinning multiple times a week, could have been a contributing factor).
My foot pain manifests itself in two very specific ways. Metatarsalgia starts with a thickness in the ball of my foot, like I’m standing upon a CR2032 battery that’s embedded under the skin. This radiates a nerve-like pain that eventually travels across the soft parts of my feet that ramps up, remarkably so when I clench my toes (at one point I thought the pain was from a large blister deep under the callused skin but I have it when there’s no blister as well). It’s always highly painful at the time - like I’m walking on deeply swollen feet - and, at it’s worst, I’m left feeling for days afterwards like someone has been beating the soles of my feet with a club. Separate to this is Morton’s Neuroma, which starts off with the sensation of a broken almond shell or a pea embedded within the sole of my foot, behind my outer two toes. The nerve eventually gets aggravated and the pain grows, manifesting itself in a manner similar I’d propose to someone biting my toes or periodically squeezing them with a pair of pliers. Both I’d estimate it as around four or five on the comparative pain scale (if you applied that to hill-walking) and a six on my descent from Ben Nevis. Which I appreciate could be extremely worse but it always fosters unpleasant thoughts, especially when I am many miles away and thousands of feet above my starting point.
Postponed, first for injury then due to Coronavirus
From a podiatry perspective, my understanding is there’s four approaches to foot pain. Stop what causes the problem and rest. Orthotics or cortisone steroids and, if that fails, an option for surgery. I didn’t see the benefits of rest (the issue came back repeatedly in 2017, despite many breaks) and orthotics didn’t make any difference. Steroid injections thankfully fixed one foot but not the other and eventually the surgeon’s advice was to operate and he explained a procedure where he would saw through bones in my right foot using a minimally invasive procedure and reset the bones so they were lifted off the neuromas and I wouldn’t experience as much pain. Which sounded extreme but it was an approach the surgeon explained had a high rate of effectiveness and, very keen to be pain-free, I accepted his recommendation. Thankfully, in general, the operation, in March 2018, was a success and almost exactly twelve months later, after a few months delay with what I was initially afraid was a Lisfranc injury (when I returned too soon and damaged my foot descending Bidean nam Bian in Glen Coe), I was back jogging in the Pentlands with no torment other than that caused by a lack of fitness.
By Autumn 2019, my foot felt strong again, as did my legs. Buoyed by a 16-hour day ticking off nine Munros on the north side of Glen Shiel, I was confident I could cope with the rigours of Tranter’s Round. During our trips to the Pentland Hills, my friend Chris had indicated he’d like to join me and we had made plans to continue our training over the Winter and schedule an attempt for May 2020. (Summer 2019 was out as I don’t have much desire to be exerting myself on the hills when it’s warm — plus, eurgh, midges — and I was away that Autumn). I also really don’t operate well in the heat and my preference was to do it on a nice Spring day when there is cool temperatures and a full moon. The additional darkness didn’t concern me as nearly all my training in the Pentlands had been done at night, aided by a great head-torch, Petzl’s Nao+).
Chris and I’s plans for numerous joint training sessions in 2019/20 were unfortunately scuppered when it was Chris this time who needed a break for surgery, the result of a meniscal tear to his knee during the previous year’s Glen Coe marathon. I spent the Winter plodding around the Pentlands, sometimes with friends and often on my own, following an 18km route twice a week with 800m ascent. These excursions I topped up with lots of spinning plus jogging on the streets (totally not enjoyable) and some day trips hiking on Scotland’s Munros (very enjoyable, a memorable day earlier in the year being the completion in a day of all five Glen Etive Munros, which involved 32km and 8,500ft ascent). Unfortunately, as the training progressed, I started to again experience foot pain. My right foot (the one I’d had surgery on) had been fine all year wearing trainers but in bigger boots, on bigger hills, it began to flare up, especially in the ball of my foot and I was again experiencing lots of discomfort. Trying not to be too negative (but often failing), I planned another visit to the surgeon, who indicated over email that a further steroid injection might help.
2020 you’ll likely recall was the year of Coronavirus. My visit to the hospital for a steroid injection was cancelled, as was any hill exercise at all. Eventually though, I was able to get back out on the hills and if there was any positives from the Government-enforced lock-down (achingly, during the most extended period of glorious weather I’ve seen for years), it was a reinforced desire to take opportunities whilst I can. 2021 will be my 50th birthday and, although I’m fitter than I’ve ever been, running (which for me means mostly downhill) has to be somewhat destructive on my joints and I’d like to protect them so I can keep hillwalking into an old age. Tranter’s Round however was an itch I felt I really had to scratch (along with two others I have, which is to attempt the Highland 550 Trail and to cycle the West Highland Way in one go). My goal during Coronavirus therefore was to maintain my fitness as much as possible. Chris and I made a commitment that we’d make an attempt on Philip Tranter’s route as soon as lockdown was over and we were back to hill fitness.
Finally some proper preparation
Whilst researching the internet for tips on preparing for the Bob Graham Round (Charlie Ramsay’s Round’s English equivalent and the 24-hour round in the UK with the most amount of information online — Paddy Buckley’s round makes up the trio for Wales), I’d read that my focus should be on height rather than distance in training, aiming for 10,000ft per week. Long days hillwalking is perhaps the ideal preparation for something like Tranter’s Round, multiple hours on your feet I’m confident being key, and I added a few Munros to my tally (reaching the 200 mark), along with some new Corbetts. The Pentland Hills however were Chris and I’s main training ground and we repeatedly traversed a route from Flotterstone to the drove road west of West Kip, out and back, twice and sometimes three times a week, traversing twelve summits over a 15km distance with 1200m (3,900ft) ascent, which we interspersed occasionally with a trot around the Pentlands Skyline race route (an entertaining 16-mile, 6,200ft route which we definitely should have taken more advantage of).
An initial plan we had to do the route in September 2020 was postponed when a unseasonable weather forecast indicated cold rain, strong winds and below freezing temperatures due to the windchill. I appreciated the weather would never be perfect but we did want to stack the odds in our favour so we changed our approach and instead of booking ahead (we’d planned to stay in the Glen Nevis campsite) we agreed we would just keep an eye on the weather and if we had two good days forecast in October, we’d go at short notice. I’ve found this to be a much more effective approach for visiting Scotland’s hills, having spent many days over the years out in terrible weather for no real reason other than “we said we were going out”. The downside on this occasion though was the additional darkness, which in October lasts from 6.30pm until 7.00am following morning. It was all a moot point however when COVID restrictions once again kicked in and we were left contemplating when we could make an attempt in 2021.
-
In June 2021, we finally stopped talking about Tranter’s Round and headed north to Fort William. The weather was almost perfect with cool temperatures forecast (seven degrees Celsius at 900m during the day and five degrees Celsius overnight) with light cloud cover and a gentle breeze. Aesthetically, I’d wanted to attempt the route clockwise but we weren’t too keen about traversing An Garbhanach in the Mamores in the dark so we headed in the traditional direction and climbed Mullach na Coirean first. The first hill of the day for me is always the hardest as my body temperature takes time to settle as I transition from being fairly sedentary to hoofing up a hill. As usual, I began my ascent sweating hard and I had to put much greater of an effort into things than I expected, as I attempted to keep up with Chris, plus a quartet of lads in their twenties who, even though they were carrying big backpacks with sleeping gear, raced off very easily up the hill. A positive was it meant we reached our first summit in 2h30mins, one hour ahead of plan (we had based our timings on Naismith’s calculations) but it was clear that, despite having rested for a week, I wasn’t comfortable with the quick pace up the first hill (which in my defence is 900m ascent) and I was conscious that my pack was overly heavy.
Despite the six years thought I’d put into it, the majority of my time in the final weeks and days running up to our Tranter’s Round attempt I’d spent planning and re-planning. Much more than I care to admit. Frequently, I’d add items of clothing, equipment and food to a checklist I’d prepared and then remove them, and then I’d repeat the exercise until I felt I was happy. I’d then repeat that exercise over the following days. I’ve always been of the mind that you should carry enough clothing and equipment to last the night, if required, as well as an appropriate first-aid kit plus plenty of food but all additional weight slows you down and, with speed being key, and no support on our attempt, the challenge for me was to take as little as possible whilst remaining comfortable I’d stay safe. I run very hot so I wear the minimum amount of clothing whilst I’m moving, which means taking enough protective gear so I’d be warm for the worst conditions when stationary (but not taking so much it that I’d be overly comfortable and it slowed us down). I eventually ended up with what I felt was an appropriate balance (but which turned out to be entirely inappropriate), which gave me a total weight of 7kg, including food and water. This is somewhat light for hillwalking but still fairly heavy if you are trying to move quickly. (I recall reading somewhere the big difference that each extra kilogram added to someone else’s ascent times).
We touched the cairn at the summit of Mullach nan Coirean as soon as we arrived and left straightaway for the second peak, Stob Ban. I was looking forward to getting into a rhythm as I cooled down and started to enjoy myself but unfortunately it never materialised - the day proved much hotter than forecast and I spent the majority of the day feeling nauseous (foolishly, I didn’t put on any sunscreen - in my recollection there was minimum bare sun - and I ended up with first degree burns on my arms and neck, both of which are still a deep red colour one week later). This queasy feeling impacted on my desire to take on food and water - and likely affected Chris’ mental well-being as I walked behind him burping all day - and I only consumed 2400 calories of the 9000 calories I carried with me.
Despite never setting out to do so, I appear to be able to keep moving and not bonk despite not taking in lots of solid food. I was confident therefore in my ability to keep moving somewhat efficiently over the hills, even if there was no running. The two Munros at either end of the Ring of Steall, Sgurr a’Mhaim and An Gearanach were fun (if farther apart than I recollected), the loose descent from Am Bodach interesting (Stob Coire a’Chairn not so much) and, after an enjoyable scramble, we were back at the bealach beneath An Garbhanach at 5.00pm, after summiting An Gearanach still one hour ahead of our 24-hour schedule. A stop here for water however, plus conversations with others, ate into our programme and by the time we’d ticked off the somewhat interminable ascent of Na Gruagaichean, traversed the fine ridge to Binnein Mor and negotiated the steep descent to Binnein Beag (where we had another lengthy stop), we were at the summit of Sgurr Eilde Mor at 11.30pm, now 30 minutes behind schedule, but with ten of the eighteen Munros in the bag.
Chris had displayed strength all day and I had perked up after our breaks, and in the cool of the evening, the ascents of Binnein Beag and Sgurr Eilde Mor were hugely enjoyable. The hills of Lochaber at dusk in Summer are a fine place to be and our descent from the summit of Sgurr Eilde Mor to the Aibhainn Rath, on soft grass, was a joy, at least to begin with (there was nothing wrong with it, it just seemed to go on for ages, and the temperature appeared to increase again after we’d donned our head torches on the way down). The waters of the Aibhainn Rath, although low, mandated wet feet but once crossed we stood confidently at the foot of Meall a’Bhuirich, facing the 600m ascent to the Munro, Stob Ban, the first of the Grey Corries, but not nearly the highest.
I’ve ascended the steep slopes of Meall a’Bhuirich before, back in 2014 when we scaled its eastern flanks from Meanach bothy and again in 2012 up its western flanks in Coire Rath on a winter backpack. I’ve also descended from the summit of Meall a’Bhuirich to Meanach bothy one year when the weather put a friend and I off a traverse of the Grey Corries. Because of the effort involved, I wouldn’t say it’s my favourite hill and my ascent with Chris reinforced that opinion as we followed Finlay Wild’s .gpx track directly up its abrupt southern flank and crossed the bealach in the dark to reach the summit of Stob Ban.
It was 3.00am and we were now 60 minutes behind a 24-hour finish. I wasn’t overly concerned, my minimum benchmark for success being we complete the route in a single push, but I was getting tired. Feeling hot and queasy all day had been a grind and, outwardly, I groaned as I recalled the effort in our ascent to Stob Ban, as I knew we needed the same to get us to to the summit of Stob Choire Claurigh. My hopes were pinned however on this peak perking me up as there was a lot of light - we were close to the Summer solstice - and the summit’s got such an amazing view, with the rocky Grey Corries ridge snaking away aesthetically into the distance and the Aonachs and Ben Nevis on the horizon. We’d also be heading home and I was confident this would offer some psychological benefit for my wearying mind.
Our pressing need was to get some water. There’s a lochan at the bealach beneath Stob Ban, which I know from past experience is usually stagnant and filled with tadpoles but there’s a stream on the Coire Rath side and we planned to use this to keep us hydrated along the ridge. My mind had already wandered to the idea of stopping again for a short break (for no real reason, other than to put off the next 380m ascent) when Chris, without notice, abruptly announced he was done. A pain in his knee, not new as it had caused some curtailing of activity whilst we were training in the Pentlands, had been causing him some discomfort during the last few hours and had quickly ramped up to a level that was intolerable. I’d no idea - stoically, he’d not said - but the descent from the summit of Stob Ban, basically a big pile of loose scree, had exacerbated it very quickly to a level where he could only hop down the hill in great discomfort. A quick conversation ensued and we agreed to descend to the bealach and decide what to do next.
It’s not hard to stop an outing when a friend is in pain (especially when you’re also really tired) and when we weighed up our options it suggested going higher up would simply make it more difficult to come back down. We promptly called it a day and, despite my announcement that it would be a “one and I’m done”, agreed a few days later that we’d return and try again.
-
A common phrase when you fail at an endurance challenge appears to be that ‘the wheels came off the bus’. In my case I’d suggest it’s the opposite. In terms of achieving Tranter’s Round, my legs (i.e. the wheels) appear to be fine but the bus itself (my body) doesn’t appear to be able to keep up. Round two therefore unfortunately ended after an almost identical ascent/distance as our first attempt, entirely on my request this time, after a repeat of the sickness feeling all day (which I’ve narrowed down to drinking my calories instead of eating them, and therefore piling litres of slightly salty water onto an empty stomach), plus general fatigue from the intense sunshine and an injured foot (not neuroma-related but macerated skin I didn’t treat early enough which tore and turned into a full wound).
We chose for our second attempt to go clockwise, starting with an ascent of Ben Nevis. The forecast was 24 degrees Celsius in Fort William, decreasing to 21 degrees around the summits. After an eight-hour day in the Pentlands the previous week in similar heat I was confident I could deal with it, as long as I had enough water, and I added in an extra water bladder so I had the capacity to carry 2.5 litres between water points. My pack weight was therefore heavier (c.8kg including water) and I still anticipated very little running.
After long denigrating the ‘pony track’ on Ben Nevis, preferring the view of the north face that’s offered on other routes up the mountain, I found I really enjoyed it and it made for an efficient ascent of the peak in 2.5 hours, an hour under our schedule. The morning however was super hot, with no wind. A single patch of snow higher up was a godsend and I packed the snow under my hat and tried to keep cool as we ascended to the summit. Despite being midweek, the top of Ben Nevis was super busy but after we left the summit and descended towards Carn Mor Dearg, the numbers dwindled, to just a few on the fun, blocky arête. By the time we descended the east ridge of Carn Mor Dearg to the bealach above Coire Guibhsachan we were entirely on our own.
Our ascent to Aonach Mor from the bealach was a steep grind in the heat and our slow going, along with our choice to scramble along the Carn Mor Dearg arête, rather than take the bypass path, cost us time. There’s much easier ground out and back to Aonach Mor summit and on to Aonach Beag and we did try running for a while but it didn’t last long. Aonach Beag summit however and the descent to Stob Coire Bhealaich (aka Stob Coire a’ Chul Choire) lifted both of our spirits. It was simply glorious. The views were excellent and the feeling of adventure was still high.
There are three common routes between Aonach Beag and the Grey Corries. I had done two of them in ascent, heading west, one of which is termed in the mountain running world as ‘Spinks Ridge’, after Nicky Spinks, a Cumbrian farmer who’s completed a double Ramsay Round, and the other was the original Charlie Ramsay line, which involves a very steep exit/entrance on bare scree into a gully topped by a large rock overhang. A quick glance at both routes made us decide to choose the third option, which is an easy traverse from the col at GR205704 over to the grassy slope that’s beneath the rock overhang. It’s likely the slowest route but it facilitates an easy detour for water and I’d do the same again.
The Grey Corries are an amazing place to be in the afternoon and early evening light and the ridge walking is both easy and superb. Sgurr Choinnich Mor is one of my favourite peaks and I made a mental note of different places I’d like to come back to and bivvy. All along the ridge, the great rock architecture buoyed my spirits and, despite the fact it remained very hot and I was still feeling sick (plus a niggle I had from what I thought was a blister I needed to treat), I was feeling optimistic as we touched the summit of Stob Choire Claurigh and descended to Stob Ban, where is where we’d ended our first attempt.
It wasn’t long after this that the rails came off. Our ascent to Stob Ban was easy enough (I recall an enjoyable burst of energy as I climbed the last few steps to the summit) but the traverse over Meall A’Bhuiraich and our descent to Aibhainn Rath, now with head torches on, took what seemed like forever and we didn’t cross the river until just after midnight, again well behind a 24-hour schedule.
Part of the delay was, high up on Meall a’Bhuraich, the mild discomfort I’d had in the sole of my foot increased sharply and I’d eventually decided to stop and treat what I thought was the blister that was causing it. Foolishly, I’d left it until it was well past anything a Compeed could help with — my skin had badly macerated and had torn, almost de-gloving a portion of my foot, on the sole, right behind my toes, the wound down to the meat. The only thing we could do was dress it with medical gauze and some Durapore tape. This left me somewhat lame and the descent to the river and the long ascent to Sgurr Eilde Mor, coupled with the effort from the day and the continued heat into the night — it was ridiculously muggy — sucked away at my energy levels. My legs were still quite strong but my eyes were heavy and, after finally being sick (yeay), I could quite easily have slept standing up, leaning on my trekking poles. We decided to stop at the summit cairn for a break and, after just a few minutes, we were both fast asleep at 3am.
Four hours later, a glorious cloud inversion filled the glens and refilled my spirits. Feeling renewed energy-wise, we descended from the summit of Sgurr Eilde Mor, still with the intention of completing the route. On the way however, I soon voiced dark thoughts to Chris of bailing and our ascent of Binnean Beag reinforced that. It wasn’t really the state of my foot — with the dressing on, I could cope with the pain — but, simply, I had no desire to face another full day feeling sick in the intense heat (we still had 9 Munros to go). So I asked Chris if we could give up, often voicing during our descent into Glen Nevis thoughts that if I tried again in cooler weather it might be an option but really with a reluctance acceptance that, regardless, completing Tranter’s Round (even if only on one go) is going to be highly unlikely for me unless I can learn to better manage my nutrition, so I can take on more food for fuel, plus better manage my foot health. (Edit: We’re trying again this year).
-
Attempt three was always on the cards. Overly obsessive at the best of times when I'm interested in something, Tranter's Round was totally under my skin, an Evernote file on my phone being checked multiple times a day for months on end. Food calories were worked out and changed and then changed again. Clothing was added and then taken away. The latter was the easier choice as there’s only so much I'm prepared to risk when I’m on the hills and it mainly boiled down to what weight of insulated jacket I would take (my eventual choice being winter weight as the forecasted temperature - in July - was 4 degrees C overnight at summit level, with a below freezing temperature due to wind chill).
Despite training again in our local Pentland Hills for six months, I didn’t feel strong when we decided to head up to Fort William. I’d had a few good Munro days over the Spring but nothing over eight hours and I was continually behind Chris in terms of strength and time when we were running. It didn’t give me much confidence. I took some comfort though with Summit Bag, a Strava plug-in, telling me I’d climbed 40,000m of ascent that year, plus a quote Beth Pascall and Damian Hall shared in Summit Fever Media’s film “Wrath” when they were setting the fastest known time for the Cape Wrath Trail, which was along the lines of “It's not what we’ve done in the last four weeks which will help us here. It’s what we’ve done over the last 4 years”.
The best I felt I could do was to learn from our previous two attempts. How do I consume enough calories to maintain energy for 24 hours? And how do I look after my feet? For nutrition, I went back to Tailwind constituting the majority of my calories, paired with some proper food, calculating how much I needed using Joe ‘Stringbean’ McConaughy’s guidance for 24+ hour events which steered me towards 5500 calories, to which I added a little spare, and then I applied this to the concept of ‘legs’. (There are no legs for Tranter’s Round, the assumption being you’re completing it, like us, with no support but longer races such as the Charlie Ramsay Round and Bob Graham Round have places where supporters can park or get into the hills and these crossing points make for natural stages or ‘legs’ on the route - see the Planning section below for how I used the concept of a Tranter’s Round leg to support my nutrition). Tracking calories over legs turned out to be ideal - it was easy to tell whether I was under eating - and I finished this time with perhaps 600 calories left over.
Just as important as food was foot care. My primary goals were to keep my feet dry and prevent the maceration from attempt two, plus keep them lubricated to prevent blisters. I also wanted to stave off the foot pain that I knew would kick in at some point. I’d recently switched to a new pair of trainers from Scarpa - their Infinity model has a lot of cushioning and a fairly wide toe-box and I was confident these would hold off the pain from occurring as long as possible (giving your toes room to splay helps greatly with both Metatarsalgia and Morton's Neuroma). In the end, I controlled any foot moisture by periodically taking off my shoes and socks - it wasn’t so warm as last time which helped greatly - and regular applications of Zam-Buk and Body Glide balm kept me blister-free. Plus I didn’t suffer any foot pain until the last two Munros, which was a total win.
All of this though was unknown when the taxi dropped us off at Glen Nevis Youth Hostel. For no particular reason we'd again decided to go clockwise and the small amount of nerves I had faded as we crossed the bridge and started up the ‘tourist track’ towards Ben Nevis.
Chris and I summited Ben Nevis in 2 hours 20 minutes, ten minutes quicker than last time. There was no view so we navigated straight off towards Carn Mor Dearg arete, the rock slippy at first in the mist. Our pace quickened when we hit the bypass path but we later lost it and continued over the enjoyable blocky scramble to reach Carn Mor Dearg. The descent and ascent to Aonach Mor passed uneventfully and a short burst of rain stopped as we touched the summit cairn and the sun came out. A joyful jog to the foot of Aonach Beag and then again from Aonach Beag's summit towards the Grey Corries led us to Stob Choire Bhealaich, where we were both happy to repeat our descent route from attempt two, bypassing Spinks' Ridge plus the small gully with the big undercut rock and steep head wall to descend from nearer the low point instead, traversing back across to reach the bealach. The advantage for us being we were able to fill up on water before our ascent to the Grey Corries.
Leg 1 was complete. We felt good and we were one hour up on our expected time. We traversed the slopes of Sgurr Choinnich Beag, possibly closer to the summit than we needed to be. Sgurr Choinnich Beag’s neighbour, Sgurr Choinnich Mor, I think is the best of the Grey Corries Munros. The views east along the ridge to Stob Choire Claurigh and west to Coire Bhealaich and An Aghaidh Gharbh cliffs are awesome - there’s great rock architecture all around. I was reminded again that I should plan a route and a bivvy here at some point in the future. Chris and I both shared a recollection that Stob Choire Claurigh seemed further away than last time. It also felt longer but the good mood continued as we continued along the ridge, keeping to the crest rather than taking the racing line to Stob Coire an Laoigh, and we arrived at the eastern end of the ridge after ten hours elapsed time (only 20 minutes behind Naismith's pace). We both felt good and there was little sense of fatigue as we jogged the descent towards Stob Ban in glorious evening light. (As I write this I’m reminded that it took us 25 hours to get back to the start!).
My first of two low moods on the route was on Meall a’Bhuirich, as we descended towards Abhainn Rath. (Traversing steep grass in trainers I find uncomfortable, with Scarpas being somewhat too firm for my ankle bones). I worked out afterwards that we lost two hours on Naismith's pace between here and Sgurr Eilde Mor, which is a lot for 10km travelled. (Naismith’s pace I appreciate doesn’t take into account fatigue or terrain). It’s a decent distance to travel to reach the first Mamore Munro and we both agreed it felt longer than last time. We had also both imagined ourselves to be the only people out on the hills so we were surprised to see two lights beneath us as we donned our head-torches at the summit of Sgurr Eilde Mor, around 11.30pm. A quick stop for a chat ascertained that it was two friends (of each other) who were determined to complete the ten Mamores. They still had Binnein Beag to climb and then a long descent to go to reach their starting point of the lower falls car park in Nevis. When asked, I’d shared that it would take them perhaps six hours to reach their car (which I realise now was closer to four and a half hours but that was still a long way, I imagine, for one of them who shared they had work early in the morning).
Chris announced on the summit of Binnein Beag that he'd like a 15-minute break and we agreed to set an alarm for 20 minutes. I didn’t feel overly tired so I thought I’d just sit there and rest but, foolishly, I didn't put on any warm clothes. I quickly became cold and shivered beside Chris at the summit cairn as he grabbed some shut-eye. I used the extra five minutes to don all my clothes and I was grateful to warm up as we descended back to the lochan. The ongoing climb to the shoulder of Binnein Mor was my only other low mood point of the round, being steep with no paths, but thankfully it was quickly over. Crossing Binnein Mor’s summit ridge however is excellent and I was back to full enjoyment as we left the peak and continued along the rocky ridge towards Na Gruagaichean. We’d lost another one and a half hours though on Naismith’s pace. Darkness was partly the cause but we were slowing down regardless and short breaks at many of the summits were the order of the day from here on in. One such break was on Na Gruagaichean, which we summited at 0445 just as the sun rose behind us above Binnein Mor. We both agreed how lucky we were to be in such a fantastic place at this time of the morning.
Na Gruagaichean is a fine hill but I’ve found the west ridge of its lower top always seems to take ages to complete (both in ascent or descent) and this time proved to be no exception. We were approaching the end of our third leg and I was looking forward to some breakfast at the foot of An Garbhanach and a quick sleep. Lying on the ground at the bealach, wearing every piece of clothing I had with me, I was awake and frustrated. There was a strong, cold wind and I had a rock under one buttock. I eventually pulled my bothy bag over me, adopted a foetal position and I was off. We’d allocated ourselves 40-minutes but we hadn’t set an alarm, somewhat indicative I’d suggest of our mental state - I’d been silently mulling over proposing that we didn’t do the out and backs around the Ring of Steall and Chris shared afterwards that he’d been having similar thoughts - and I only awoke when Chris prompted me that we needed to get going. I felt brand new though, on what I’ve long thought was only 20-minutes sleep but when I checked our times over a year later it must have been longer, perhaps 3 hours or more. Whatever it was, and despite it breaking our policy of continuous movement, it helped because we quickly climbed the fun flank of An Garbhanach and scrambled over to the roof-like ridge to An Gearanach.
On An Gearanach's summit, one of us, perhaps both, shared that the other end of the Ring of Steall still looked so very far away, the steep ridge up to Sgurr a’Mhaim not looking very inviting at all. We could see Stob Ban though, which was promising. To get to either summit, we still had to go over two Munros and a couple of hills in between, one of which used to be a Munro (Sgurr an Iubhair). A positive thing for me was that, even though inwardly I approached every climb feeling that it was going to be a struggle, when actually on the climbs I felt great. Am Bodach was one example and I really enjoyed the incongruous path that led us up its steep flanks, often proclaiming so out loud. (Chris as usual was his quiet, measured self. It’s definitely me who’s the talker, randomly voicing obvious or fairly meaningless things as we walk, or grumbling about my feet - which I appreciate will be annoying so I try not to, but often fail).
Devil's Ridge to Sgurr a'Mhaim I've always found enjoyable (slightly less so perhaps one Winter when another friend and I bailed half-way along because of an avalanche risk). The route is a fine ridge walk along a roof with an easy bypass around a rocky section, a short step down a quartzite slab then a steep pull up grassy slopes to the summit. Chris and I were rather too easily overtaken here by another hillwalker, whose name I forget, and we met him again at the summit along with two other people. Our obligatory stop for a snack led to us sharing what we were attempting, likely not very coherently at that point, but we were buoyed by the encouragement they gave us in return.
It was a good thing Devil's Ridge was enjoyable because we got to do it twice, retracing our steps to the foot of Sgurr Iubhair before we descended the zig-zag path to Lochan Coire nam Miseach and the end of what I'd classed as leg four. Only one leg to go! The view east to our penultimate Munro, Stob Ban, looked awesome. It's very photogenic with the path seemingly taking you up right at the edge of a tall, steep rock buttress that characterises its dramatic cliffs. As is often the case, appearances are deceptive and there’s a good track, rocky all the way up, that steered us easily around the side of the Munro and on to the summit. I really enjoyed the ascent and I felt strong despite the fact we’d arrived here at 1347, and almost 30 hours after we started. Twenty-four hours was obviously long gone - the clock ticked past the challenge time whilst we were sleeping at An Garbhanach. Did either of us really care though? At this point I certainly didn't. I was pleased I was finishing a goal of almost ten years, which I’d shared with a good friend. (With hindsight? 24 hours is off the table - we're both well past 50 years of age, one of us nearer 60, so we'll not get any quicker - but completing it in 30 hours would have been nice. It’s certainly possible - our two fastest times for each side total 29 hours - but key to achieving this will be our ability to keep up our pace as we progress, and not fall asleep for such a long time.
Chris and I continued over the plateau to Mullach nan Coirean. I don't recall us moving overly slowly but if the timings between photos is correct - two hours elapsed between both peaks for 3km travelled - we were extraordinarily slow. The plateau has a few up and downs, with some interest in the terrain, but the main attraction was obviously that it was our last Munro. 18 Munros completed in almost one go. Nothing special to anyone other than us. I was feeling very content but we were both suffering the effects of our efforts. Chris was tired and had been having hallucinations, (which I’ll shamefully admit I found amusing - you can read his account on his Walk Highlands trip report - there was also a dog on the trail plus a car with two passengers up on the hillside in Glen Nevis, both which were simply rocks). I thankfully didn’t have hallucinations but I was weary, plus I’d started to feel the tell-tale signs of metatarsalgia as we'd left the summit of Stob Ban. I've shared enough about this already so suffice to say that it was stupidly painful and it made every footstep of mine over our last four hours to Glen Nevis somewhat miserable, especially so on the road at the end. My limp to the finish, coupled with a poor route choice we made on the way down, probably added around two hours to our round. I suffered from swollen, painful plantar feet almost immediately afterwards, which went back to normal after four days, but I'll be checking with a podiatrist that I’m definitely not doing any long-term damage before I seek out other challenges (which preferably for me, and perhaps oddly, are ones that will ultimately prove to be out of my league, e.g. the Joss Naylor Challenge. RIP Joss Naylor 1936 - 2024).
Overall, I’d say our completion of Tranter’s Round was mostly fun. I’d suggest Type 1.5 fun overall (Type 2 fun being fun afterwards). To dispute this though, I have a video of Chris filming me on the summit of Mullach nan Coirean. Standing atop the cairn I can clearly here the words "Let's not do this again" coming out of my mouth. Chris concurred but If I know one thing, it’s that I often need to think more before I speak. It’s such an aesthetic route, over some of Scotland’s finest mountains, and it would be a shame to complete it only once.
-
In July 2024, as described above, my friend Chris and I finally finished Tranter’s Round in (mostly) one push, covering according to my Garmin 76km and 6,340m ascent. Not within 24 hours it must be said but in 35 hours, which I’d propose made it more of a mental challenge rather than physical.
Regardless, it clearly evidenced for me that I’m a hillwalker not a runner but if it helps other to plan, I’m confident that - aside from, clearly, not accidentally sleeping for 3 hours - we would have been quicker by taking less stuff (I had a 7kg pack including a winter-weight insulated jacket which I occasionally wore over a fleece and waterproofs on the way round) and by taking advantage of some obvious shortcuts - not going over Stob Coire Easain for example and our last descent was nearly 2km longer than it needed to be. I also hobbled off the last Munro with painful feet (there’s lots on foot pain above) plus I stopped frequently to take photos.
Not going sub 24-hours we both decided doesn’t bother us at all. We both felt ‘walking-strong’ nearly all the way round and we did do some running. (A glorious descent from Aonach Mor to the foot of Aonach Beag, Aonach Beag summit to my the descent for the Grey Corries, the descent from Stob Choire Chlaurigh to Stob Ban and the descent from there to the Corbett). Outside of that, there either wasn’t enough easy terrain for us to run to offset the time we lost walking - it was too technical for us - or when we did encounter running terrain, we were in full-on walking mode. I’m also not fast enough to match Naismith’s pace uphill for that length of time and we slowed as we tired near the end, taking a full 3 hours longer than our previous attempt to cover the ten Mamores Munros.
Regardless of the time we took, I’m pleased to have completed it in one push. The experience was great and the memory will last a long time.
UPDATE - Was it worth it? Fifteen months later, due to ongoing foot issues, I’m neither able to hillwalk or run at all. Tarsal Tunnel Syndrome type symptoms curtailed nearly all my activity in the year following our Tranter’s Round and made nearly every step I’ve had had truly miserable. A nerve conduction study ruled out TTS but the symptoms are still there. Thankfully there’s no medical reasons for it and an MRI on my back and feet indicated nothing materially wrong, therefore the clinical diagnosis was neural tension, exacerbated by load. As it stands (Feb 26) I have a new physio, a new series of exercises and lots of positive thinking that I will come out the other end.
Planning guide
Accommodation
Fort William gets very busy in the Summer season so it’s a good idea to book in advance. This however doesn’t fit in so well with an approach of ‘wait for good weather and go’, which would be my recommendation. We stayed on our first attempt at Ben Nevis Holiday Park and took a taxi to the start. Glen Nevis Holidays is very nice and offers. simple short walk to the start. Travelodge and Premier Inn are also options, along with many Air B&Bs. If you can’t find a place to stay, and you’re travelling from the east, Creag Meagaidh Nature Reserve opposite Loch Laggan welcomes campers in their car park (it’s roughly 30 minutes drive away) and you can leave your vehicle at a long-stay car park in Fort William.
Route distance
The fastest route is 60km and 5400m ascent - the advantage of local knowledge if you’re Finlay Wild. (You can find Finlay Wild’s GPX route for his Tranter’s Round record on his Strava account). As indicated above, our completed route was 76km and 6,340m ascent, the significant difference of which I don’t yet fully understand.
Route sections or ‘legs’
If you're strong and fast, you likely won’t consider Tranter's Round in terms of legs. To help me plan my nutrition, I broke the route into different sections, based around water points and some additions to Naismith’s pace, which gave me an estimate of 27.5 hours.
Leg 1 - Glen Nevis to Coire Bhealaich - 7 hours
Leg 2 - Coire Bhealaich to Abhainn Rath - 6 hours
Leg 3 - Abhainn Rath to An Garbhanach - 6.5 hours
Leg 4 - An Garbhanach to Lochan Coire nam Miseach - 4 hours
Leg 5 - Lochan Coire nam Miseach to Glen Nevis - 4 hours
The above obviously works the other way around as well.
Clothing and equipment
I think the minimum most fast people would want for Tranter’s Round is a waterproof top and trousers plus a warm layer, including gloves and a hat. Plus a map, compass, first aid kit and some type of shelter. True to form, and anticipating we’d be out for well over 24 hours, I brought along much more, including a warm insulated jacket which I was glad of each time when we stopped - especially on attempt three - plus a first aid kit which was essential for dressing my foot on attempt two.
I can't see me taking any less clothing-wise. Whilst I admire the concept of ‘fast and light’ travel in the mountains, I find it difficult to put the ethos into practice, my pack weighing 7kg, including 1.5 litres of water which I topped up at the start of each ‘leg‘.
Food
Online commentary suggests the average human body can make use of a maximum of 200–300 calories per hour during an endurance event so multiplying that by 24 hours gave me 7200 calories. True to form, I added a few extra and on attempt one, carried a total of 9000 calories, via a mixture of energy gels, Tailwind, vegetarian jelly beans, Trail Butter, oatcakes, cheese, plus salt and vinegar-flavoured Love Corn. I returned with most of the food items though and on the second attempt I took much less and made more use of the Tailwind (Naked flavour) but I still suffered greatly through a lack of appetite. I did enjoy Tailwind’s Rebuild protein recovery powder (chocolate flavour), which I had on the first attempt every six hours.
My food on our third attempt, for each leg above, was as follows;
I'd take the same again but remove a packet of the oatcakes, a protein sachet and all the gels. (Gu Energy Gels’ Coca-Cola flavour is a unique taste that I’ve no wish to experience again).
Water points
There’s a plentiful supply of water on route, which you’ll find at the outflow north-west from Lochan Coire nam Miseach (west of Sgurr an Iubhair), the Allt Coire Ghabalach SSE from An Gearanach, the outflow from the south side of the lochan at the foot of Binnean Beag; at the foot of the zig zags west of Loch Eilde Mor (plus a stream on the excellent stalker’s path on route to / from Binnein Beag), the Abhainn Rath, Coire Rath, the corrie south-west of Stob Coire an Laoigh plus at the bealach at the foot of Stob Coire Bhealaich, between Aonach Mor and Aonach Beag and the Red Burn on Ben Nevis.
Water-wise, I’m always conscious about salt/sugar levels as I lose loads via excessive sweating so I monitor this via my fluid intake. On the first attempt, I carried the capacity for 1.5 litres of water and, in total, drank 7.5 litres up until Stob Ban, with electrolyte tablets and Tailwind powder (which also provided calories) to try and balance things up. I was disposing of it regularly — a good sign — but I was still dehydrated as it was nowhere near a straw colour. On attempt two, I took more capacity for water and drank around 10 litres. During attempt three I consumed perhaps 10 litres again, with more electrolytes, and urinated clearly most of the way around. Weather-wise, it was a much cooler temperature which helped.
Navigation
Harvey Maps publish a lightweight waterproof map for the Charlie Ramsay Round which includes the same peaks and is ideal for Tranter’s Round. The route is also covered on Ordnance Survey Landranger map 41 (Ben Nevis, including Fort William & Glen Coe) and OS Explorer Active 392. You can choose to go clockwise or anti-clockwise. The latter has the distinction of finishing on Britain’s highest mountain.
Photography
On all three trips, I briefly considered not taking any camera equipment at all - not stopping for photographs would have saved us perhaps 30+ minutes worth of time overall, if not more - but the thought of not having a record of the round didn’t appeal. For the photography below, I used a Sony RX100 compact camera, which I’d suggest is ideal given it’s a good balance of weight versus quality. One of the latest iPhones Pro models (16+) might also have been a good compromise, given it enables easier video. (The RX100 produces excellent video footage but it needs properly graded and I’ve no time / skills / appetite to do so). I did though take a GoPro on our last attempt and it’s nice to have some ‘live’ footage to look back on.
Attempt 1


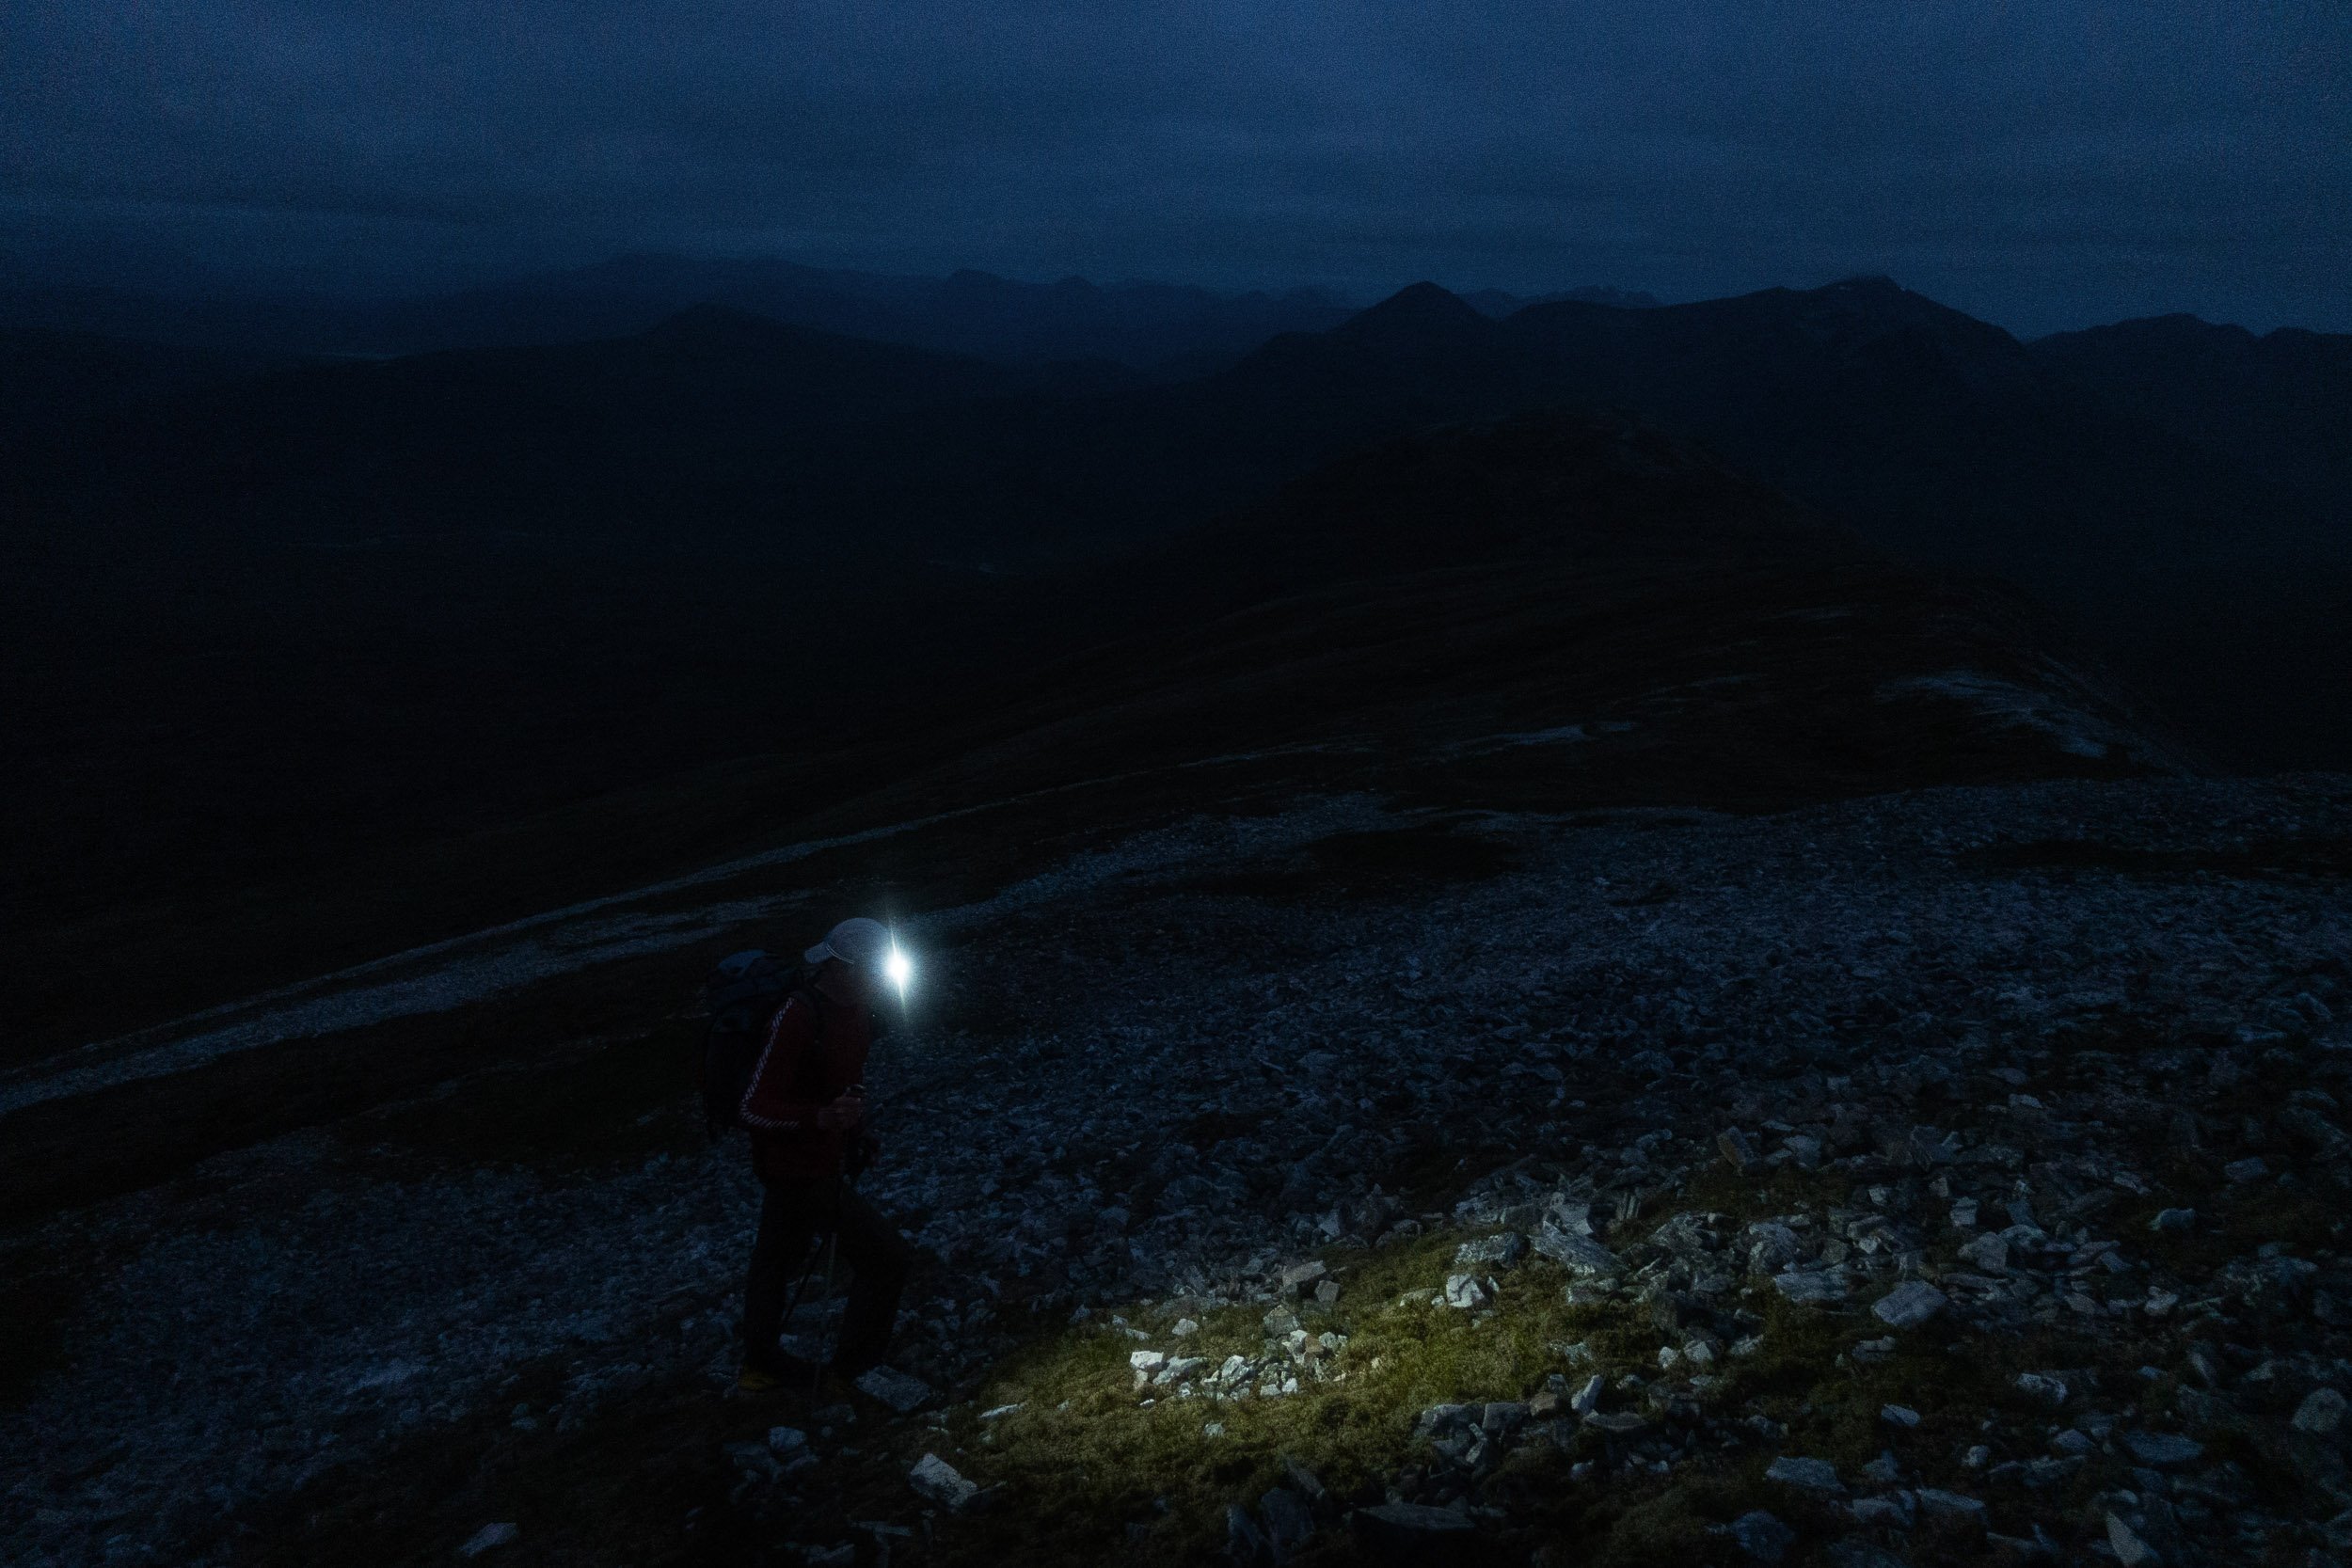
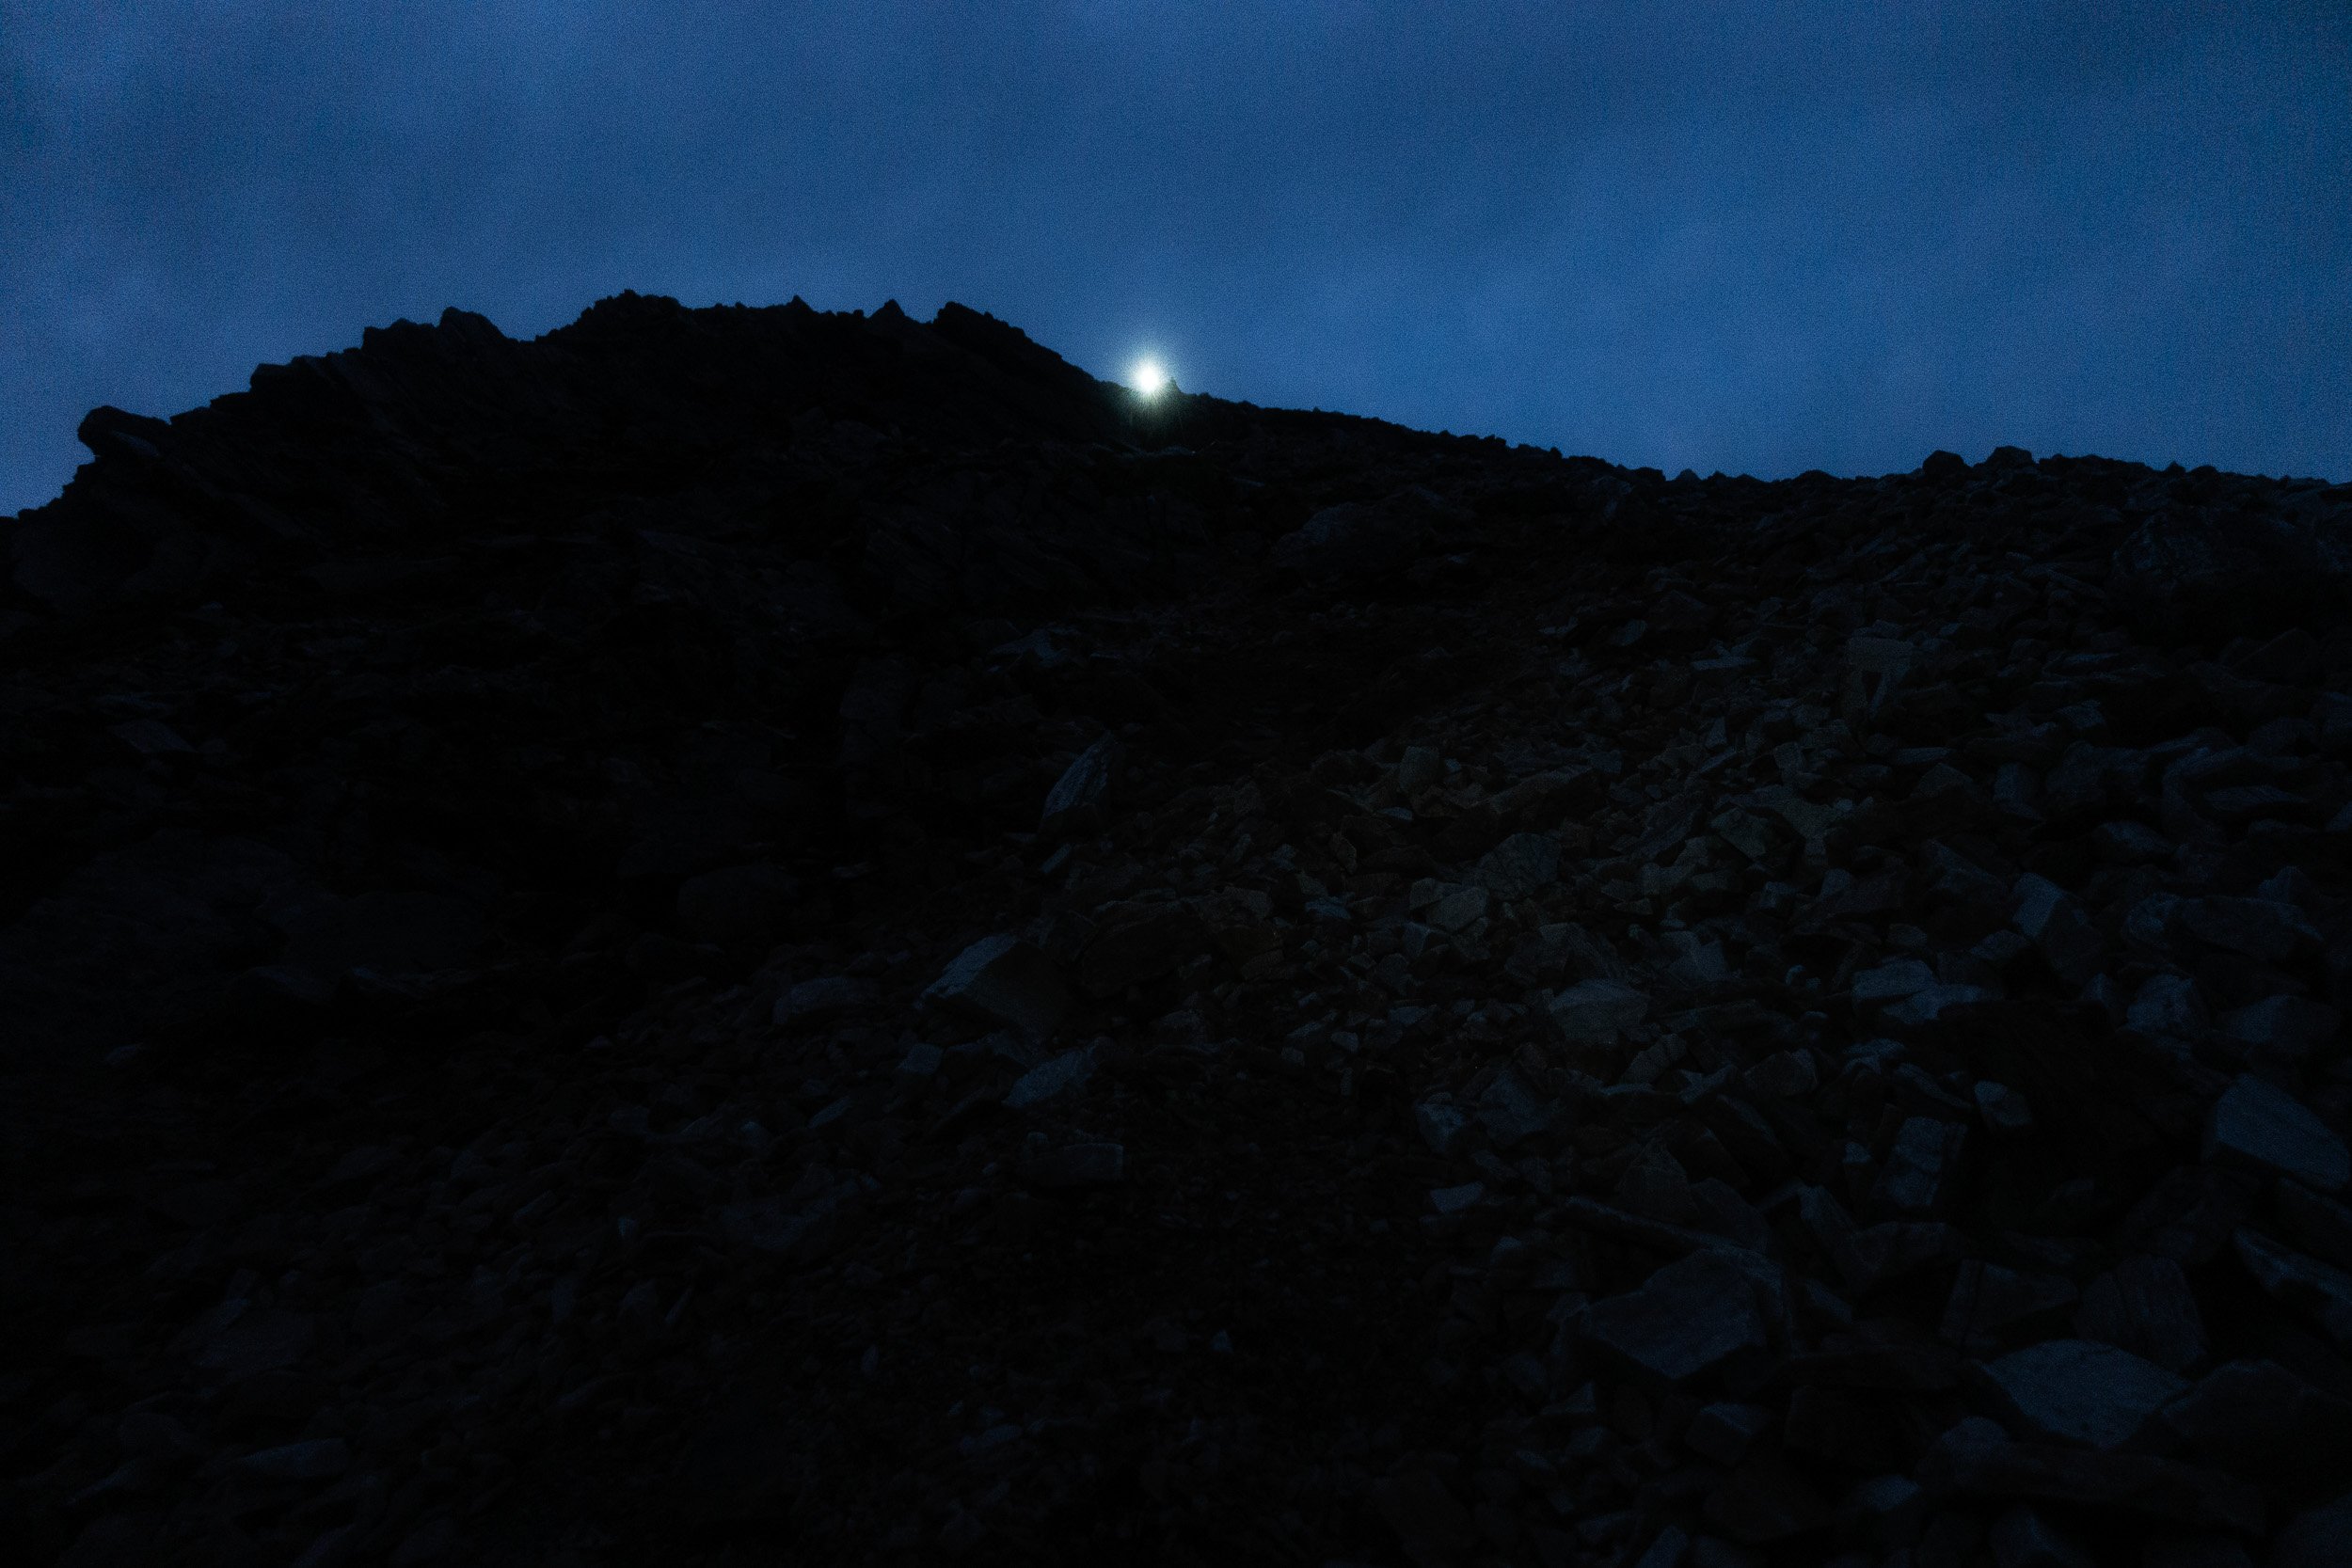
Attempt 2
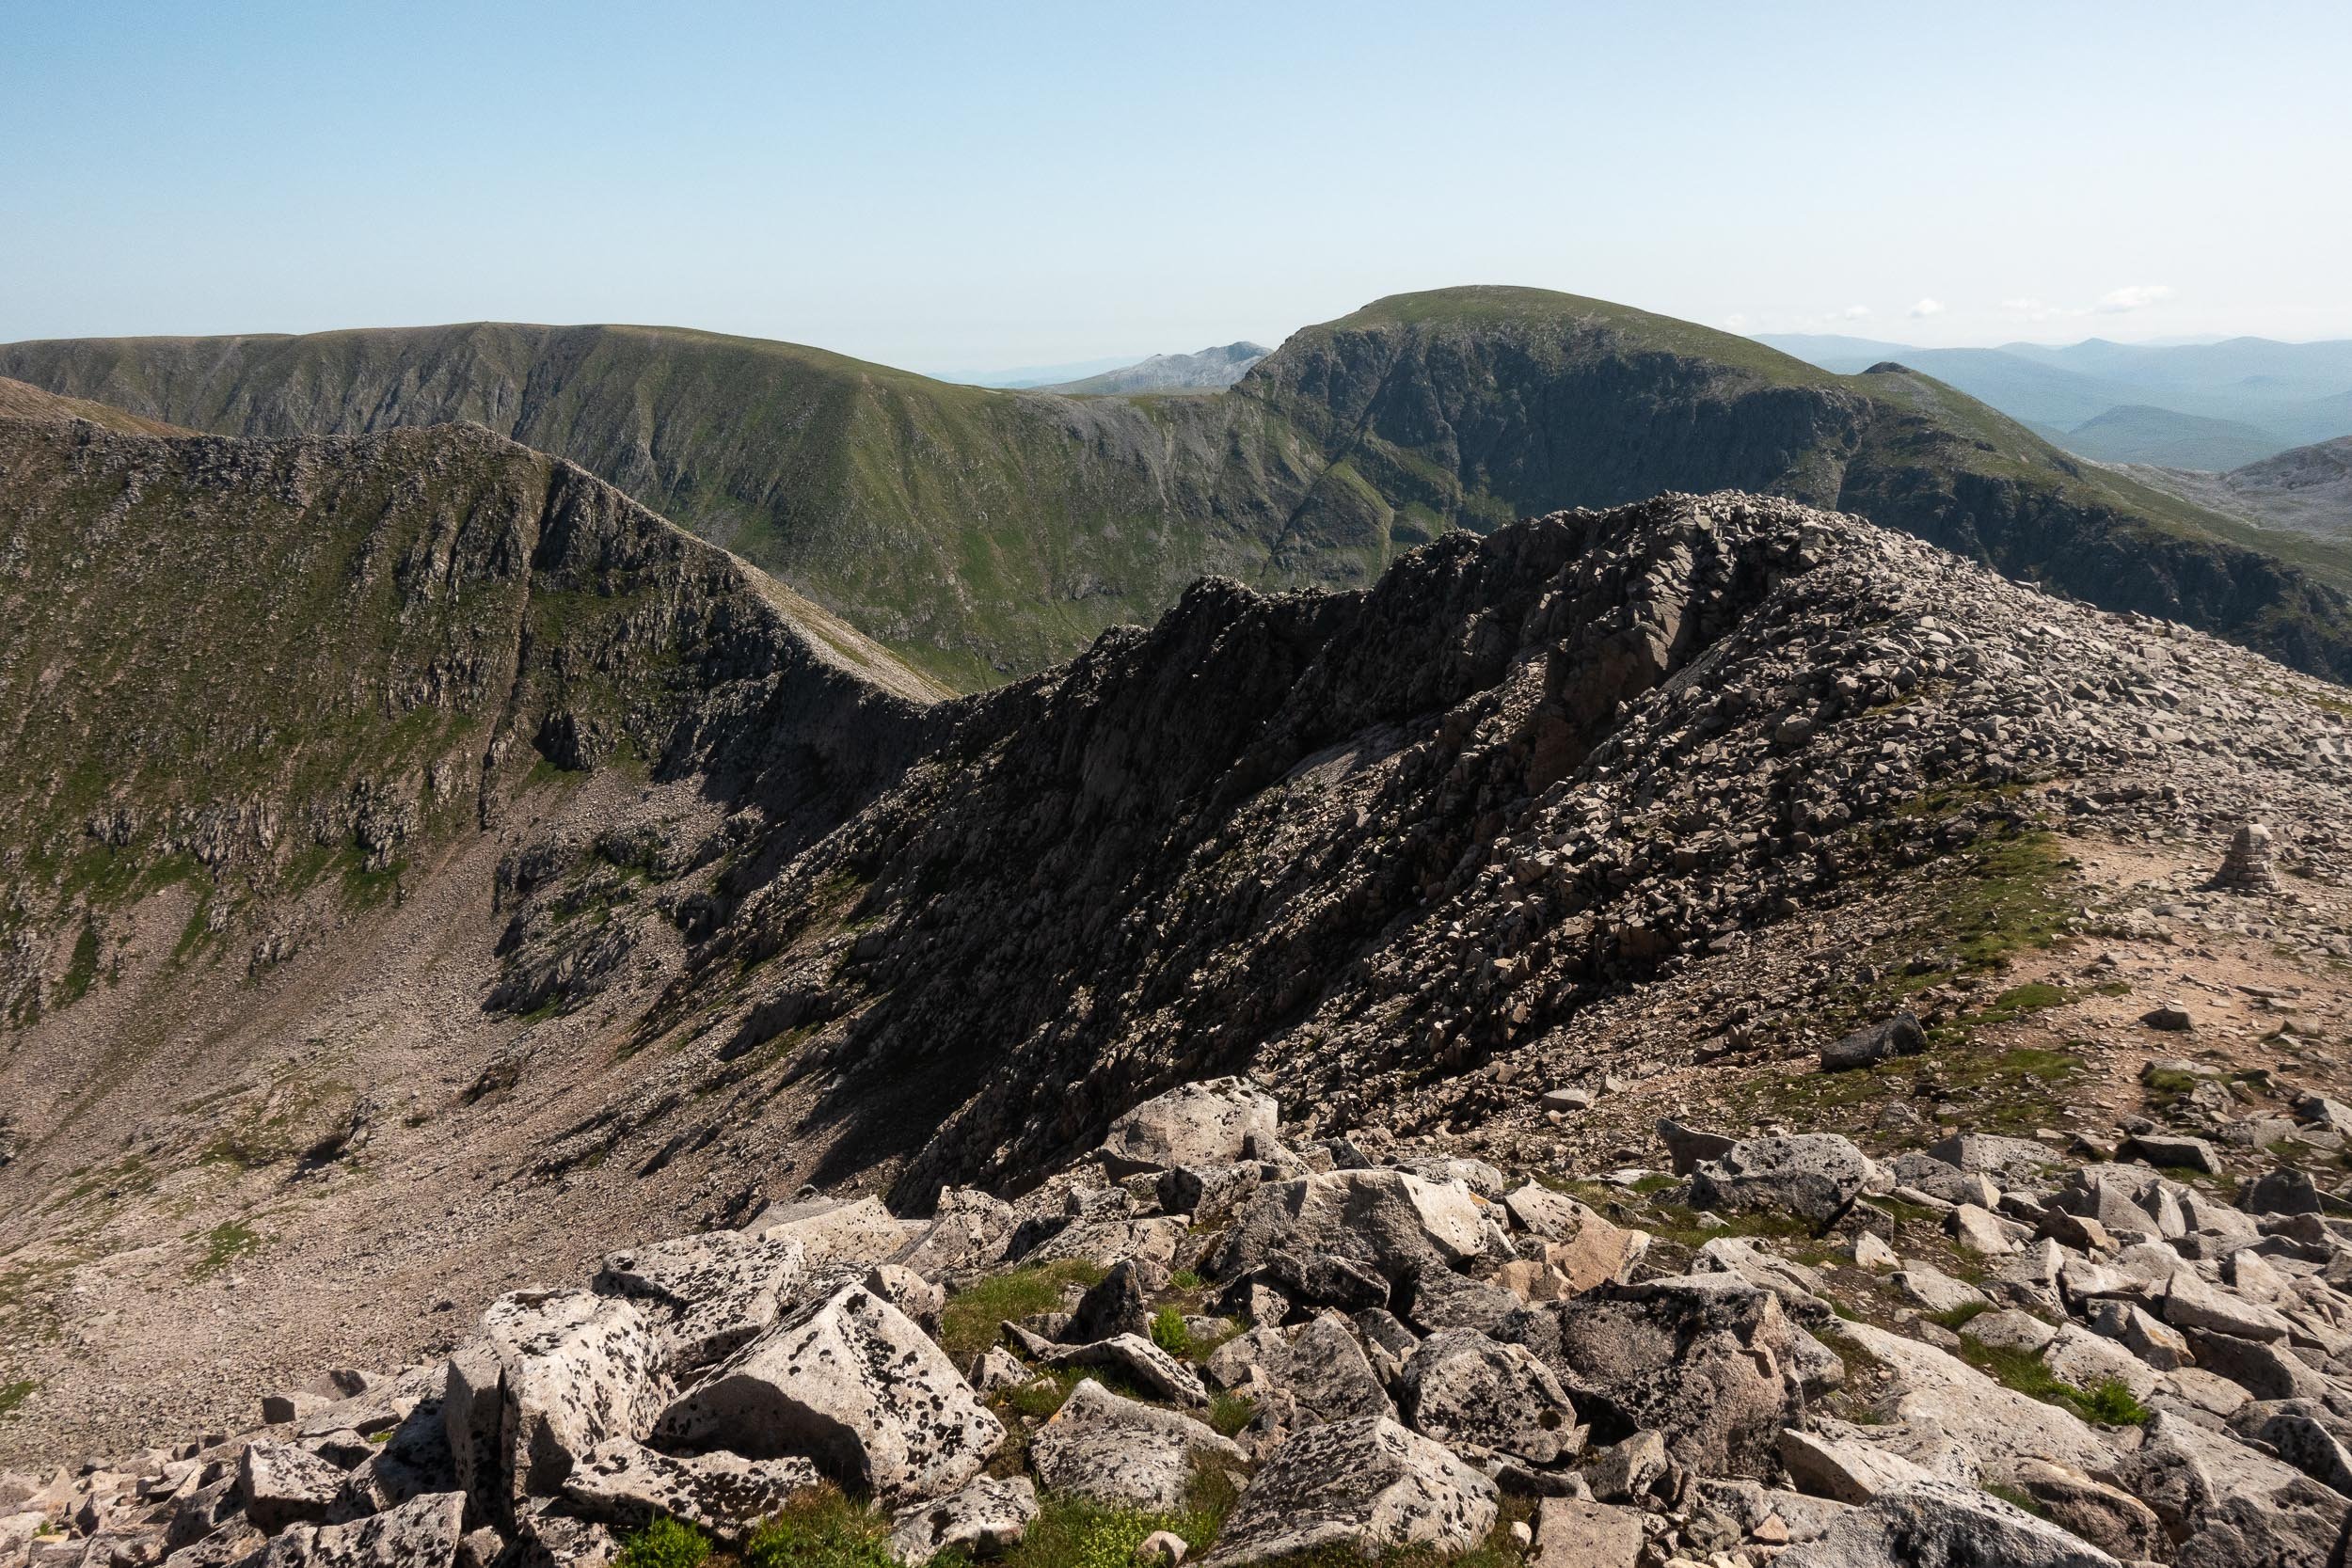

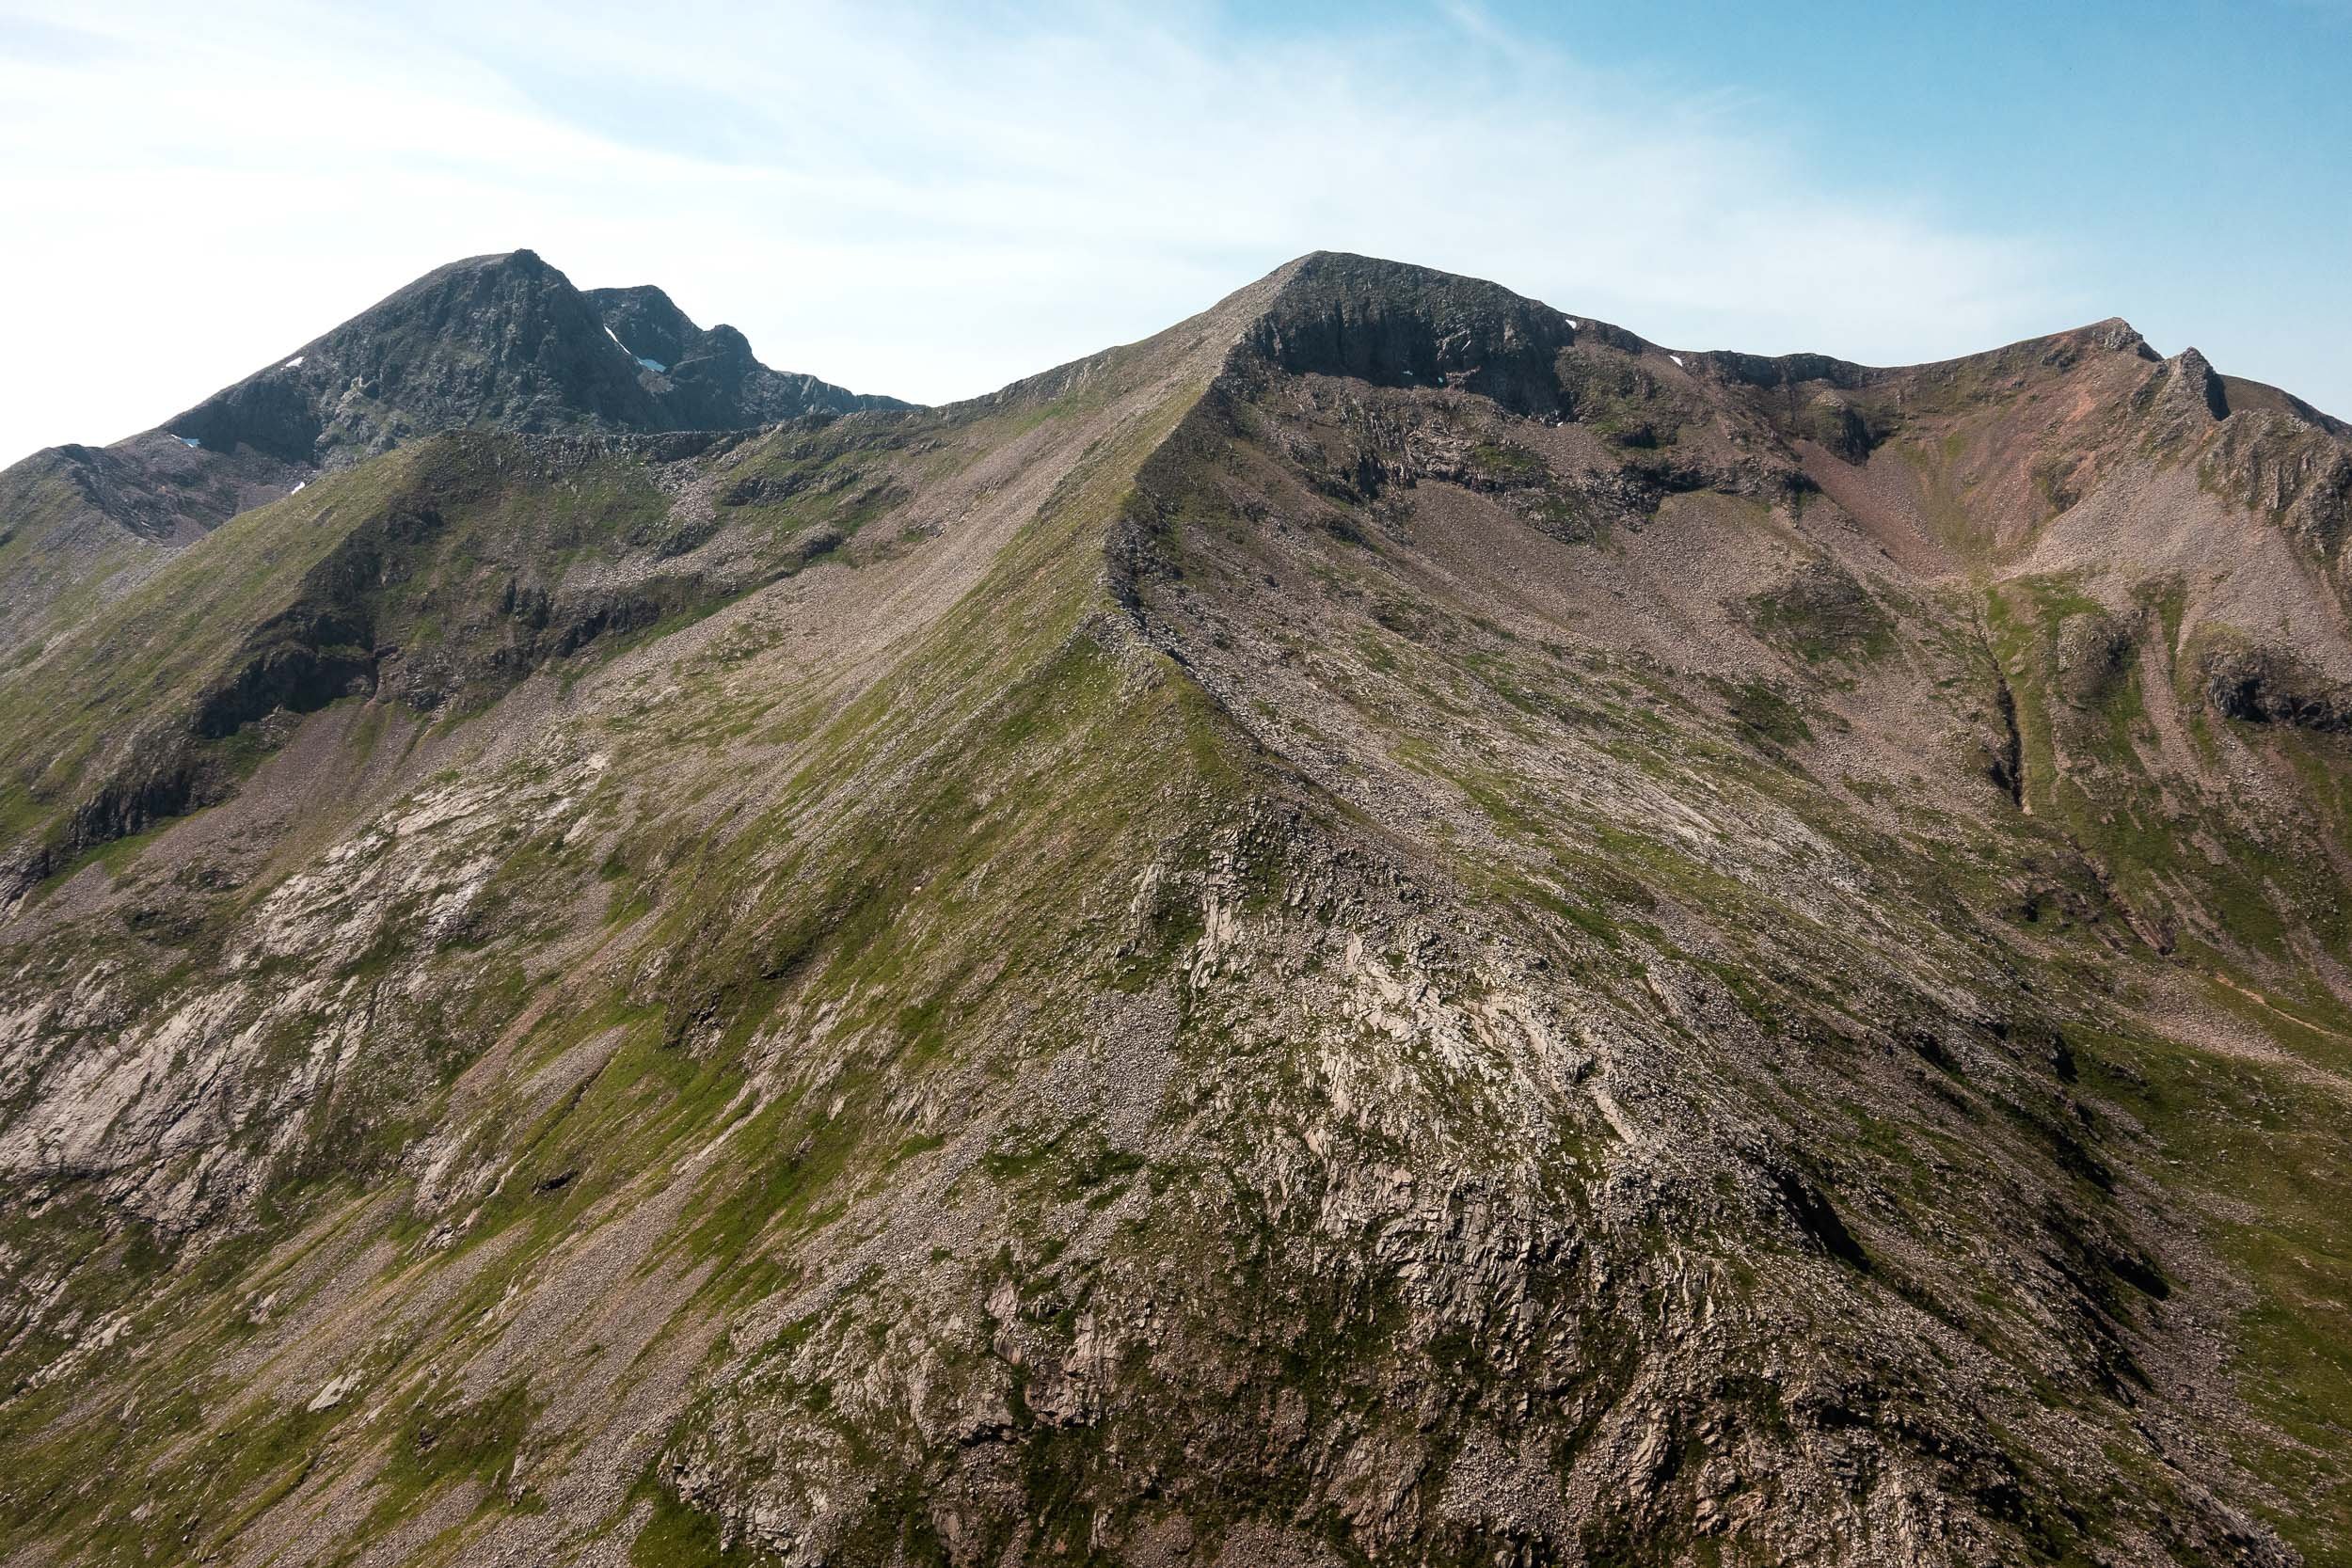


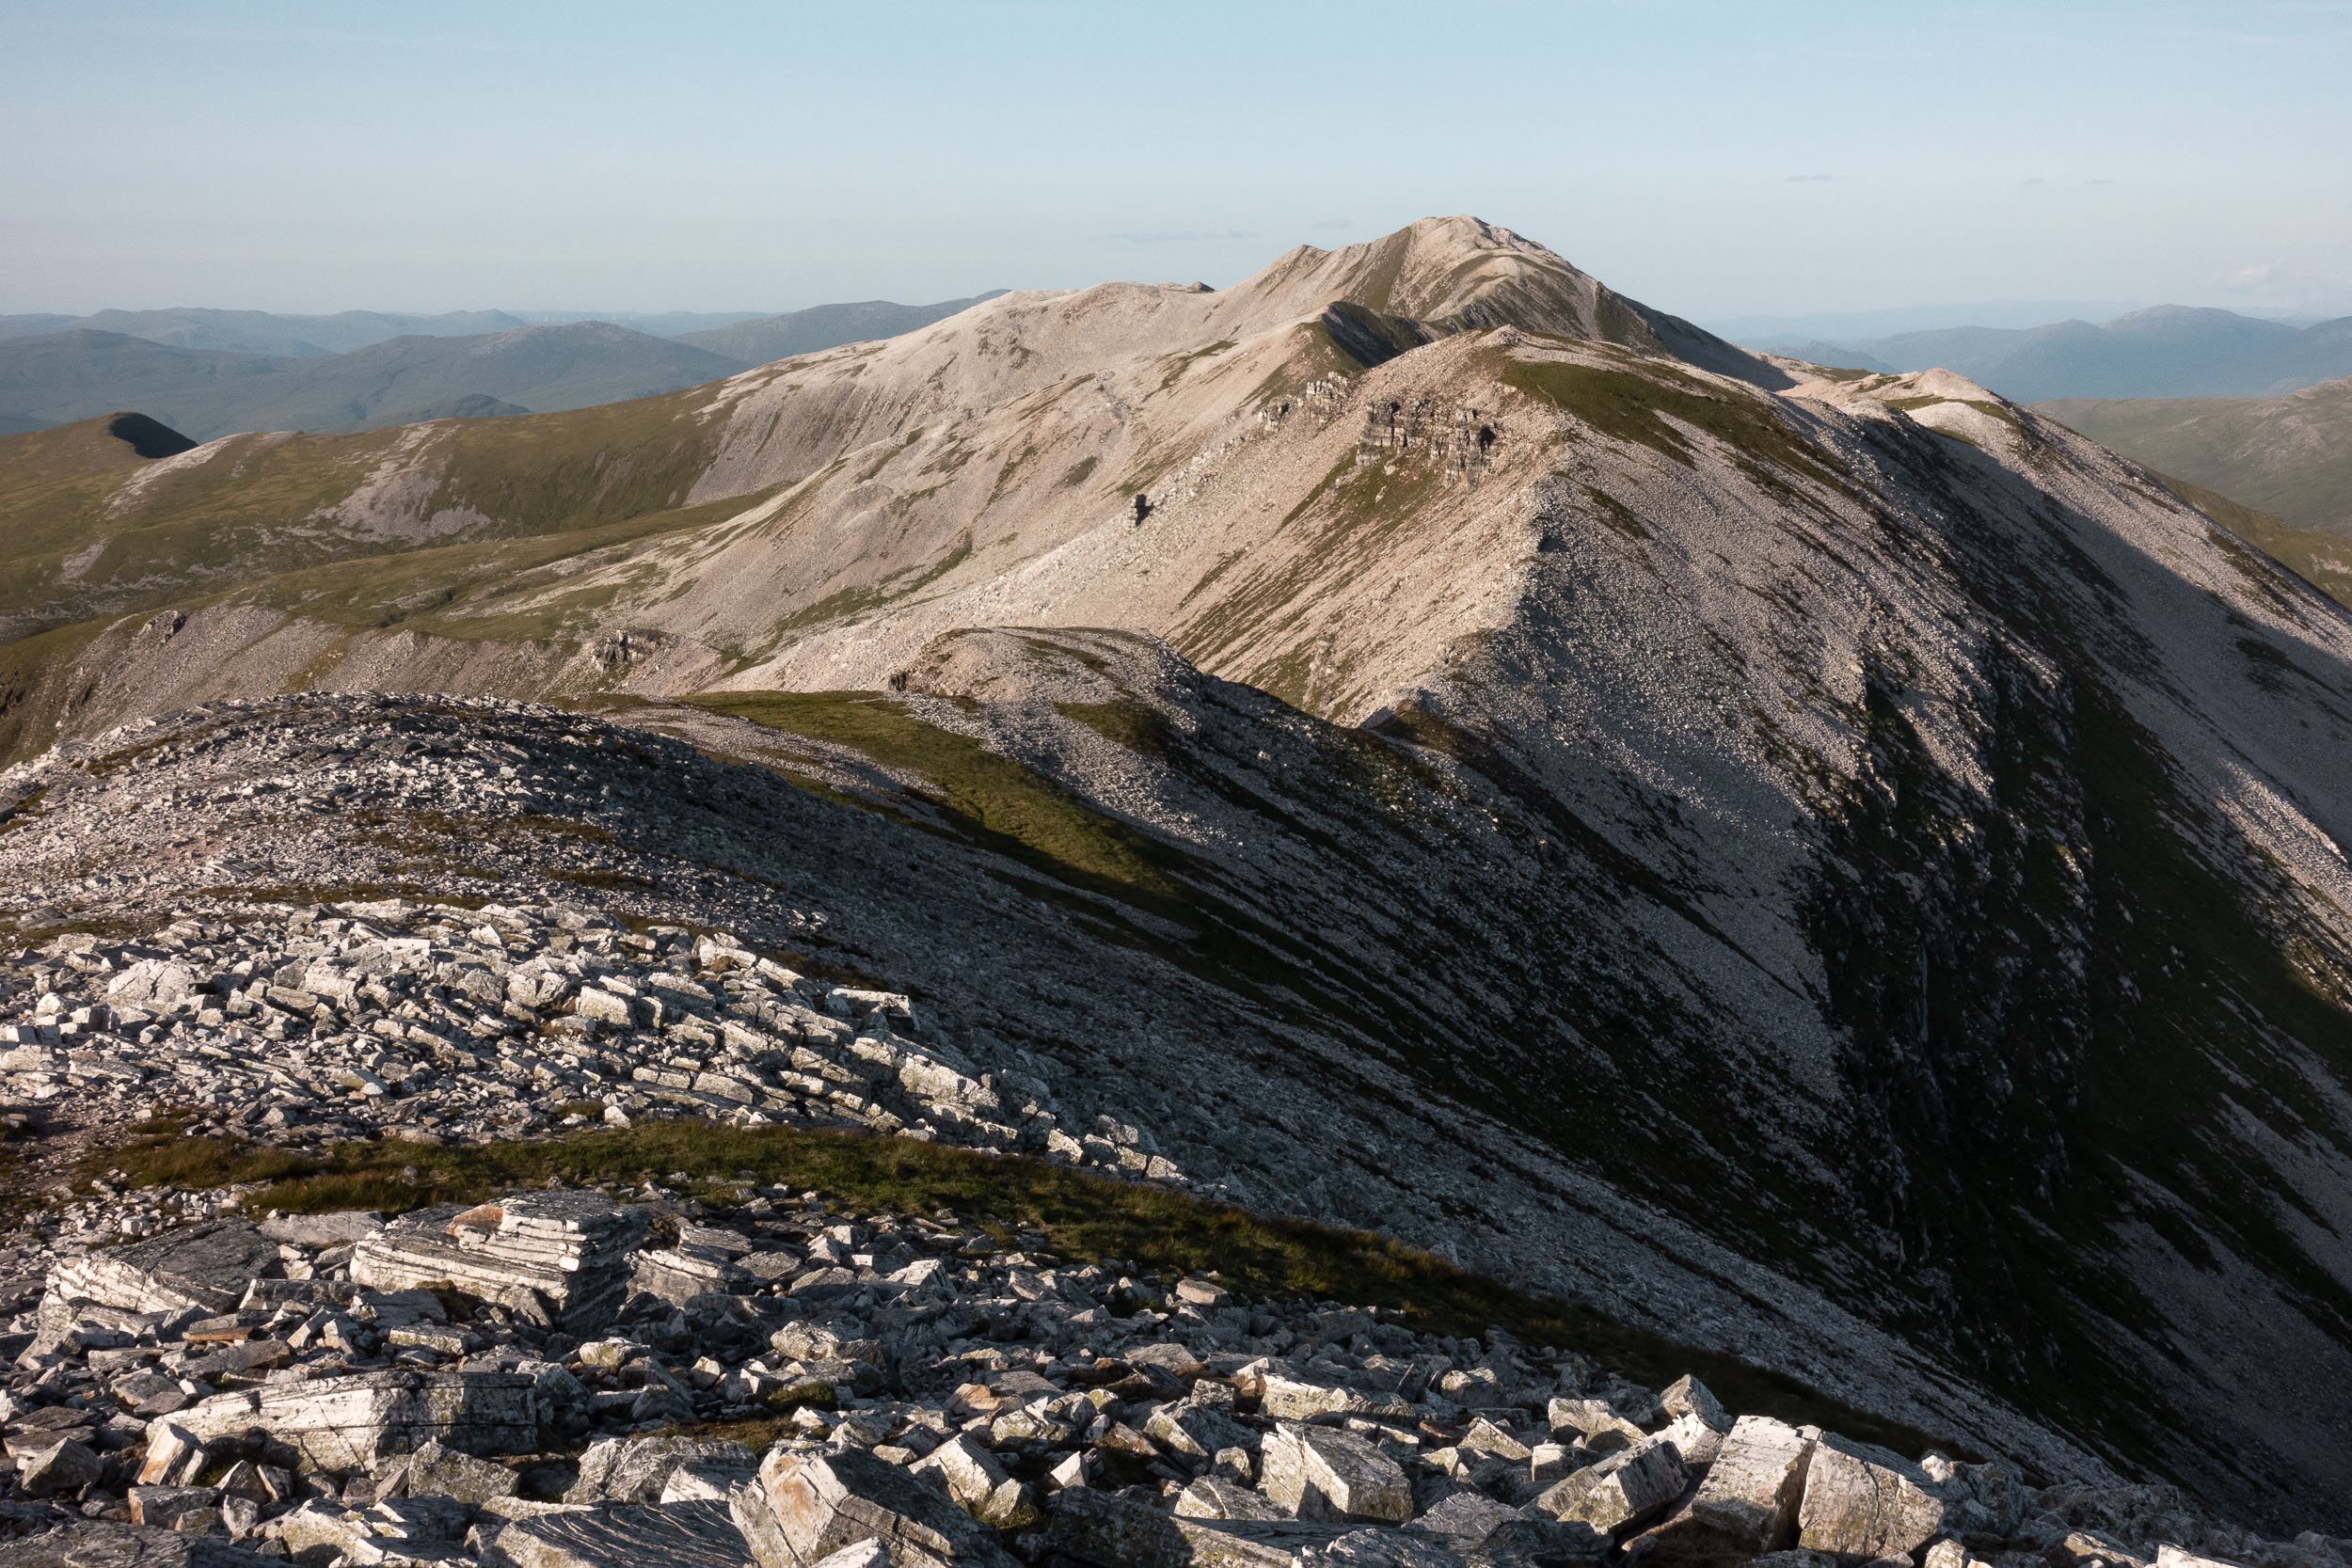
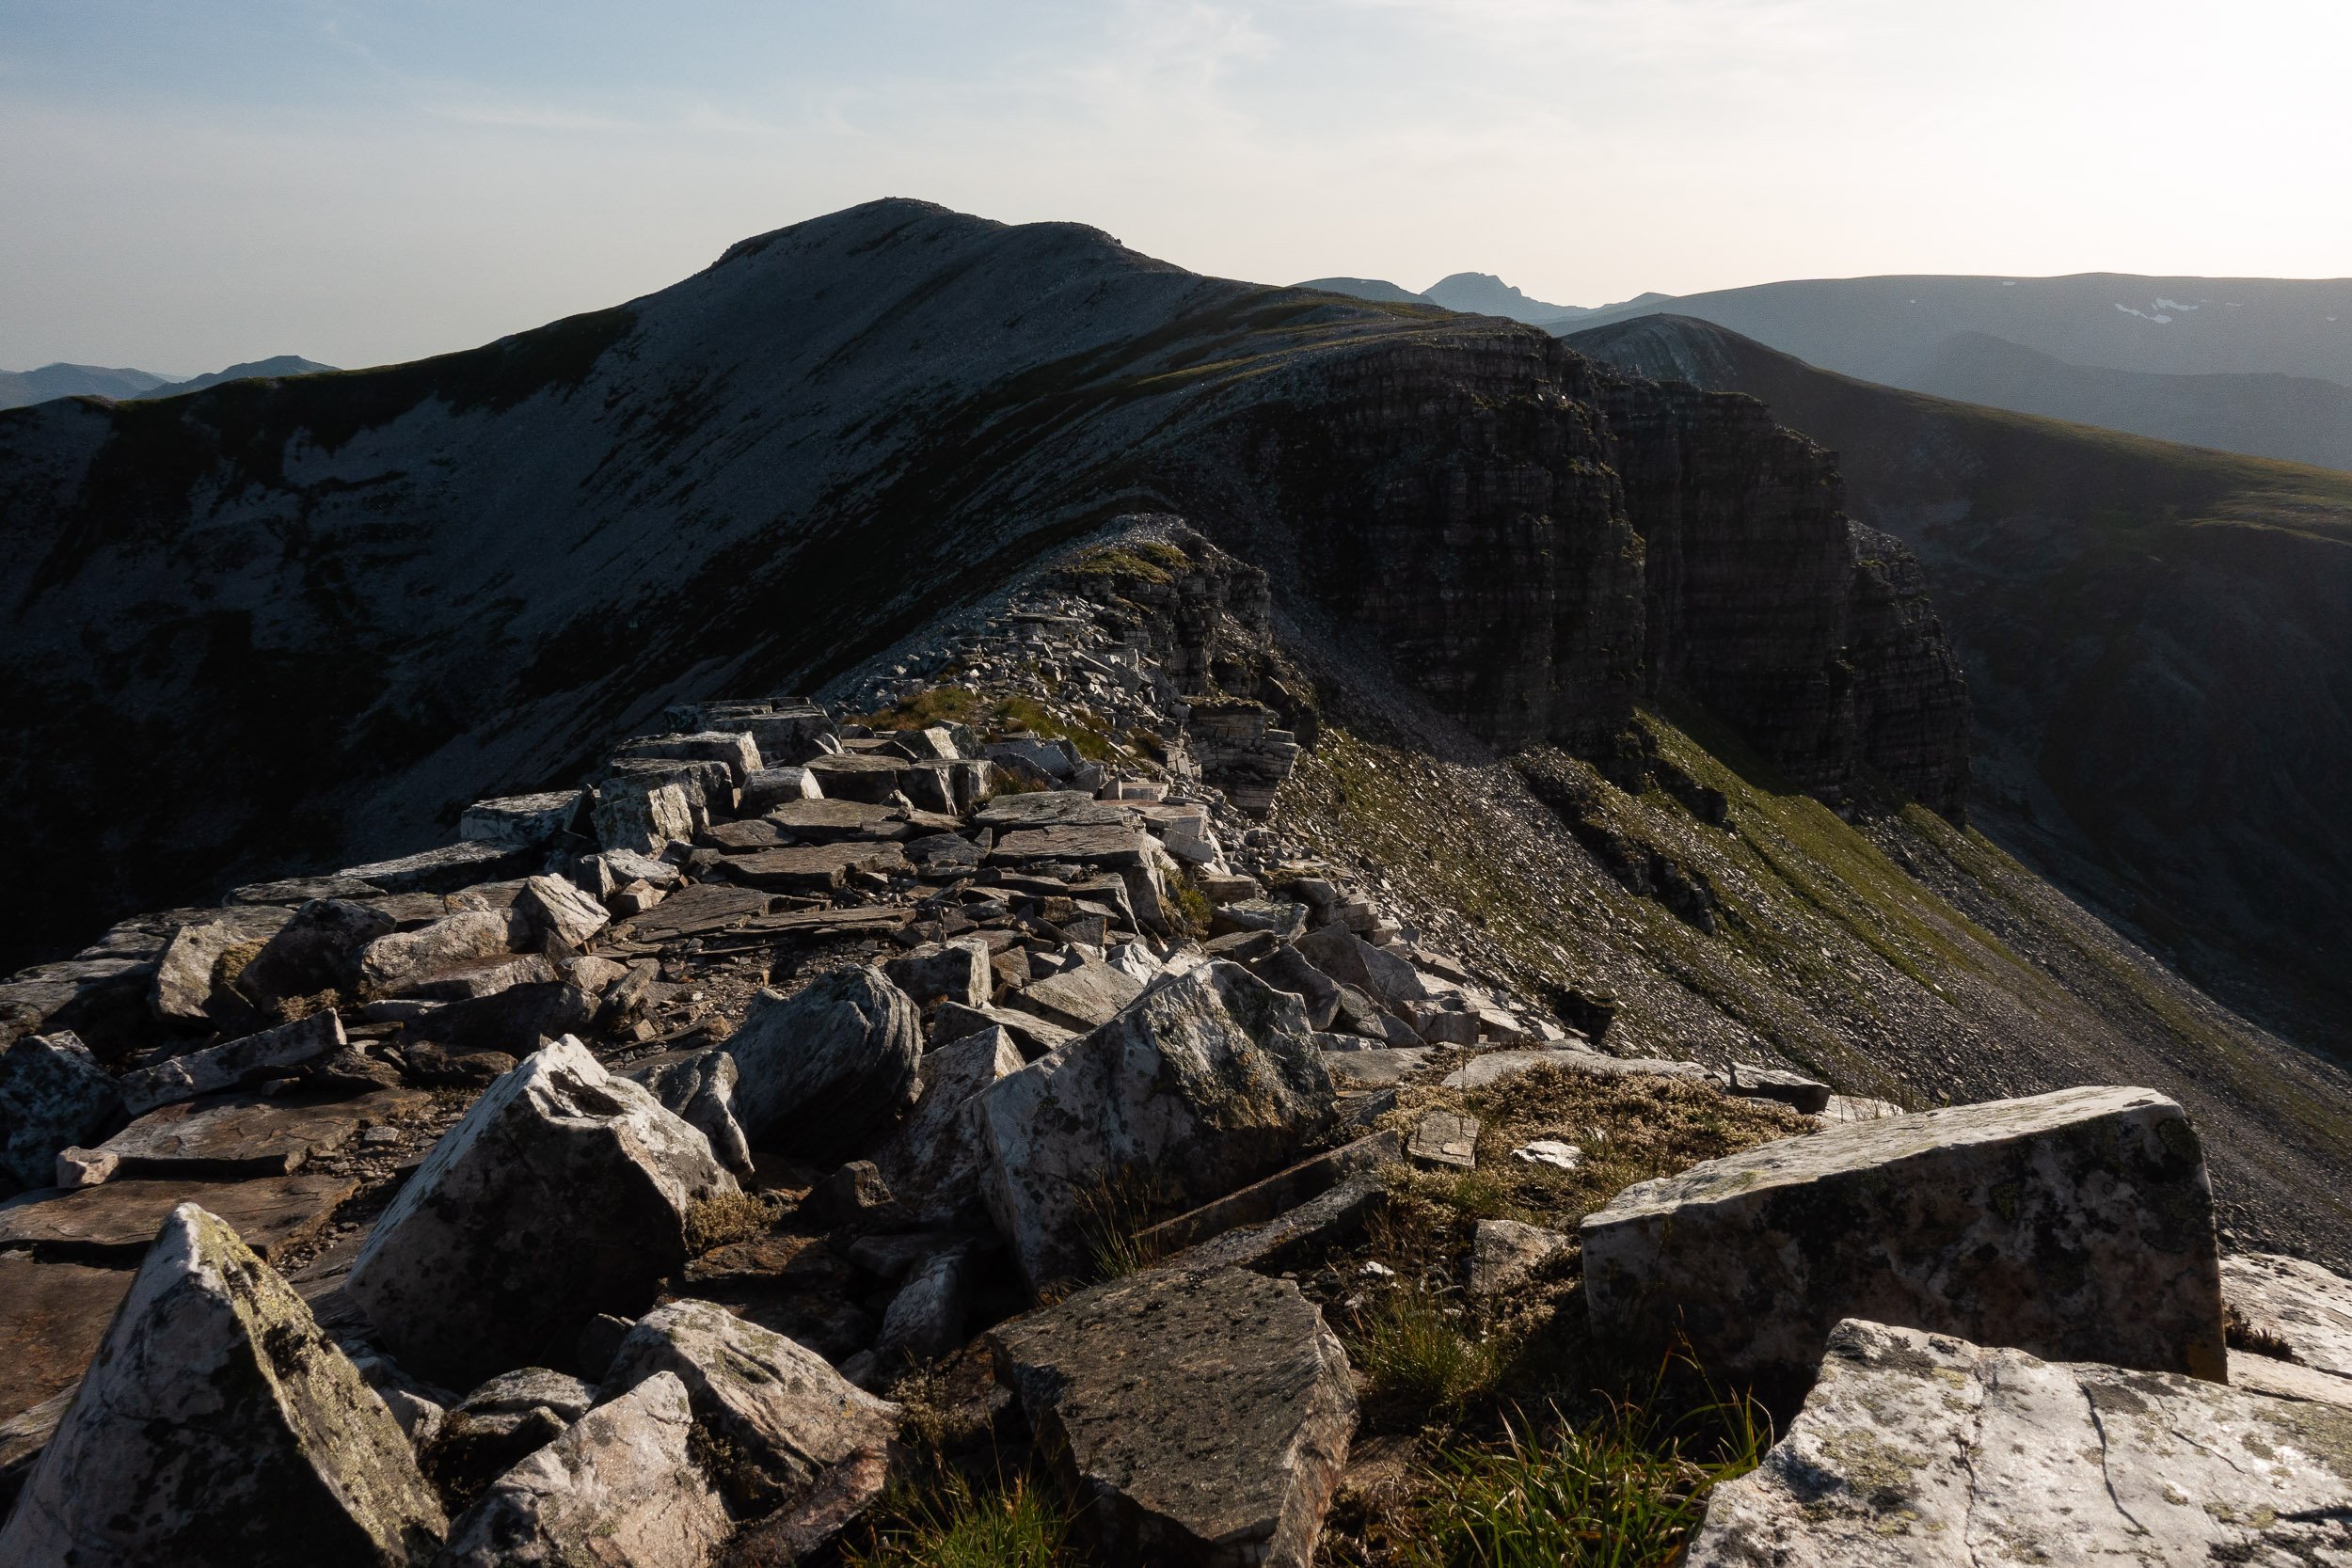


A completed round


A panoramic view of the Lochaber ridges at dawn, which has nearly all of Tranter's Round plus Charlie Ramsay's Round in view

Sea kayaking and hillwalking in Scotland — Knoydart
An editorial feature for TGO magazine on the fun and benefits of sea kayaking to climb a mountain, instead of walking. Includes ideas on sea kayaking and hill walking route ideas.
Written for and published by The Great Outdoors, a UK outdoor magazine who advertise themselves as “the UK's leading authority on hillwalking and backpacking for over 40 years”.

High above Loch Hourn on the Munro, Ladhar Bheinn, in the West Highlands of Scotland
“My experience of 2 days of kayaking is that it’s knackering on its own”, my friend Kirsty replied to the email I’d sent asking her if she and her partner Steve were interested in a sea kayaking trip to climb a Munro (a Scottish mountain peak over 914.4m high). “But a hill thrown in? I’ll need to get training!”
As a photographer specialised in outdoor and adventure sports, I know a little about a lot of outdoor activities. I always endeavour to pick up hints and tips from athletes during photo shoots but, when it comes to sea kayaking, I’m still very much a beginner. Kirsty’s words therefore rang loud in my head as I focused on my technique and concentrated on energy-efficient paddle strokes as we left behind the tiny settlement of Kinloch Hourn on Scotland’s remote west coast and headed out on a two-day sea kayaking adventure to climb the Munro, Ladhar Bheinn.
Ladhar Bheinn, 1020m tall, is one of my favourite Scottish mountains. Partly, because it is only accessible by boat or by foot. Getting to the peak involves travelling 9km by boat from Mallaig to Inverie (popularly known as being the home of Scotland’s most remote mainland pub) or hiking c.13km of rough terrain from Kinloch Hourn (itself a 35km drive along a single track road).
Most visitors looking to climb Ladhar Bheinn from Kinloch Hourn will hike in. The idea for a sea kayaking approach came to mind two months previously, during a particularly gruelling mountain backpack through deep snow in the Cairngorms National Park. Conversations that usually focused on the joys of light packs in Summer and afternoons soaking up the sun outside an alpine hut turned to the potential for a waterborne approach to climb some of the hills on Scotland’s very Patagonia-like west coast.
At the time, a discussion on the merits of kayaking into a mountain was just a means of taking my mind off the weight of a winter backpack on my shoulders and freeze-dried food in my belly. Fast forward to May 2016 and we’d made it a reality. Kirsty, Steve and I were joined on our Ladhar Bheinn adventure by Ben Dodman, a professional sea kayaking instructor with Rockhopper Sea Kayaking, a Corpach-based business near Fort William that offers day and overnight trips. Kirsty and Steve had been on trips with Rockhopper before and, when we approached Ben with the idea, he was keen to come along.
“There’s no real need for lightweight sea kayaking”, Ben had said when I’d asked him if it was worth limiting the camping equipment I’d planned to bring with me. “A kayak carries a lot of gear so you don’t have to skimp on the nice-to-have’s”. Kirsty and Steve — our volunteer cooks for the weekend — demonstrated similar principles in the menu they had prepared. Not the usual backpacking fare but pancakes, honey and banana for breakfast, fresh salad vegetables, tomatoes, wraps, tuna fish and mayonnaise for lunch and pasta, home cooked tomato, vegetable and chilli sauce and freshly-baked muffins for dinner. The latter three to be washed down with fine Italian wine. It had all the makings of a great weekend.
As we paddled Loch Hourn, the water’s translation from Gaelic, the Devil’s Loch, became apparent. One of the benefits of sea kayaking is it allows you to get close to nature. Kayakers on the west coast of Scotland have reported sightings of otters, seals, basking sharks, all habitual visitors to our islands and, on occasion, orcas. Shooting down the loch, metaphorically speaking, taking advantage of the tide and wind, we saw no sign of life. Nothing in the water nor in flight above the steep slopes either side of the water. We didn’t mind though, as dominating the view, partially covered in cloud, was the lower slopes of Ladhar Bheinn.

Sea kayaking on Loch Hourn in front of the Munro, Ladhar Bheinn, West Highlands of Scotland
I’d climbed Ladhar Bheinn twice before. My first time was via likely the most popular route up the mountain, from the small settlement of Inverie. We’d headed first for Mam Barrisdale before breaking off up steep, fern-covered slopes onto the curious feature of Aonach Sgoilte, or split ridge. My second ascent was during a 4-day backpack of all the Munros in Knoydart, when we reached Aonach Sgoilte after first climbing two nearby Corbetts, Beinn na Caillich and Sgurr Coire Choinnichean. Both times were in excellent weather and we could see all around as we continued up the scrambly north-west ridge of Ladhar Bheinn to its summit.
The classic route up Ladhar Bheinn is to follow a horseshoe around Coire Dhorchail. The headwall of this great mountain corrie is ringed with crags and it is enclosed by two great, narrow, steep-sided ridges, Stob a’Chearcaill and Stob a’Chiore Odhair. As we crossed Barrisdale Bay, we could see right into the corrie. The wind caused the chop on the water to increase as we headed into more exposed waters — the bay opens out into the Sound of Sleat offering access to Glenelg, Inverie and more — and care was needed as we negotiated a stiff cross-wind. Barrisdale bay however is not big and we soon reached the shelter of the shore and looked for a place to stay the night.
Outside the comforts of Inverie, there are three overnight options when you climb Ladhar Bheinn. You can wild camp almost anywhere, courtesy of Scotland’s refreshing outdoor access code, or stay in one of two private bothies nearby, Barisdale bothy or Druim bothy. Neither bothy is maintained by the Mountain Bothy Association and both charge a fee for staying at their accommodation. Barisdale however has the advantage of not needing pre-booked.
“Keep an eye out for a place to camp”, shouted Ben as we kayaked along shoreline. (I’d learnt that normal conversation was quite difficult on a kayak, soft-spoken words far too easily getting whipped away on the wind). We’d agreed as a group that we should take advantage of travelling in sea kayaks and wild camp on the shores beneath Ladhar Bheinn, only taking advantage of the bothy if the weather was really bad, After a short paddle, Ben found a suitable spot in a sheltered bay and we beached the boats safely away from the tide, pitched camp and ate a quick lunch.
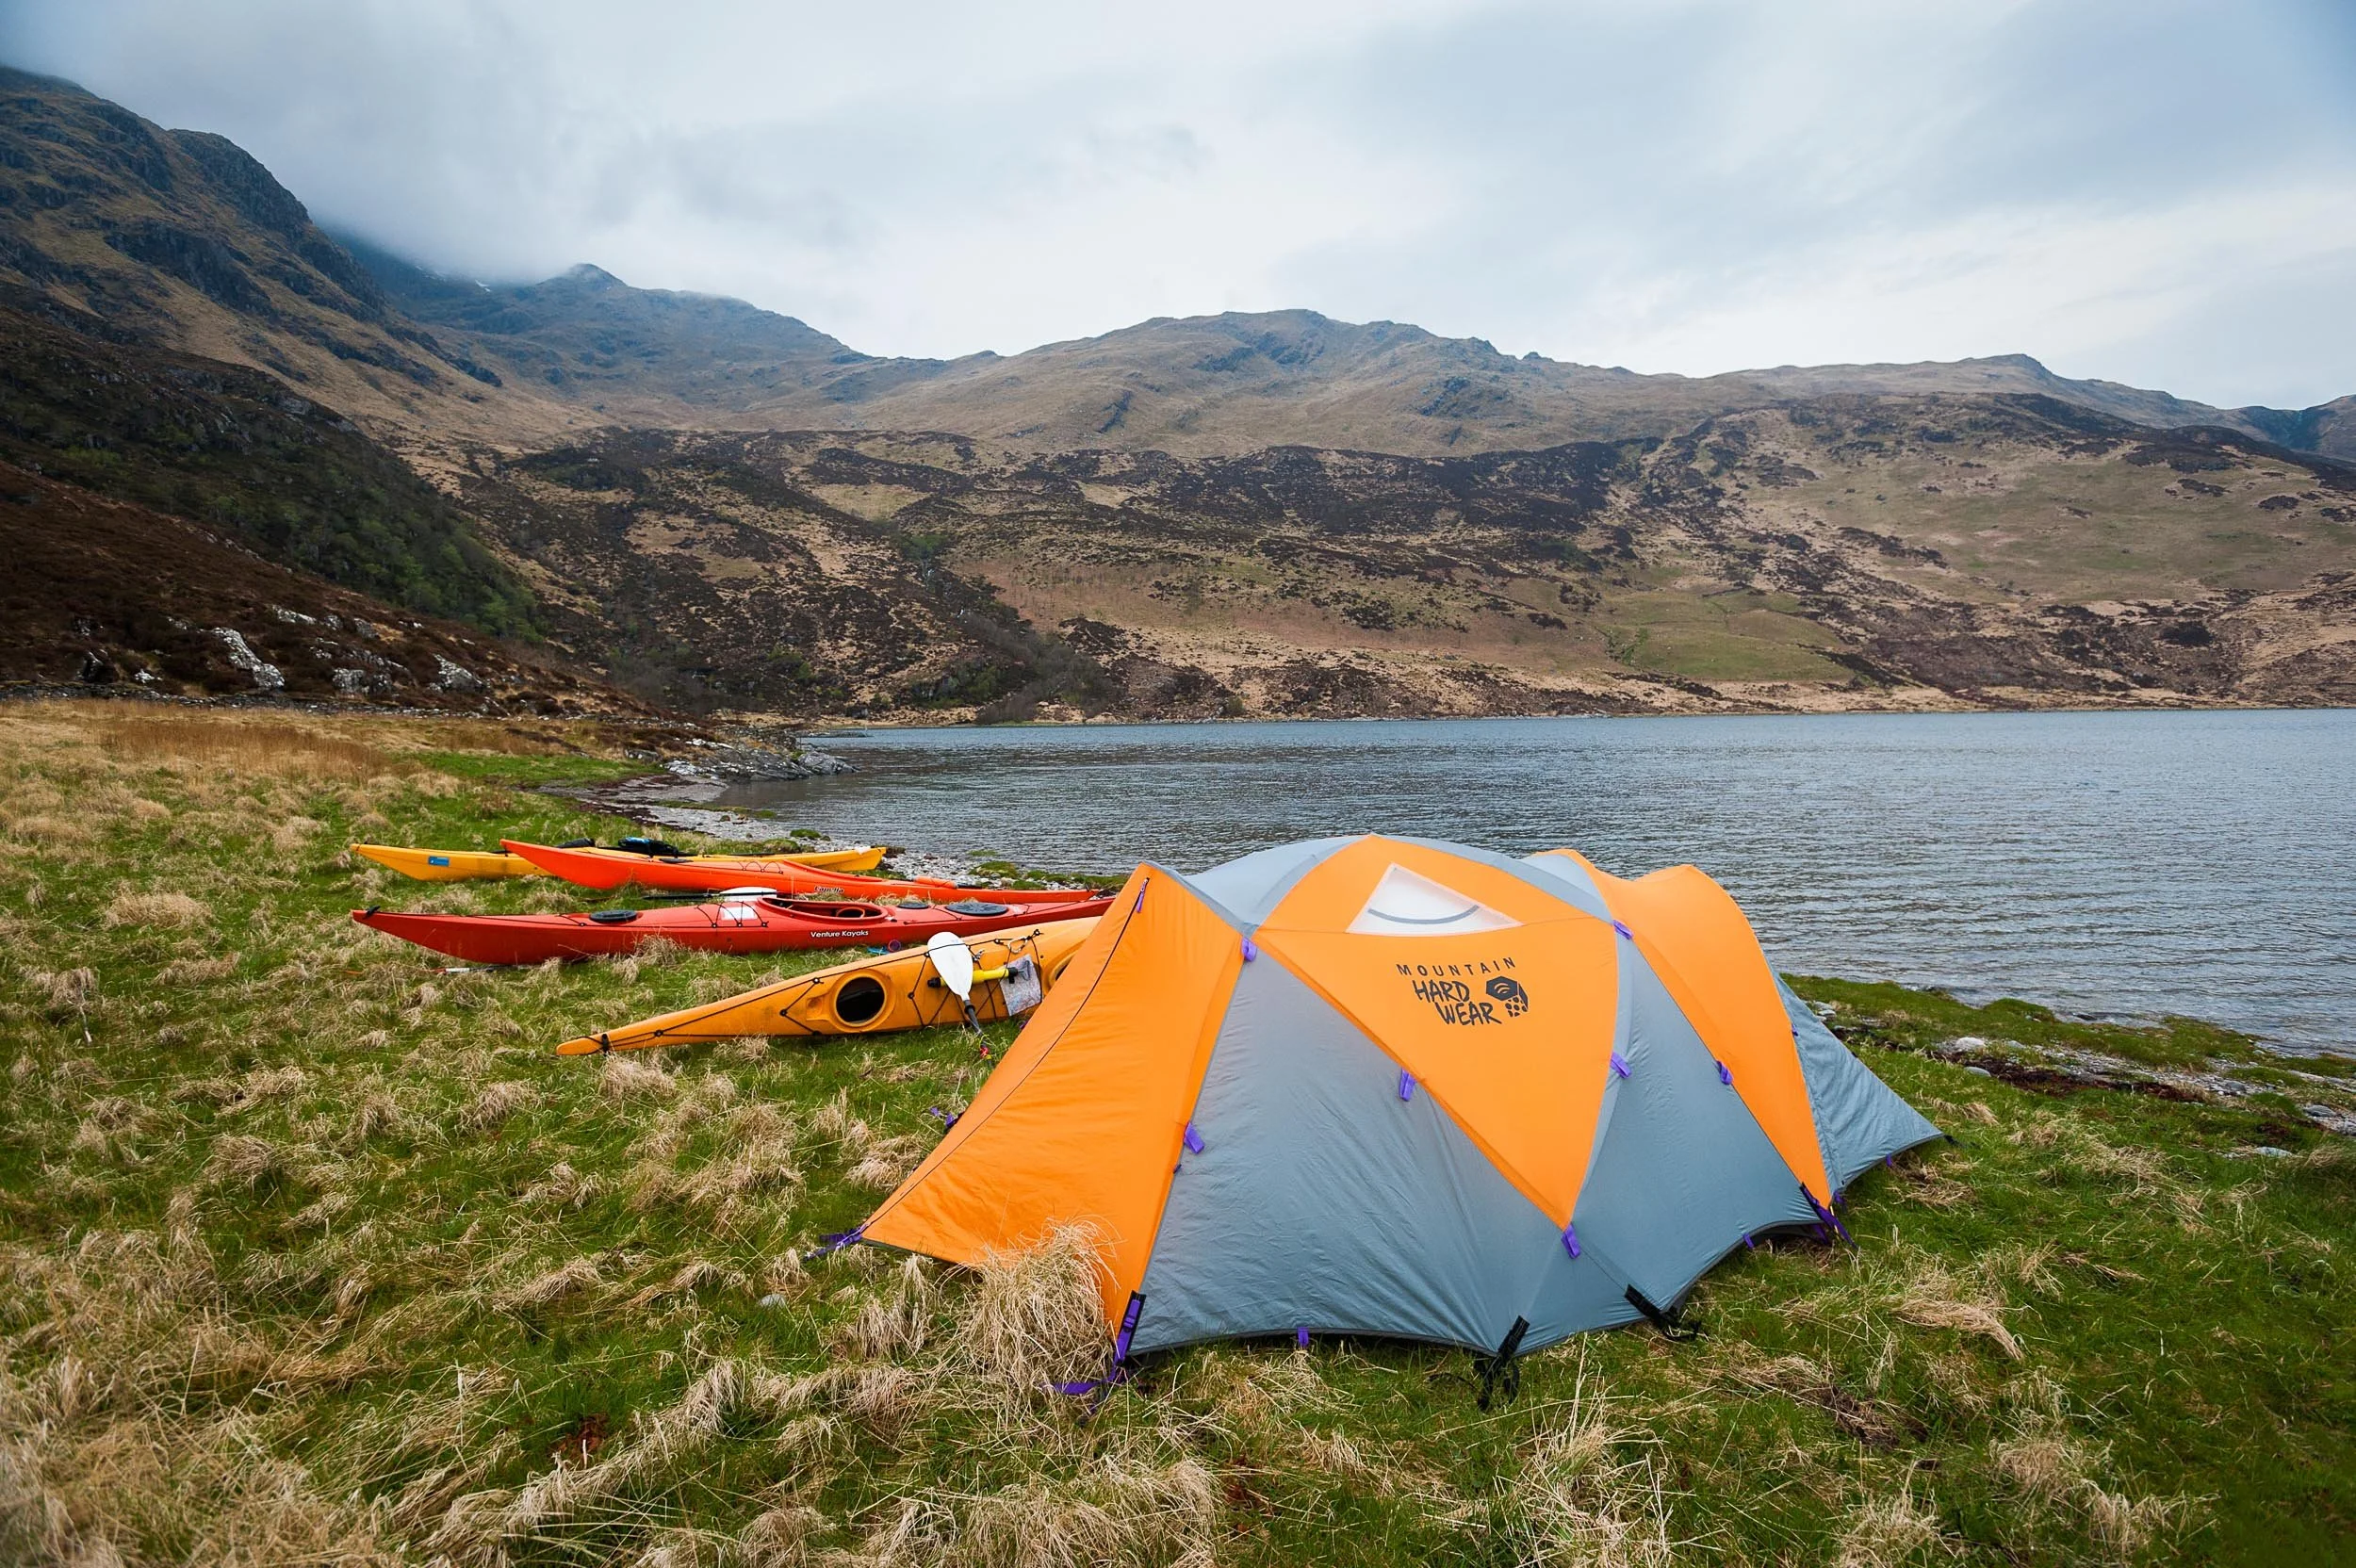
Sea kayaks lying beside a tent on the shores of Loch Hourn beneath the Munro, Ladhar Bheinn, West Highlands of Scotland
Despite the fact we’d started paddling at an early hour, there wasn’t much daylight left when we started our ascent of Ladhar Bheinn. From our campsite, there were a few routes we could have taken up the hill but we really wanted to do the classic route, via Coire Dhorrcail. To reach the corrie from our campsite involved a 2.5km traverse along the coastline, which involved some fun, but slippery coasteering and a river crossing. This made for an interesting start for our ascent, but it wasn’t long before we’d left the waters behind, gained some height and entered the mouth of the corrie.
“What an awesome location”, I shared with Kirsty as we followed Ben and Steve further into the corrie. I had envisaged a natural mountain amphitheatre and the terrain didn’t disappoint. As well as its steep outer sides of Stob a’Chearcaill and Stob a’Chiore Odhair, Corrie Dhorrcail has two mini corries within it, separated by a steep rocky nose. It’s quite a special place.

Scrambling up to the summit ridge on Ladhar Bheinn, a Munro in the West Highlands of Scotland.

Scrambling on route to the summit of Ladhar Bheinn, a Munro in the West Highlands of Scotland.
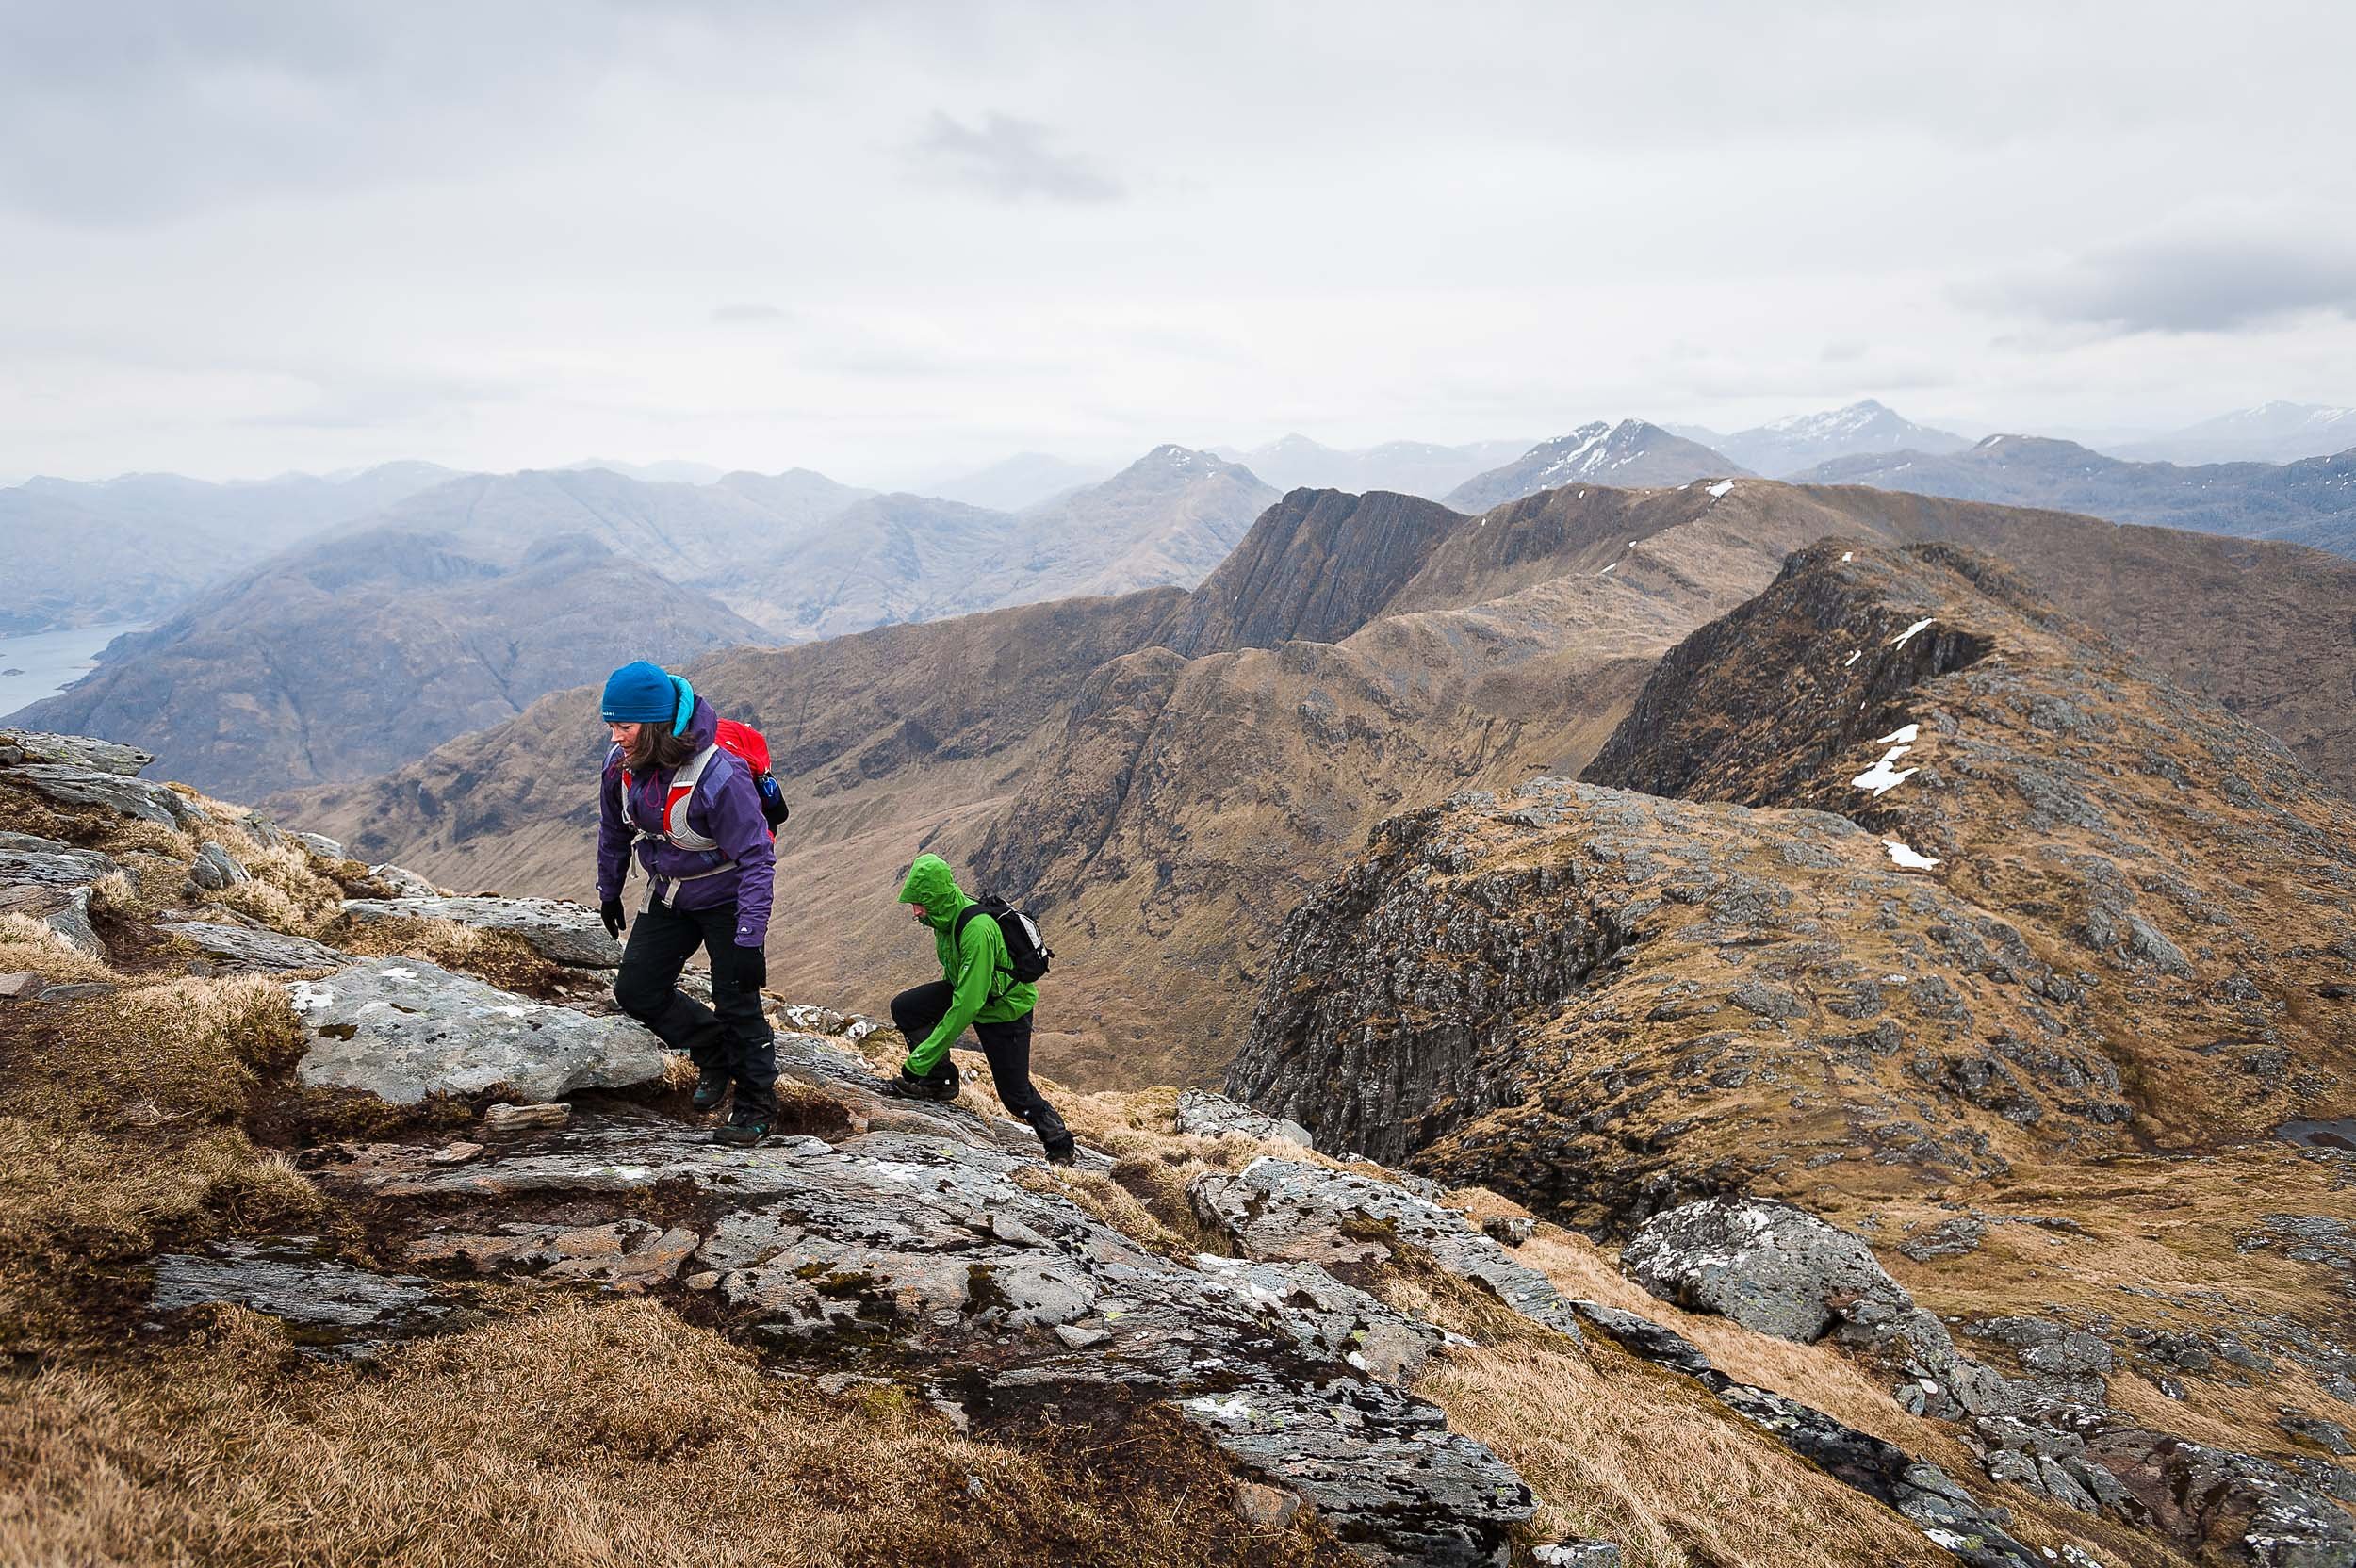
Ascending the summit ridge on Ladhar Bheinn, a Munro in the West Highlands of Scotland
In 1999, Knoydart had a burst of media attention when the local community raised £850,000 to purchase the land from the then estate owners. The east boundary of what became the Knoydart Foundation’s land (www.knoydart-foundation.com) ran along Ladhar Bheinn’s north-west ridge and, three or so hours after we had left the kayaks, we crested the headwall of the corrie and broke out onto this ridge near the summit of Aonach Sgoilte. The Knoydart peninsula is known as the ‘rough bounds’ for the wild nature of its terrain but we hadn’t found the ground so far too bad and had gained height relatively quickly. We had however been sheltered by the corrie headwall from the prevailing wind. As we stood on the ridge looking up towards the summit, we were more exposed and we quickly donned the extra clothing and waterproofs needed to keep warm as the wind whipped ominous-looking clouds across the steel-coloured sky. It was clear we were going to have some squally, windy weather on our way to the summit. To reinforce this fact, when we looked down to Loch Hourn ‘white horses’ had already started a race across the water all the way back east towards Kinlochourn.
Despite the somewhat bleak weather, we were enjoying ourselves. Ladhar Beinn’s summit flanks are a fantastic viewpoint and, as well as the view to Loch Hourn, we could see south-east to its neighbourly Munros, Luinne Bheinn and Meall Bhuide, and west out over the Corbett of Sgurr Coire Choinnichean towards Mallaig. Ladhar Bheinn’s north-west ridge is also great fun. It’s quite rocky and there’s a handful of scrambling on it, grade 1 at most, but nothing overly technical or exposed. (You can though stand on an obvious prow of rock halfway up that overhangs a drop of several hundred feet. It makes for a great photo opportunity).

Looking down to Loch Hourn during an ascent of Ladhar Bheinn, a Munro in the West Highlands of Scotland
I was almost disappointed when we climbed the last of the summit slopes and joined up with the connecting ridge that goes out to Stob a’Chiore Odhair. All that was left was an enjoyably airy walk that took us across Ladhar Bheinn’s final summit ridge and on to its summit cairn. As is all too often the case on Scotland’s mountains, we didn’t hang around for too long. Rain had been falling for most of the previous hour and thoughts of being back at camp eating dinner had started to cloud my thought process. (This was despite the banana and walnut muffins Kirsty had produced out of her rucksack on the way up. “There’s enough for two each if you want them”, she triumphantly proclaimed. There was definitely little concept of ‘light and fast’ on our trip and, I must say, it was all the better for it).
It was after 5.30pm when we started our descent. Despite not having to go back to our starting point at Kinloch Hourn, we still had a fair way to go to get back to our tents. The decision we’d made was to reverse our steps back along the summit ridge and then complete the horseshoe of Coire Dhorcaill by a descent of the mountain via Stob a’Chiore Odhair. One of the benefits of wild camping is you’re not restricted to existing routes up or down mountains and, as we descended the ridge, which is enjoyably narrow, we realised it made sense for us to break off towards Bealach a’Choire Odhair. After a few steep descents, we could see our tents below and we headed straight down to the shores of Loch Hourn. All that was left was a final short burst of coasteering before we reached our tents, the stoves were lit and dinner was served as we sat on our kayaks and watched it get dark.
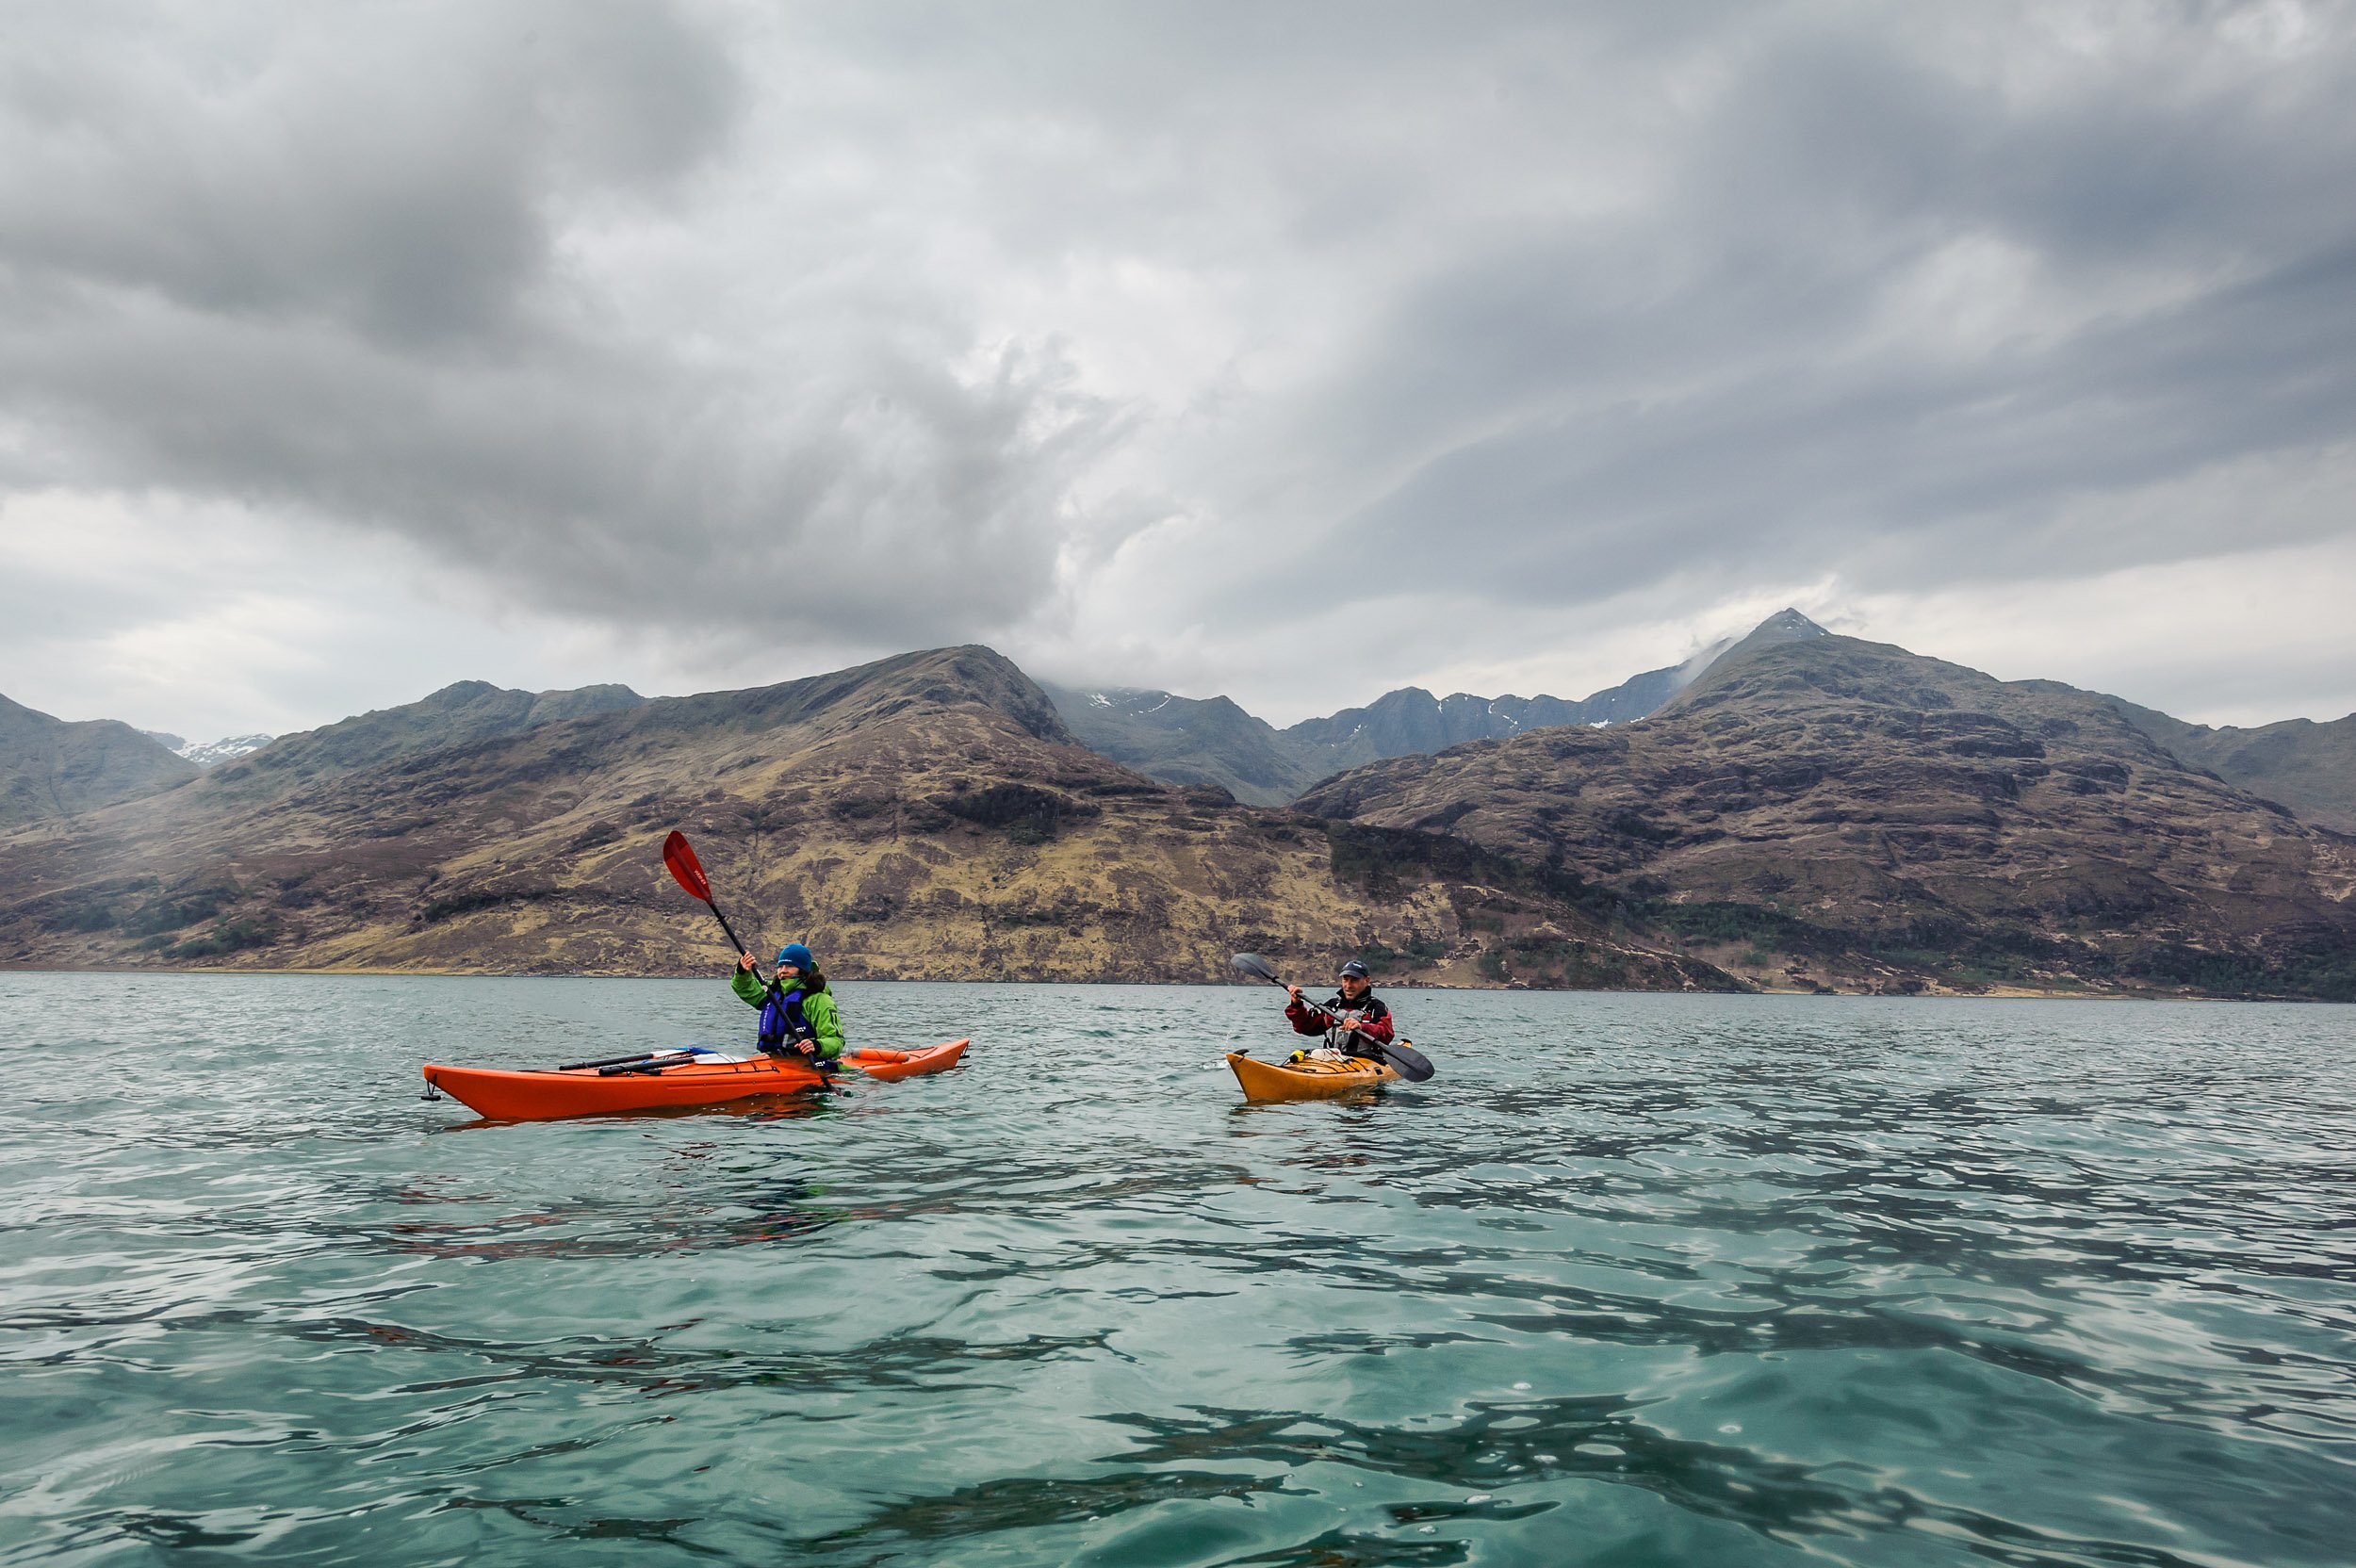
Paddling Loch Hourn on our route out from the Munro, Ladhar Bheinn, in the West Highlands of Scotland
Planning a sea kayaking trip
Whilst our paddle on the way to climb Ladhar Bheinn was greatly assisted by the outgoing tide, our journey the next day back to Kinloch Hourn was needlessly harder as we paddled through the narrows at Caolos Mor straight into the tide (only because everyone was kind enough to stop in Barrisdale Bay so I could take some photos for this article). Paddling against the flow of the water is hard work and, energy-wise, it meant we all had to work at least 2 times harder than if we were going with the flow. It makes much more sense to plan a sea kayaking trip around the tide. If you don’t know how to do this, go with a professional. Rockhopper Sea Kayaking (www.rockhopperscotland.co.uk) is based in Corpach, near Fort William, and offers half, full and multi-day sea kayaking trips through ‘some of the most spectacular coastal, mountain and island scenery in Scotland’. All you need to do is turn up and play.
Basic sea kayaking equipment
Wet or dry suit
Sea kayak
Spray deck
Buoyancy aid
Paddle
Map (For Ladhar Bheinn we used OS Landranger 33, Loch Alsh, Glen Shiel and Loch Hourn)
Compass
Nice to have;
Dry bags (lots of them)
Rubber shoes
Hat and gloves
Tow belt
Spare paddle (at least one between a group)
Waterproof camera case
Other kayaking / hillwalking trip ideas in Scotland
Loch Quoich / Ben Aden
Loch Scavaig / Skye Cuillin
Loch Veyatie / Suilven
Loch Mullardoch / Benula Forest
Loch Monar / Monar Forest

Winter camping in Scotland — Gear List
Recommended items of clothing and equipment for a winter camp in Scotland’s Munro mountains.
Note - This is not a lightweight winter backpacking kit list. It’s optimised for a walk into a fairly remote location (e.g. in Scotland, c.2 hours from the road) where you’ll pitch your tent in place and have two day walks with two static wild camps overnight.

Winter tents camped on the snow at sunrise near the bealach beneath Meall nan Teanga and Sròn a’ Choire Ghairbh, two Munros above Loch Lochy in the West Highlands of Scotland
Far too early in the year (usually from October), I look forward to winter camping in Scotland. People often find this strange because I’m not talking about the deep, cold snowy winters of, say Alaska, but the bone chilling, ‘just-above-freezing and the sleet’s blowing sideways’ maritime climate that Scottish hillwalkers rejoice in.
Winter camping in Scotland can be cold and very wet. We don’t live in a big country but it’s possible to get far away from the road and relative safety (some roads in winter have no traffic) and with the wind, snow and often close-to-freezing temperature of the rain it would be easy to get hypothermia. It’s important to have the right skills, quality equipment and to be prepared.
Here is a sample winter camping kit list for coping with Scottish winter conditions, with some gear thoughts and tips from 25 years experience thrown in.
Wear
Underwear — Synthetic shorts (or merino wool, which doesn’t stink as much after a few days out). Definitely not cotton.
Trousers — Softshell trousers are popular. I’ve tried lots and prefer Powerstretch leggings (think stretchy fleece tights — not for the fashion conscious)
Socks — Thick woollen socks (e.g. from Bridgedale or Smartwool). If you wear leather boots, waterproof/breathable socks can be useful if it’s forecast to be wet underfoot — look for ones with merino wool inside.
Boots — Scarpa Mantas used to win Trail magazine’s ‘Best in Test’ award most, if not every year. I like La Sportiva’s Nepal Evo GTX model for big snow days (although they’re more suited for climbing than walking, they’re waterproof and very warm) and Salewa Crow GTX for occasions when it’s still winter but the conditions are more alpine in nature
T-shirt — Merino wool (mixed reviews — I like it) or Patagonia’s Capilene fabric
GPS watch — I use a Garmin Fenix 5, which I’ve customised to display grid reference, distance, speed and elevation
Warmth
Fleece top — A lightweight fleece pullover, 100-weight
Windshirt — Invaluable. I wear it over the t-shirt, or the t-shirt and fleece, and it keeps me warm on the move in most weather
Fleece or softshell jacket — I use a Rab Winter Guide jacket. It’s not windproof enough on its own in a cold wind and it’s overly heavy to carry, which is the case most of the time as it’s too warm for me to walk uphill in it, but under a shell it’s excellent as it offers a lot of protection when I need it (e.g. when I’m up high for a long period of time). Lighter options are available (e.g. a second fleece layer or a 60gm Primaloft top from Rab, Haglofs, Patagonia) but I’ve found the insulation in the latter compresses too much in a winter hoolie and I’ve been cold.
Insulated jacket — Mountain Equipment’s Citadel jacket is super toasty. (I’ve tried down insulation and don’t like it in Scotland in winter for camping trips, even with a water-resistant shell — it gets wet too easily and the insulation suffers). The Citadel jacket is far too warm to move for long in so I’ll occasionally replace it with a Mountain Equipment Prophet if the weather is forecast to be not too cold. (If I was buying new, I’d likely go for Mountain Equipment’s Fitzroy jacket).
Insulated trousers — Mountain Equipment Compressor Pants if I’m expecting to be outside a lot during the evening (e.g. taking photographs). A total luxury item but never a regrettable decision (and they enable me to take a lighter sleeping bag).
Hat — Powerstretch hat (thicker ones I find get too hot for walking in)
Buff — Protects your face from the cold when the wind is strong and the temperature is around or below freezing. If it’s really bad I prefer a neoprene face mask.
Balaclava — Powerstretch or merino wool. Or a windproof one if the weather if forecast to be especially wild.
Fleece gloves — Thin Powerstretch gloves I use for perhaps 80% of the time (these enable me to maintain the dexterity required to take photographs). They get wet but dry relatively quickly.
Warm gloves — For a long time I used a pair of waterproof ski or mountaineering gloves from Black Diamond. They were great for poor weather but if I wore them all day I sweated in them and they stayed wet for the duration and for days afterwards. I replaced them with a non-waterproof, soft-shell alternative, Mountain Equipment’s Randonee gloves, accepting the same outcome as my fleece gloves above - they will get wet but dry quicker.
Pile mitts — Lightweight pertex/pile mitts (e.g. Mountain Equipment Randonee or Montane Extreme mitts), which I carry as spare for emergencies
Wet
Waterproof jacket — Mountain Equipment’s Lhotse is ideal (or the Rab or Montane equivalent). I don’t choose a super lightweight option (such as Alpkit’s Gravitas model) which I’ll keep for summer or for days when it’s virtually guaranteed there will be no rain. Features-wise, I like two layers of fabric for the front zip, or else the wind/sleet/rain comes through it, plus a hood you can disappear into which has strong bungee cord at the back of your head for cinching it dow (many jacket hoods un-cinch in strong winds and any models that utilise a velcro strap for this purpose I’d propose are next to useless).
Waterproof trousers — Three-layer Goretex trousers (or Pac Plus) offer maximum protection. If you’re wearing thicker trousers, you could get away with a lighter pair of shell trousers but I’d caution lightness against robustness. I trashed two pairs of Goretex Paclite trousers each in a single season through heel rubbing before a friend gave me a tip - If your trousers don’t have a reinforced kick panel on the inside of your waterproof trousers, next to your heel, paint seam seal here. This strengthens this area dramatically.
Waterproof shell mitts — Paclite mitts from Goretex for wind/waterproof protection (worn over either my gloves or mitts)
Gaiters — Can almost guarantee dry feet, when used with waterproof boots, but I can sometimes get hot and sweaty instead. I use an old pair of Mountain Hardwear waterproof/breathable ones. Make sure the loop at the bottom is sturdy or it’ll break easily.
Safety
Map and compass — Essential, with the map protected within an Ortlieb waterproof case. Plus a spare of each if I’m on my own.
GPS — Not always carried as I have GPS technology on my watch and phone if need be (I only ever use it for a grid reference)
Mobile phone — In a dry bag, fully charged and switched off
Garmin inReach satellite messenger— My choice for emergency communications. Expensive but provides peace of mind.
Powerbank - Nitecore’s 10,000 power brick is very lightweight and ideal for camping, but it is expensive
Ice axe — Petzl’s Summit ice axe (59cm) I’ve found to provide a good balance of functionality versus weight
Crampons — Grivel G12s (10-point ones would suffice for winter walking)
Trekking poles — Collapsible aluminium poles (e.g. Black Diamond) are nice and light in weight (the carbon-fibre version even more so). For Winter, I prefer a stronger pole which offers more durability (e.g. Black Diamond’s Trail Trekking model). I’ll always choose a manufacturer whose poles tighten using a flick-lock mechanism because I’ve had two screw-tighten poles fail on me.
Goggles — Not often used but essential when you need them, to be able to see clearly and navigate in a blizzard
Headtorch — Petzl’s Nao+ model offers a lot of power and great battery life. (I do choose though to carry a spare battery, along with a Petzl Bindi model for use around the tent)
Bothy bag — An essential piece of gear for emergencies — you’ll be away from your tent all day so you can’t rely on that — but also great for lunch stops in the wet or wind. (A 2-man model fits you and a dog. A 3-man is better I’d propose for 2 adults)
Blizzard bag — I’ve never used this but if the marketing’s to be believed, it’ll be as warm as a 2-season sleeping bag. (I imagine it won’t).
Suncream — Sunburn is not a good look, nor good for your health
Shovel - Not always taken but used for digging into the snow, e.g. for protection from strong winds
Eating and sleeping
Tent — A 4-season dome or tunnel tent (I have a Macpac Minaret model from 2004 which I’d class as bombproof but I’m not sure how good Macpac’s fabrics or manufacturing process is today). If the weather forecast is not too bad — or I’m winter backpacking rather than a static camp — I’ll choose a Hilleberg Akto model that I use for the rest of the year, which I have used as a base camp in heavy snow but found it wasn’t optimal, despite what I read from passionate users on the internet.
Poles — There’s the option to double up on poles if you’re expecting very bad weather (I’ll do this with the Akto in winter regardless)
Pegs — Long ones plus wide snow stakes if camping on snow (Useful to take some polythene bags then too — fill them with snow and attach them to the guy lines)
T-shirt, long johns, socks — A completely dry set of clothes to put on if need be (with a focus on whatever I choose as being as light as possible)
Sleeping bag — I prefer synthetic and use an excellent Mountain Hardwear Lamina model that’s rated to 20 degrees Fahrenheit / -7 degrees Centigrade (but isn’t that warm — which is where the insulated trousers come in, above). A down bag would be ideal for one night, likely also two, but in that case I’d also take a sleeping bag cover (Mountain Equipment Ion) as down bags are prone to get damp with condensation.
Sleeping mat — Thermarest NeoAir XTherm model is great, and still light enough I find for all year round. (It’s lighter and packs smaller than an much thinner 3/4 length Thermarest model I used to use)
Stuff sack — I’ll either simply re-use a dry bag or take the stuff sack for a Rab down jacket I have (but for which I keep for dog walking). Put clothes in the stuff sack and you have a perfect pillow (the dry bag gives you a cool face which you may not appreciate. I sleep hot, and therefore I do).
Glasses case — I’ve rolled over on my glasses a few times
Kindle— It’s a long night if you’re in your bed just after it gets dark
Ear plugs — Useful for tent partners, it’s said, but also for the wind. I don’t take any as I’ve never found a pair that are any good.
Stove, fuel, windshield — I own a few, all from Mountain Safety Research (Whisperlite, Windburner and a Pocket Rocket). For Scottish Winter, the Windburner is by far my default choice as it’s super easy to use, has it’s own pot and I can use it inside my tent vestibule with little risk of anything catching fire (always prioritising lots of ventilation so I don’t die of carbon monoxide poisoning). Look for winter grade fuel which is optimised for lower temperatures.
Vacuum flask for hot drinks— I no longer take this (carrying the stove instead through the day if I think I would need it). A 0.5 litre flask though I’d propose would be a good combination of weight versus the amount of use.
Pot — On the rare occasions I take my multi-fuel stove (MSR Whisperlite), I’ll take a lightweight 1.6 litre pot so I can boil a big pot of water and use it for multiple things, all at the same time (to save me reboiling water). My MSR Windburner model however is much simpler to use and comes with its own pot, which although small is perfectly suitable for drinks (which is all I’ll use it for because, in Winter, my main meal is ‘just-add-water’ freeze-dried options from e.g. Summit to Eat, which I eat out of the packaging).
Spoon — Lexan or titanium
Lighter — Light my Fire fire steel
Pen knife — Small Swiss army knife or similar
Water bottle — A rigid 1l Nalgene with a wide mouth for on the move. Excellent when stopped as a hot water bottle (I put it between my legs, on the understanding that it’s warming up my blood as it’s travelling through my body) and I’ll also bring a 1.5 litre collapsible water bottle (e.g. Platypus). It’s nice to not have to walk back and forth for water
Hygiene — Toothbrush, toothpaste, toilet paper, hand-wash, trowel
First aid — E.g. strong painkillers, loperamide, zinc oxide tape for blisters, etc.
Repair kit — You could choose to leave this behind but a basic repair kit I’d propose is a good thing to have. Things I’d carry include inner tube patch for my sleeping pad, a sleeve for my tent pole and a strong patch for any rip in the tent outer (which I’ve used before after putting my tent pole through the tent fly sheet at 10pm one Winter in a blizzard, after wading 6km through deep snow from the road).
On top of this, I’ll carry a DSLR camera, a single 24–70mm lens, spare batteries and memory cards in a Lowepro Toploader Pro AW75 camera case
Winter backpacking
If I’m backpacking in the Winter over multi-days, I’ll remove certain items from the above list (i.e. the thin gloves, blizzard bag, bothy bag, spare map and compass) or replace them with lighter versions (e.g. Salewa Crow boots instead of the Nepal Extremes, a hooded fleece instead of the Winter Guide Jacket - I’m eyeing up Mountain Equipment’s Switch Pro jacket, Montane Extreme Mitts instead of the Extremities, Goretex Paclite over-mitts instead of the heavier ones, etc.).

Camping at c.950m in the Window on Creag Meagaidh, a Munro in Scotland. It may look nice in this image but the winds were very strong so we dug into the snowpack to provide some shelter.
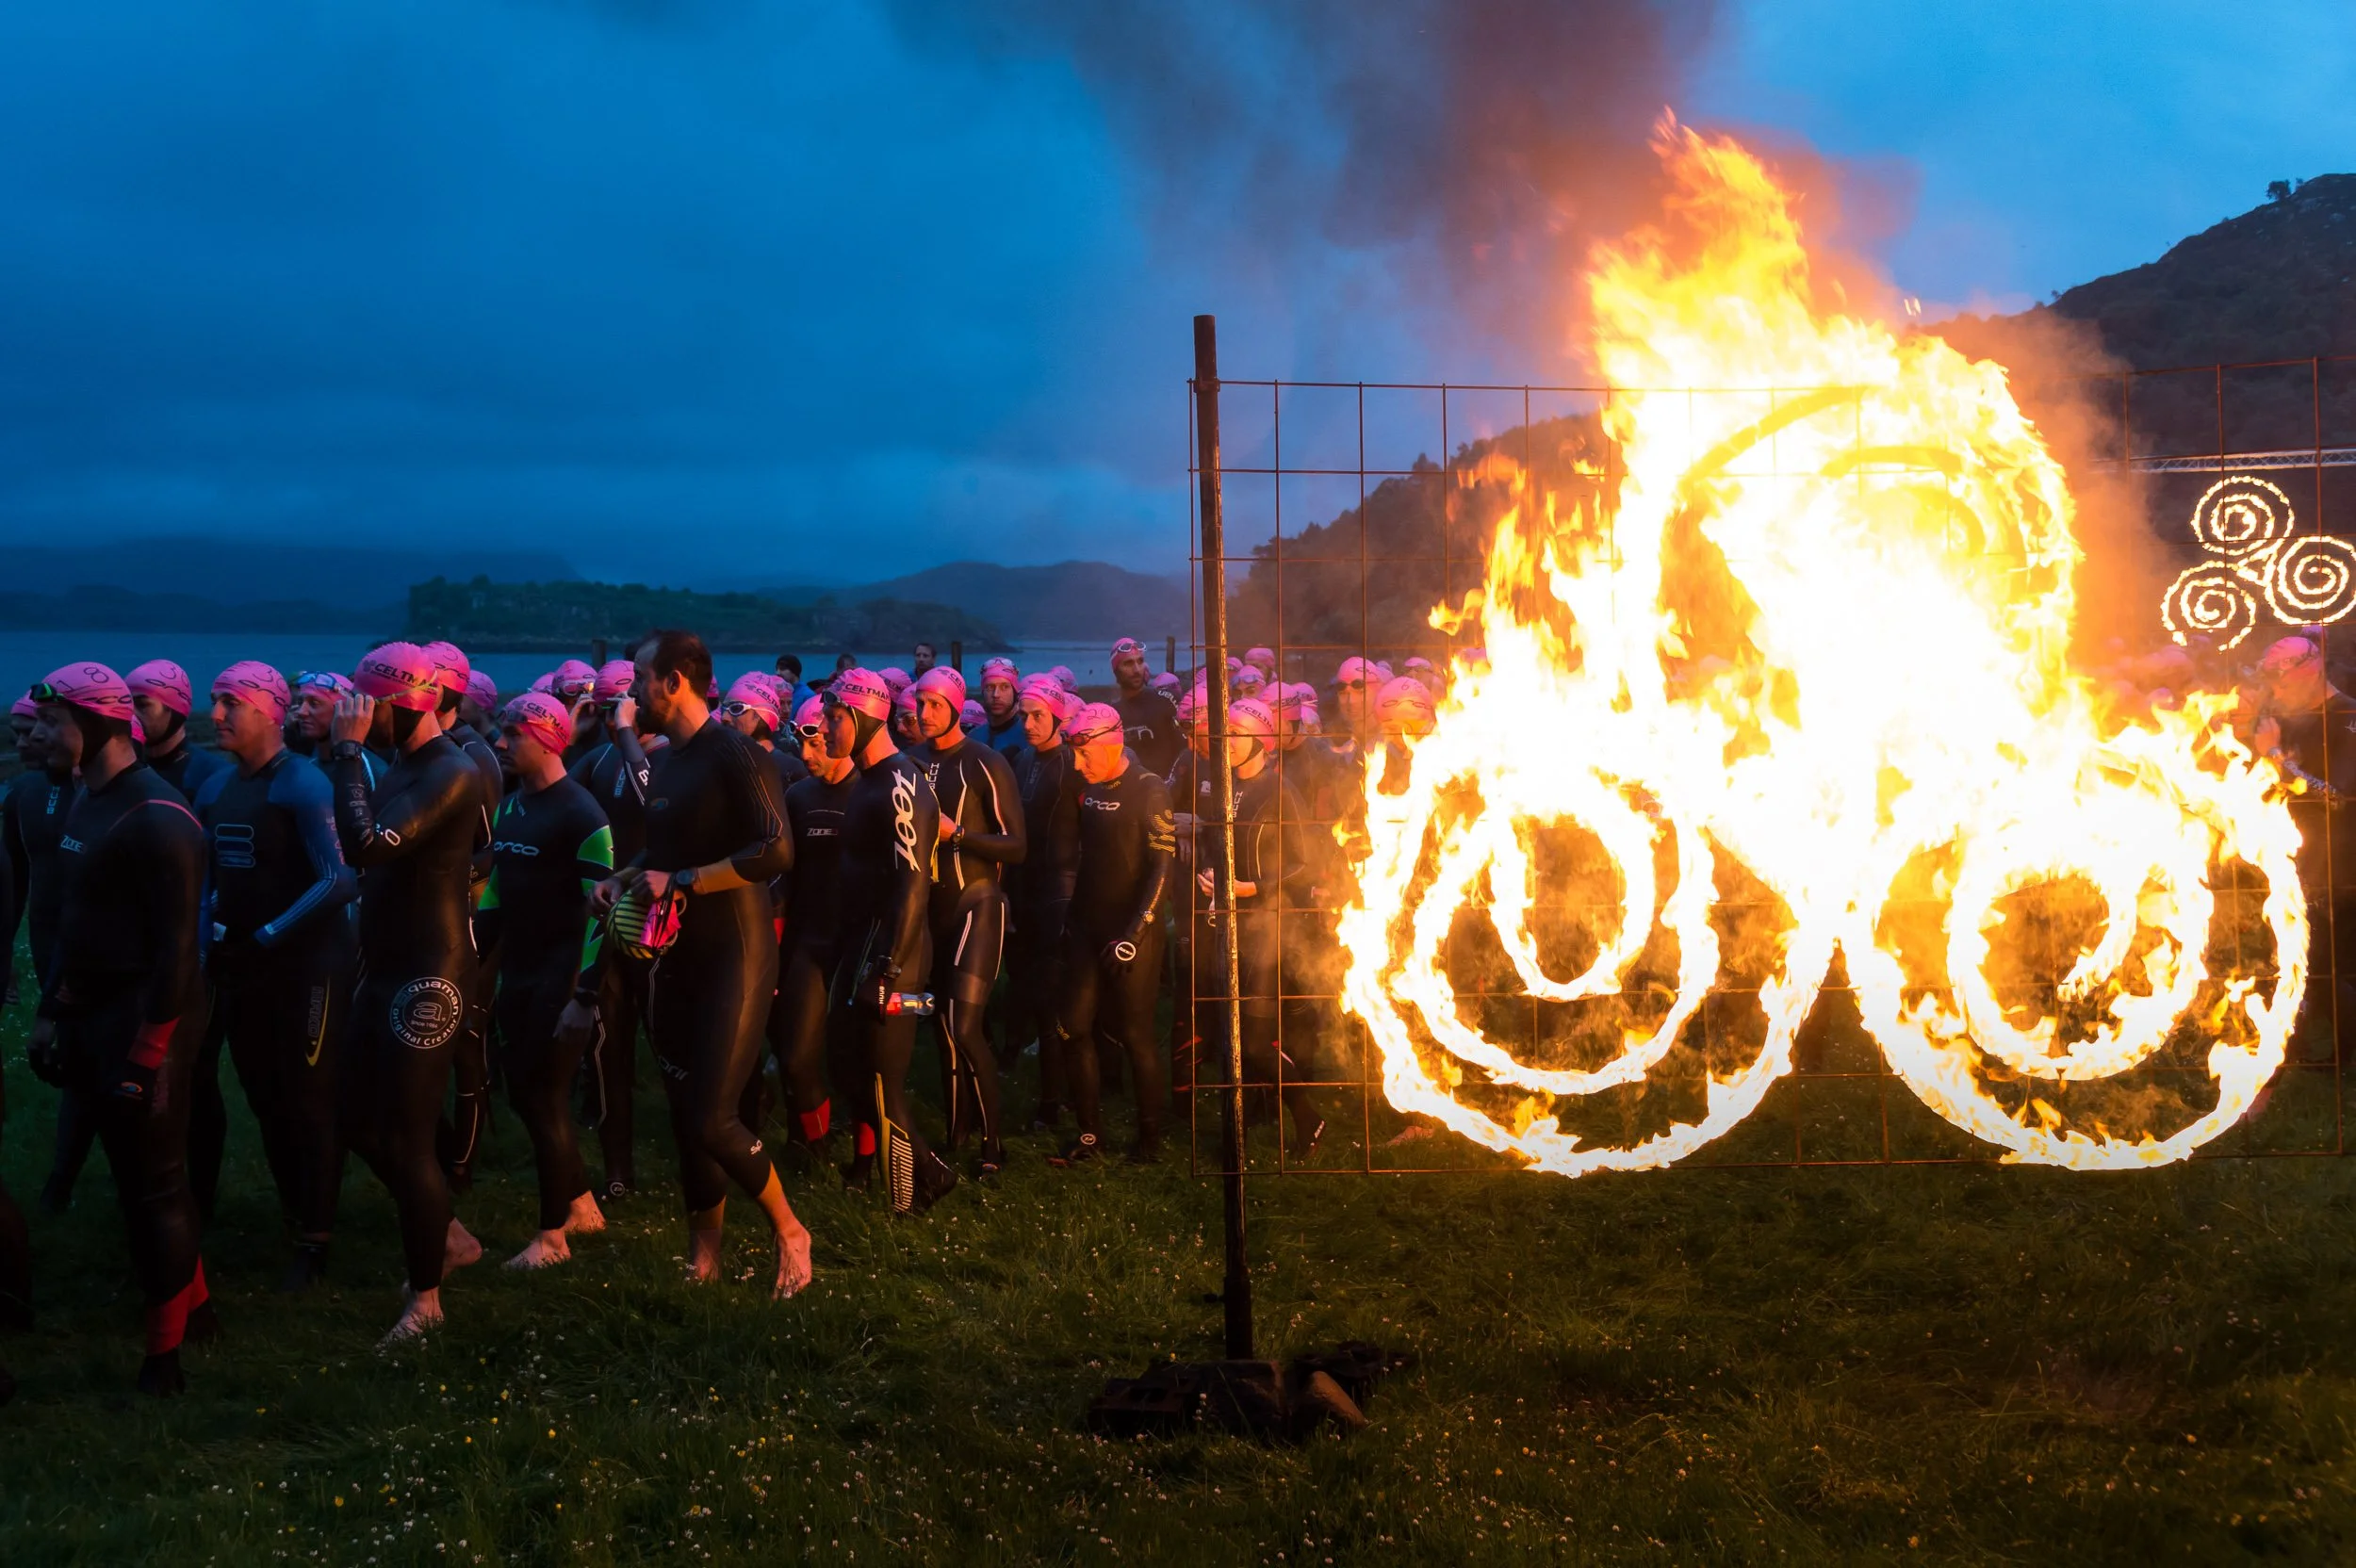
Celtman - An Extreme Scottish Triathlon
Words, images and information about Celtman, an iron-distance triathlon in the the North-West Highlands of Scotland which is part of the World XTRI series of races.
An editorial feature and photo gallery about Celtman Extreme Scottish Triathlon, an iron-distance triathlon in the North-West Highlands of Scotland where competitors from around the globe swim 3.4km across a tidal sea loch replete with jellyfish, cycle 202km around scenic highland roads and then run a marathon distance 42km over (for a blue t-shirt) or around (for a white t-shirt) two Munros, Scottish mountains over 914.4m high. The Celtman race starts at 5am on a remote beach near the village of Shieldaig and finishes, for some, over 18 hours later, in the community hall at Torridon, with the local support and enthusiasm for the event being part of its character.
Visit www.cxtri.com for more information.
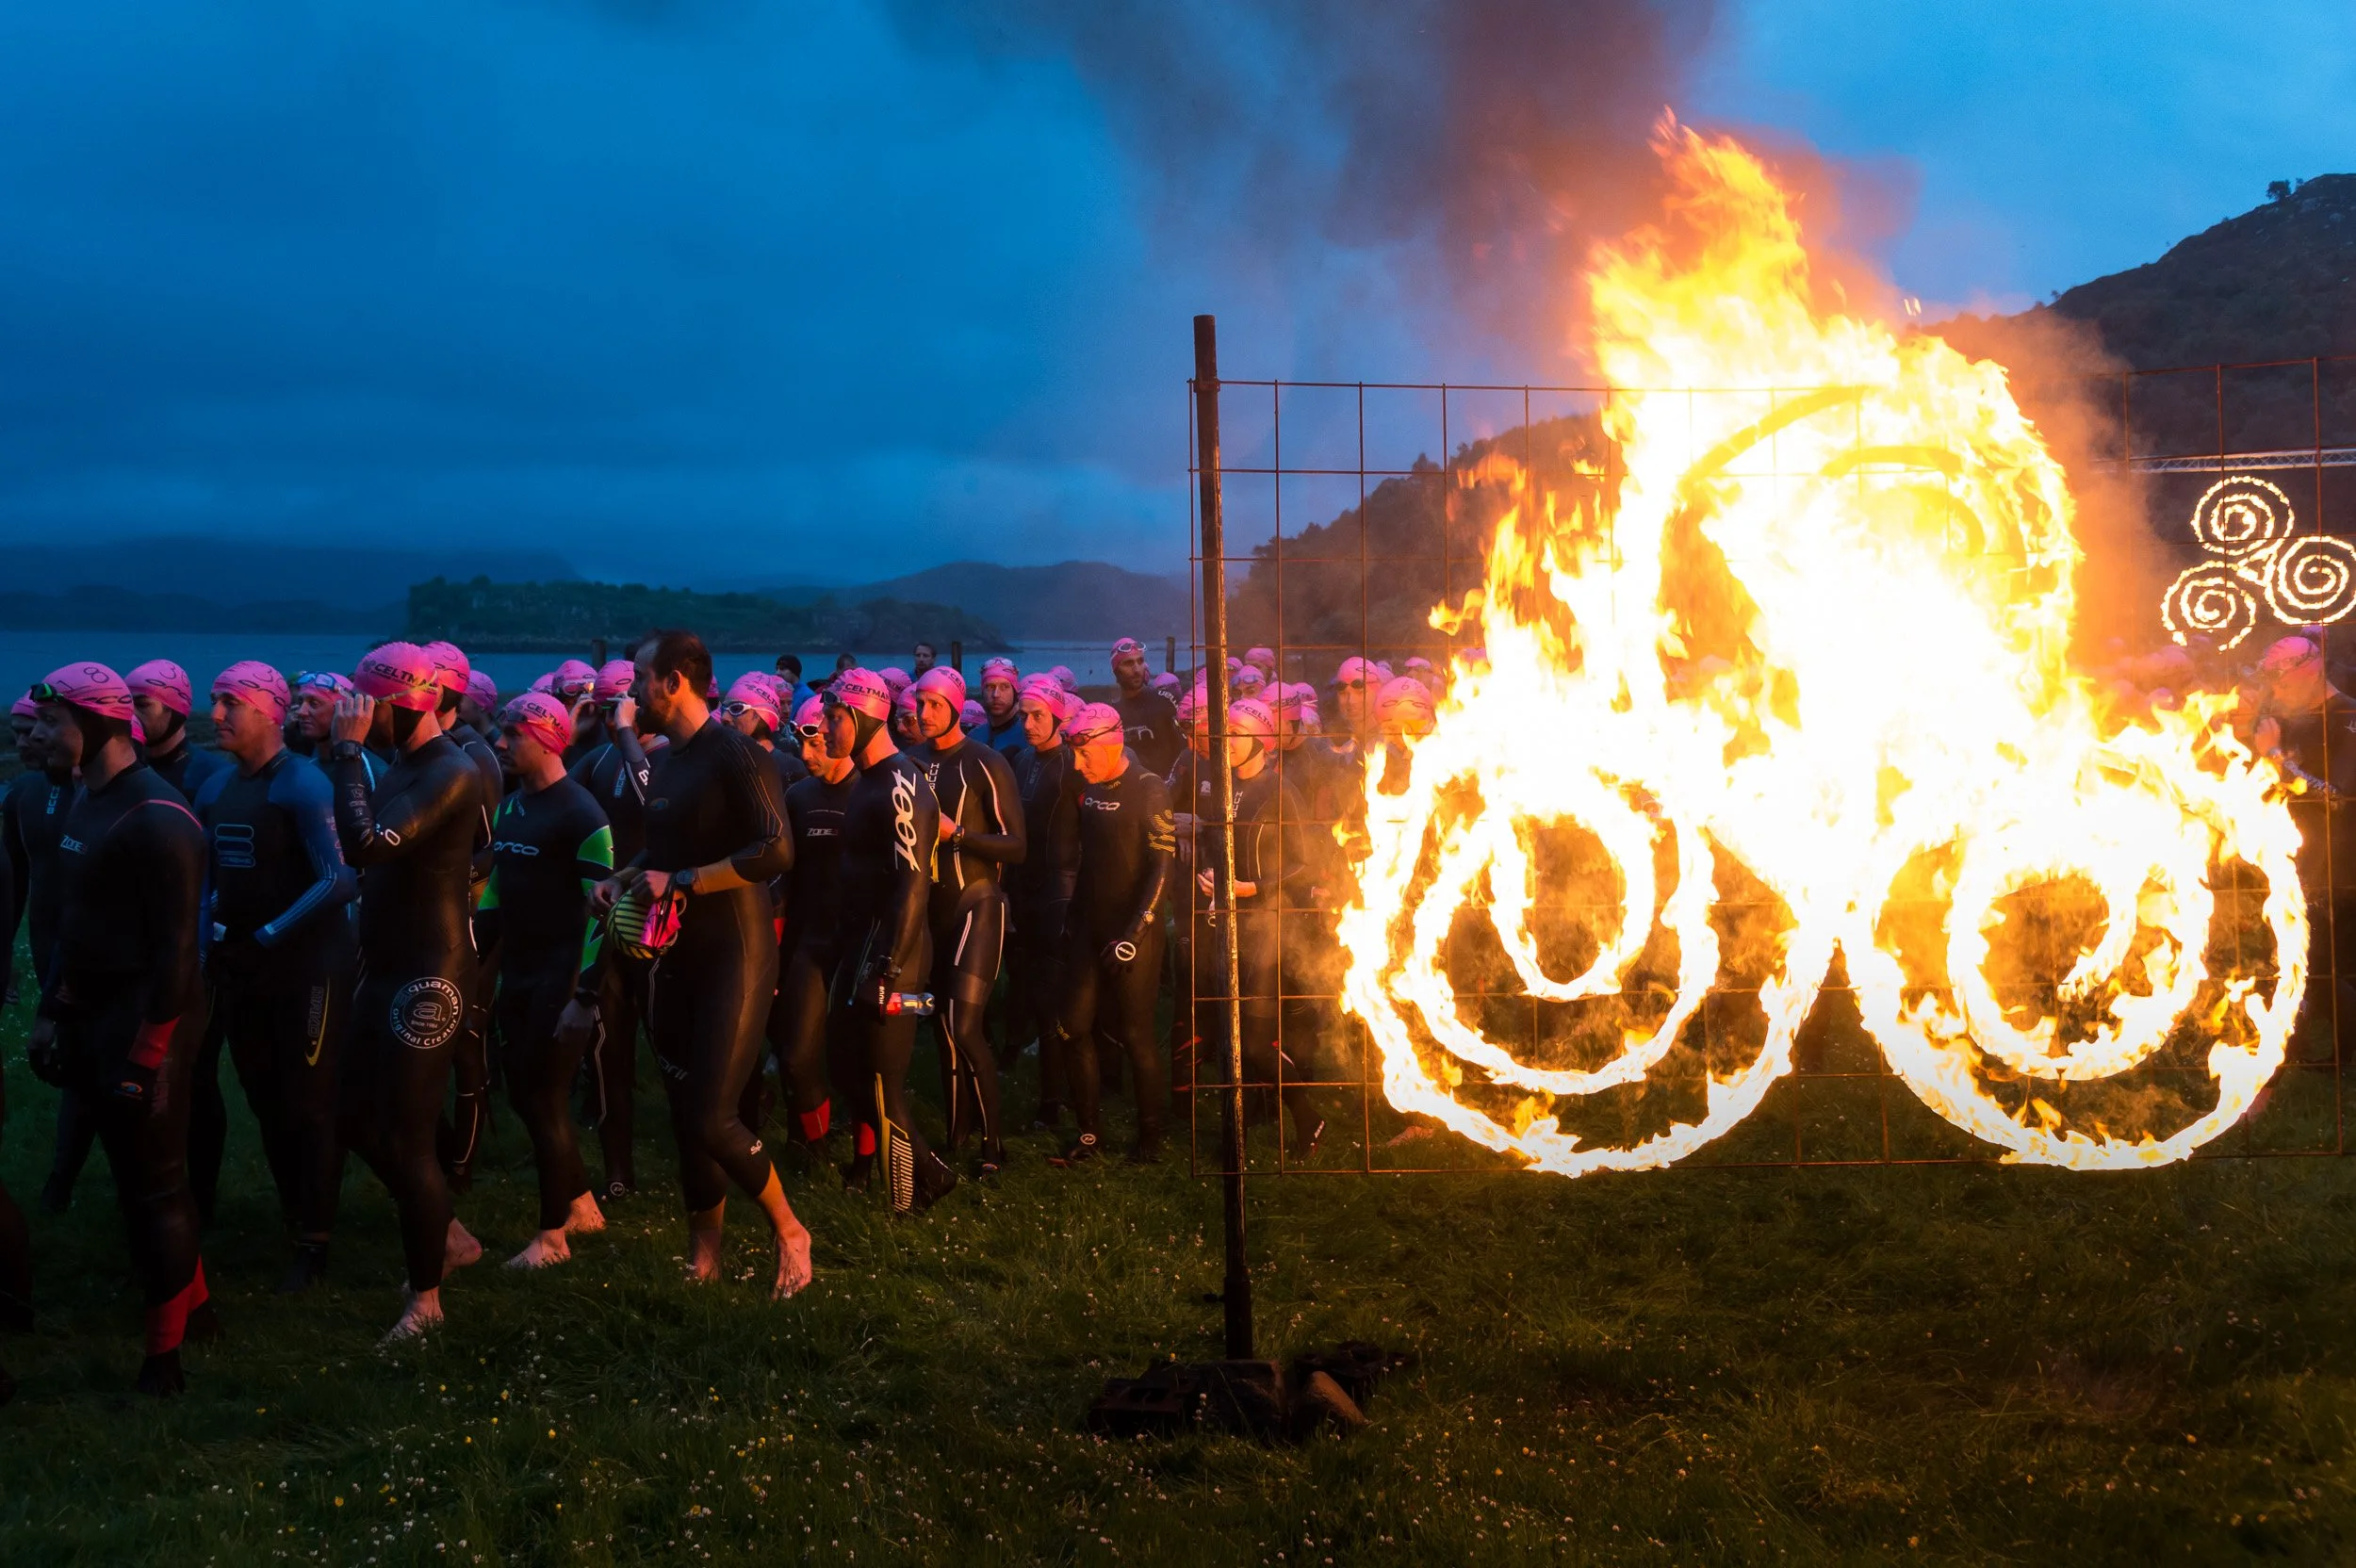
Approaching 5am at the swim start
WATCH - A montage of photos from one year’s event, put together for the premiere of the Celtman Extreme Triathlon film in Edinburgh and shown on a 25-foot high screen. Music used with the kind permission of ‘Scotland’s premier tribal band’ Clann an Drumma, long-time Celtman visitors whose dramatic sound helps build up excitement for the Celtman swim. See also the photo gallery below.
Editorial feature: Celtman - All in it together
12-minute read / 2,979 words
“Yes, the Celtman’s only been on the go since 2012, and it only happens once a year. But it’s like a drug in some ways. Your training starts almost as soon as the race finishes, it’s super hard and you push yourself to some very dark places, even on race day. But we’re not competing for any money, it’s the quest for a finisher’s t-shirt that’s so addictive. And people are starting to return year after year. It’s becoming one big international Celtman family”
One of the founding organisers of the Celtman Extreme Scottish Triathlon, Paul McGreal, is welcoming folk across the race finish line in Torridon, a remote village in the far north-west of Scotland. Spread out around Paul, both inside and outside a building that usually serves as the village’s community centre, is a bustling pack of super-fit but now deservedly worn-out triathletes, all of whom can now call themselves a Celtman (or Celtwoman).
The triathletes, chosen by lottery from a strong field of international entries, are busy recounting the race tactics they’ve just used with each other, joking with their supporters, stretching, eating or simply staring into space as a handful of first aiders keep a watchful eye on them for exhaustion. Scotland’s weather has been kind this year and the majority have just completed the third annual Celtman Extreme Scottish Triathlon, an iron-distance endurance race that starts on a remote beach near the picturesque village of nearby Shieldaig. To finish the Celtman race and be awarded a blue or white finisher’s t-shirt — there’s no prize money for the Celtman — each competitor has to swim 3.8km across a tidal sea loch, cycle 202km around highland roads and then run a marathon distance 42km over (for a blue t-shirt) or around (for a white t-shirt) 2 Munros, Scottish mountains over 914.4m high. There’s certainly no guarantee that everyone who starts the race at 5am in Shieldaig will make it over the finish line in Torridon.
“We created the Celtman in 2012, in the style of and in homage to the original extreme triathlon, the Norseman of Norway”, says Paul, pausing to check GPS co-ordinates on a computer that shows where the remaining competitors are on the course. A former project manager, Paul McGreal has been organising independent sports events for 8 years, 3 of those as a full-time professional. “The idea behind the race came from fellow founder, Stuart McInnes, who came back from a film commission to the Norseman excited about the potential for a similar event in Scotland”.
Stuart, together with Paul and race co-ordinator, John Whittaker, designed the Celtman course in 2011. During their planning, they consulted regularly with the organisers of the Norseman to ensure a strong partnership was formed. Scottish triathlete, Stuart Macleod, was also asked for advice on the final course design. Three years on, the Celtman is now an established race with an international field. It is part of a global family of extreme triathlons (www.xtriworldtour.com).
Local heroes
When Paul McGreal and Stuart McInnes first visited Torridon and Shieldaig to scout out locations for the Celtman, a key consideration for them was a desire to involve the local population. As Paul says, “A race this size in this place can only be held with the goodwill and support of the residents of both villages”.
Stuart McInnes continues, “Simply put, the Celtman couldn’t exist without the support of the locals, their help is invaluable and we really appreciate it. To give something back, we were keen to find a local person strong enough to take part in the event. A name that continually cropped up in conversation was that of Ryan Maclean”.
Born in Kinlochewe, a small Highland village 17 miles from Shieldaig, and now a resident of Torridon, 30-year old Ryan Mclean is a part-time firefighter and volunteer for the local mountain rescue team. Ryan’s day job as an outdoor instructor for the Torridon Hotel sees him guiding hotel guests on kayaking, mountain hiking and scrambling trips outdoors. Such an active lifestyle provides Ryan with a good base level of fitness and he adds to this with regular cycling, running and swimming sessions amid the mountainous Torridon landscape.
Growing up, Ryan’s ambition was not to be a triathlete but a mountaineer. Setting himself lofty ambitions from an early age, his goal for adult life was to stand atop the tallest mountain on earth, Mount Everest, whose summit is located in the appropriately named death zone. (The 8,848m/29,029ft high peak is littered with the bodies of frozen climbers who have come to grief on its slopes and not made it down alive). Standing on top of the world was not an unrealistic ambition for Ryan. From a young age, he was out regularly in the mountains with his father, Eoghain McLean, the Reserve Manager at Scottish Natural Heritage and the team leader of Torridon Mountain Rescue Team until his retirement after 40 years service in 2013. Ryan followed his father into the rescue team at the age of 16 — one of the youngest team members — and has been a volunteer ever since.
After gaining lots of experience climbing in his local hills, Ryan focused his attention on realising his ambition to climb Mount Everest. At aged 24, with successful acclimatisation ascents of Kilimanjaro and Aconcagua behind him, he continued his journey as he set out ascend Denali (Mount McKinley), the highest mountain in North America at 6,168m (20,237ft) and a common testing ground for those wanting to progress to Everest.
Speaking as he looks out of his living room window to the mountains beyond, he recounts how “We had a lucky escape on Denali. After a successful gear carry to 16,500ft we descended to 14,000ft due to incoming bad weather. For 5 days we were stuck there, unable to go up or down as the weather got progressively worse. On the 4th night, gusts of wind that reached 80 miles an hour started to tear apart our tent. It was a harrowing time, as we clung to the side of the mountain protected only by a wall we had made out of snow bricks. I have never returned to high altitude mountaineering, but I was looking for something else that would push me beyond my limits and along came the Celtman”.
Around the time Ryan Maclean was seeking new ways to push himself fitness-wise, Paul and Stuart were looking for their local athlete. In 2011, the three hooked up for the first time in the bar at the Torridon Hotel. Looking back, Ryan admits he was thrilled to be asked but somewhat hesitant to commit, at least initially. He recollects that “this was mainly due to my lack of triathlon experience (as in no experience whatsoever). But the Celtman sounded exciting and I soon said yes”. Ryan’s ‘race-to-get-ready-for-the-race’ was on.
“My first port of call was online”, recalls Ryan, “I started off simply asking questions on internet forums, seeking out hints and tips”.
Alan Cardwell, triathlon coach for Lanark Triathlon Club and Scotland’s first Swim Smooth coach, gives new Celtman entrants some advice, “The Celtman is pretty special, as endurance races go. For the swim, the key is to be acclimatised to the cold water — it’s not unknown for people to train offshore in the Scottish winter. Fortunately, this level of commitment is not essential but you do need to put in the hours outdoors. Cycle-wise, it’s easy to underestimate the difference 22km makes on top of an Ironman distance. Focus on building your strength and endurance on the bike — big blocks of aerobic work and low-rev, big gear intervals are ideal. But remember, it’s the run where the tough stuff starts. Running on rough, hilly ground is obviously good preparation but, unless you plan to win, you won’t be moving that fast in the race — most people run 1h:30mins+ for the Coulin Pass section — so there is no need to run overly hard in training. The key to success is aerobic fitness as the climb over Beinn Eighe is arduous to say the least. Legs are weary and the terrain is treacherous. Any lack of strength or co-ordination will let you down so be sure to include strength training so you can cope with the demands of the rough terrain. Finally, concentrate on what you eat and drink — don’t try new ideas on race day or you may get a nasty surprise if your stomach rebels or you fail to fuel sufficiently for the day”.
In 2012, Ryan’s effort’s paid off and he successfully finished the Celtman, winning a white-t-shirt for completing the low-level route in 17:36:44 hours. In 2013, he was back, full of confidence in the lead up to the race and with high hopes for a blue t-shirt. But, Ryan recalls, “The month before the race I came down with a bad chest infection’. Despite his doctor’s advice not to compete, Ryan chose to ignore it, a decision he still regrets as, during the swim, his illness brought on exhaustion and he was forced him to call for help and hitch a lift back to Shieldaig aboard the safety boat. As the remaining athletes headed out onto the 202km cycle, a crushed Ryan returned to his house, hugely disappointed with himself for his decision to start the race whilst not fully fit.”I was crushed”,he says.”I’d put in the best part of a year’s training for it and I felt I had let folk down.
To his credit, Ryan soon snapped out of his funk and continued to support the race. In 2014, he focused all his energy on completing the Celtman and trained hard throughout the year to shave over 90 minutes off his 2012 time and finish again with a white t-shirt. One of the people he credits with inspiring him throughout his journey is 43-year old Stuart Macleod, an IT Delivery Manager from Edinburgh.
Never quit
Stuart Macleod is the only Scot to have completed the Norseman 3 times. An experienced competitor and veteran of the Celtman, he has placed in the top 4 in each of the three years the event has been running. Stuart is the only person to have completed the Celtman course in winter, attempted independently from the race, to celebrate his 42nd birthday in 2013. “The Norseman and the Celtman are both tough races”, says Stuart from the balcony of his home near Arthur’s Seat, an extinct volcano and a prominent landmark in Edinburgh. “The cold water temperature on the swim, the distance on the bike and the 3,000ft of ascent on the off-road run make the race physically demanding. Controlling your mental state is just as important as physical fitness. I think that anyone that has the right attitude can complete this race. It’s having the ability to endure and be resilient. An attitude I call #nevereverquit”.
International flavour
Mental fortitude is a key attribute in long-course triathlons and a #nevereverquit attitude can often be the only thing keeping a competitor going when every muscle and sinew in their body is tugging at their psyche. It’s a strong-minded individual who can battle through the challenge and finish the race.
Vasilis Toxavidis and Thor Hesselberg, two overseas competitors in the Celtman, are in the kitchen of a modern two-storey house they’ve rented for the week in Shieldaig. It’s the evening before the Celtman and a number of folk have filled the house getting ready for the 5am race start. Alan Cardwell has just left, having introduced the group to a pair of support runners (each triathlete must have a buddy athlete for the marathon leg and many overseas competitors only get to meet up with these volunteers the evening before). On his way out, Alan traded good-natured insults with another competitor, Don King. Don, who works in Switzerland, has driven 1,000km from London to compete in the Celtman, freely admitting it’s because “I love my sport”.
Scottish-born Don, Greek-American Vasillis and Thor, president of the Tempo triathlon club in Norway, first competed in the Celtman in 2013. Speaking over a kitchen table littered with energy bars, bike parts and sports tape, Thor recalls that the Celtman was his first ever triathlon. “I’d entered in memory of a friend”. he said, “having never biked, run or swum any real distance before. I was pleased just to get out the water that first year, to be honest. But my experiences on the bike and run were great and I’ve come to realise the Celtman is my type of event — I love the challenge”.
Vasilis chips in, “The challenge is what keeps me coming back. I’ve had my fair share of technical issues — in 2013 I broke a derailleur on the cycle leg and I had to run 13 miles with my bike on my back (only to miss the cut-off) but I’ll keep coming back until I get a t-shirt. It’s that kind of event”.
Kindred spirits tend to form strong bonds and Thor, Don, Vasillis and Ryan all keep in touch. They stay in regular contact and give each other encouragement at endurance events throughout the year, always with the tag line #finishingisyouronlyoption. Vasillis has used this to great effect to complete the Virginia Triple Anvil, a 3x ironman distance event, Thor the Aurlandsfjellet Xtreme triathlon and Don the Rockman, a 41km swim/run race. Thor Hesselberg also set up a Facebook group designed to give support to new and past racers about the Celtman. The forum came into its own in 2014 when Swedish race winner, Johan Hasselmark, issued a plea for help after his race bike didn’t arrive off the plane from Edinburgh. Within minutes, multiple offers of help were received and a state-of-the-art replacement was offered. Johan eventually started the race with his own bike, which he received only 10 minutes prior to the race start before going on to win the event in a course record time of 11h:41m:30s.
At first light
Before any Celtman competitor can contemplate the cycle stage, they must first conquer the swim. At 3am on race day the waters of Loch Shieldaig look black and uninviting as tiny Shieldaig bursts alive, albeit respectfully as the villagers are still asleep. As the triathletes, organisers and volunteers busy themselves with last minute tasks ahead of the coach journey to the start line, a film crew captures their early morning emotions (the race is covered by the BBC Adventure Show, as well as an independent film crew).
At 4am, the light in northern Scotland is still weak, even in mid-Summer. As the athletes depart from the coach and spill out into the cove that acts as the start line, flickering fire buckets cast them in atmospheric light. You can’t see Shieldaig from the cove, which should add to the tension, but a strange, almost respectful, calm descends over the athletes as they settle in and focus on the immediate challenge ahead. On Stuart McInnes’s command, a huge Celtman logo is set alight on the beach and a lone piper steps forward. As the sun begins to rise, the air is filled with the rousing sound of bagpipes as the triathletes are led, in front of a now fiercely burning logo, down to the shore-line. ‘It’s the start of the Celtman that I look forward to most”, says Paul McGreal. “The atmosphere is almost electric and it makes the hairs on the back of my neck rise’. As he speaks, a sharp, sour smell of seaweed permeates the air as the athletes, first in singles and pairs and then in big groups, wade out into the water and swim into the sea. At least two lay claim to have encountered the race’s first jelly-fish. Within minutes, they’re at the start line, there’s a short pause before the horn sounds and then they’re off, each on their own personal journey.
All in it together
When you add together the atmospheric start of the Celtman, the stunning scenery of the cycle and the views from the mountain run, you have a great long-course race. Add on the camaraderie of a group of international athletes descending on a tiny Scottish village and the support the locals give the event and it makes the Celtman one of the premiere events in the triathlon world. Each year, more people enter the race than can compete and a ballot form of entry is necessary to give people a fair chance of being successful.
“The ballot system ensures we can keep our entries fresh and fair”, says Stuart McInnes. “We’ve had so much interest in the Celtman from around the globe that we’re keen to ensure as many as people as possible can take part. The 2015 event is full but if you’re thinking of an event to enter for 2016, you should definitely keep us in mind”.
Summing up his Celtman experiences, Ryan Maclean says, “Personally, both times I’ve crossed the finish line of the Celtman, I’ve been flooded with such a feeling of achievement that I know all the pain during training is worth it, it’s a feeling like none other. In the first year, I was not sure I could complete such a challenge but with the right training and preparation I proved myself wrong and I did. Then, after my disastrous race in year two, I wanted so badly to come back and complete the course. The whole of my third year I was focused on becoming a Celtman again with the mindset that the impossible is nothing and if we want something so much we go and get it no matter what. That’s what the Celtman does for me, it makes me believe that the impossible is nothing, It’s the hardest day of your life but at the end it’s one of the most amazing days of your life, it’s a journey I enjoy being on. We are all in it together, Stuart, Thor, Vasillis and Don and every single one of us that stands on the start line, plus every person who supports us on the way, we are a family and we are there for each other. When we stick together, the impossible is nothing and it’s the friendships I’ve made that will help push me to enter again next year, gunning for a blue t-shirt. Roll on my next Celtman.”
Select photo gallery
See also this photoshoot with Celtman race champion Dirk Zangen.

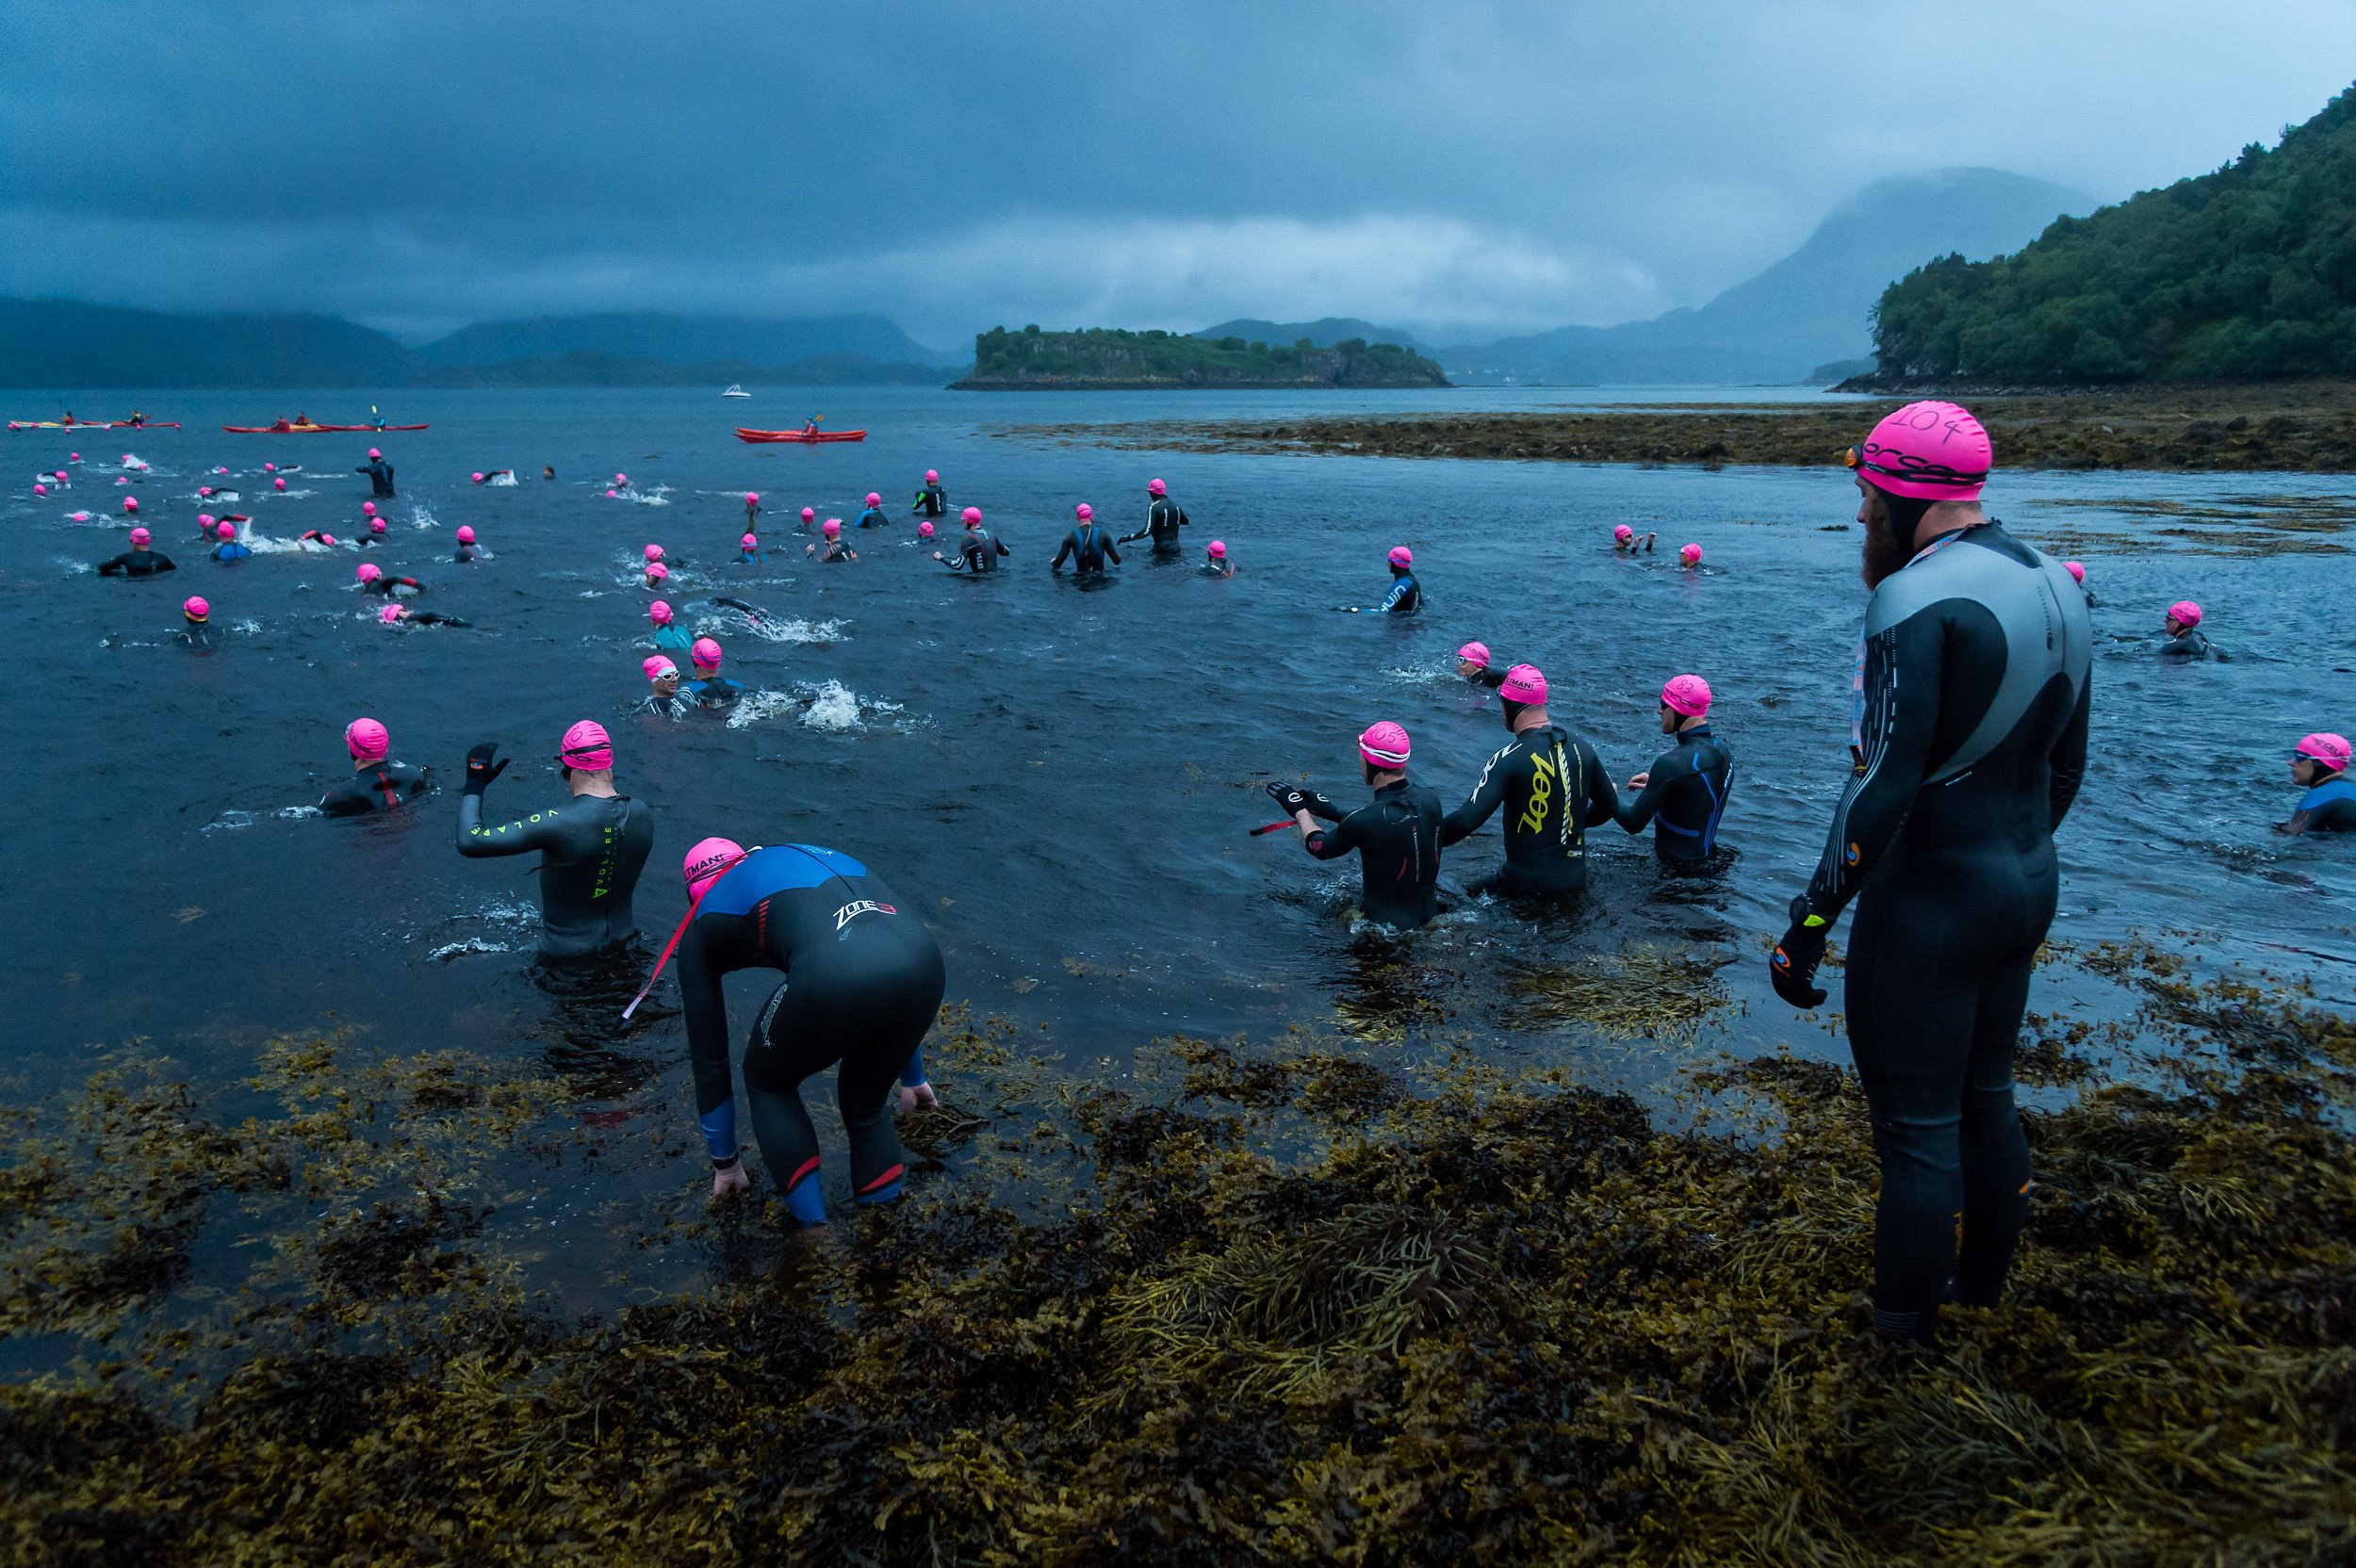
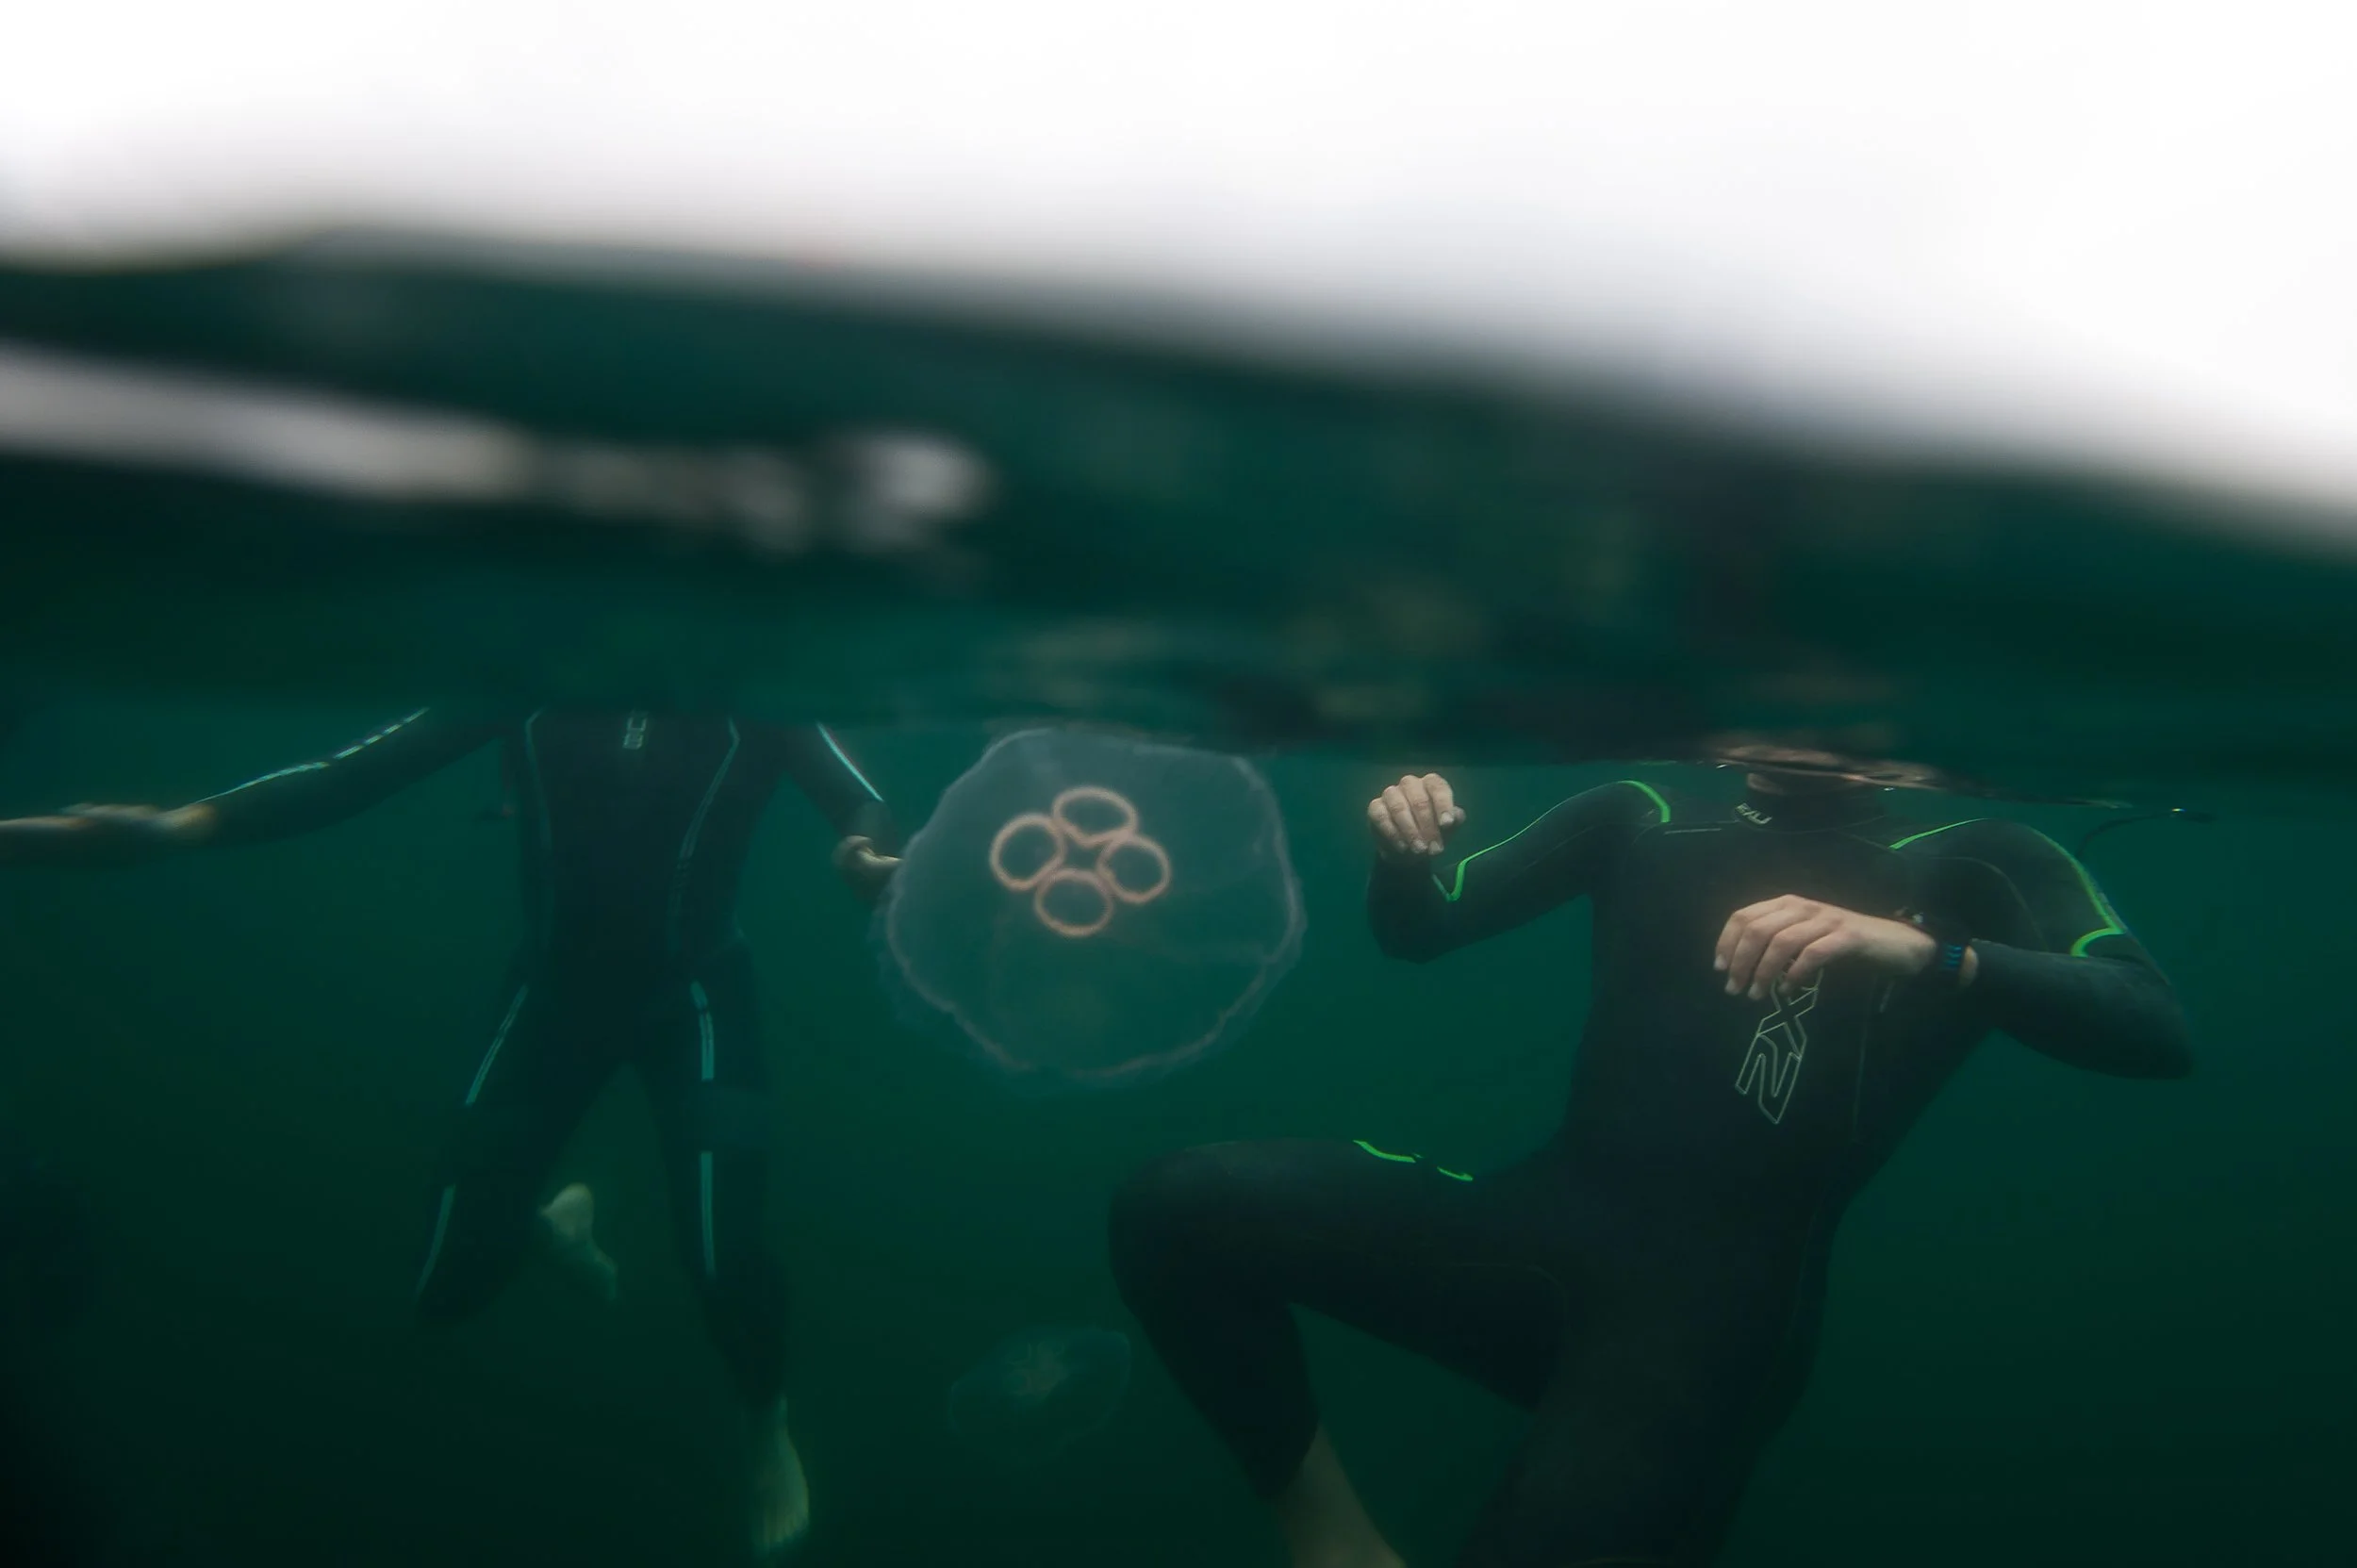
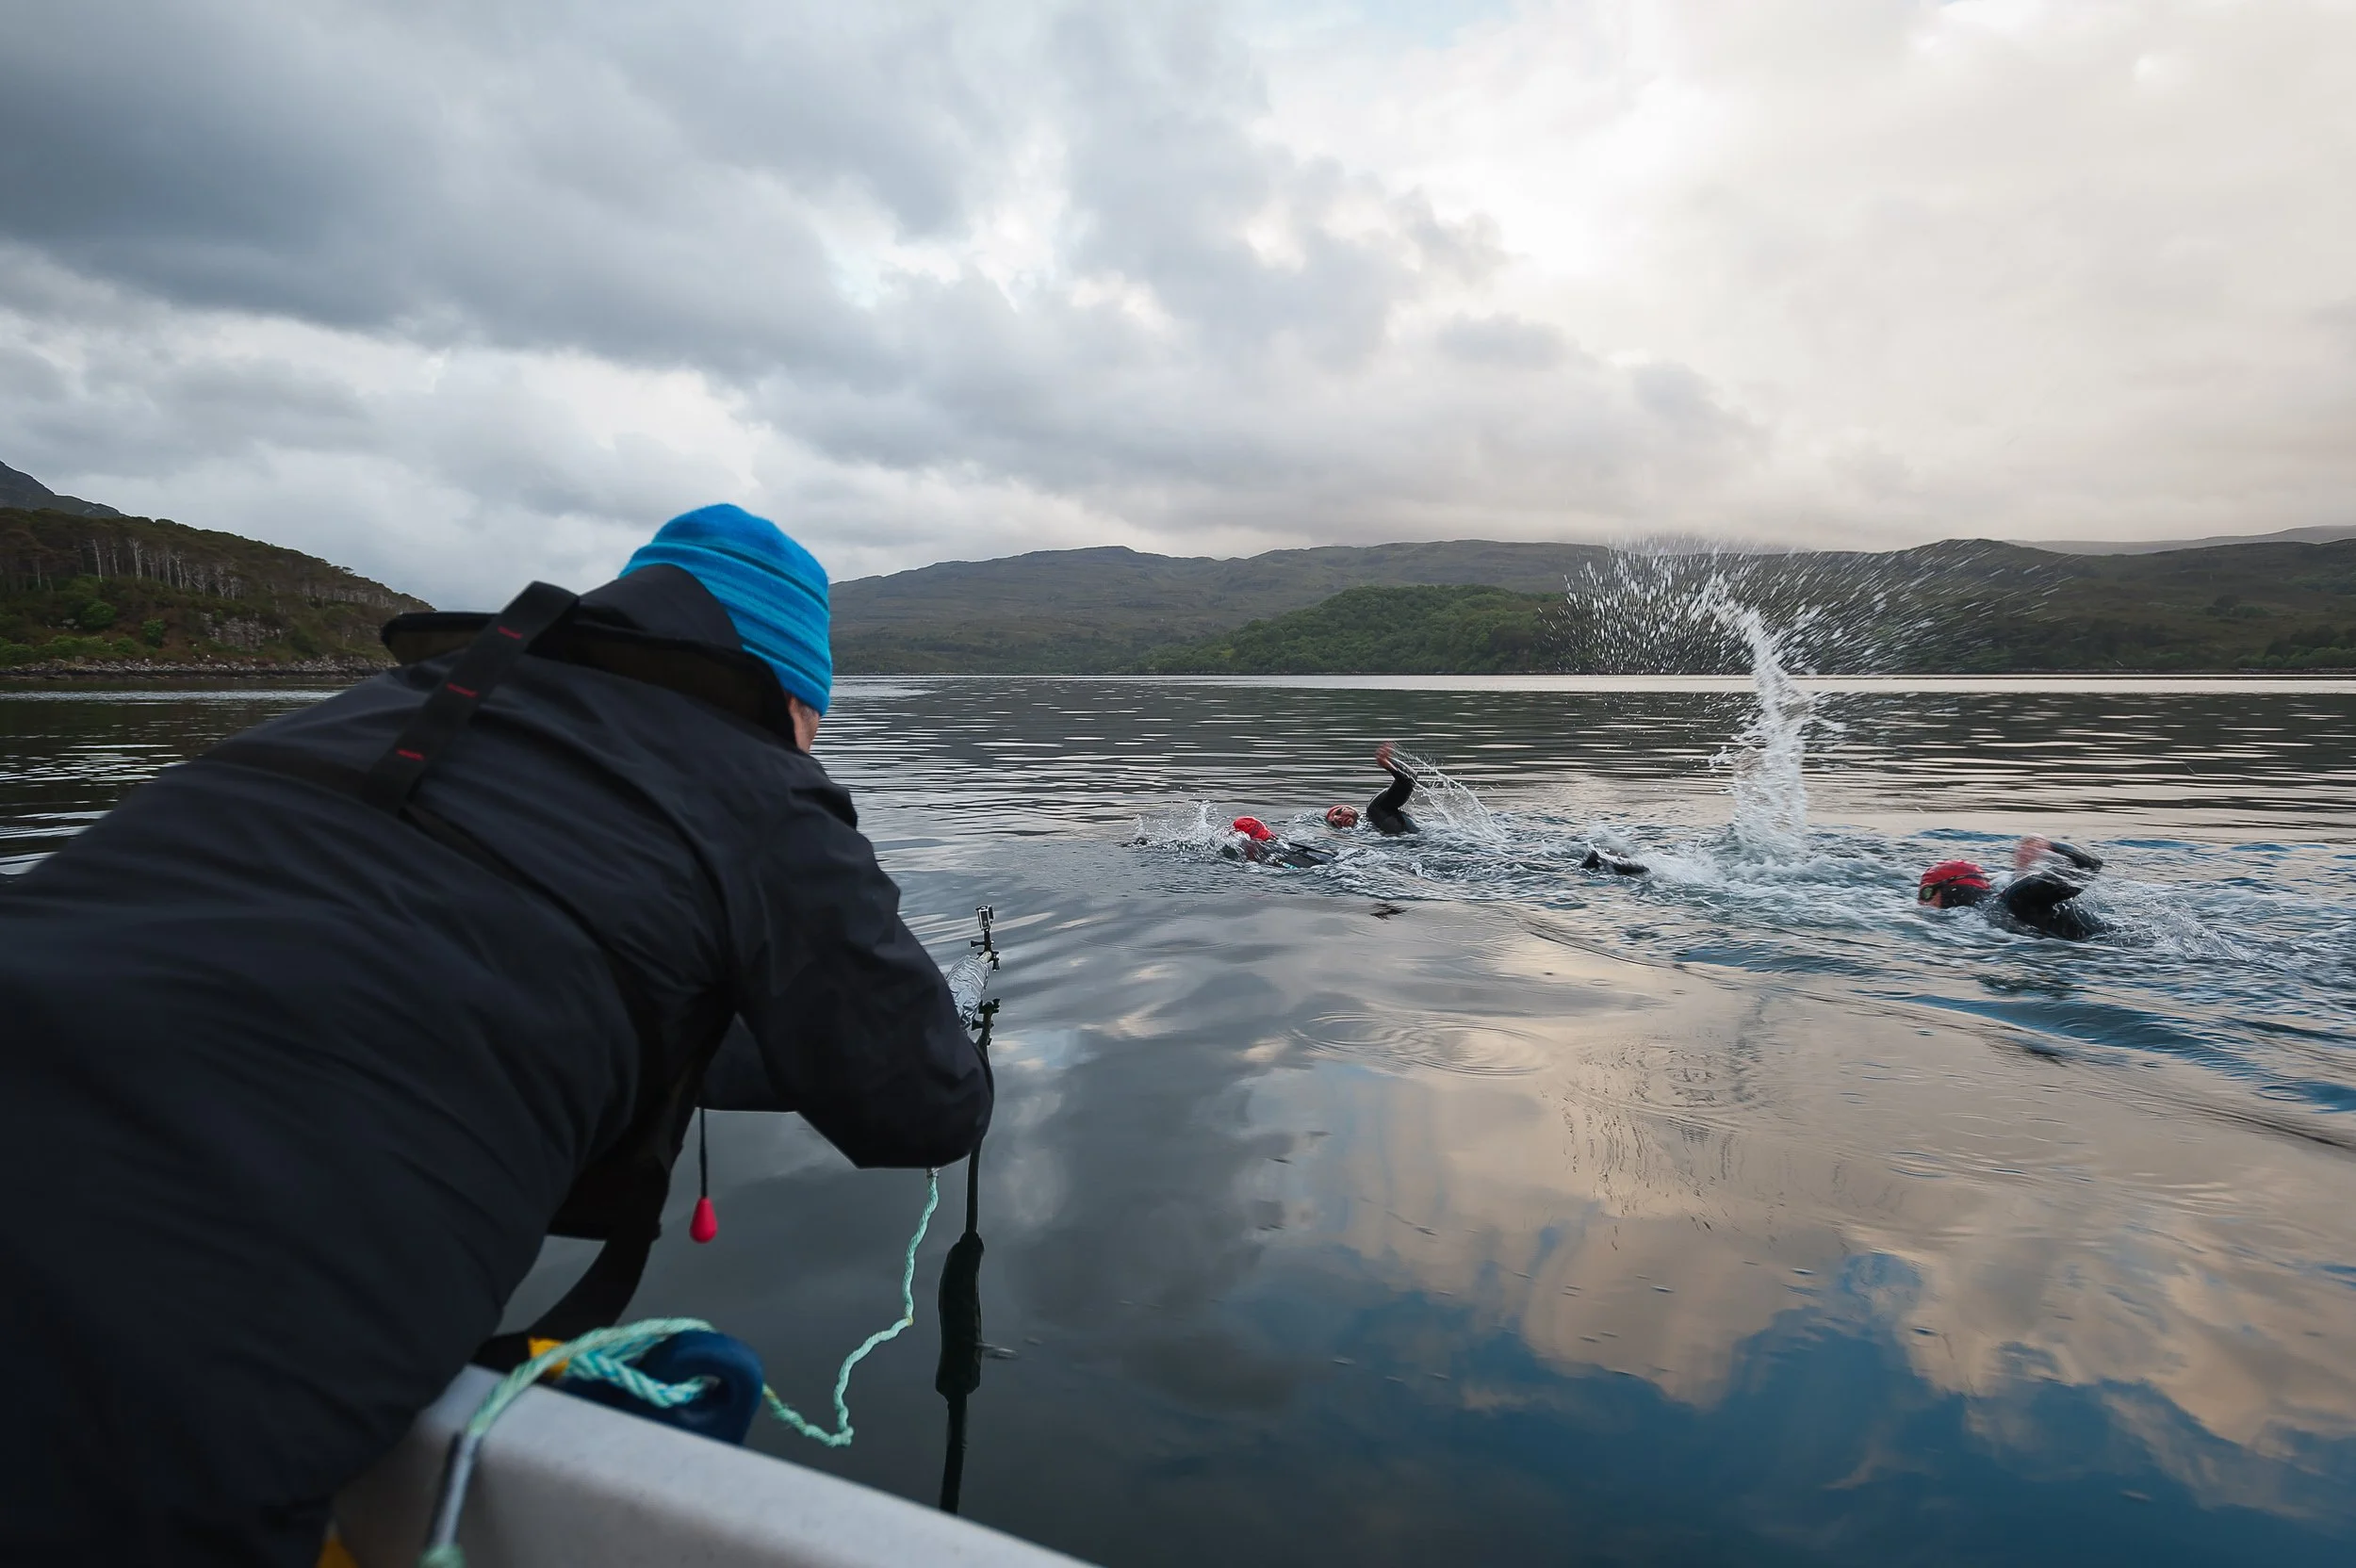

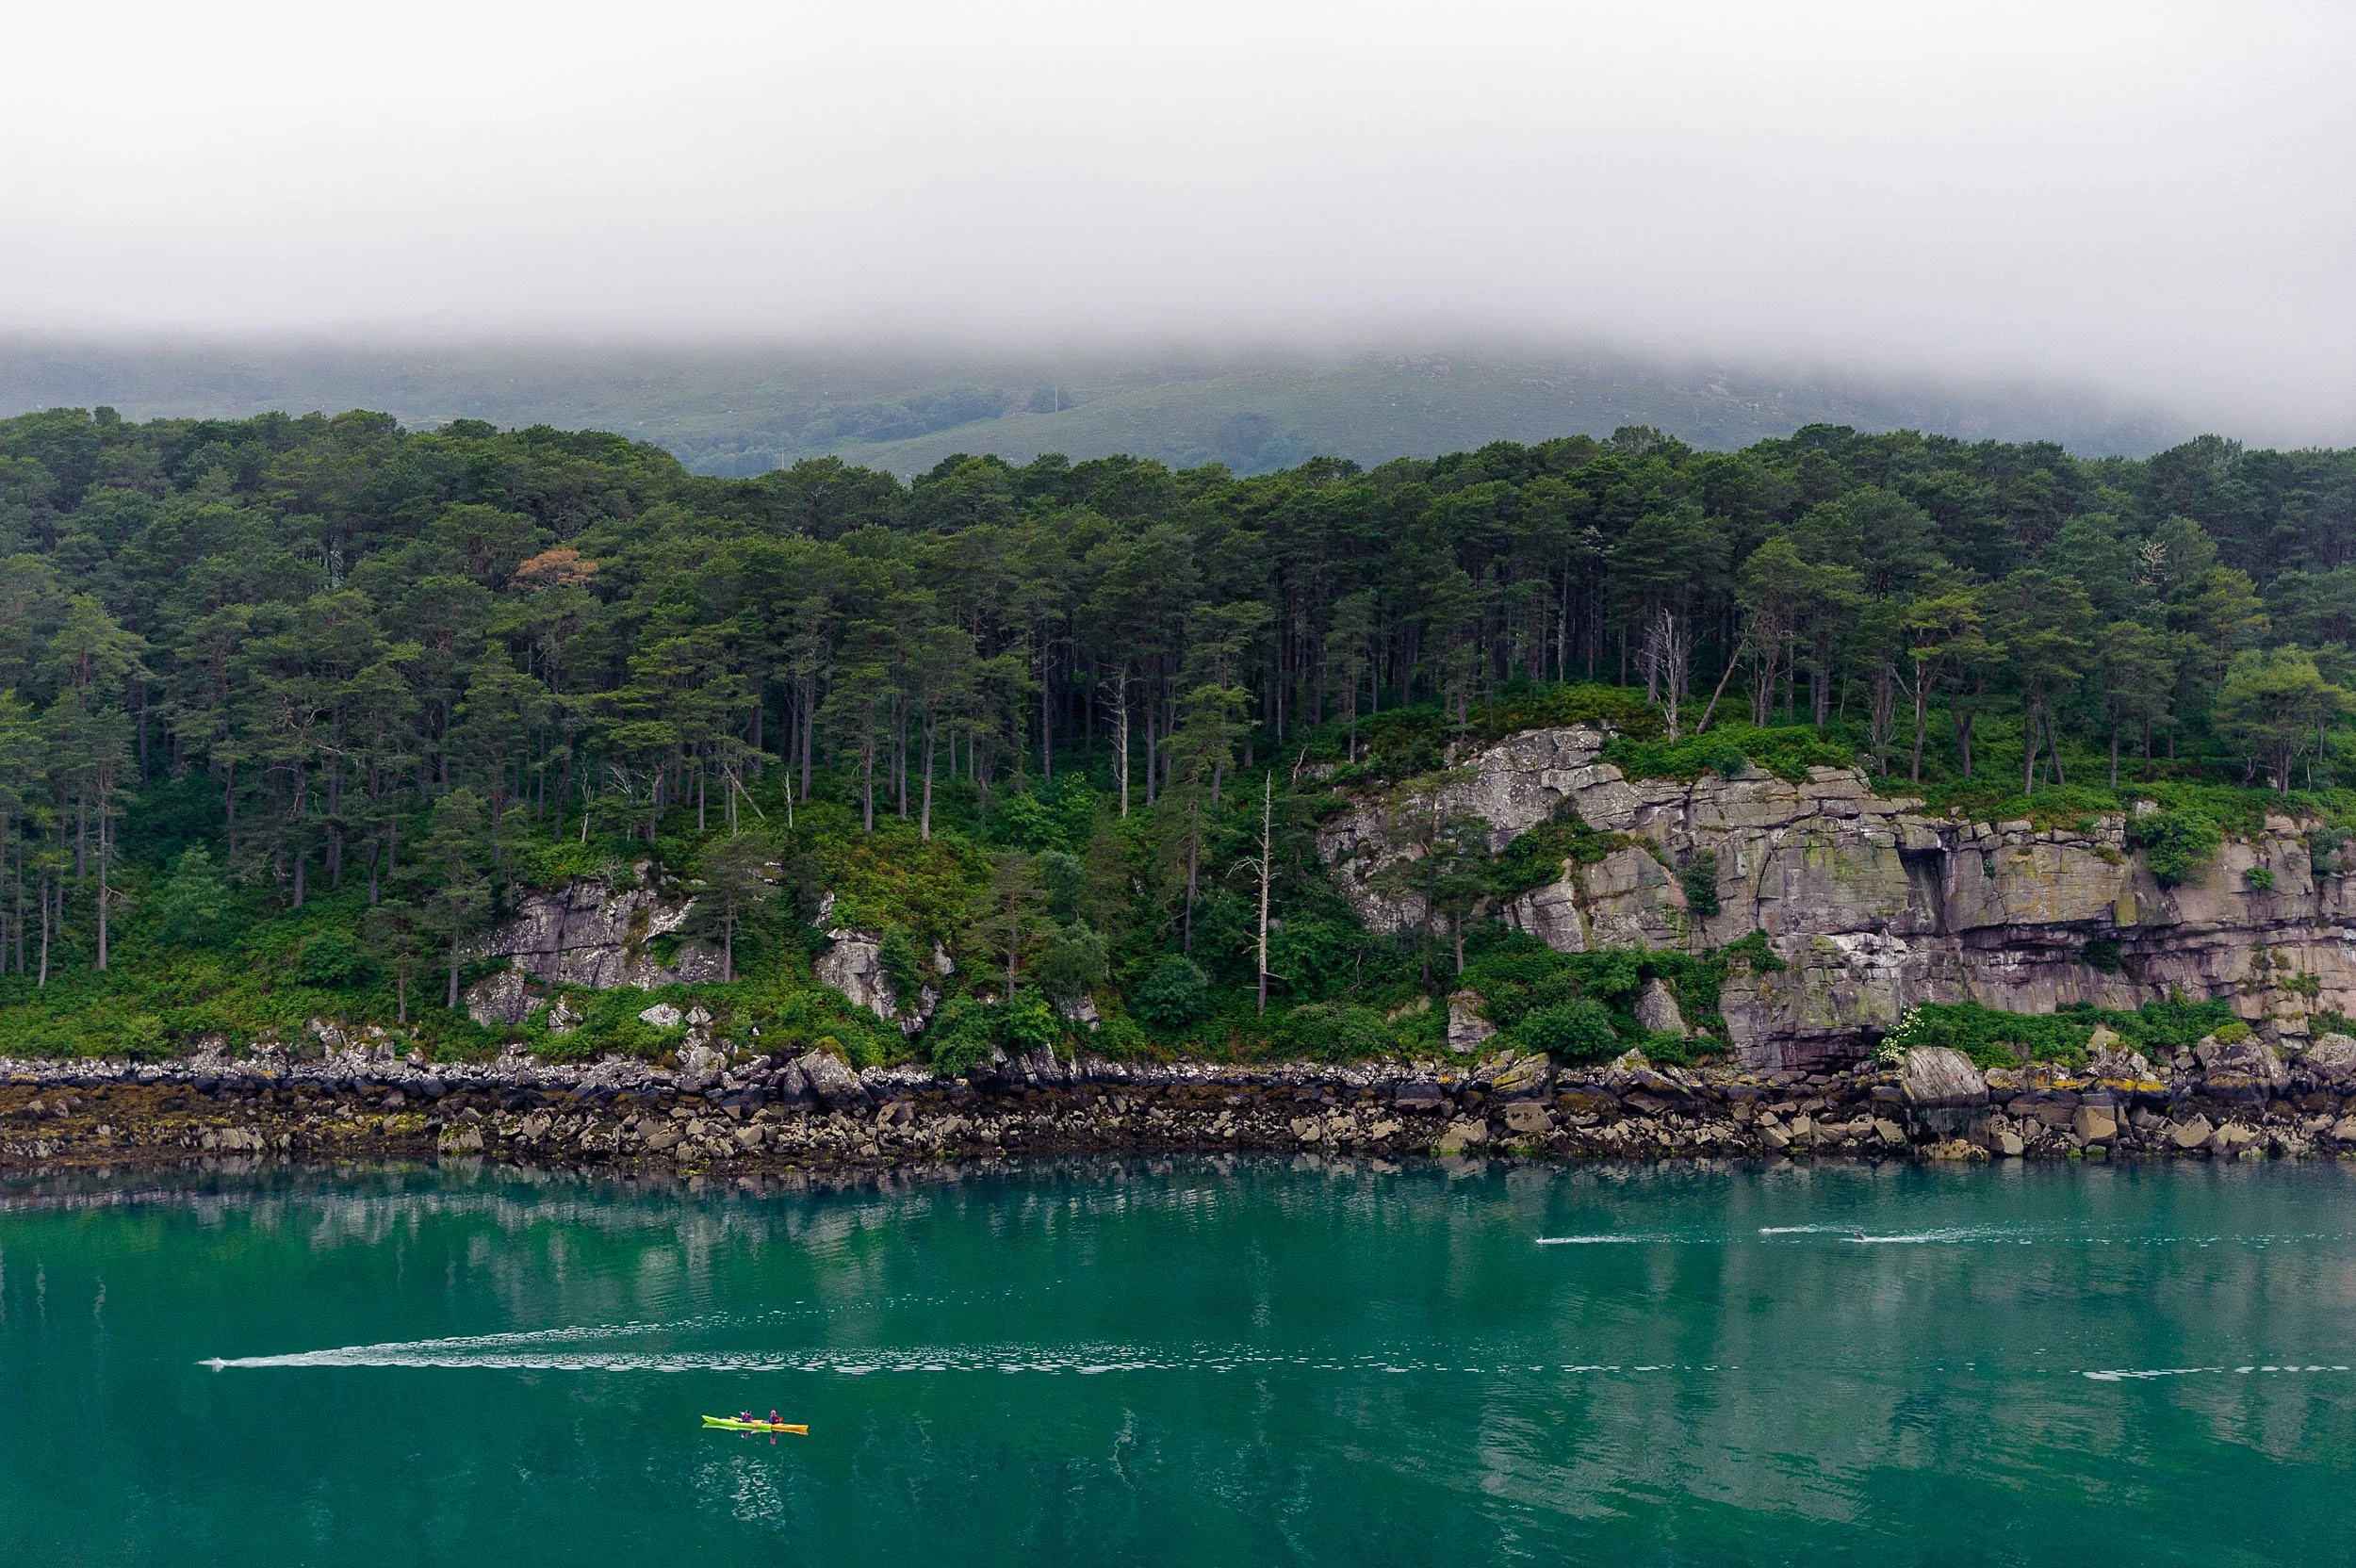
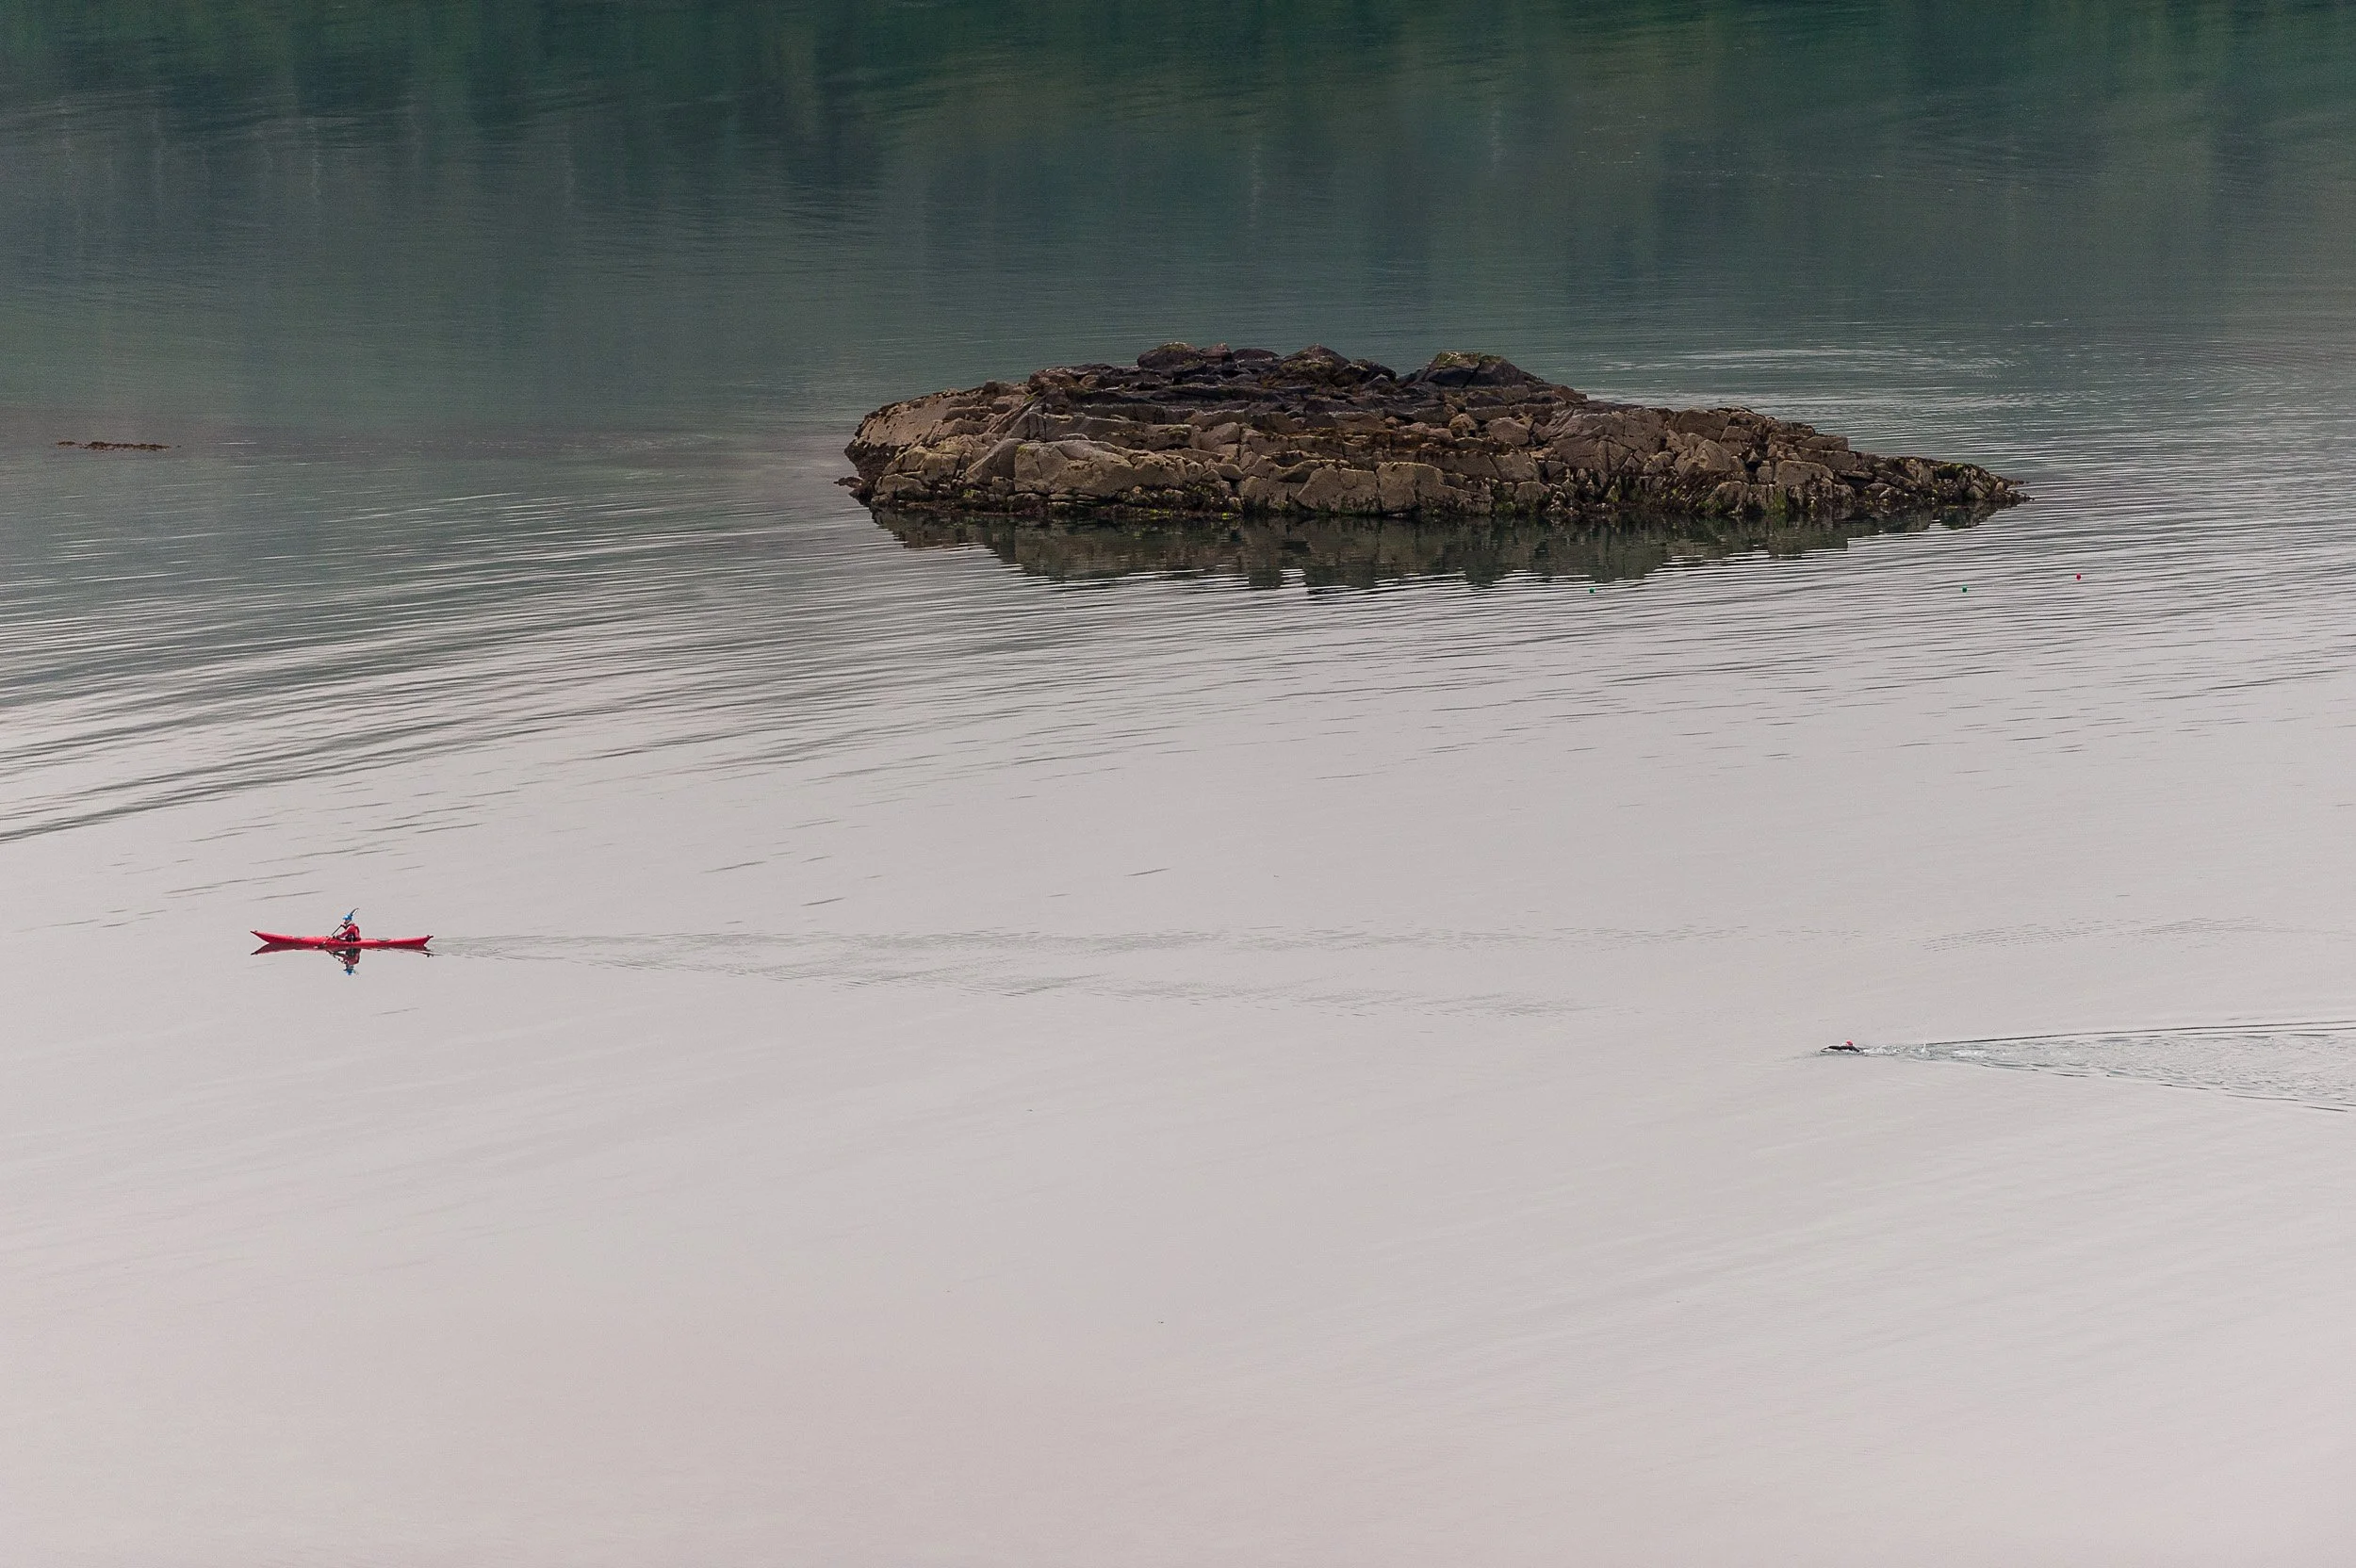
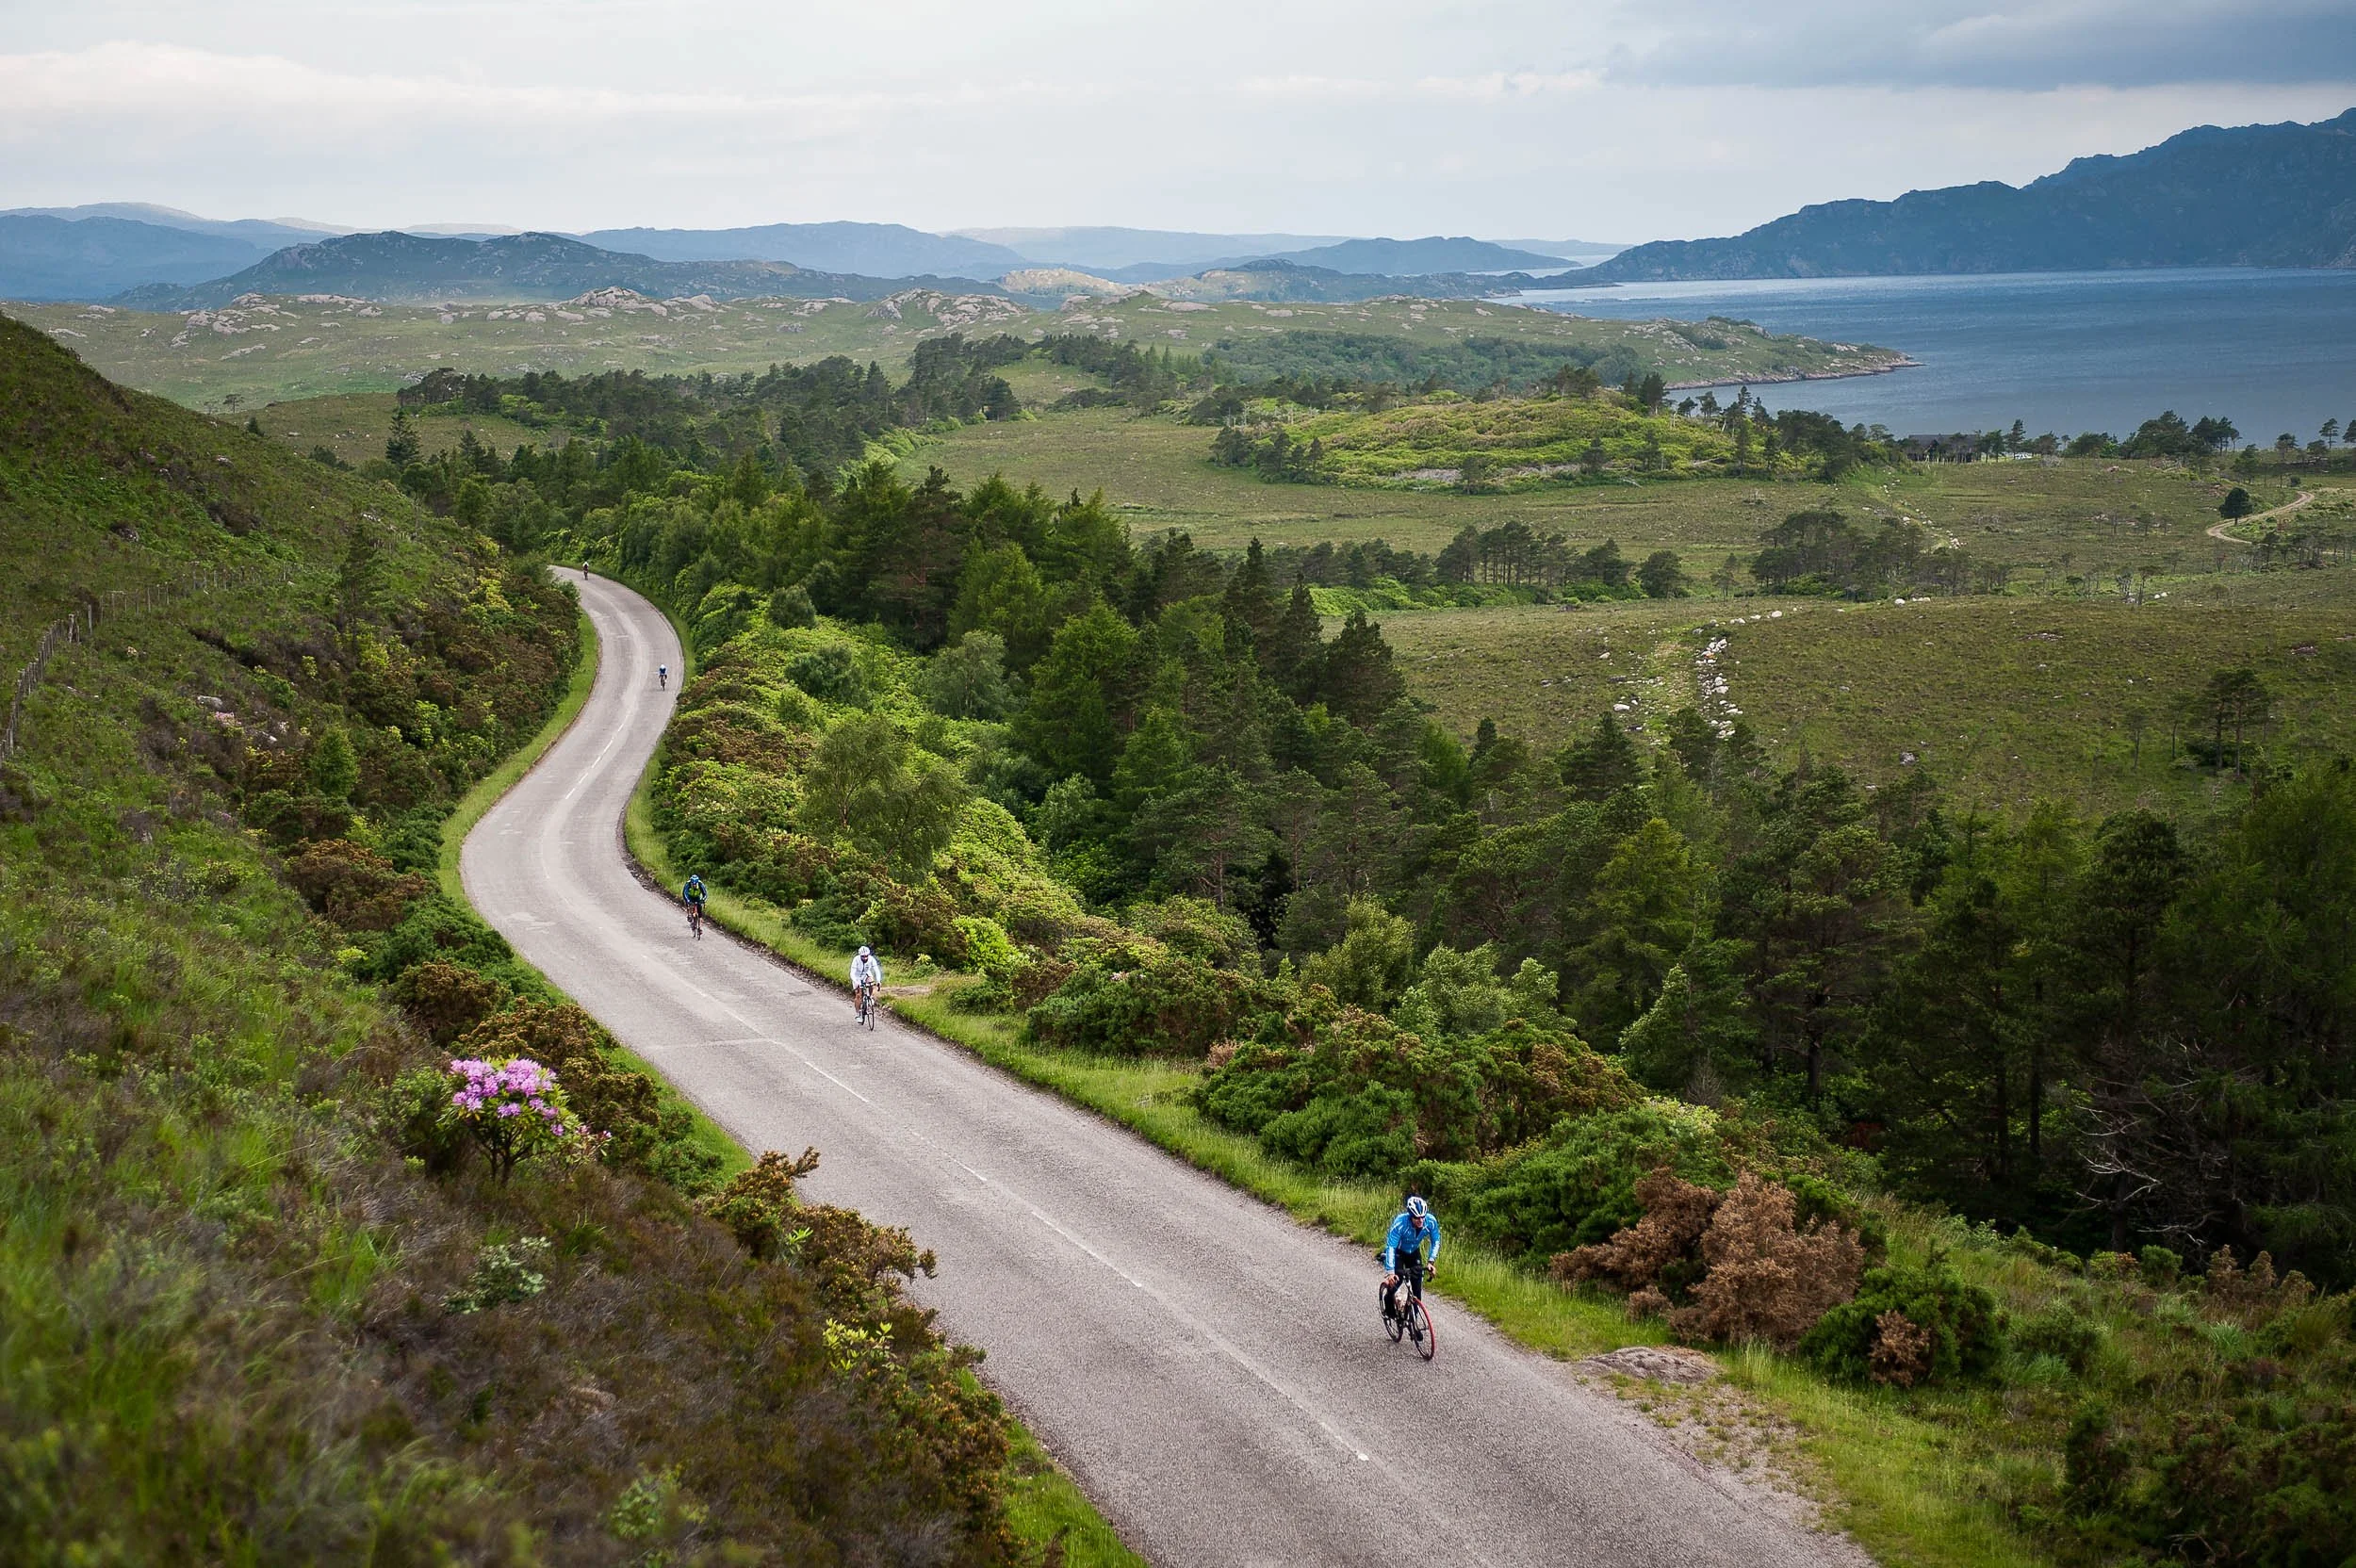
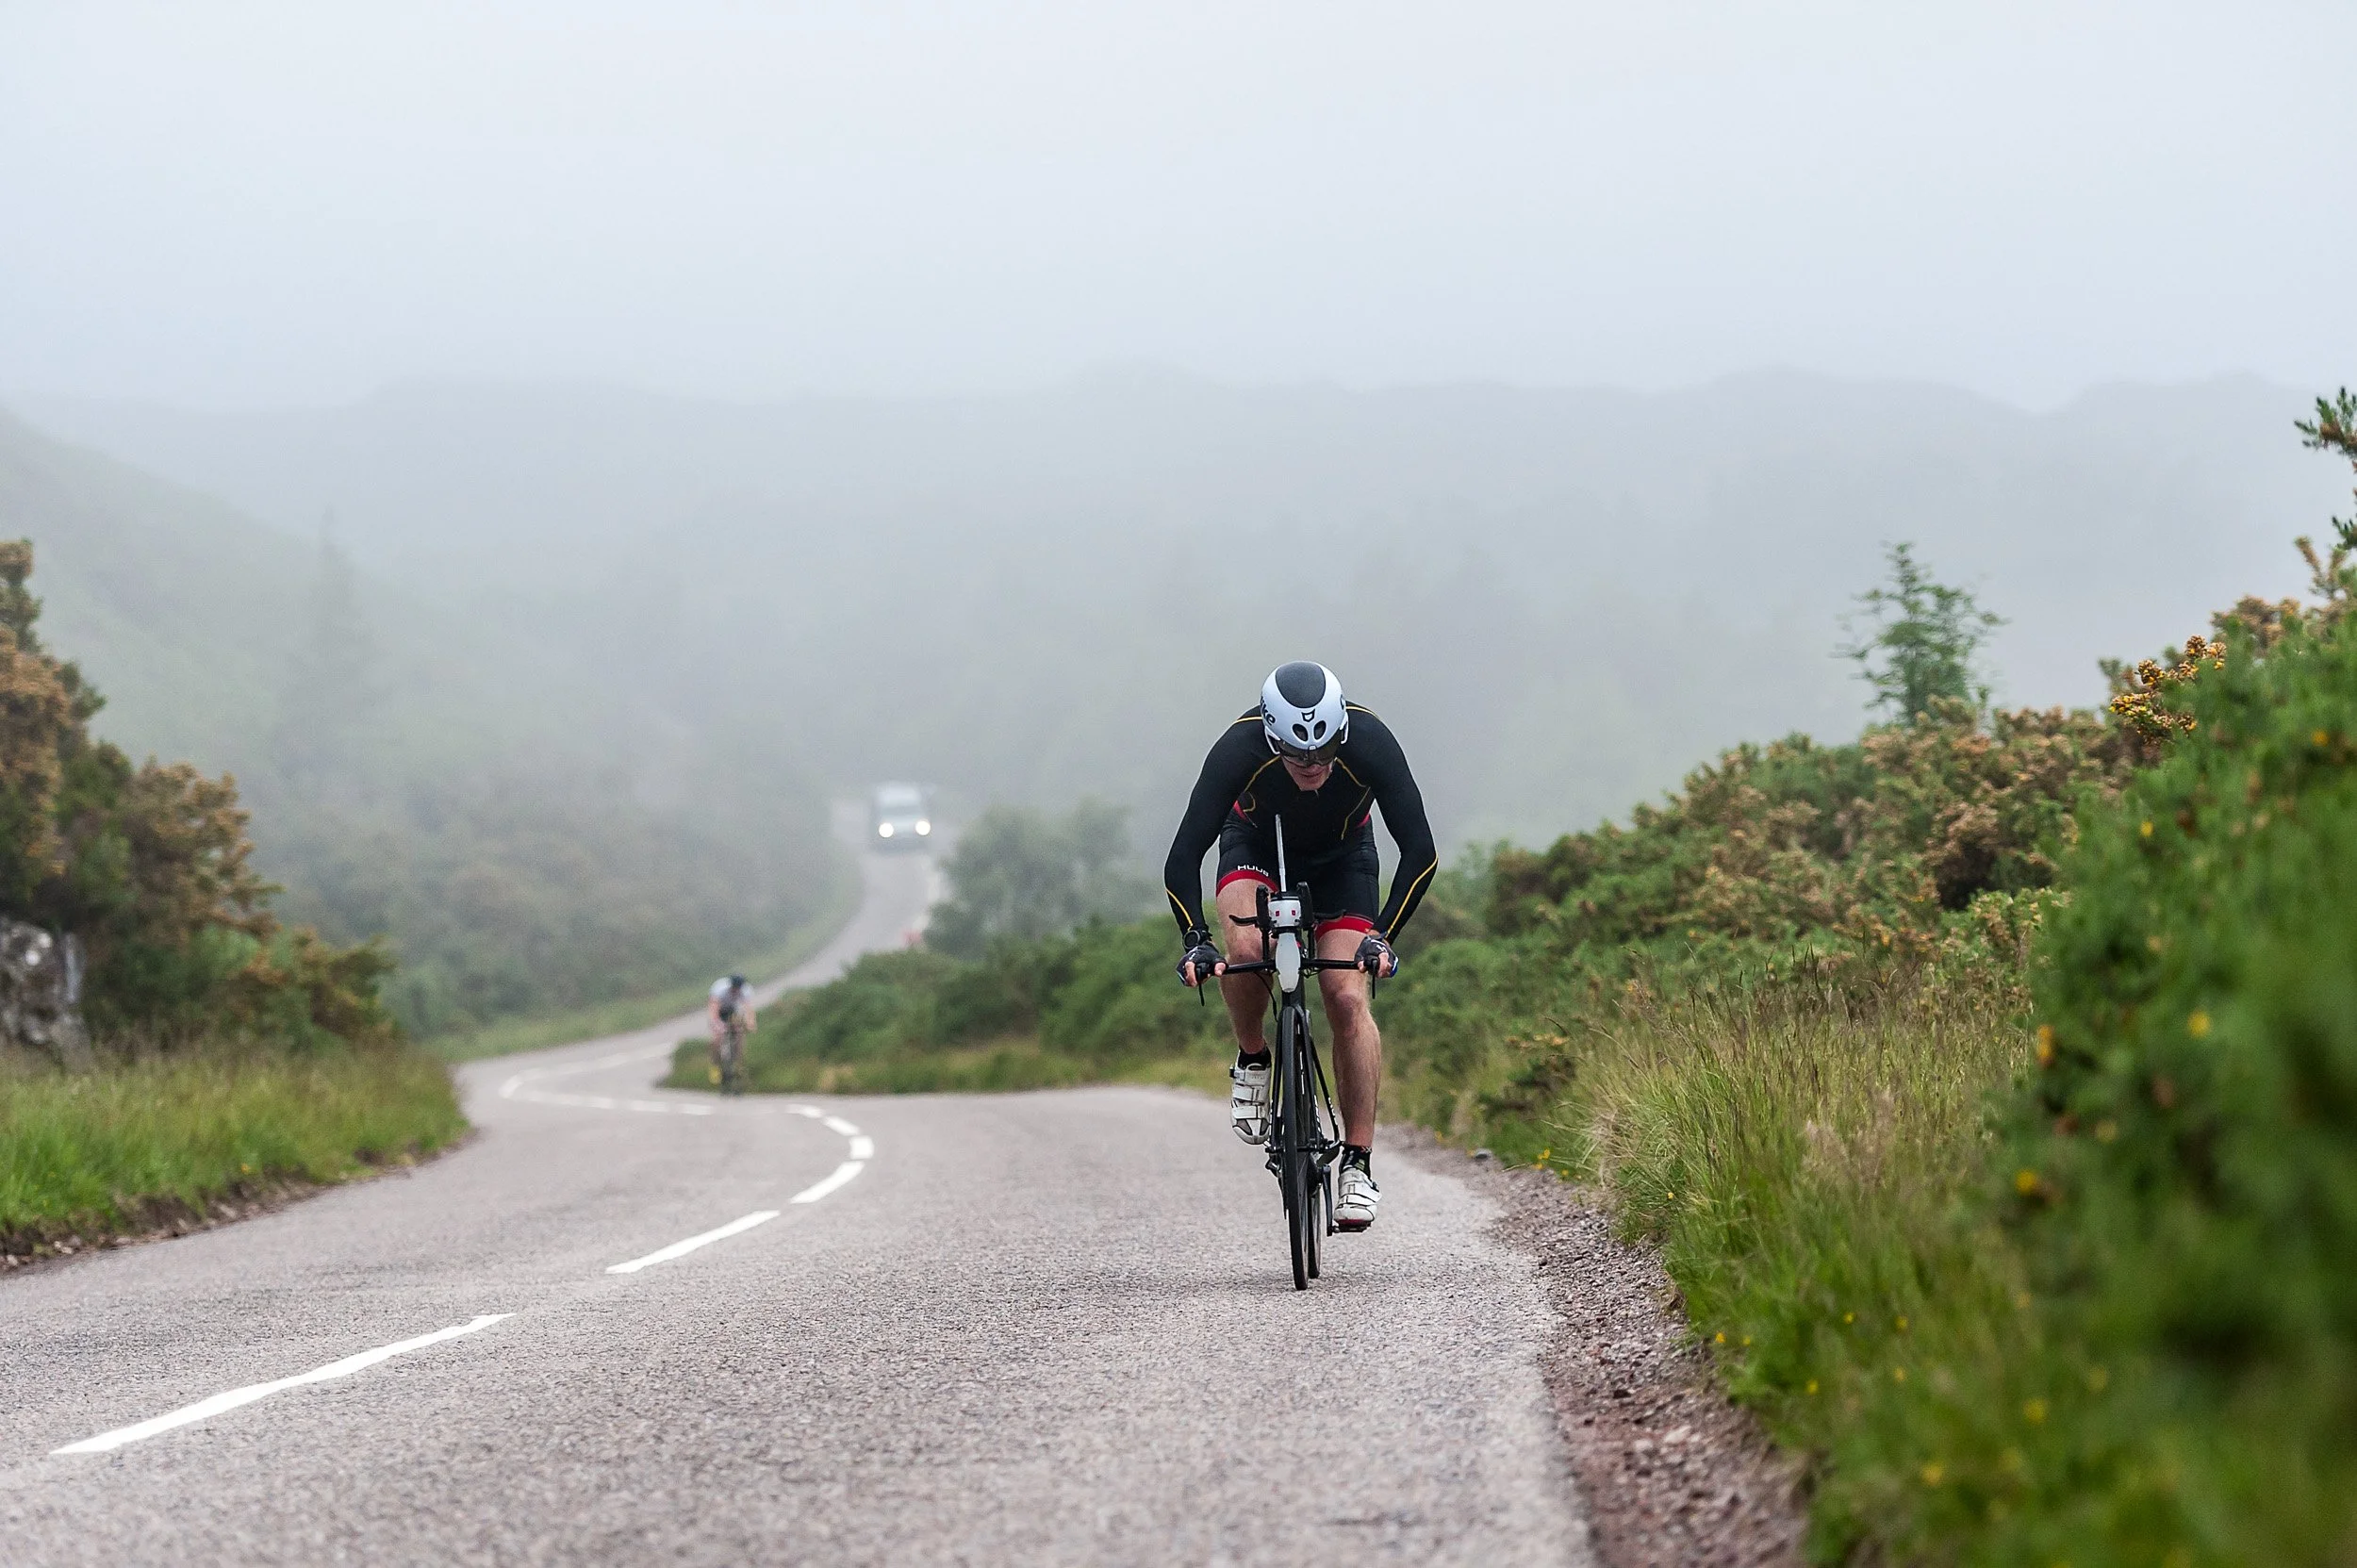
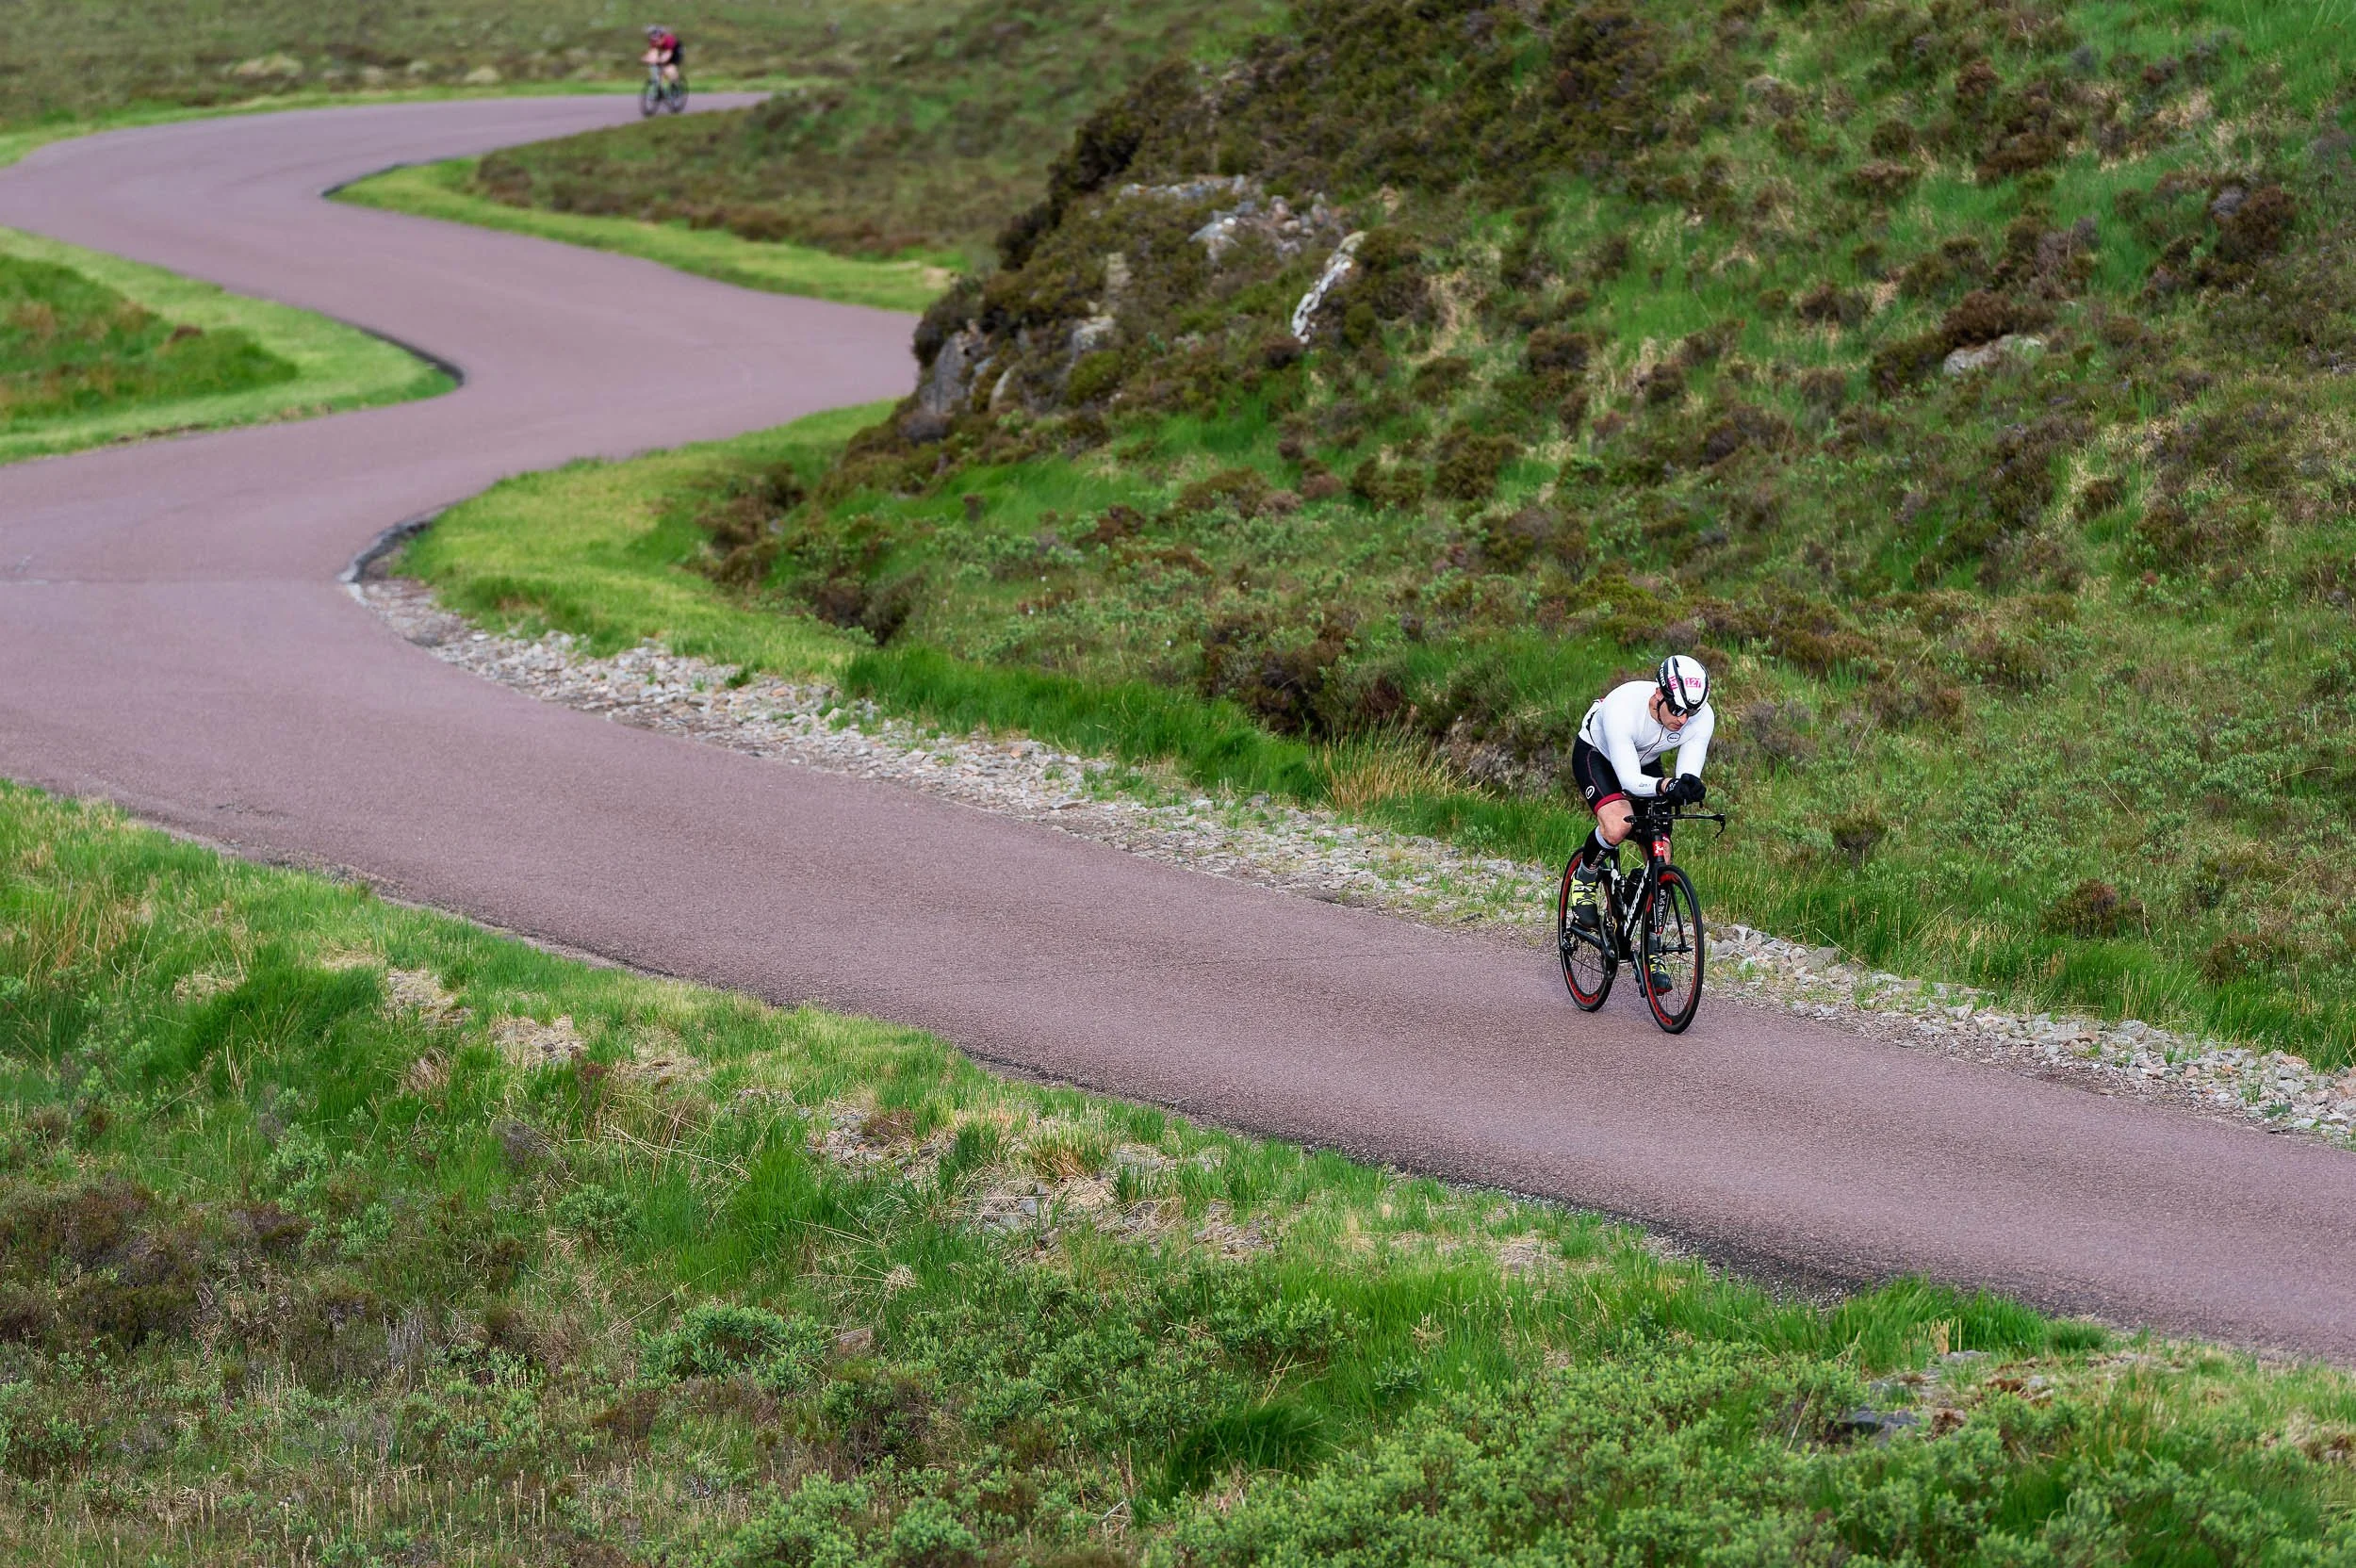

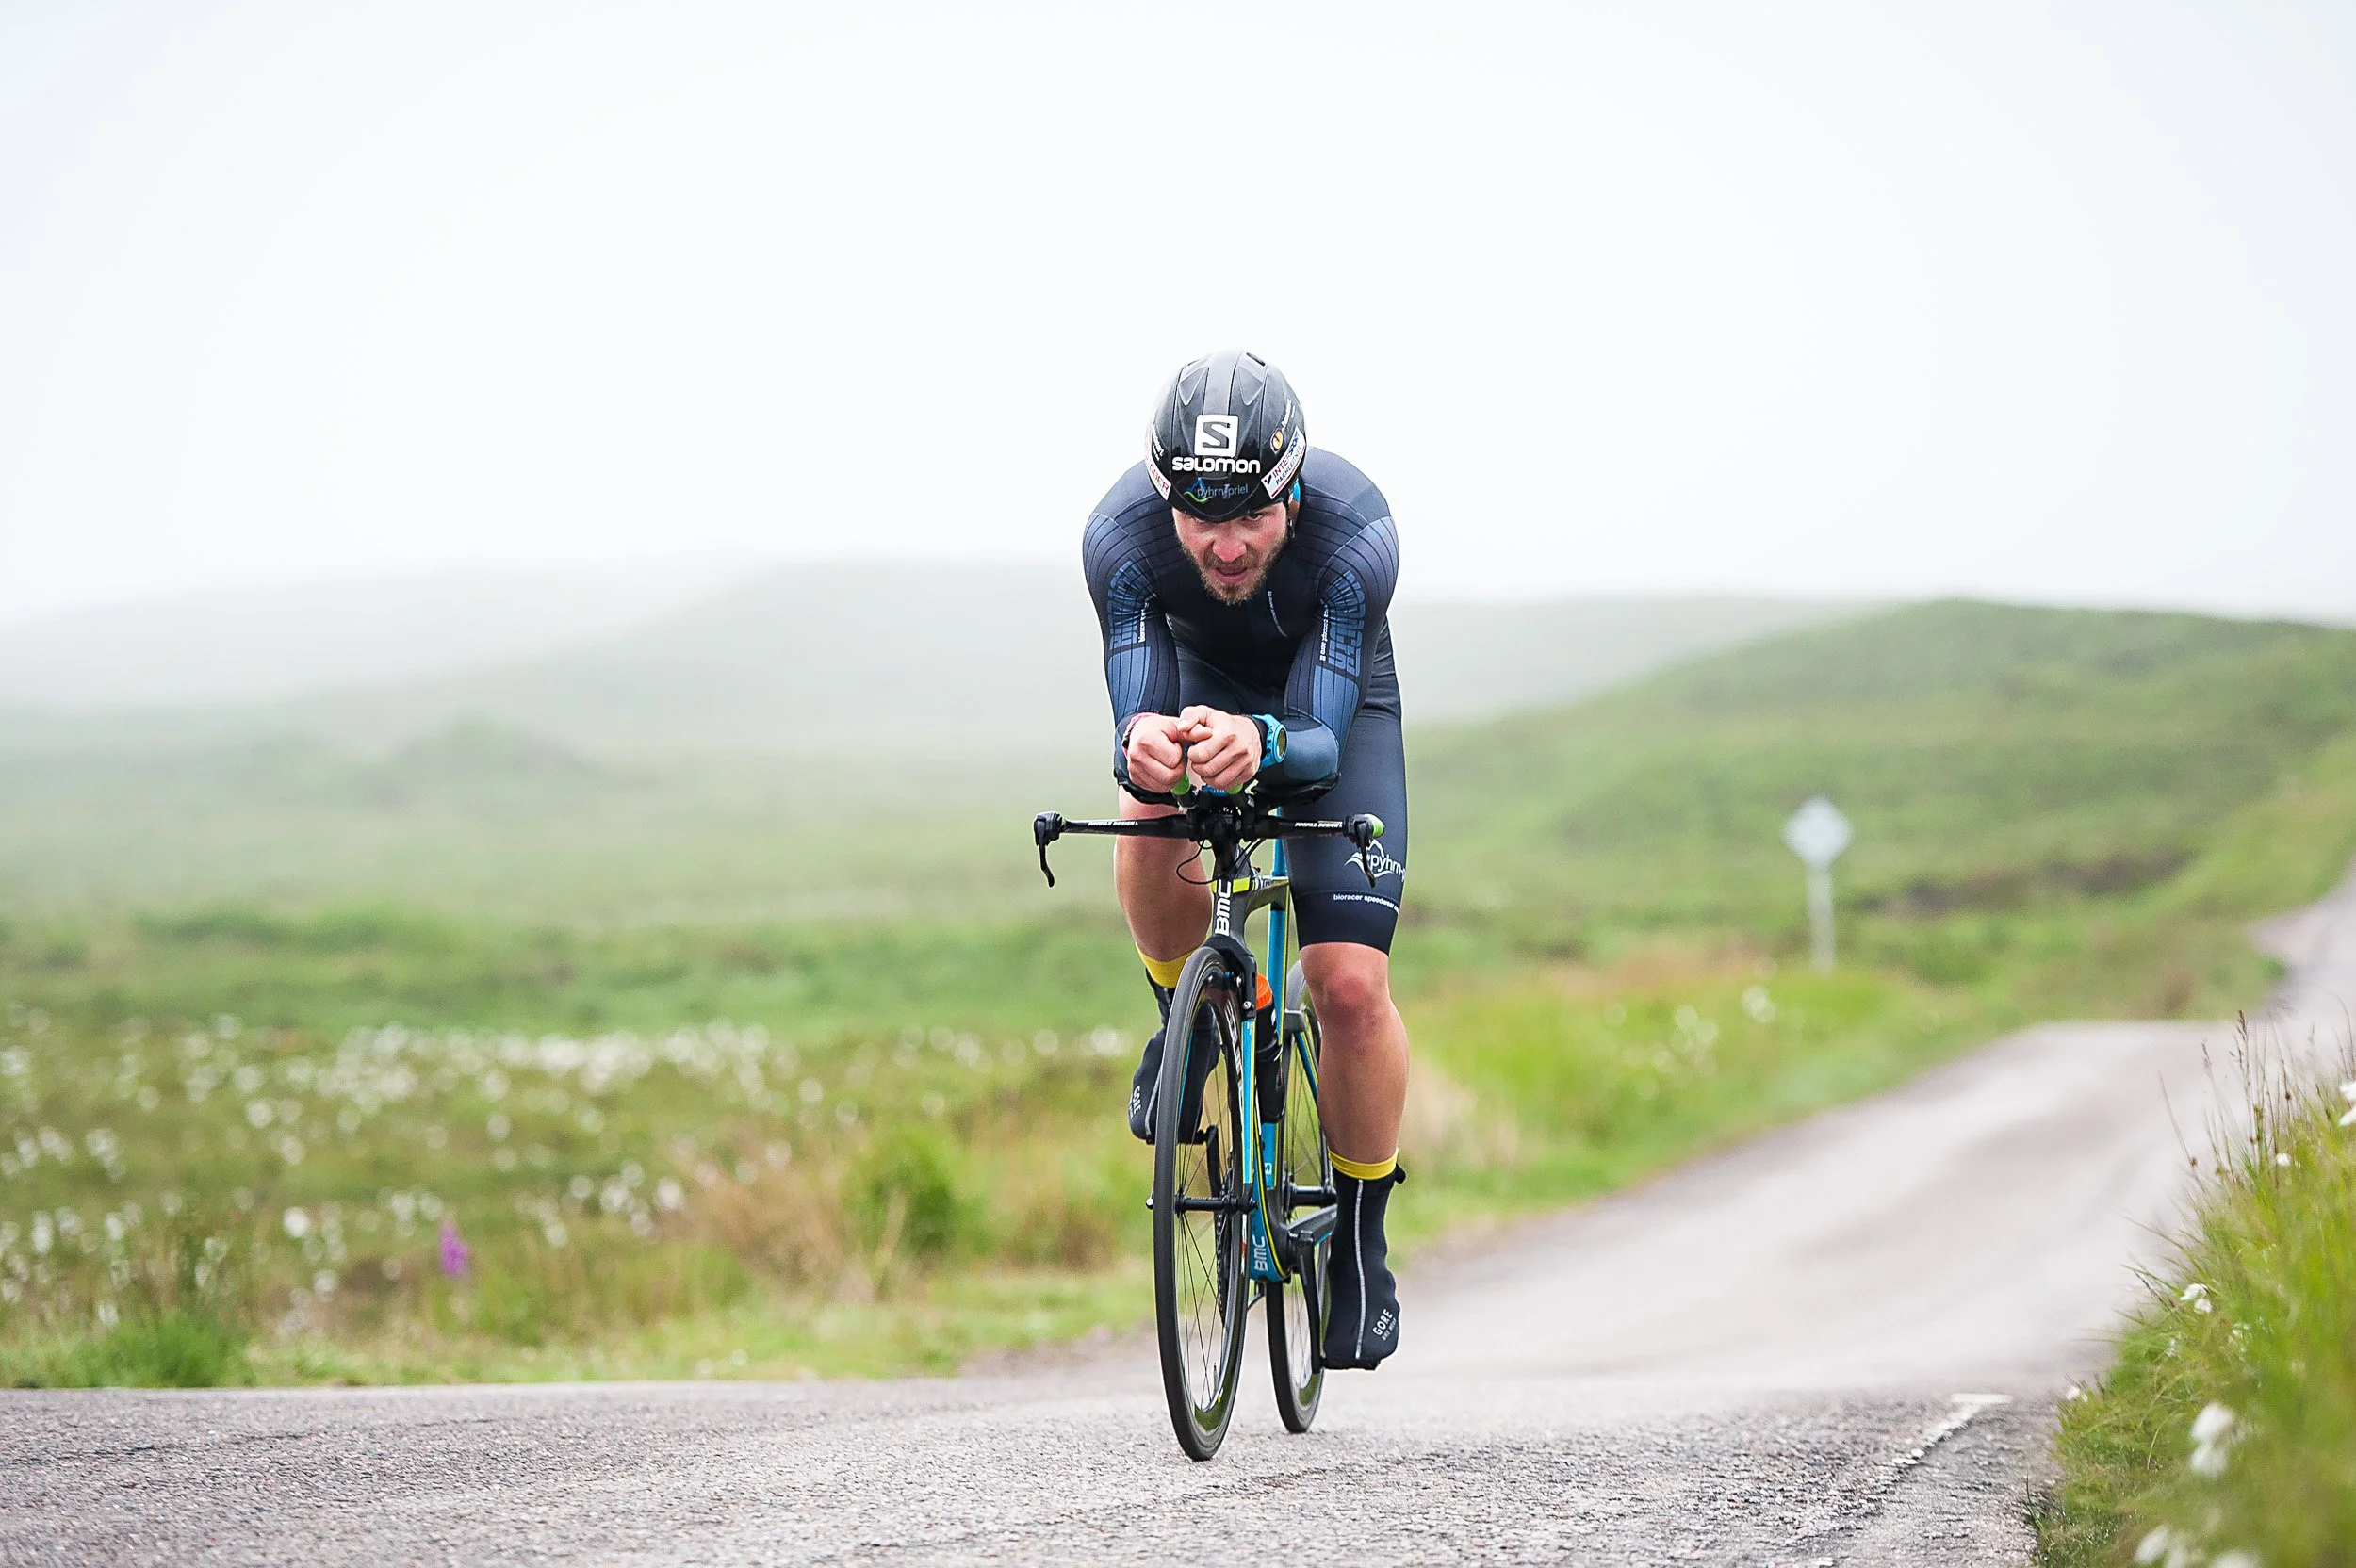
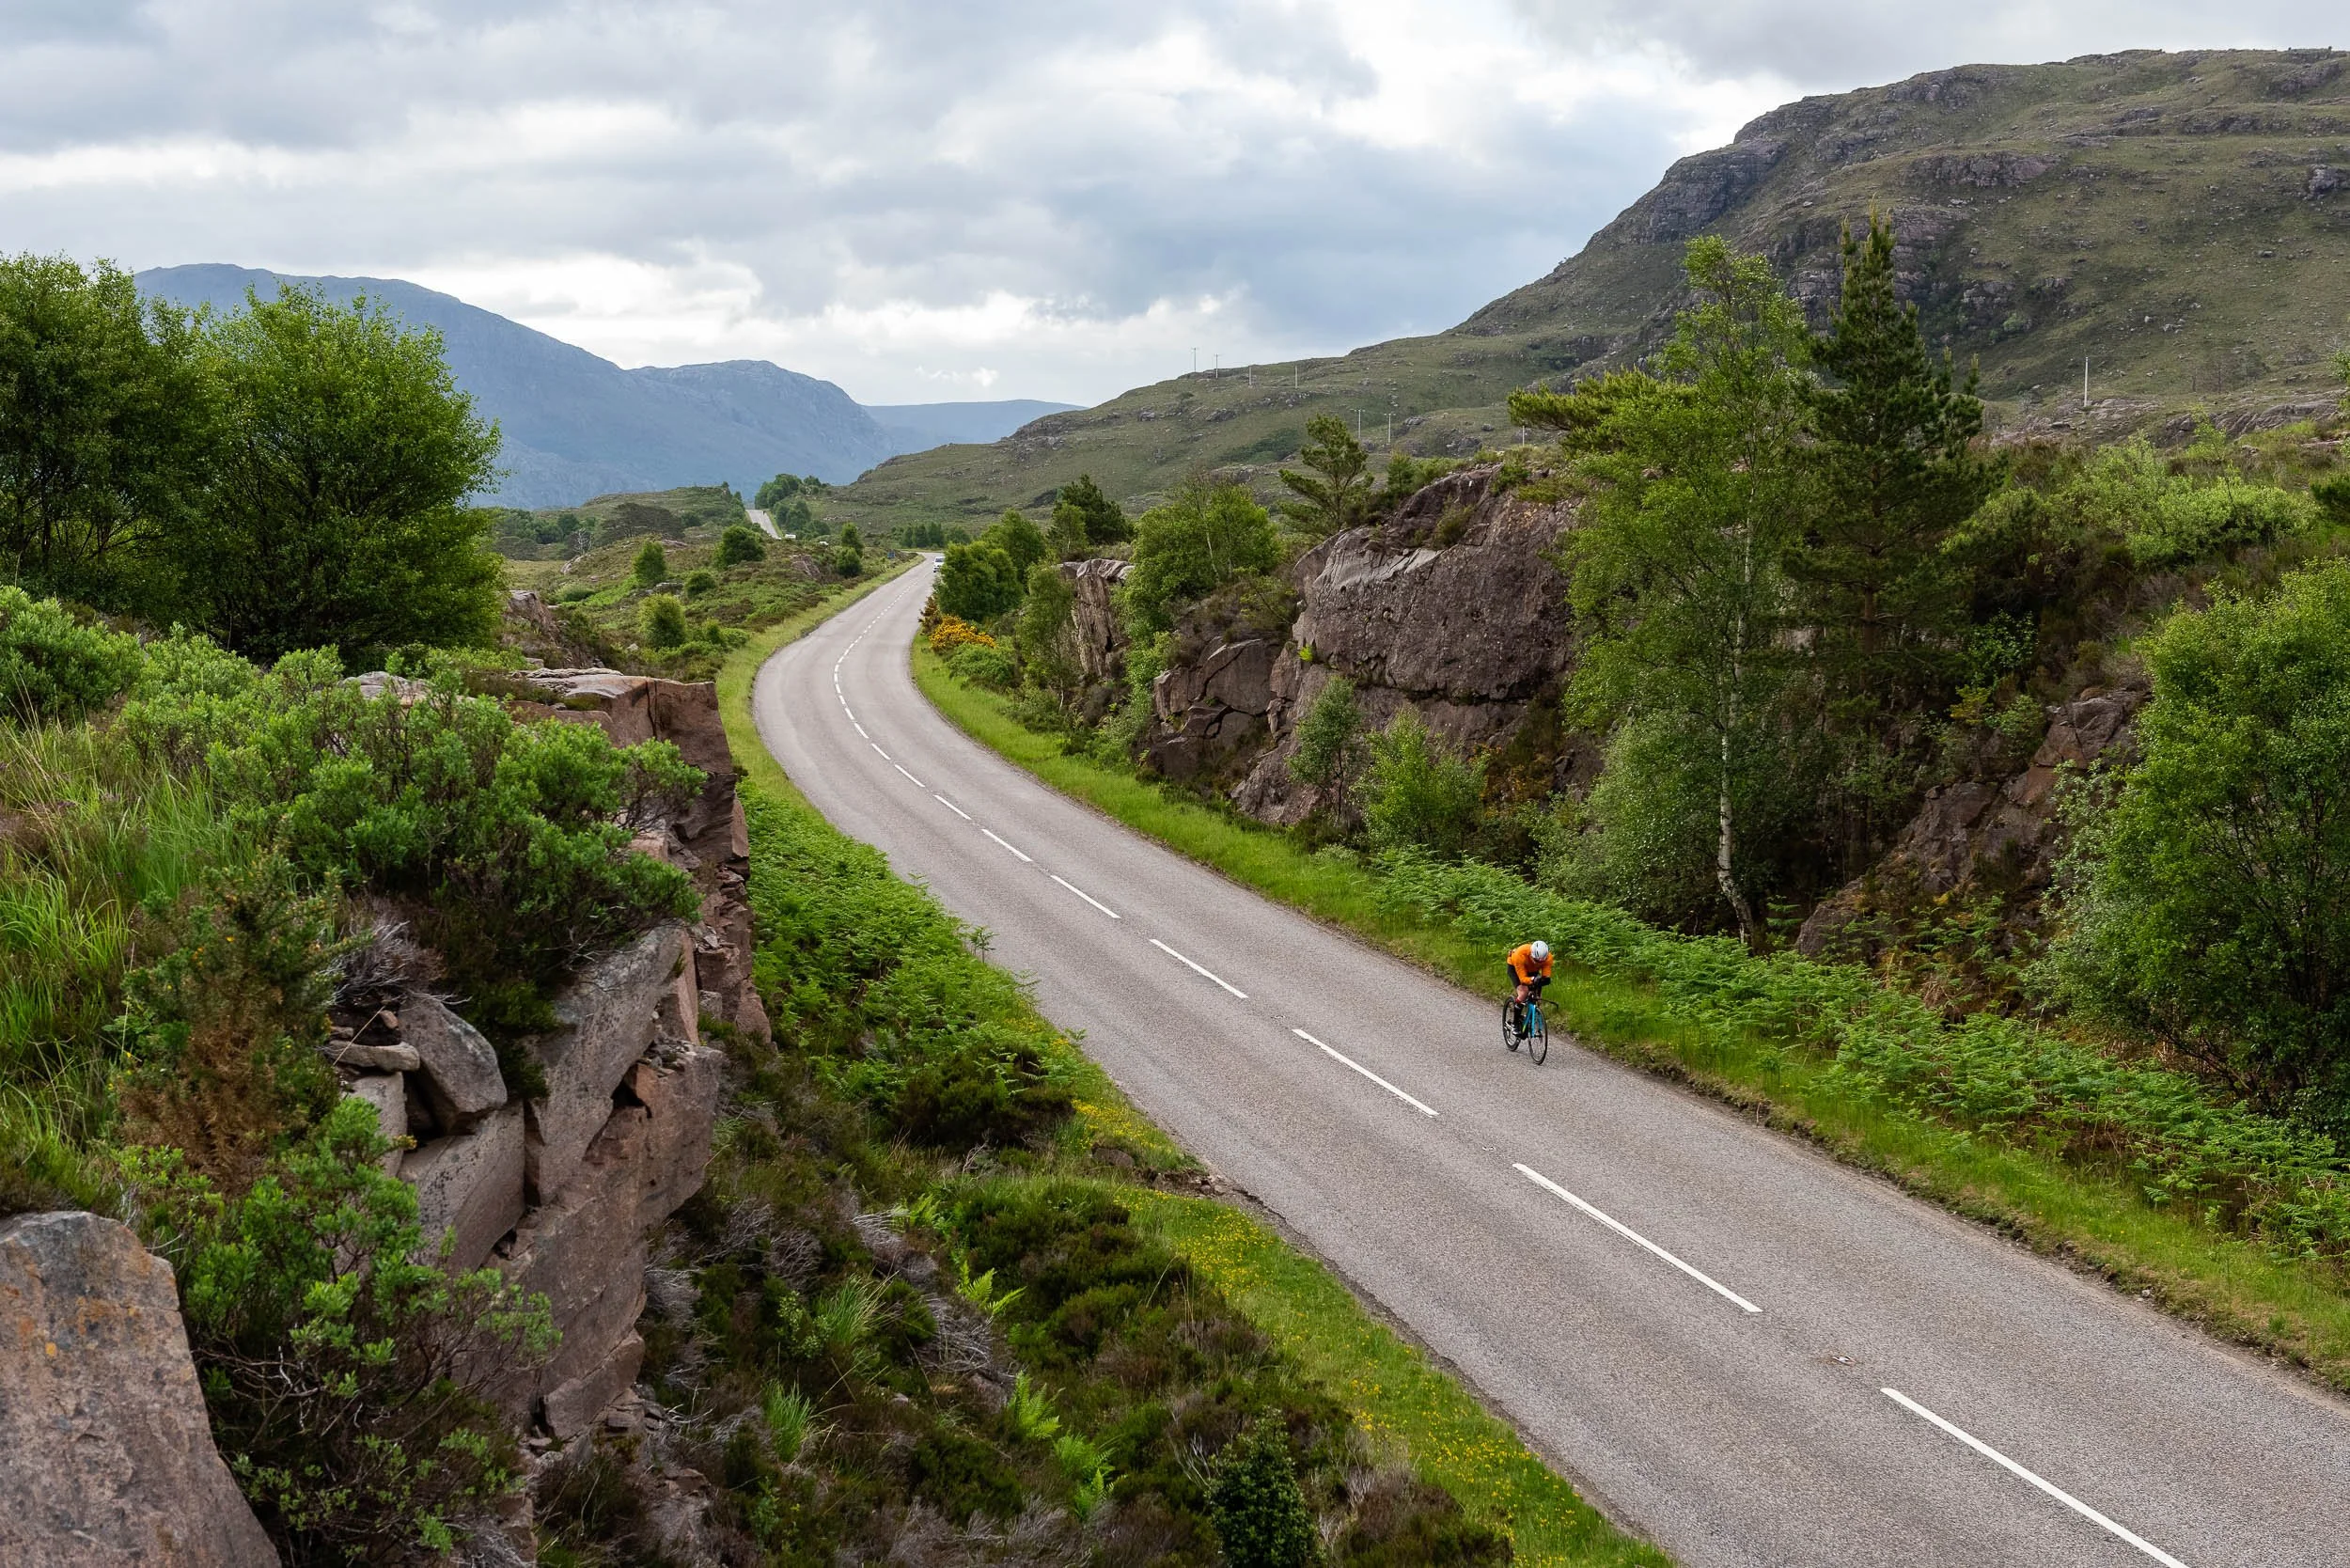
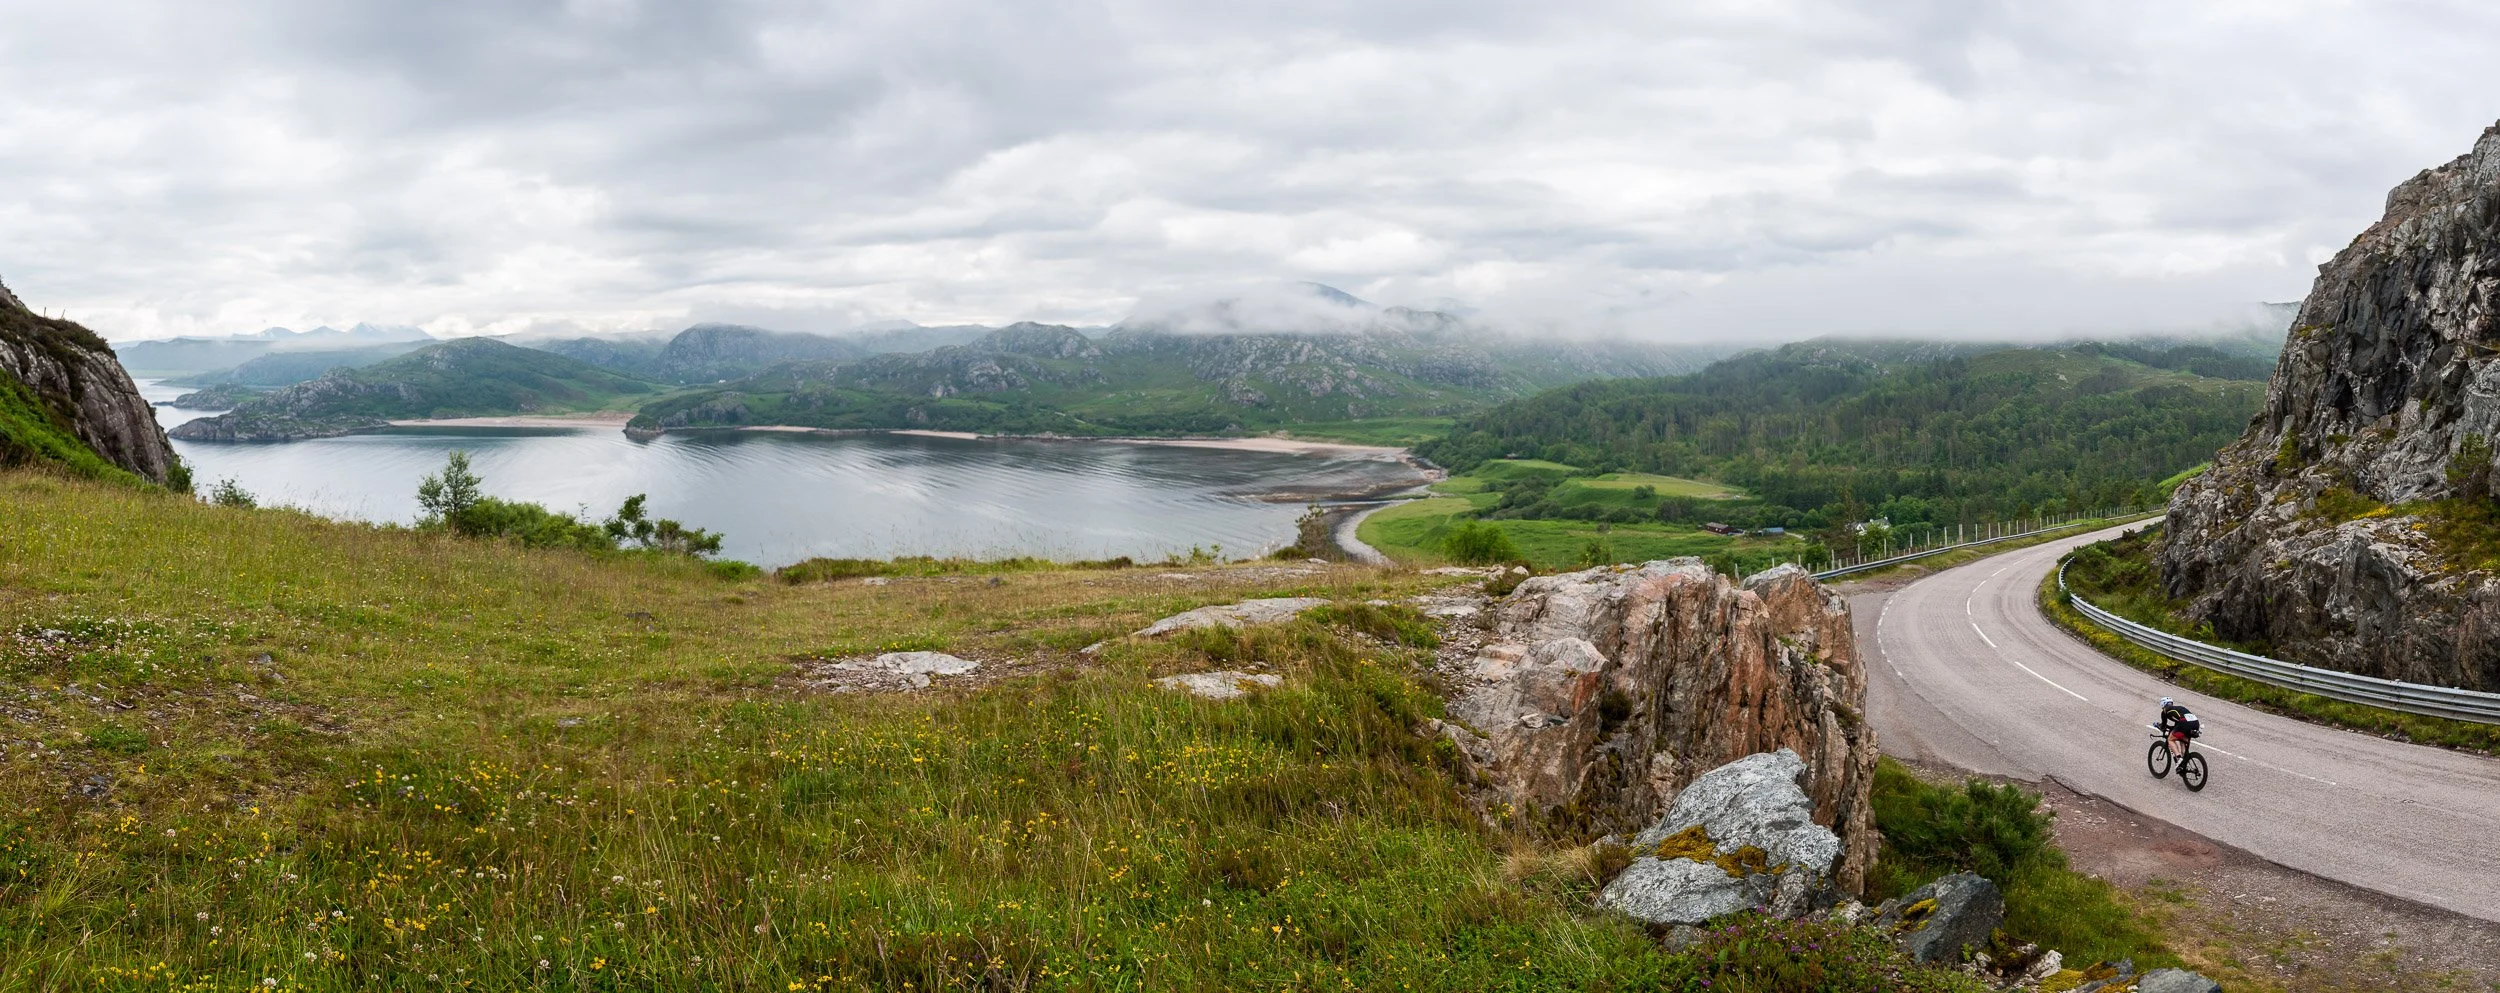
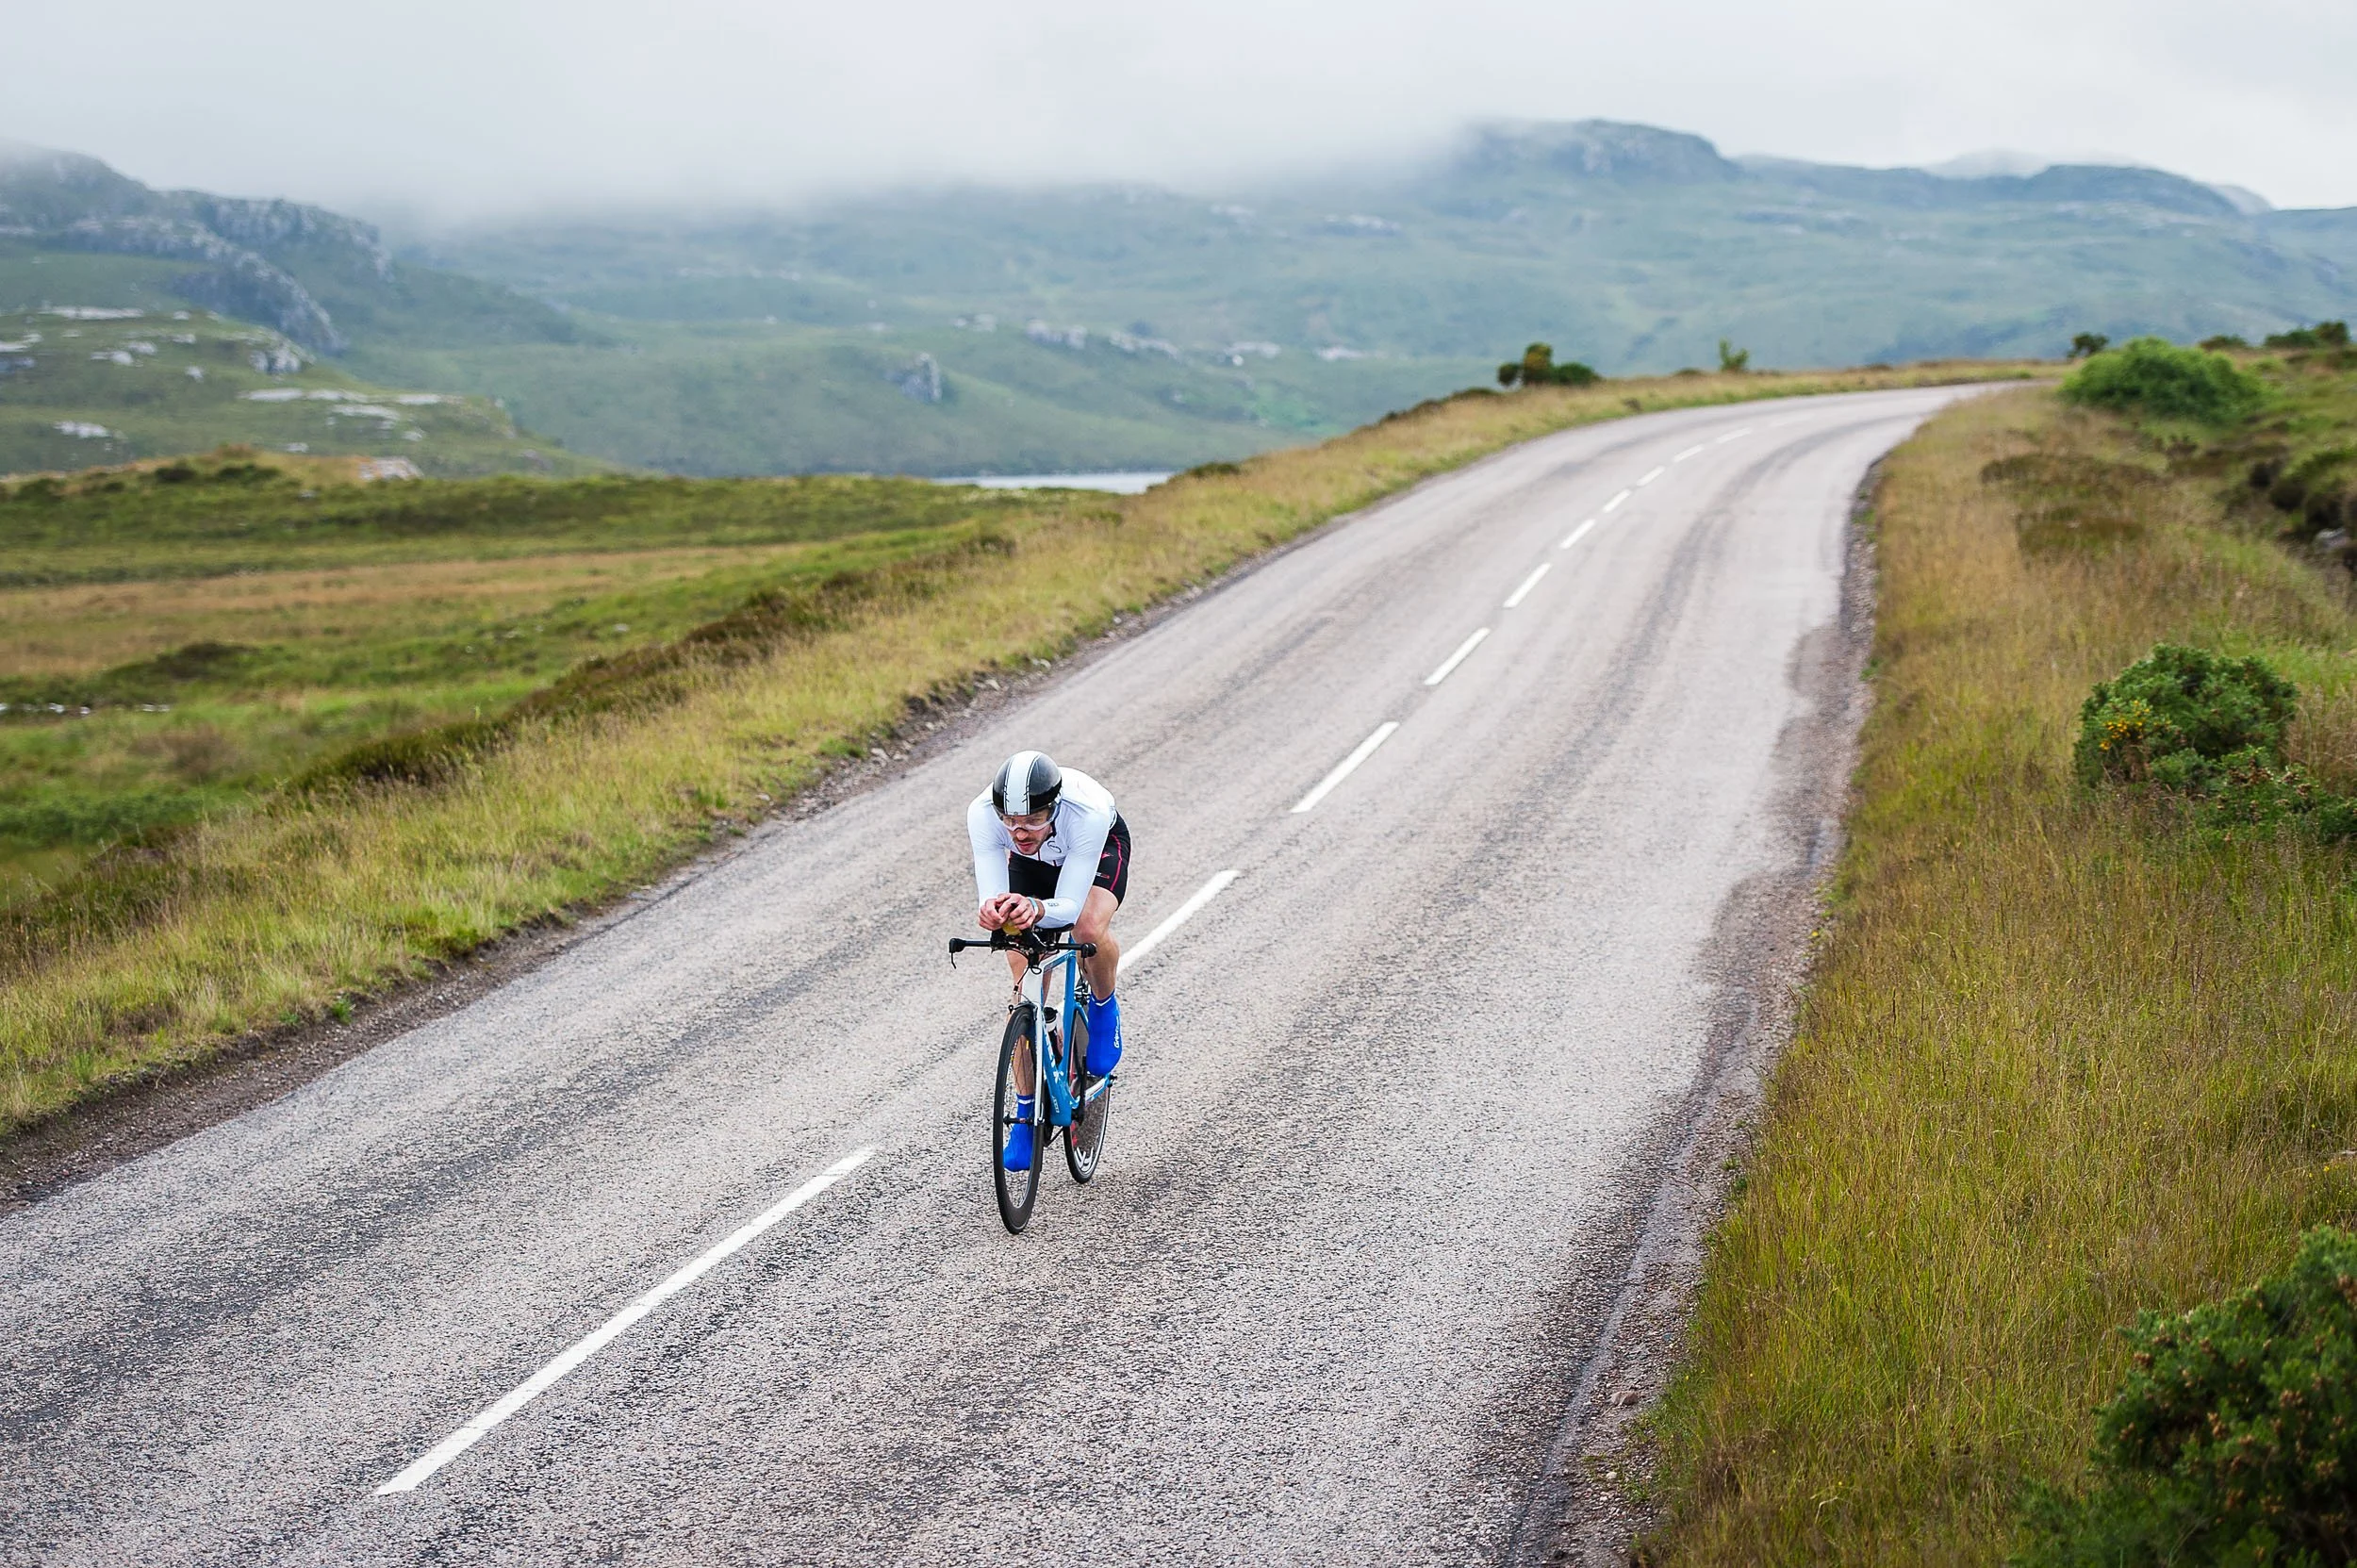
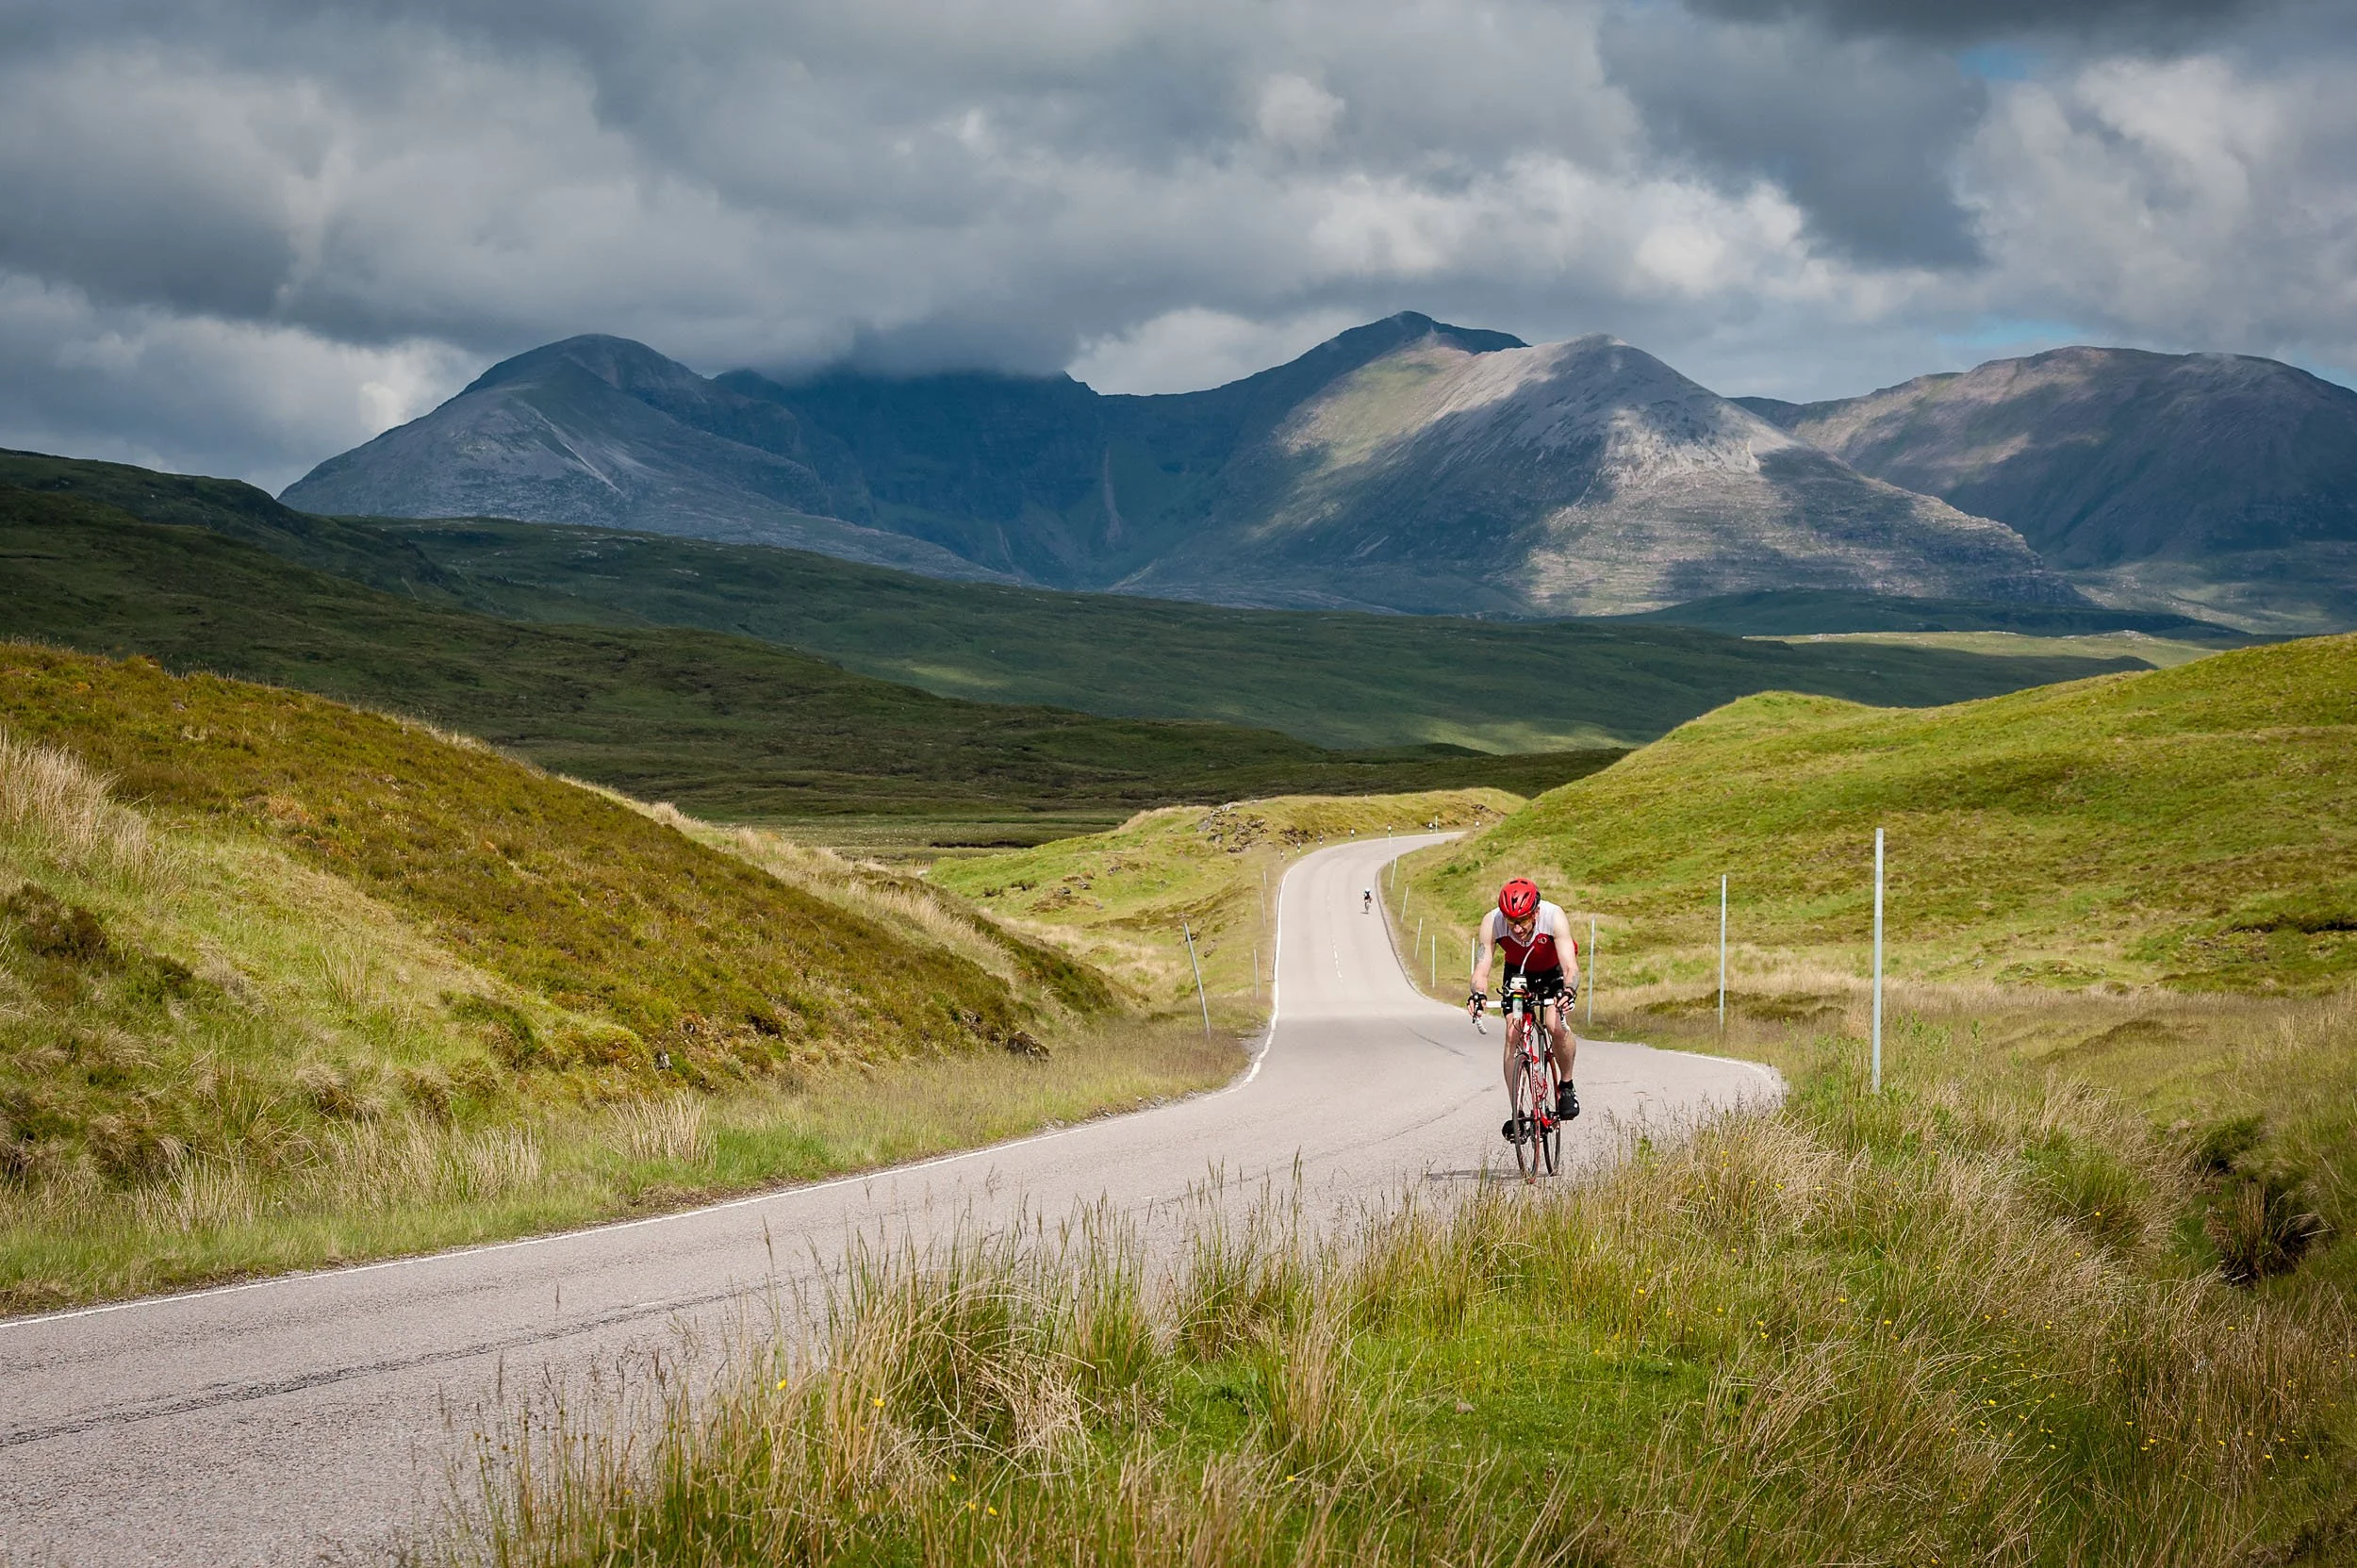
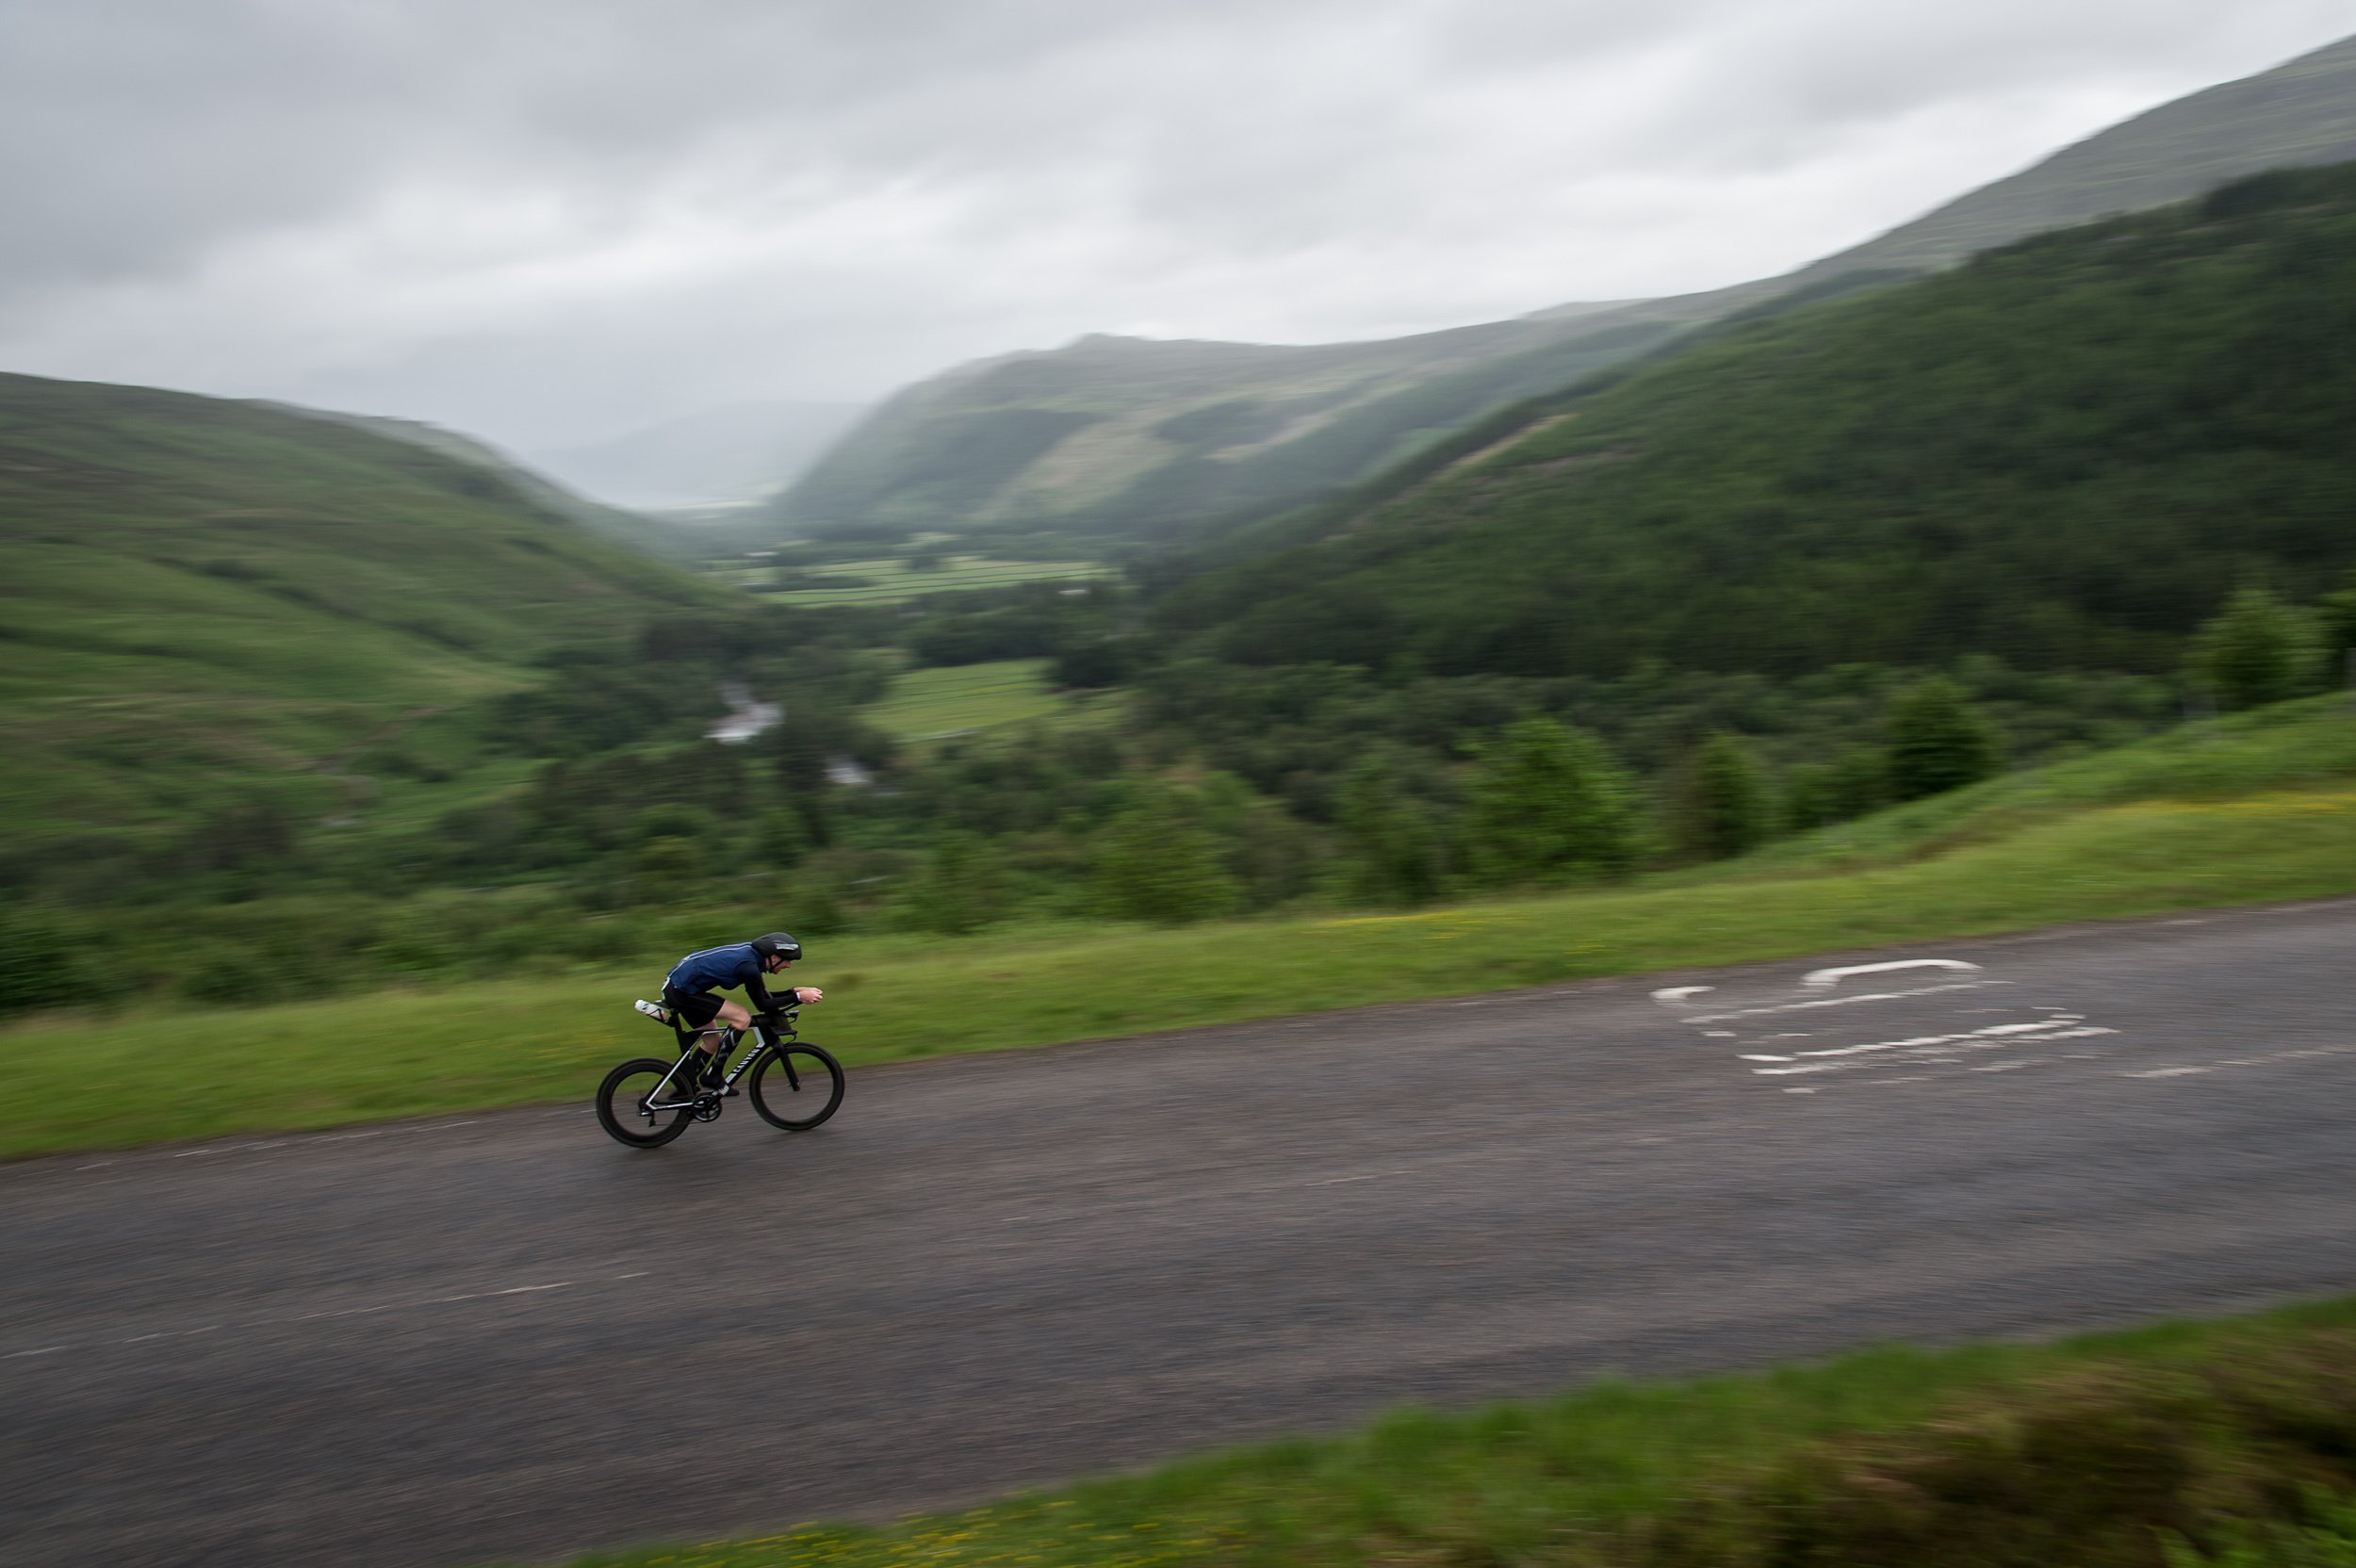

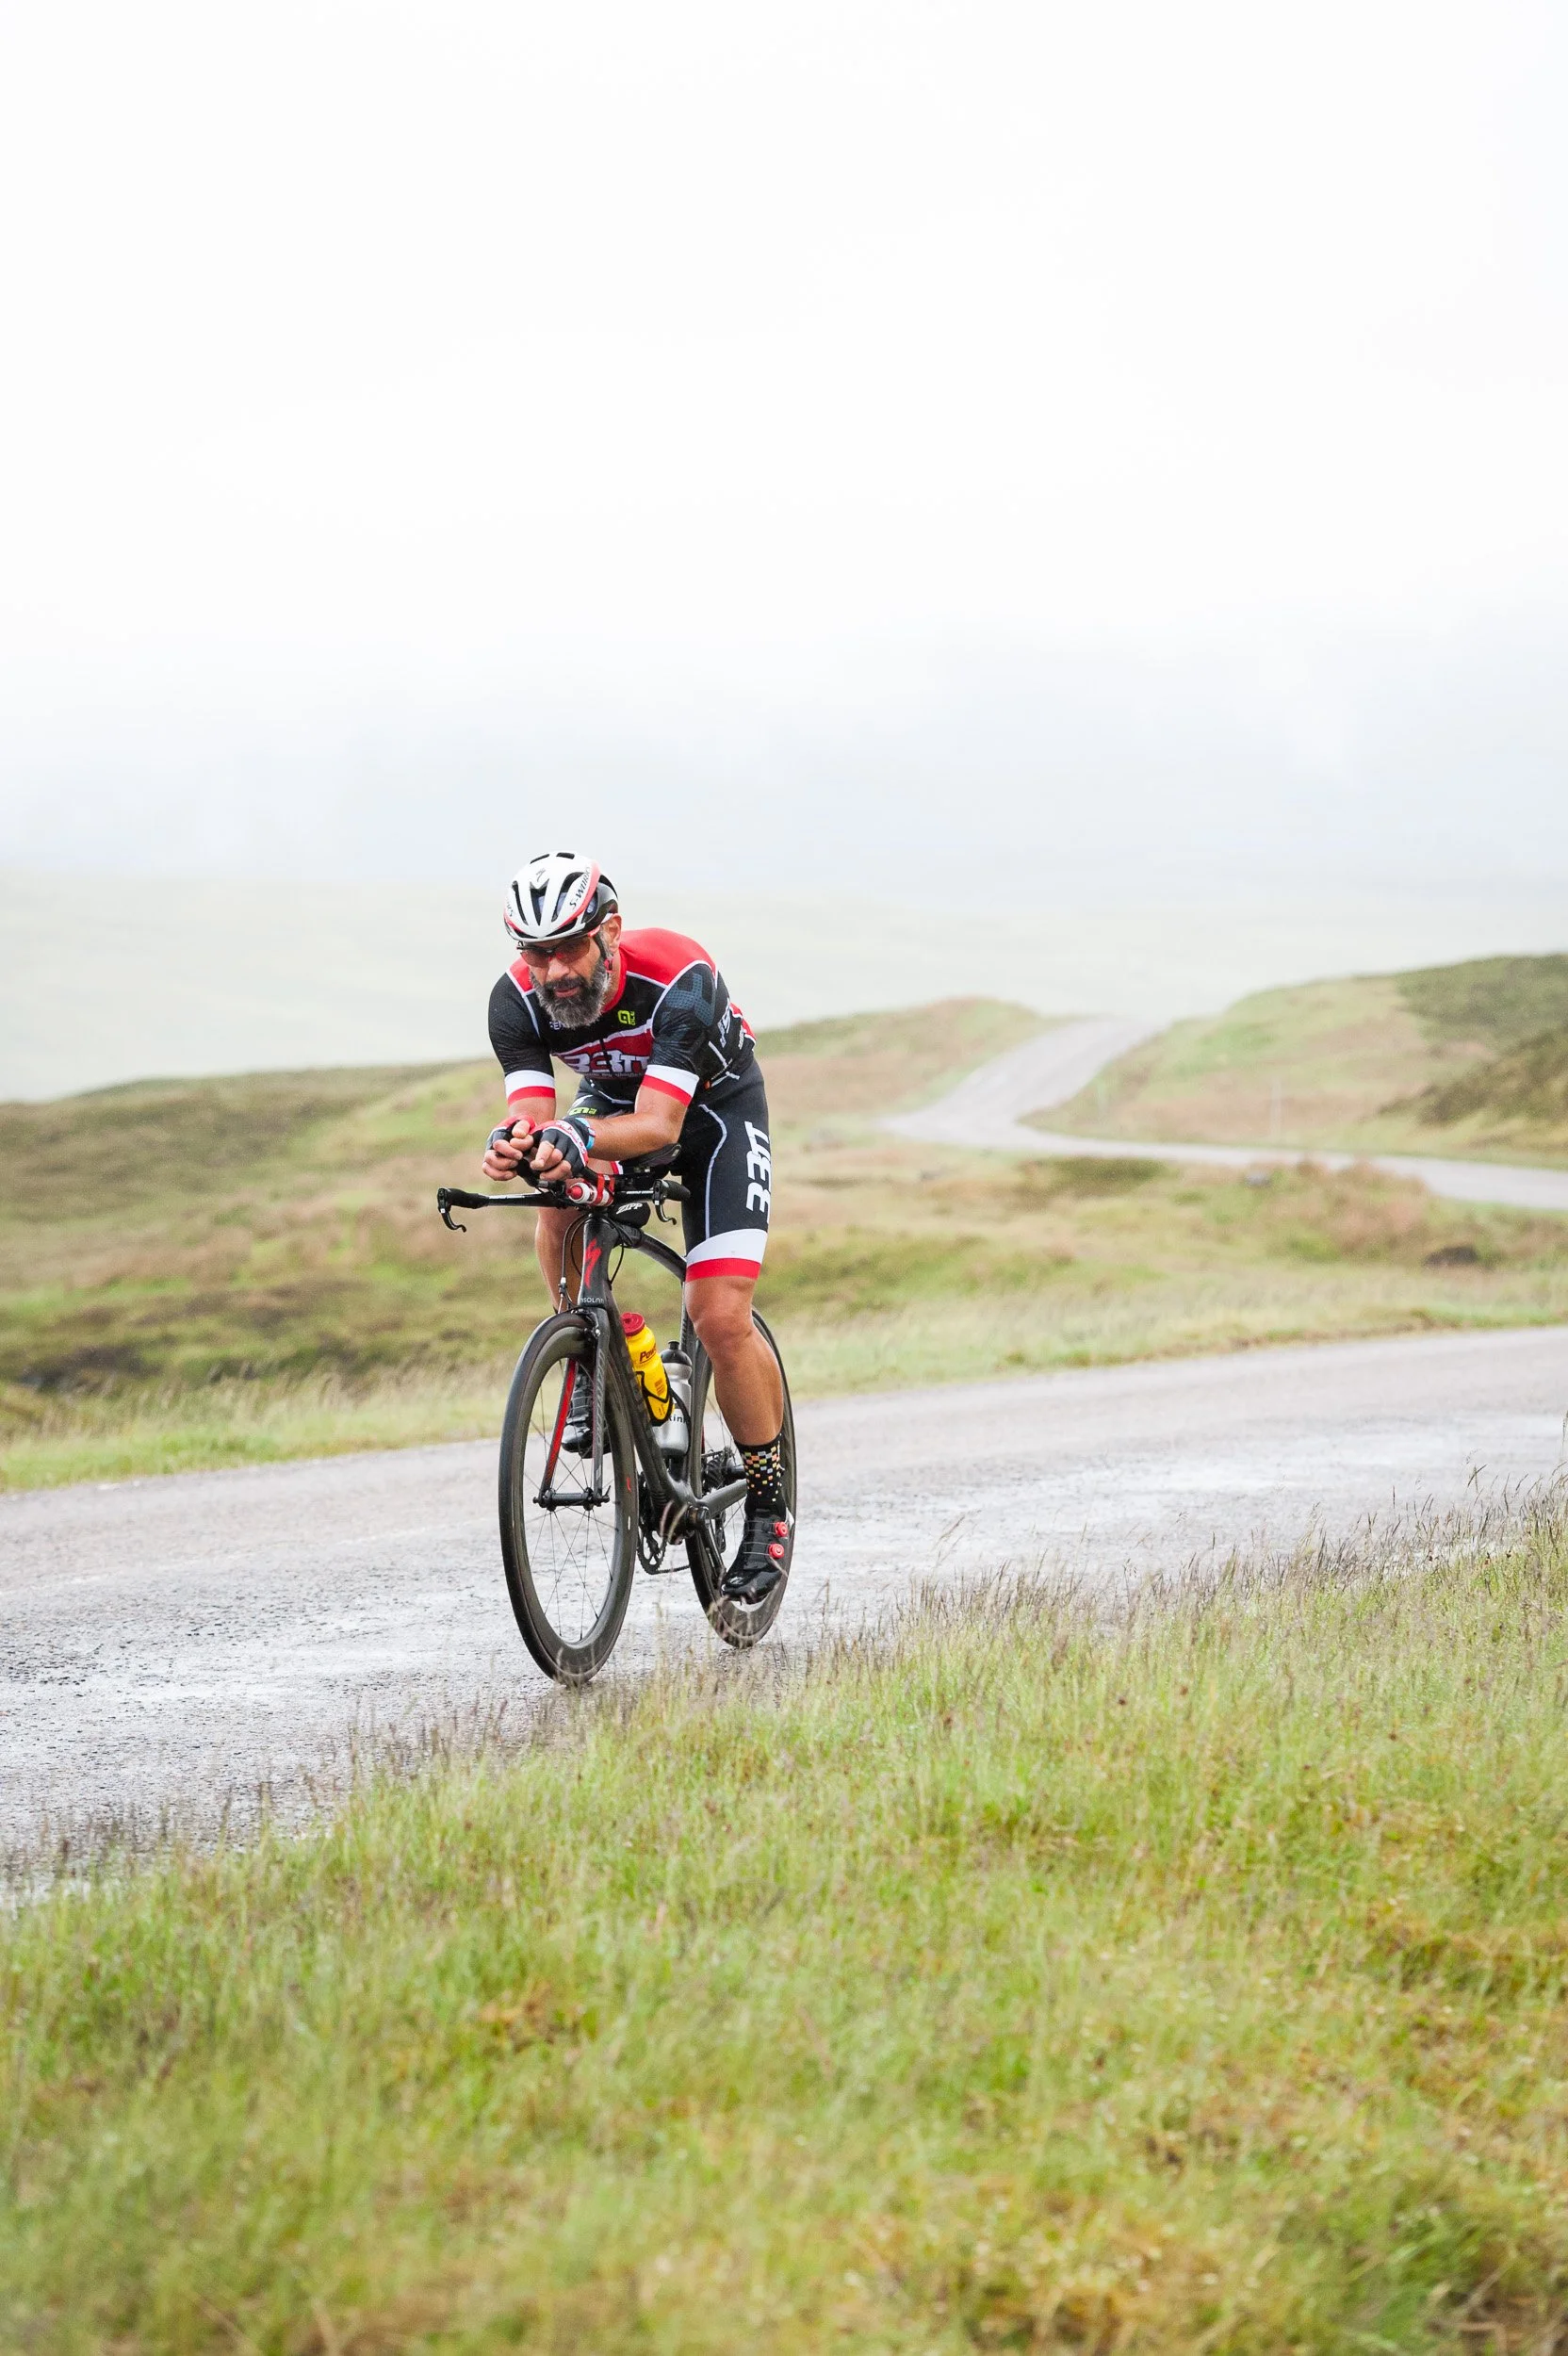
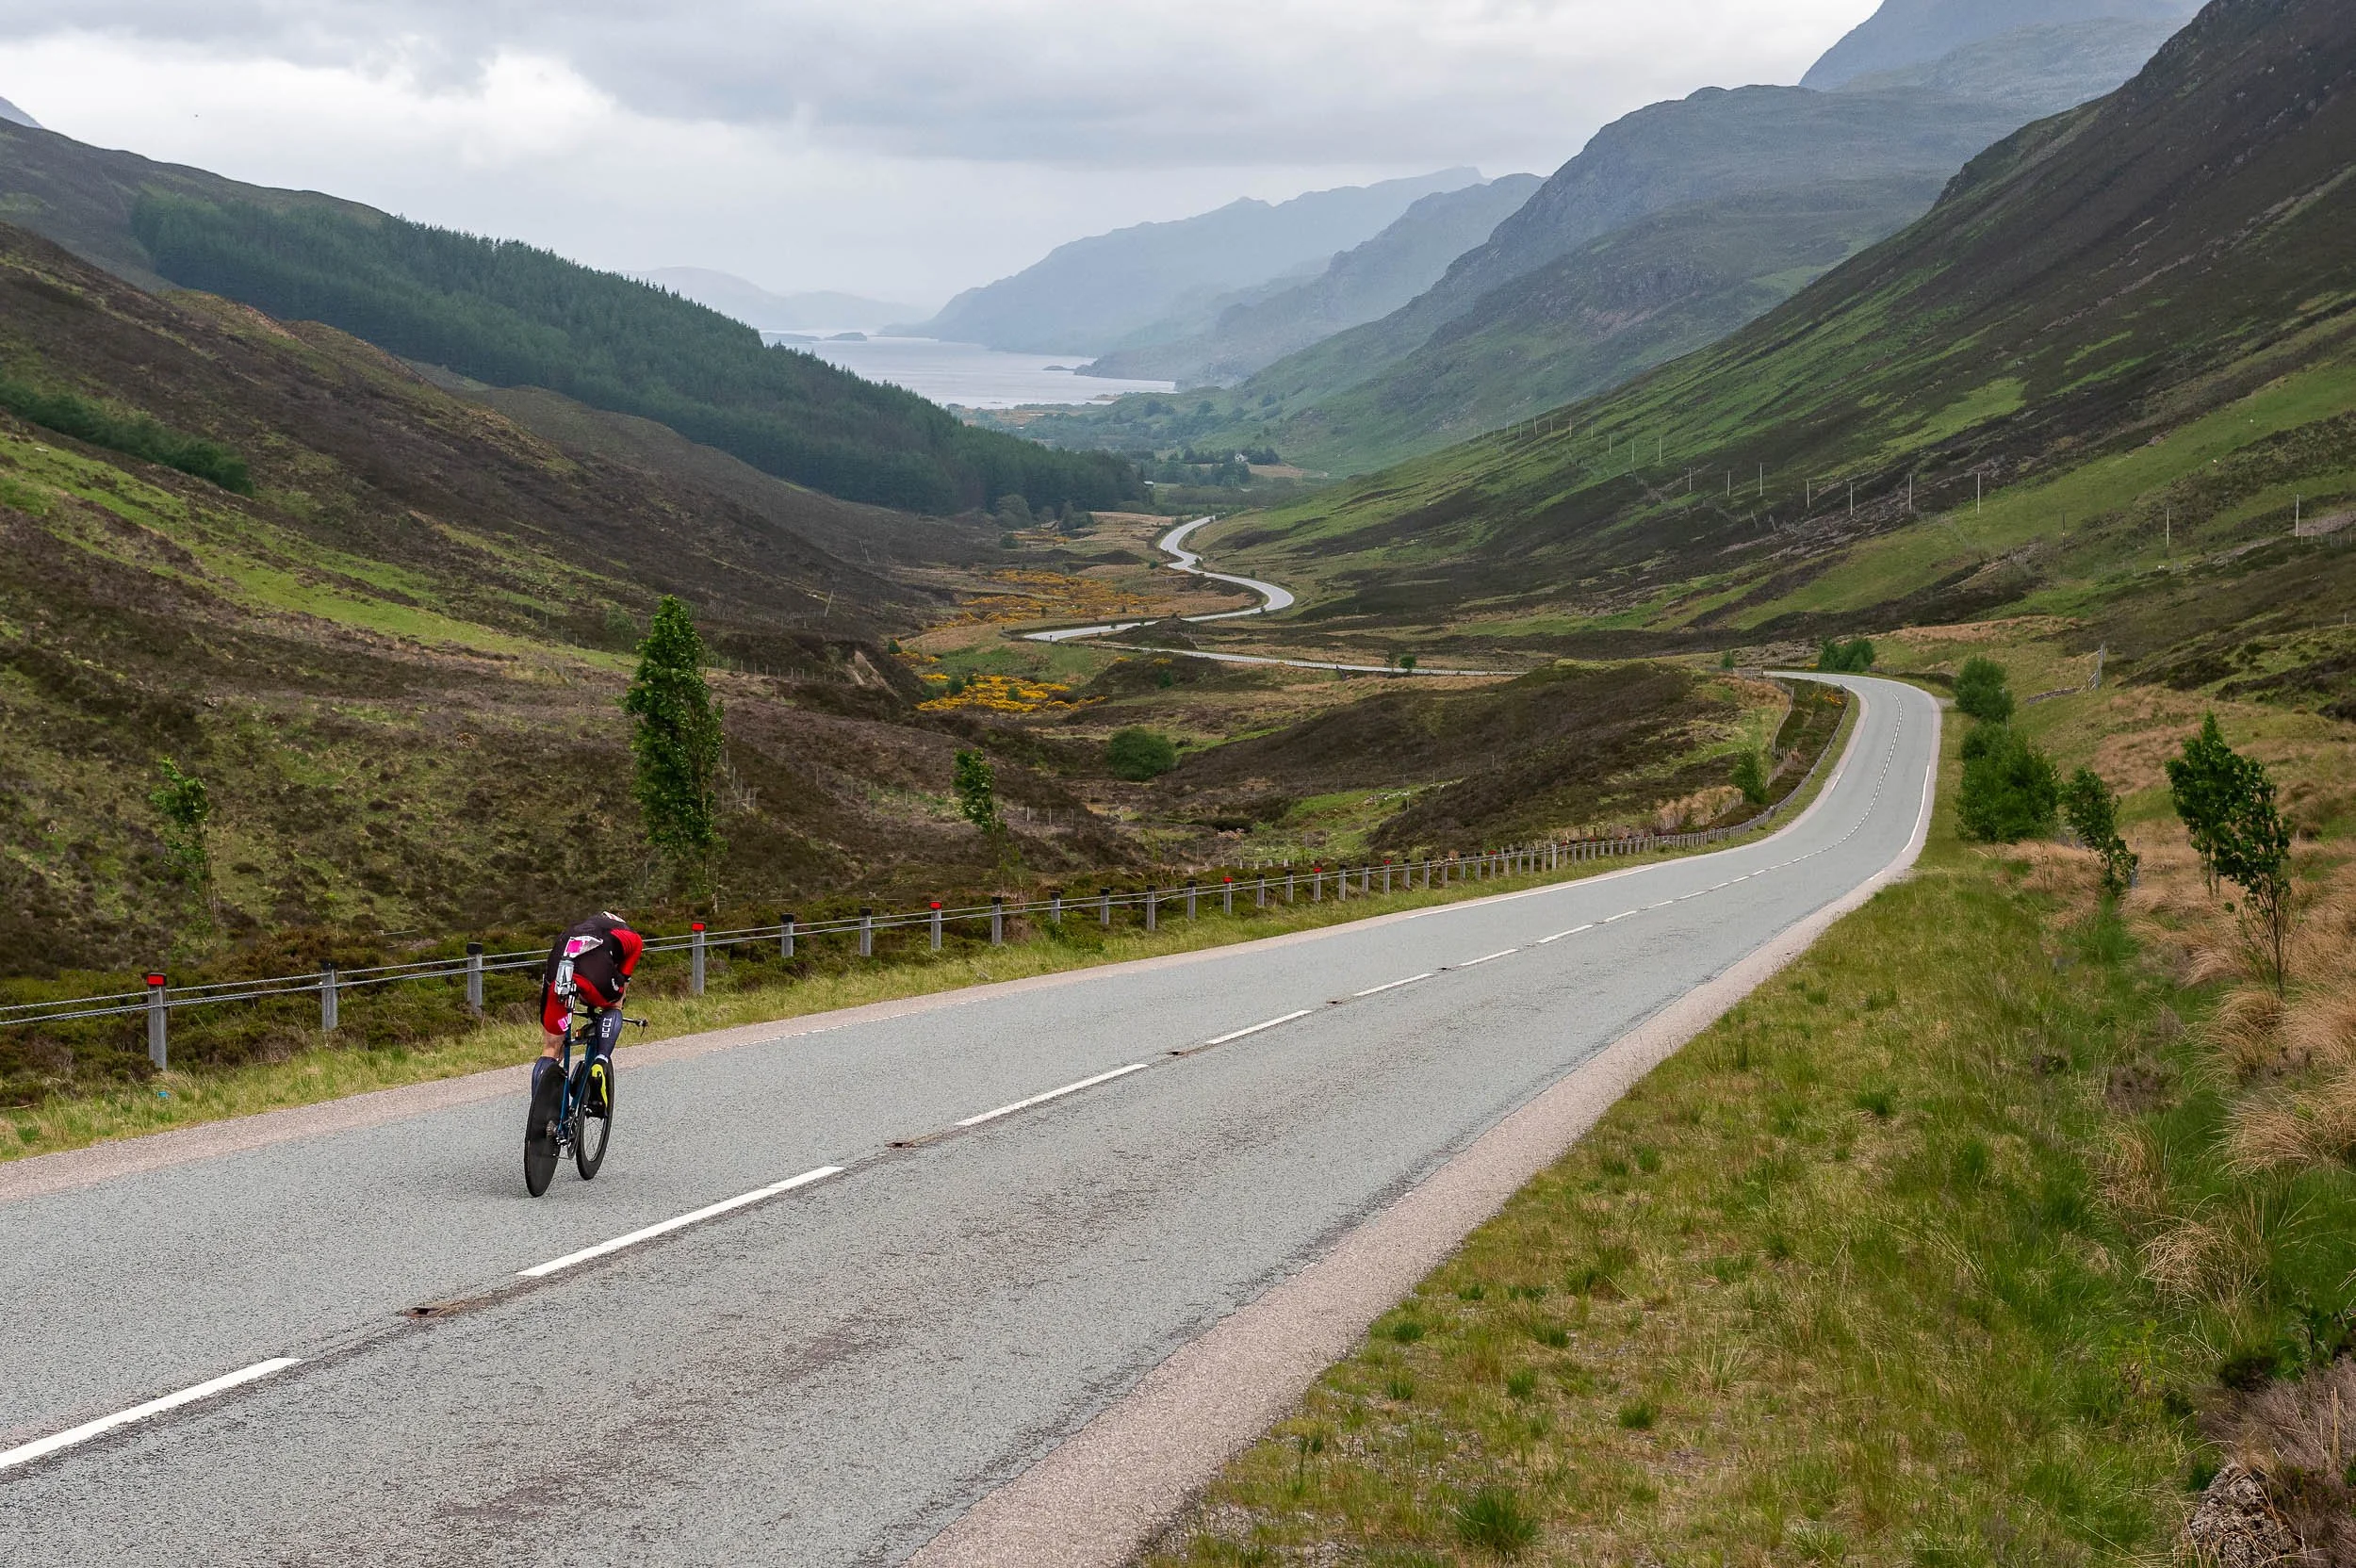
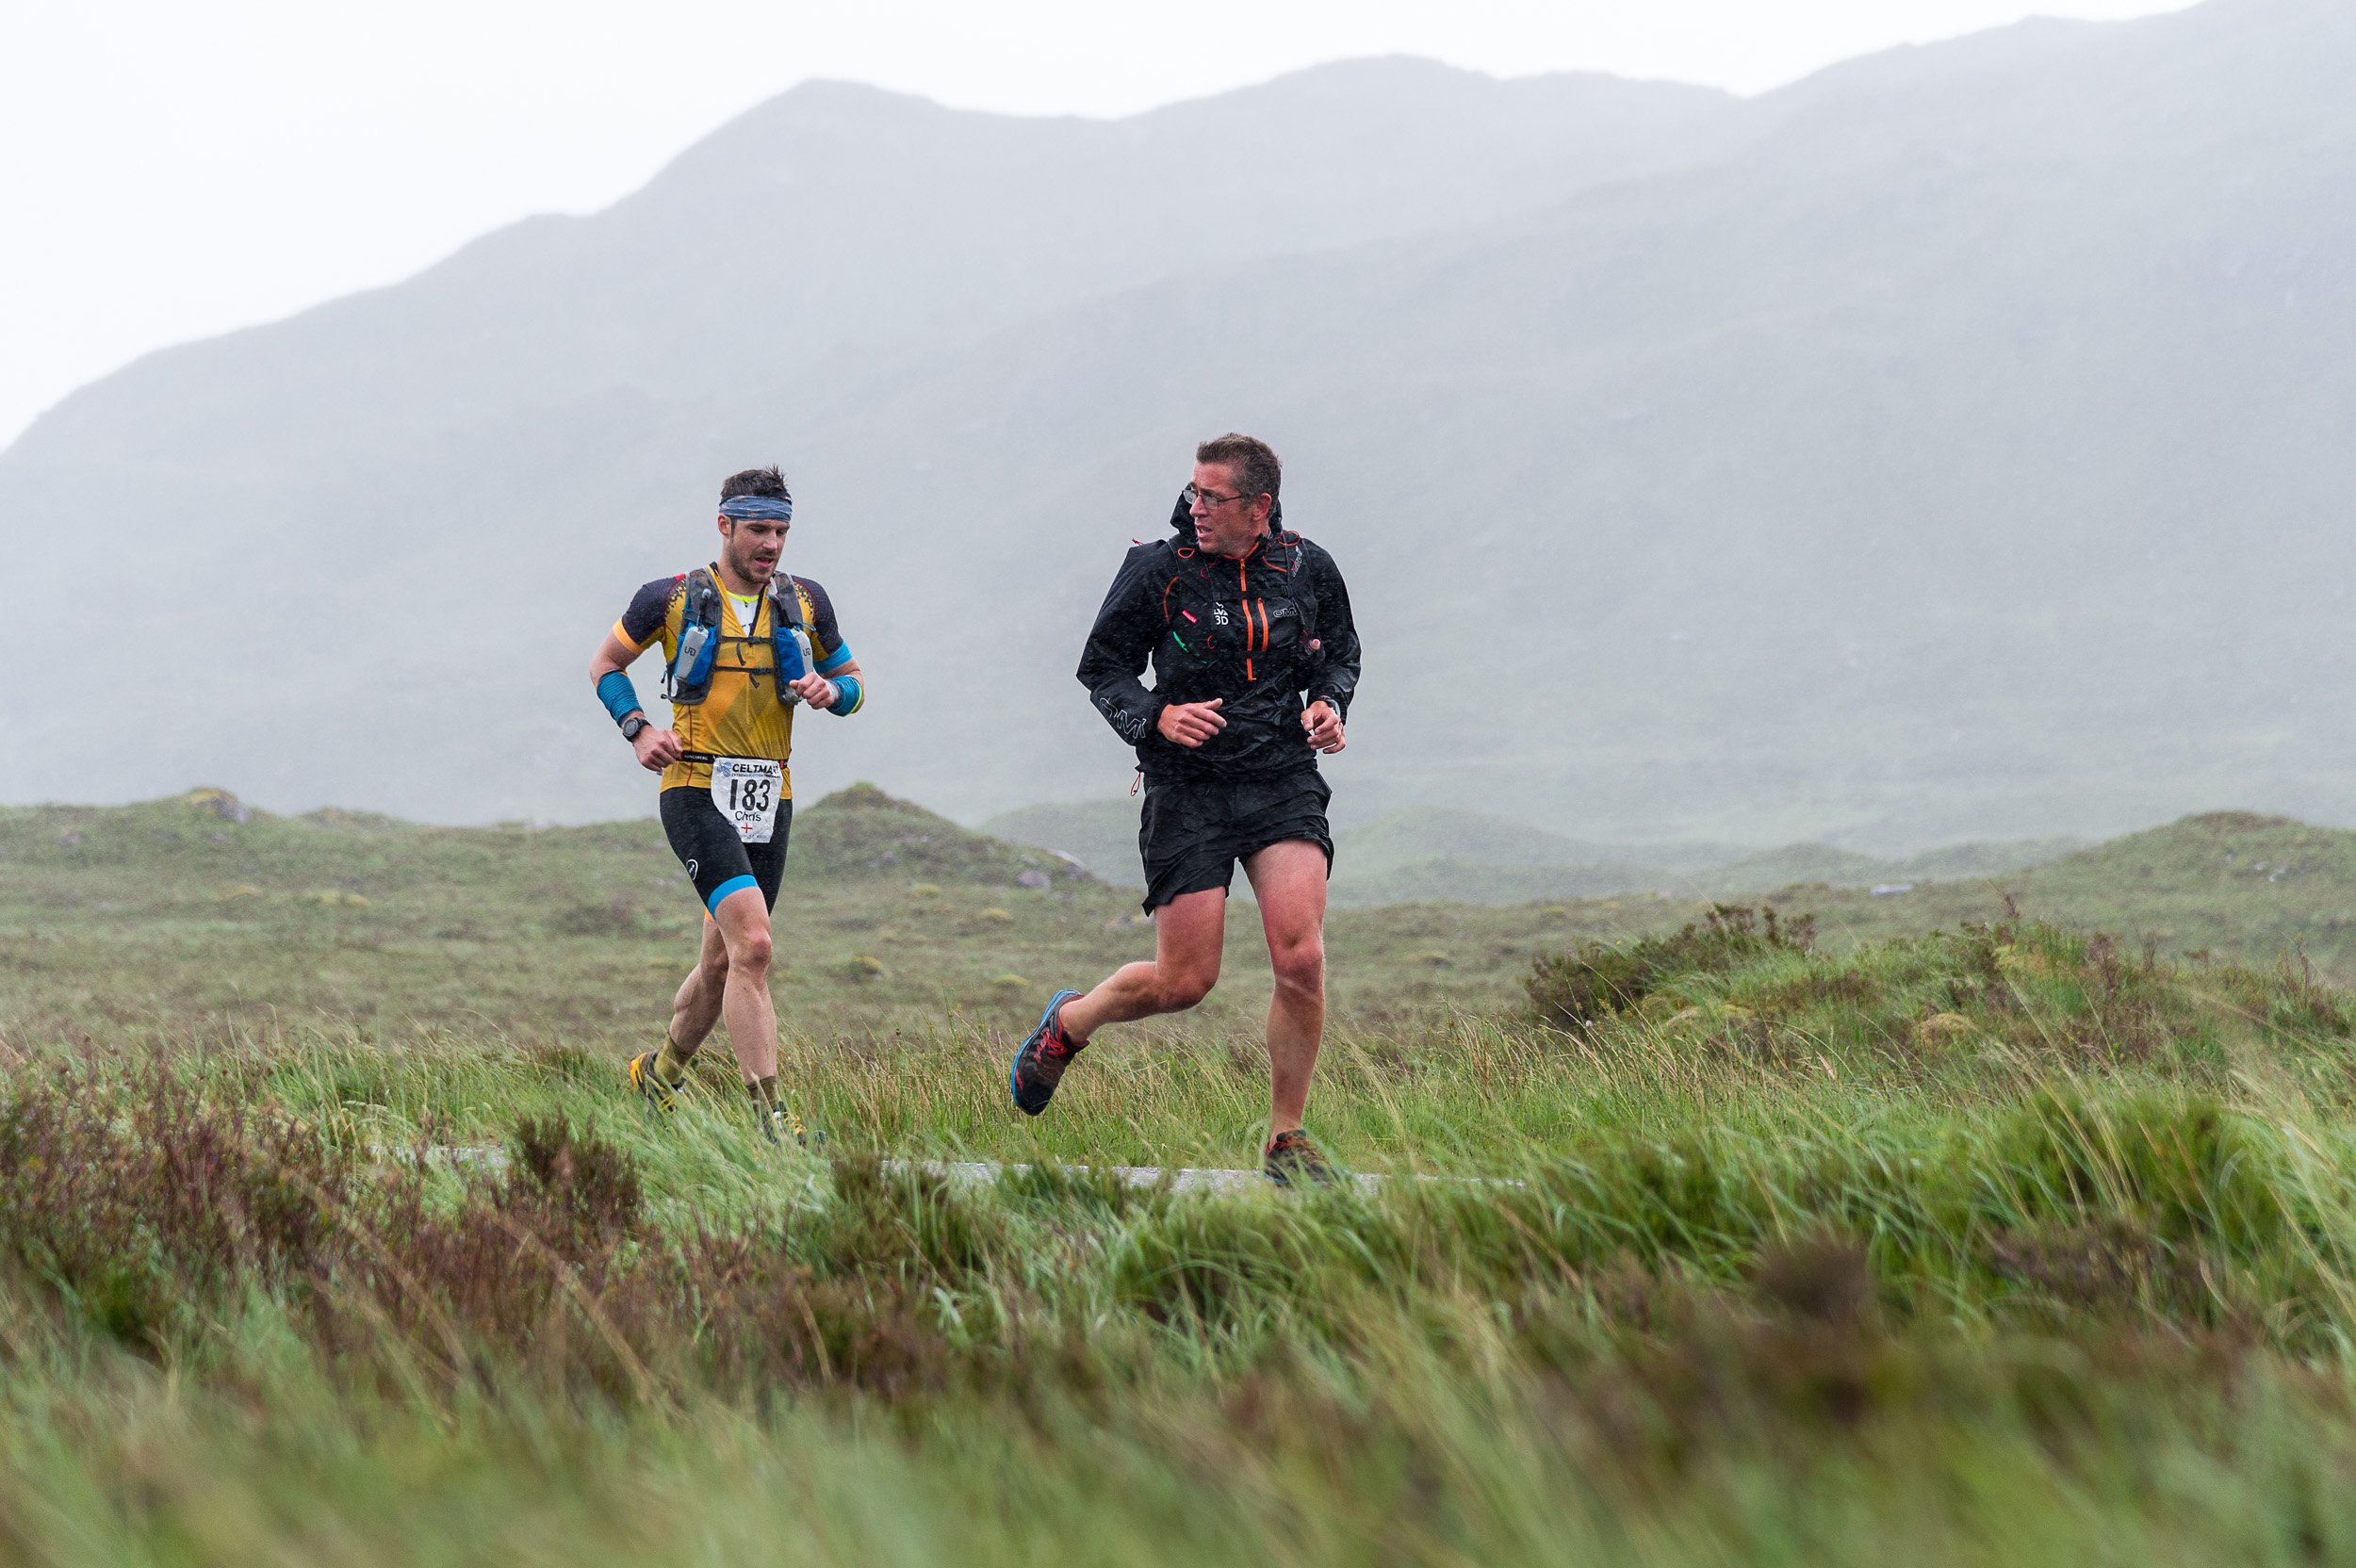
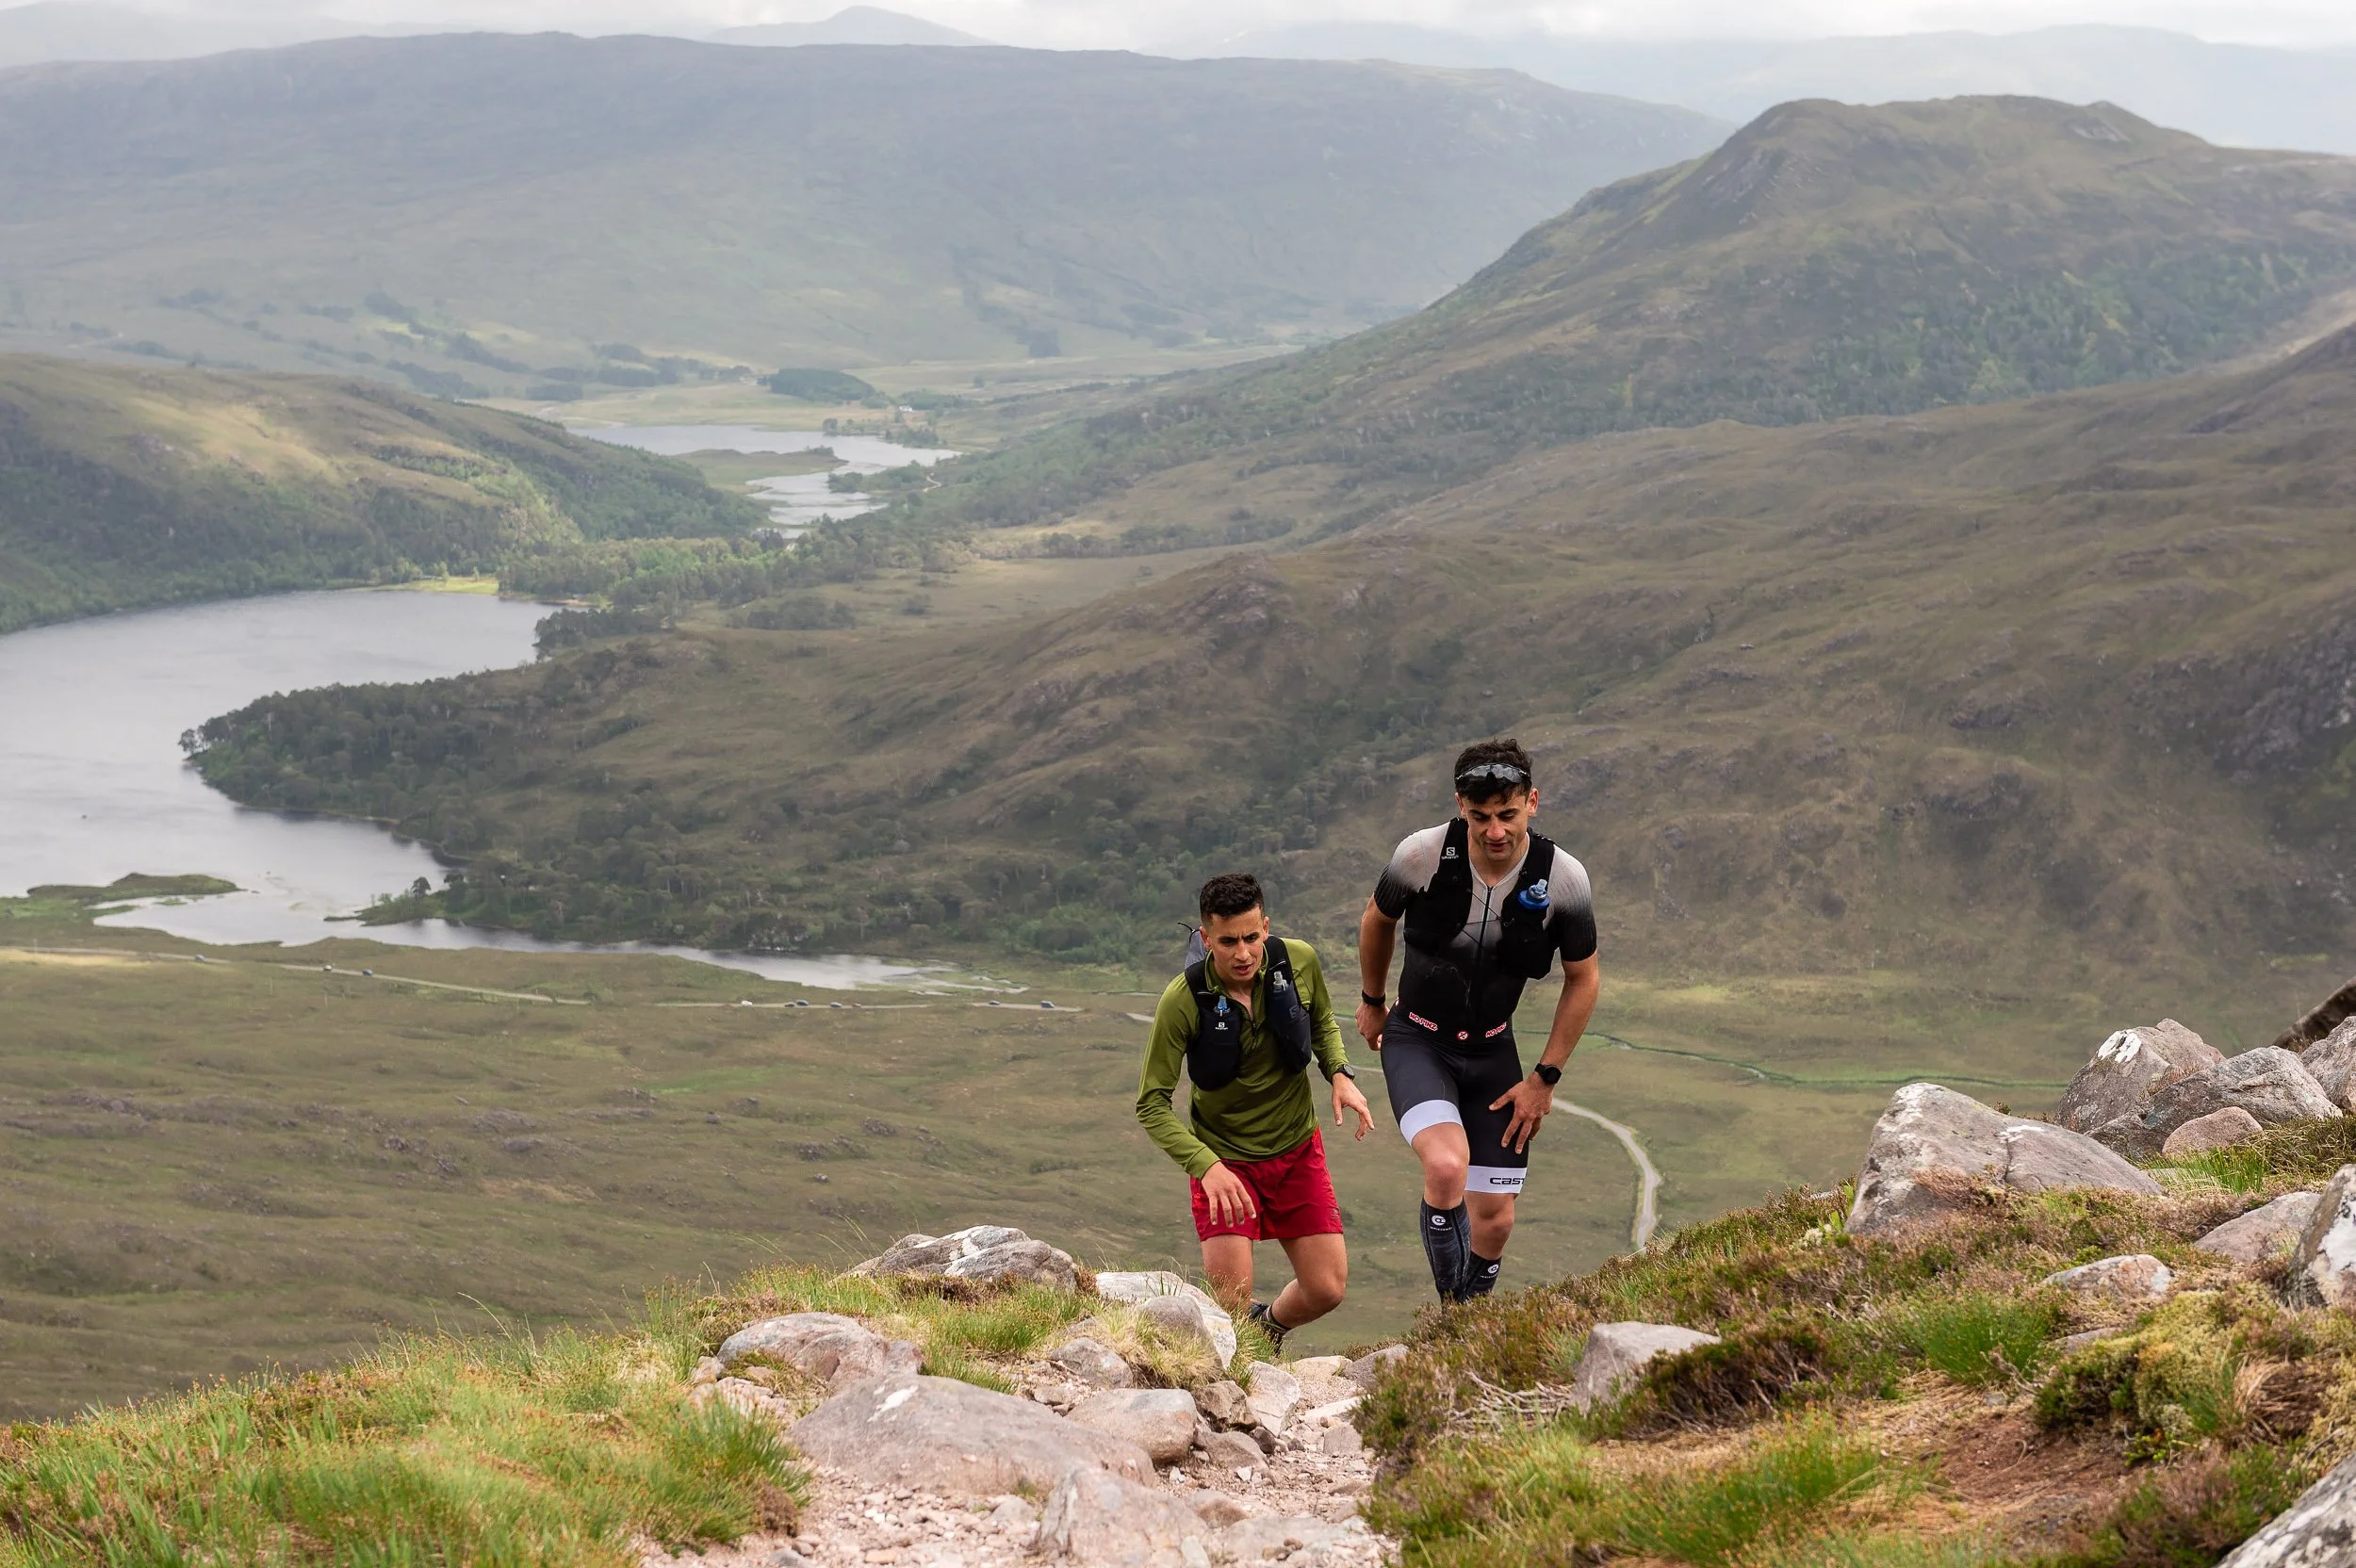


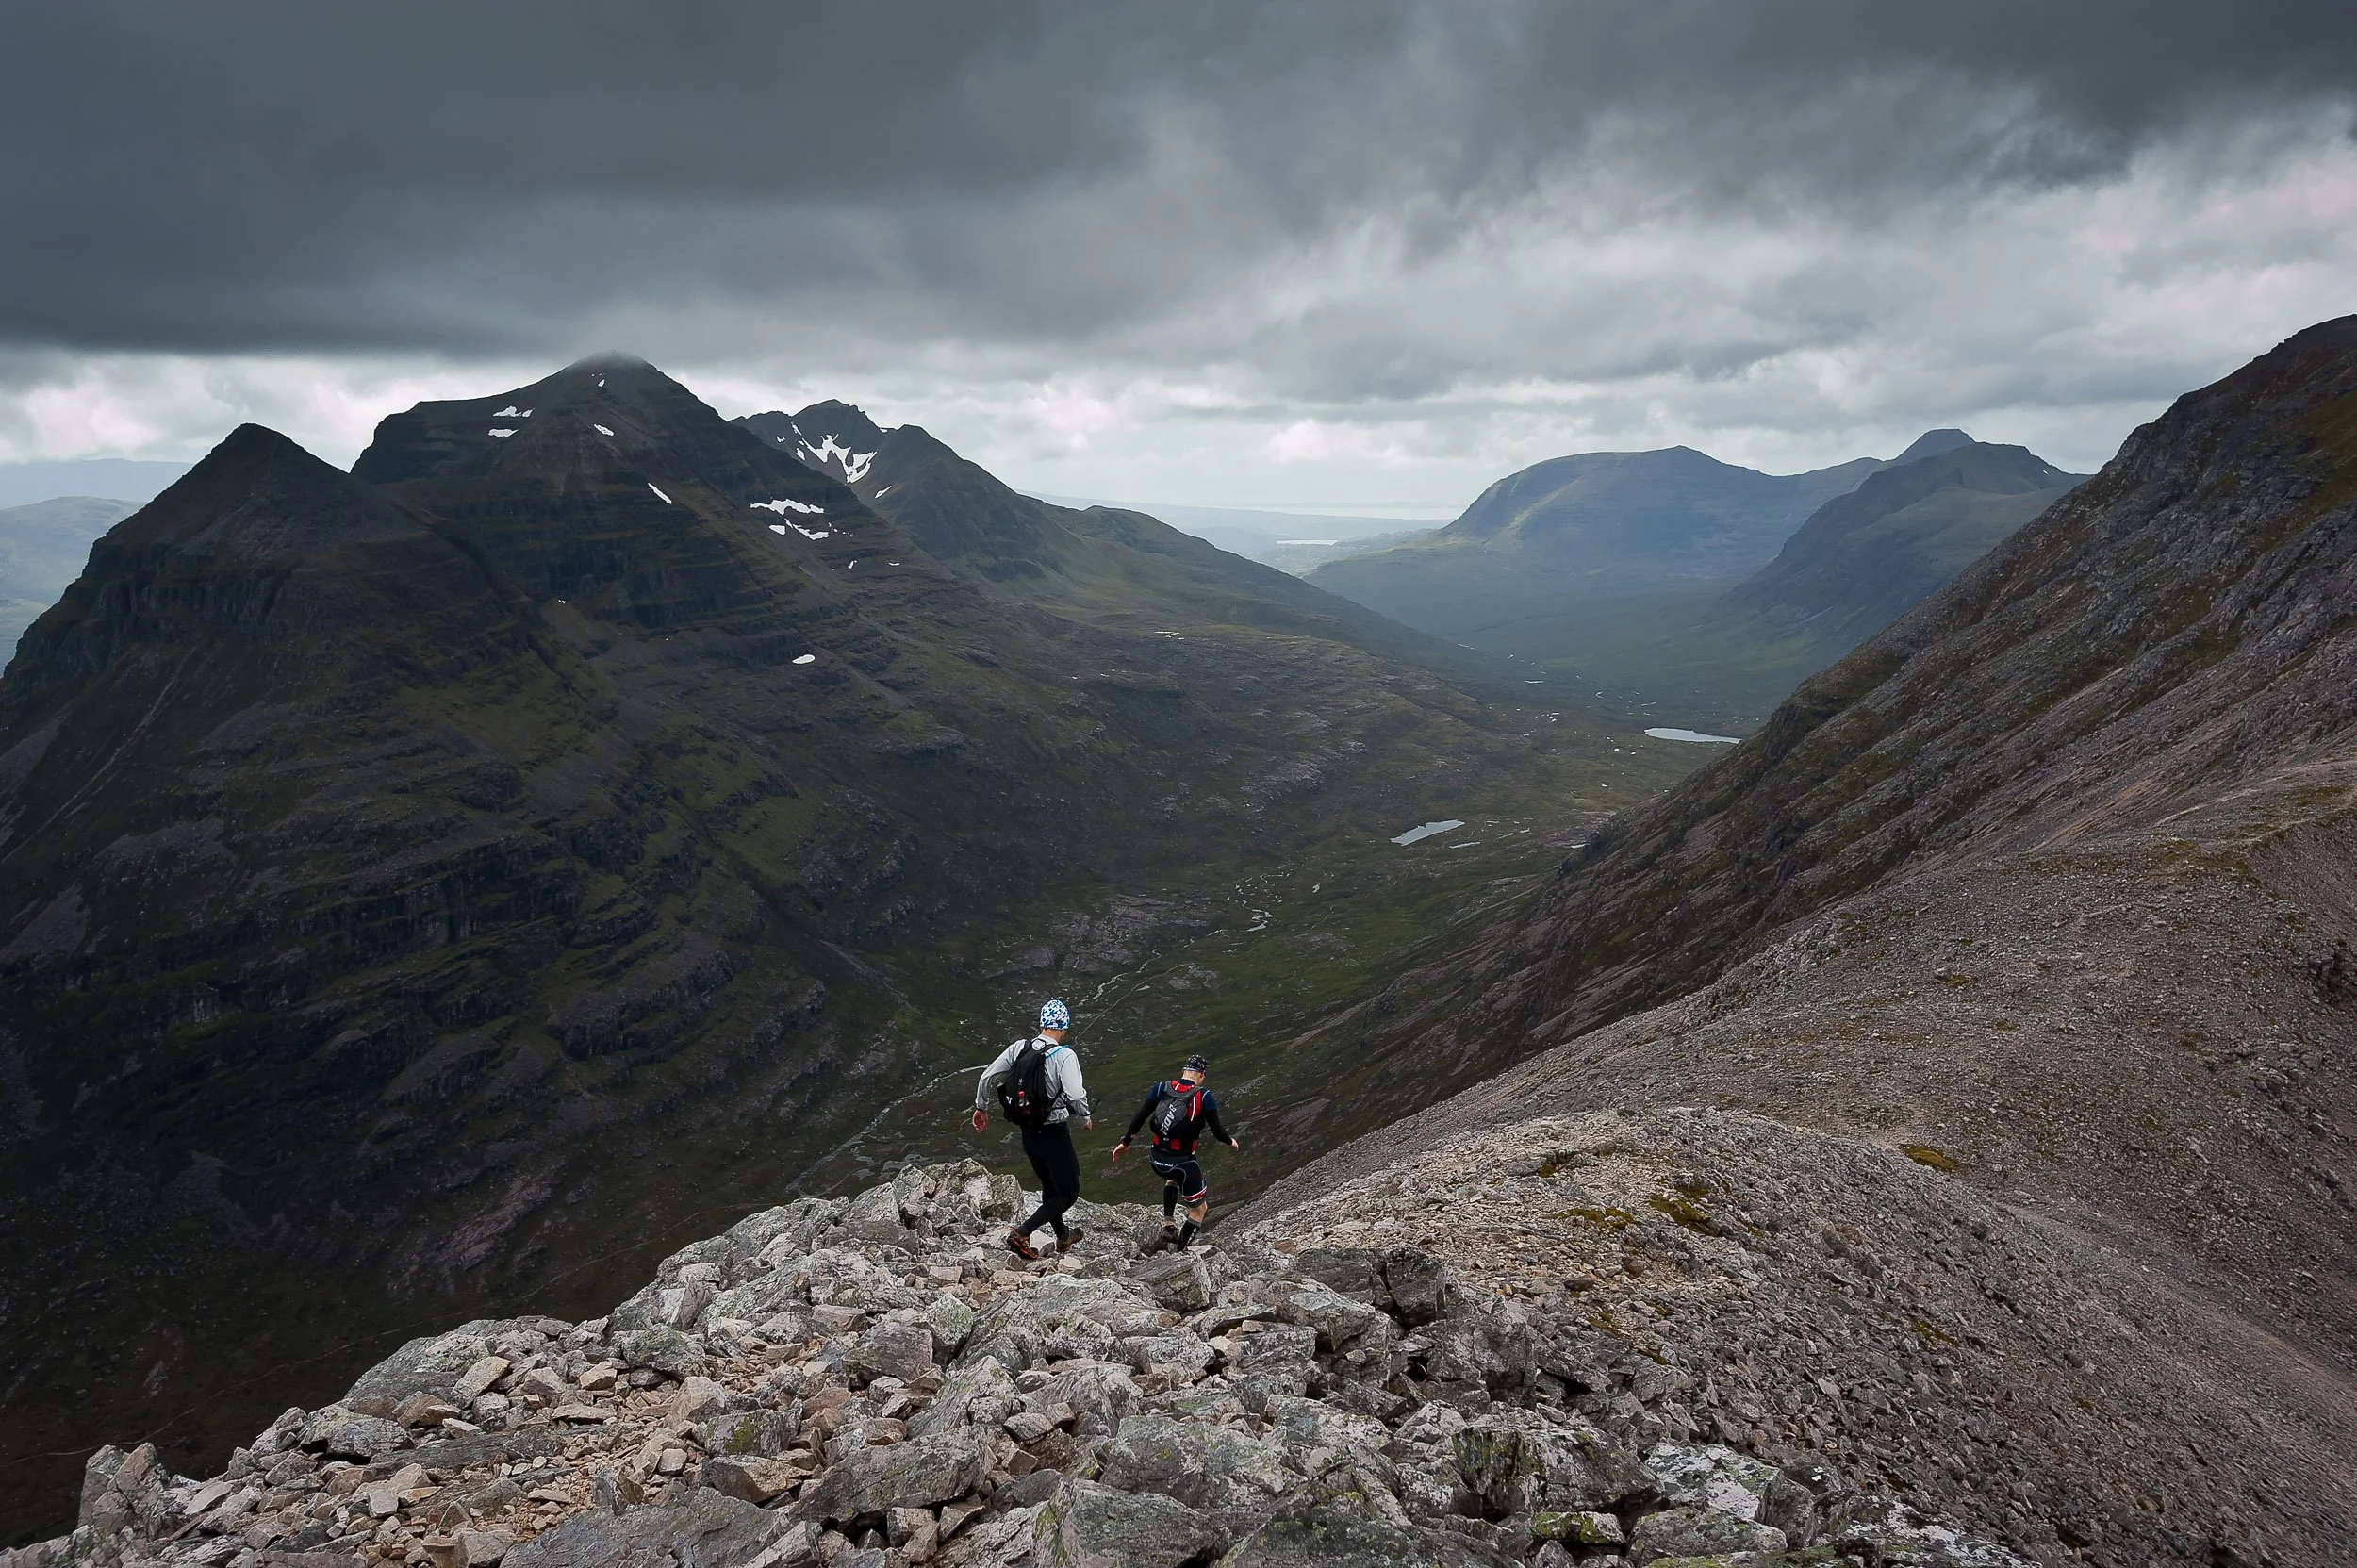
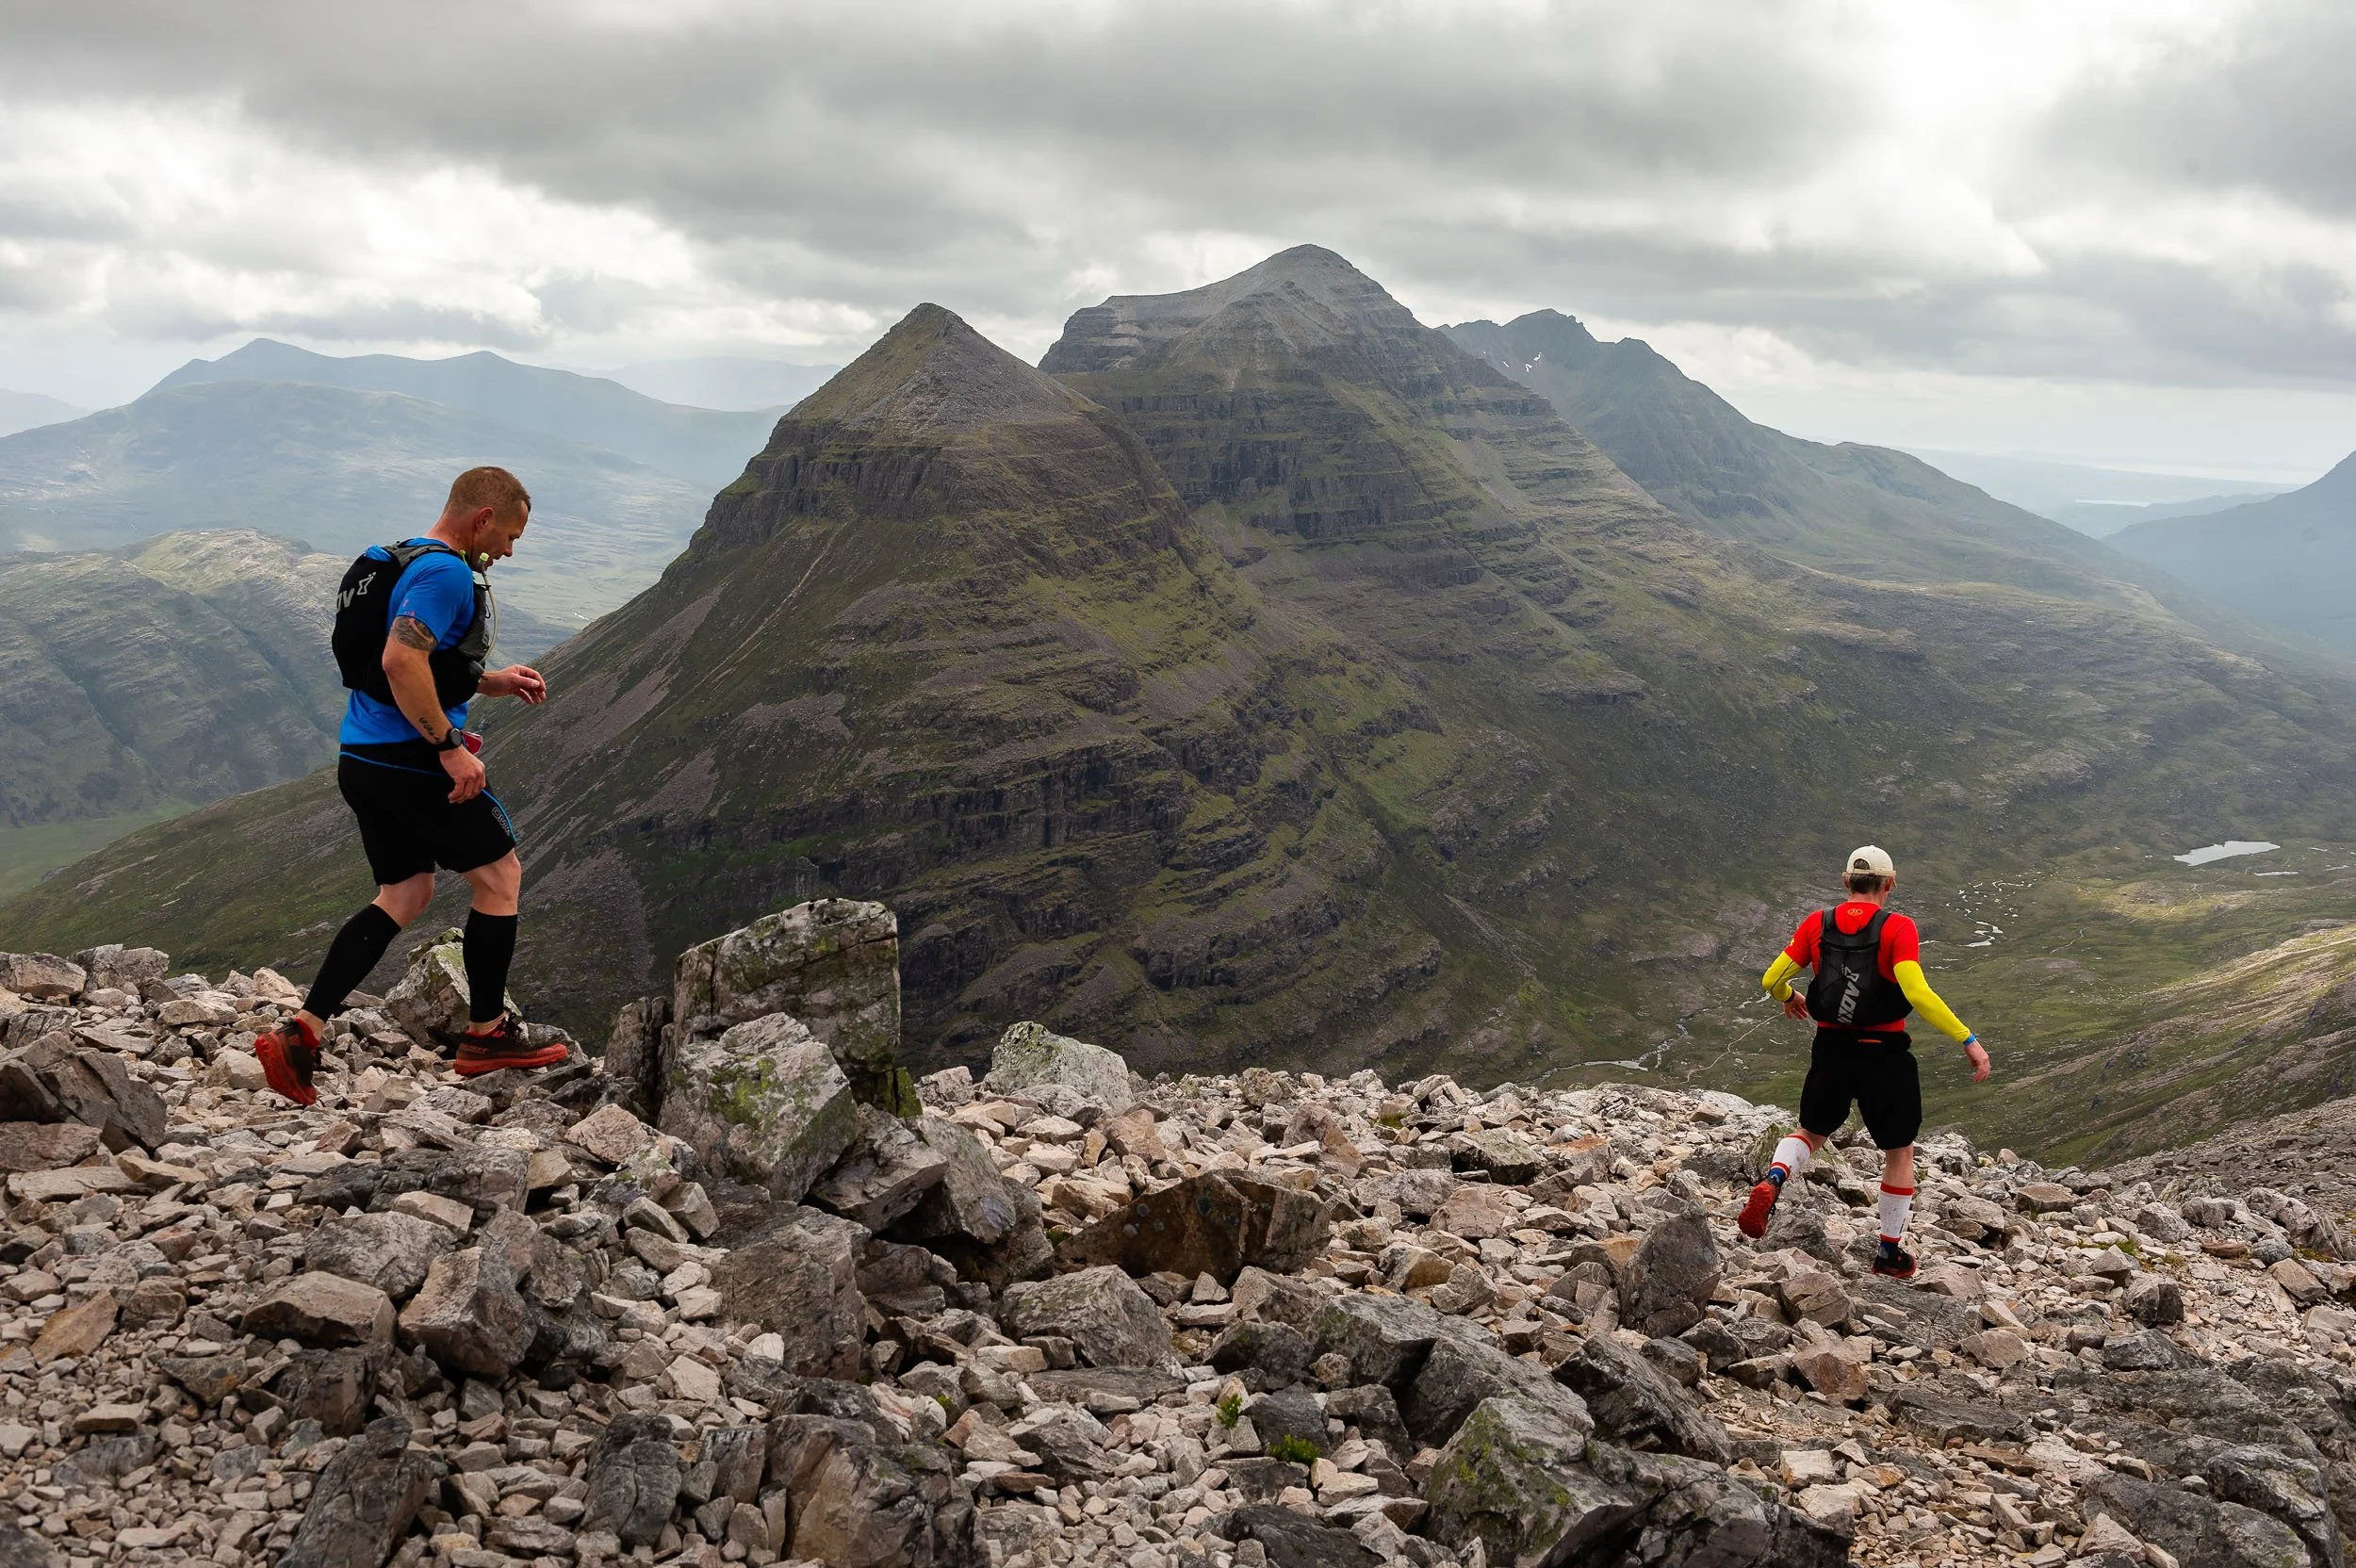
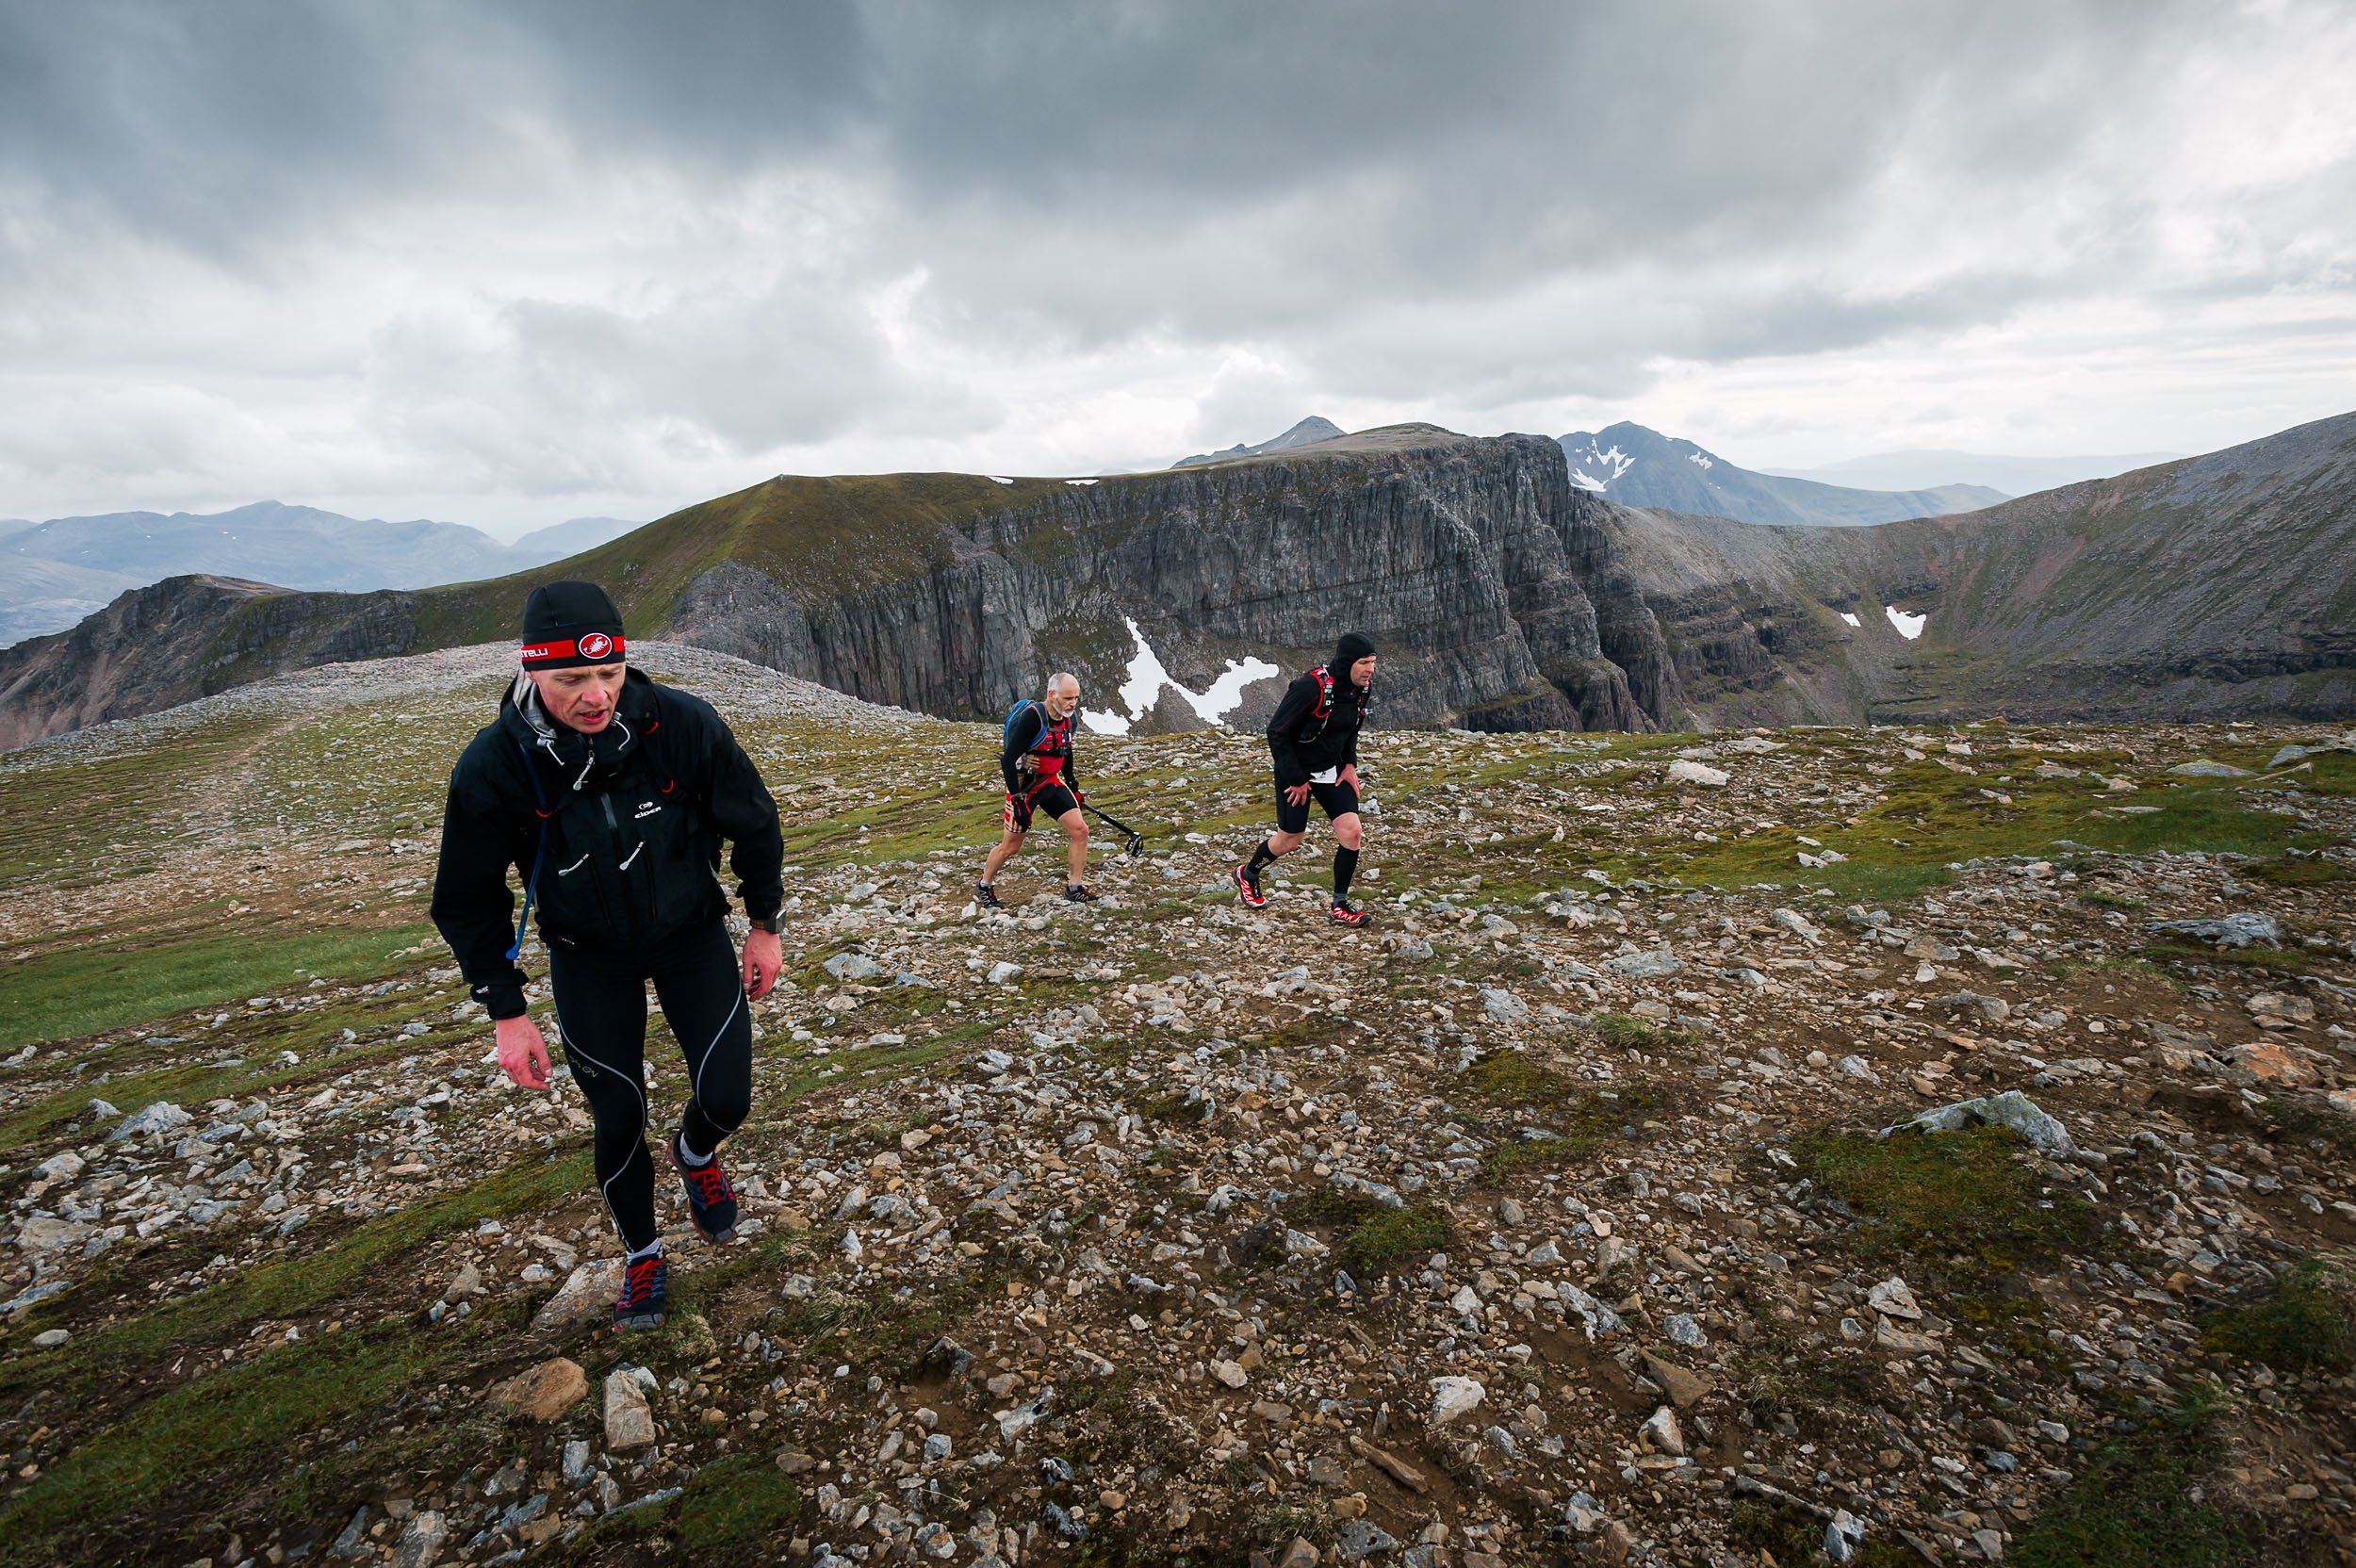
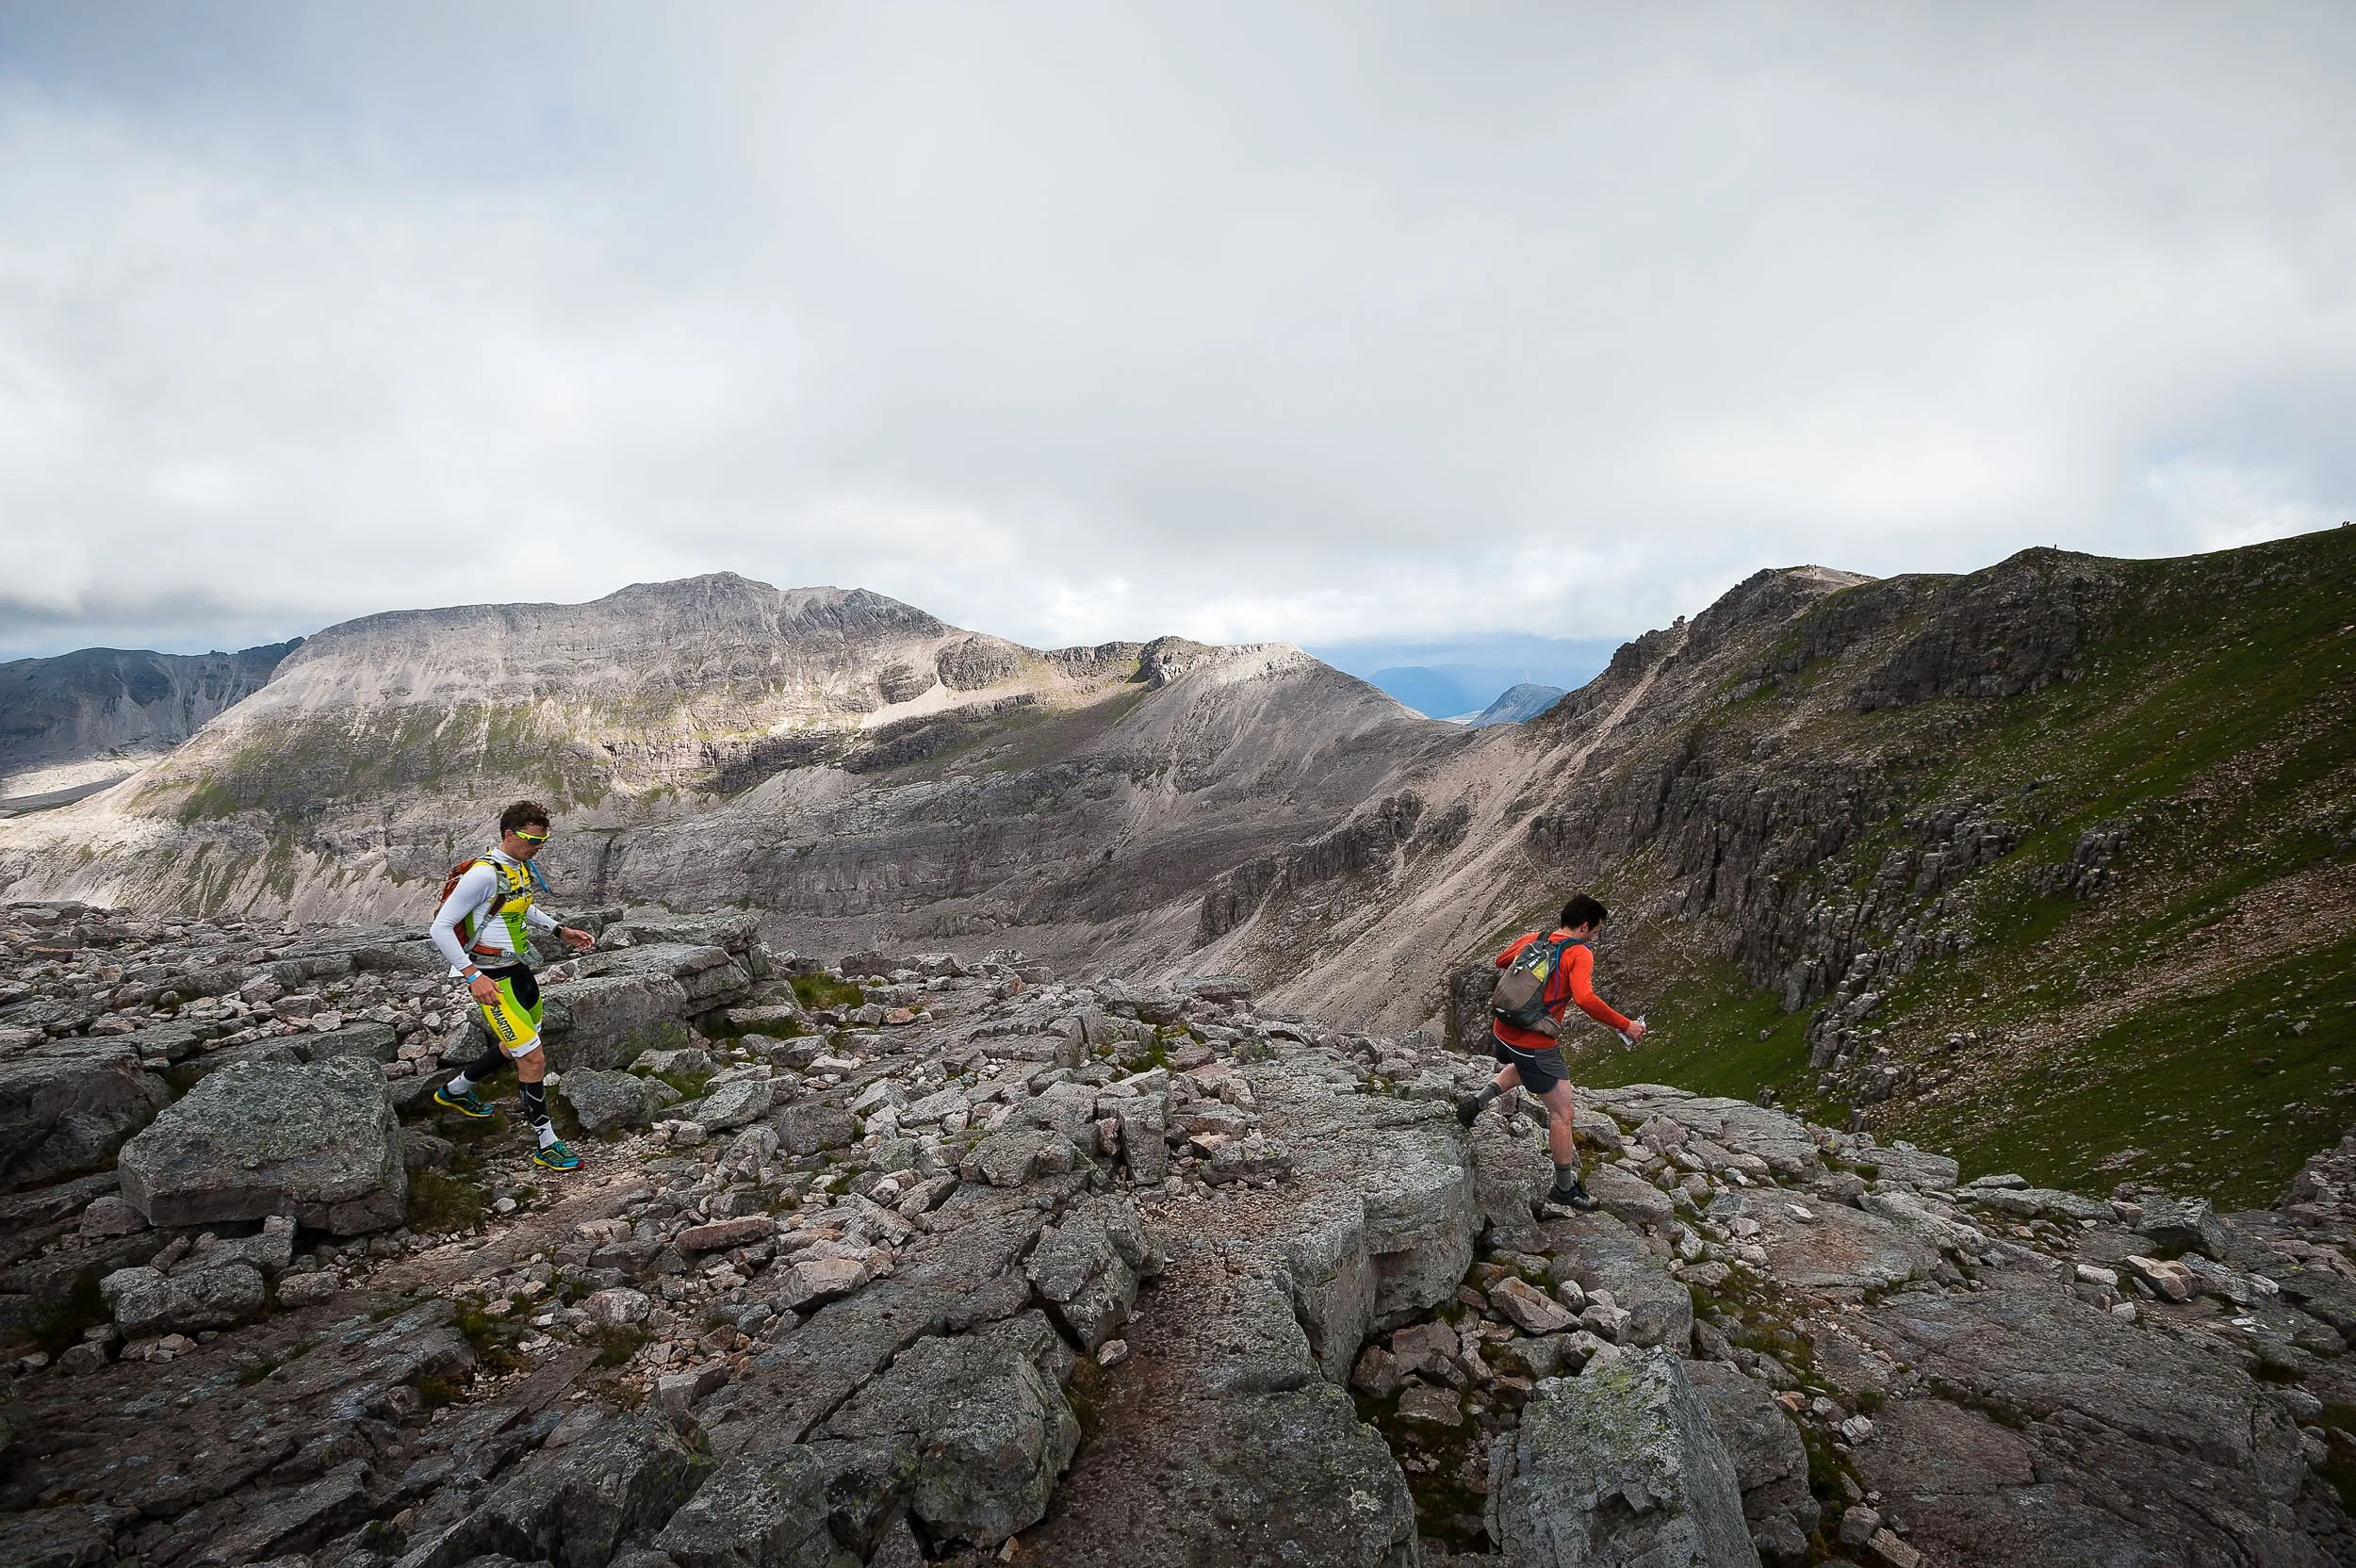
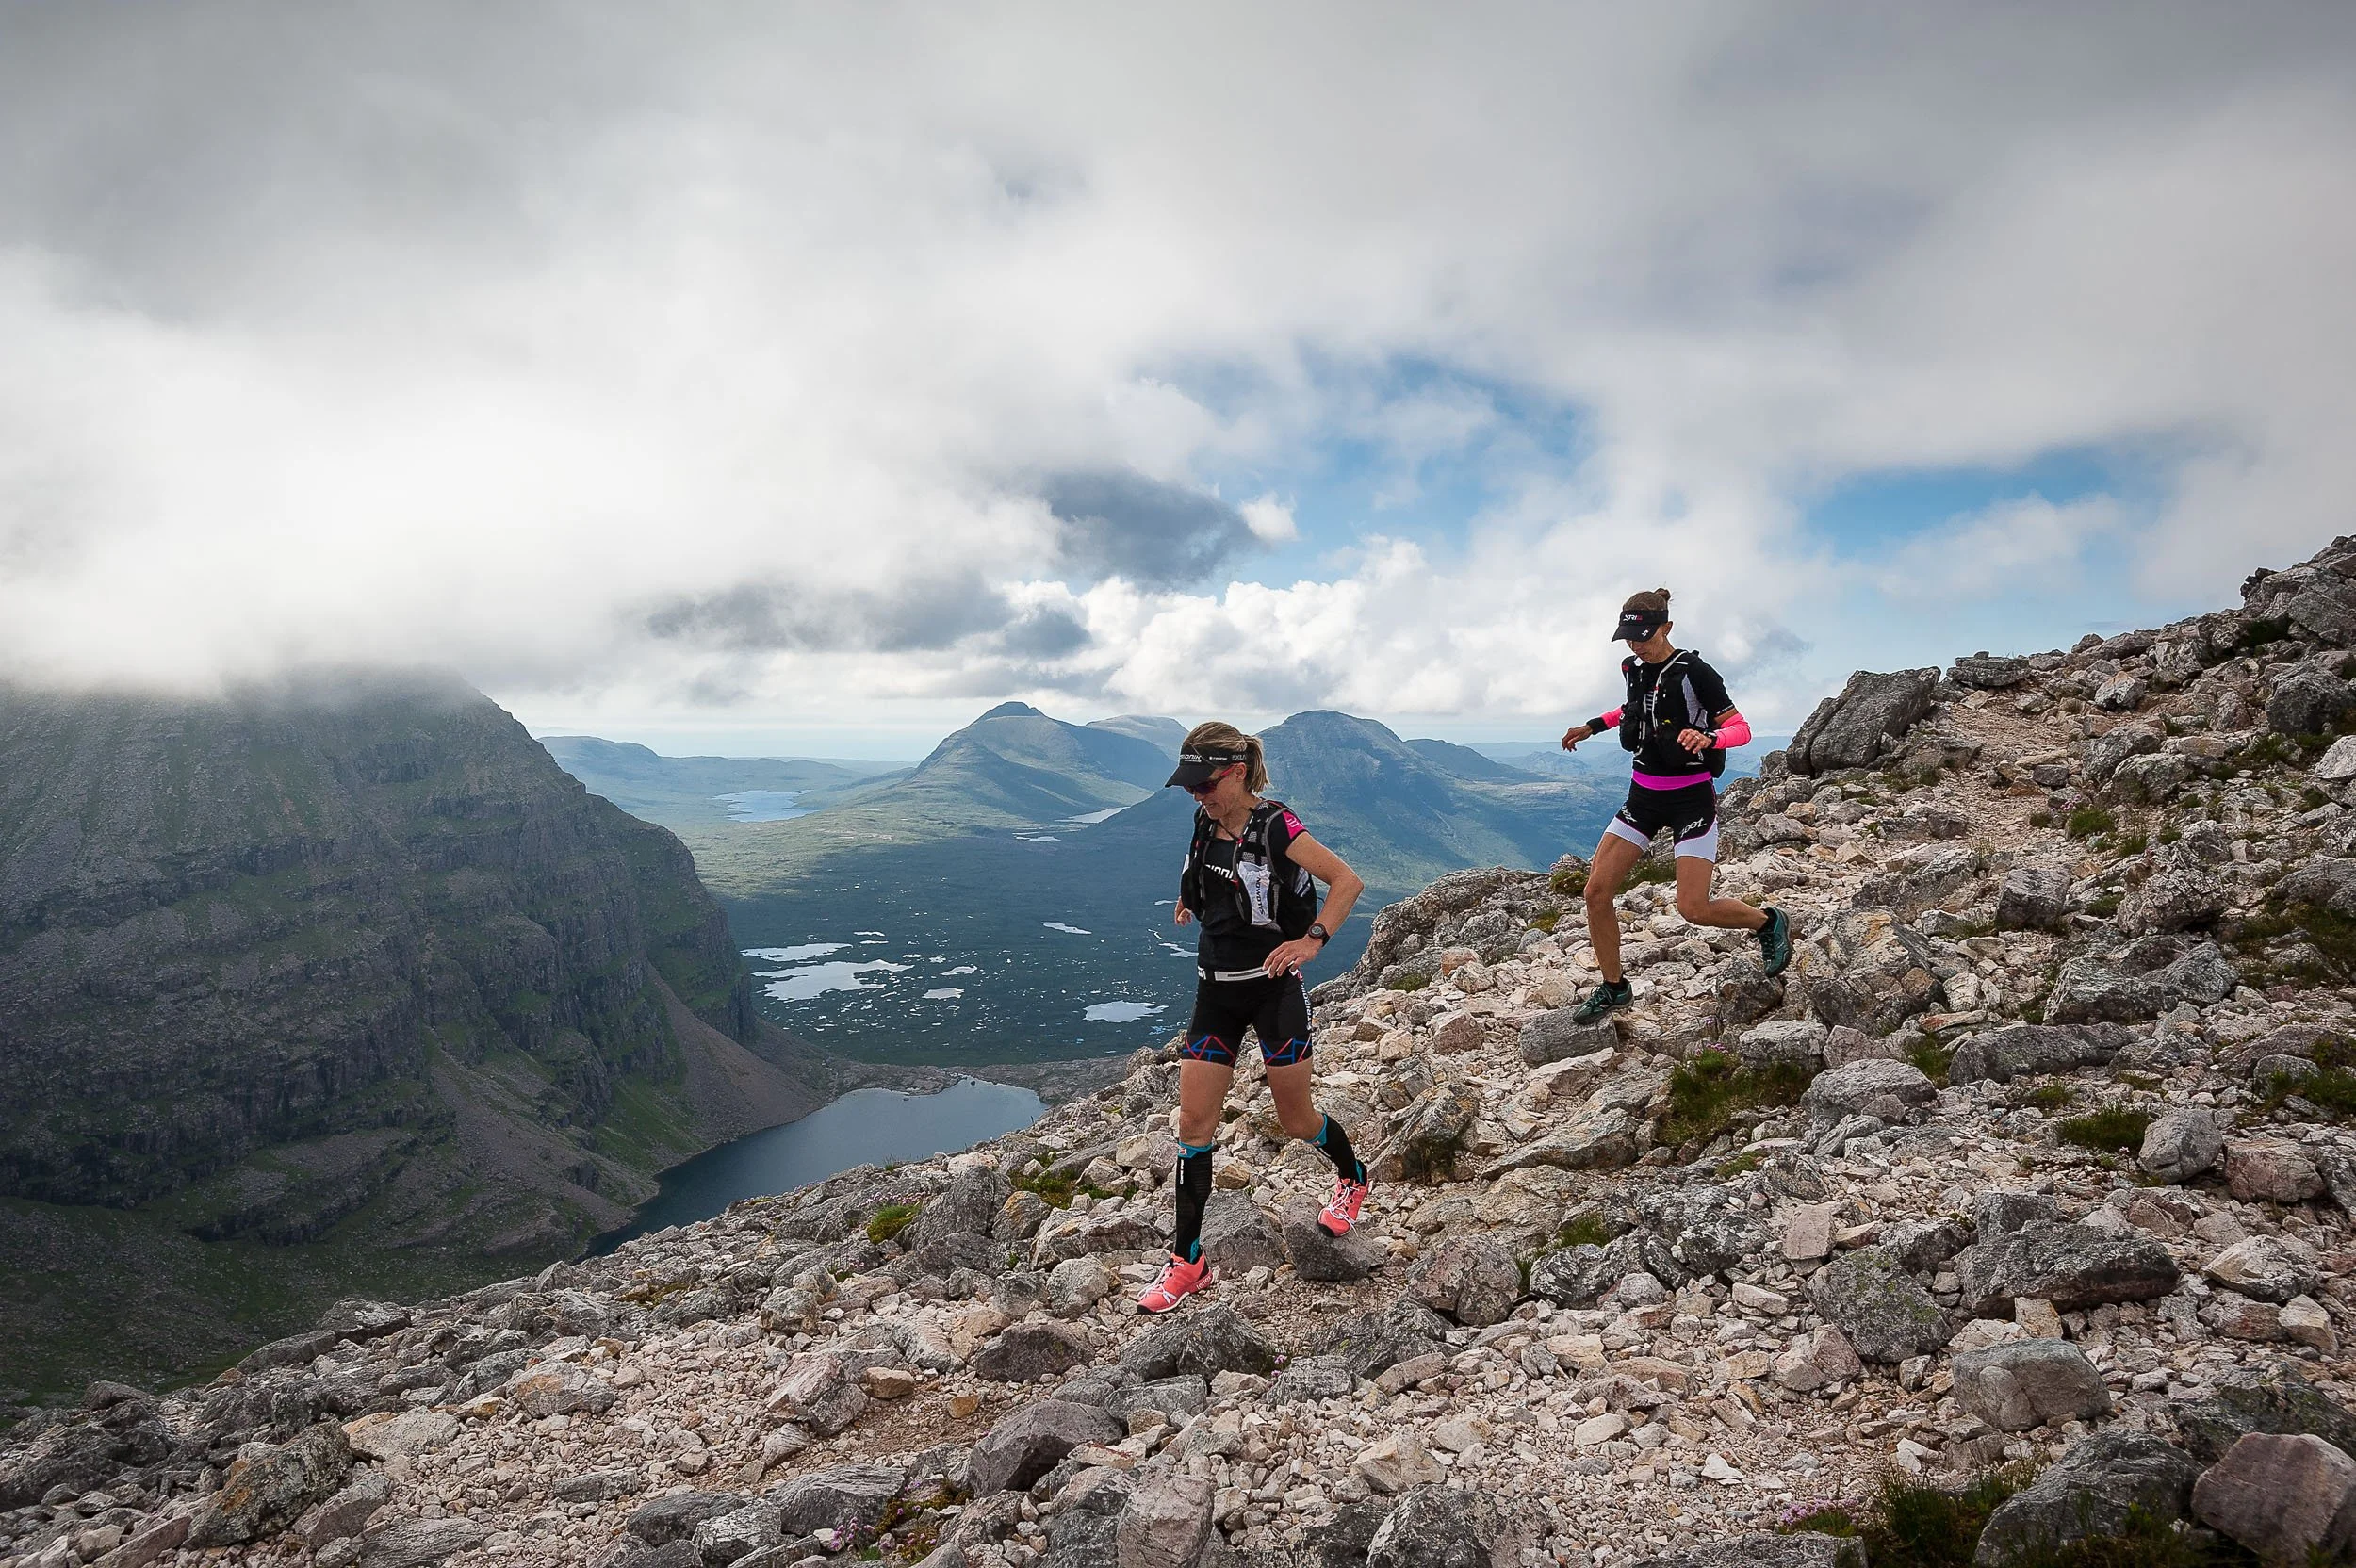
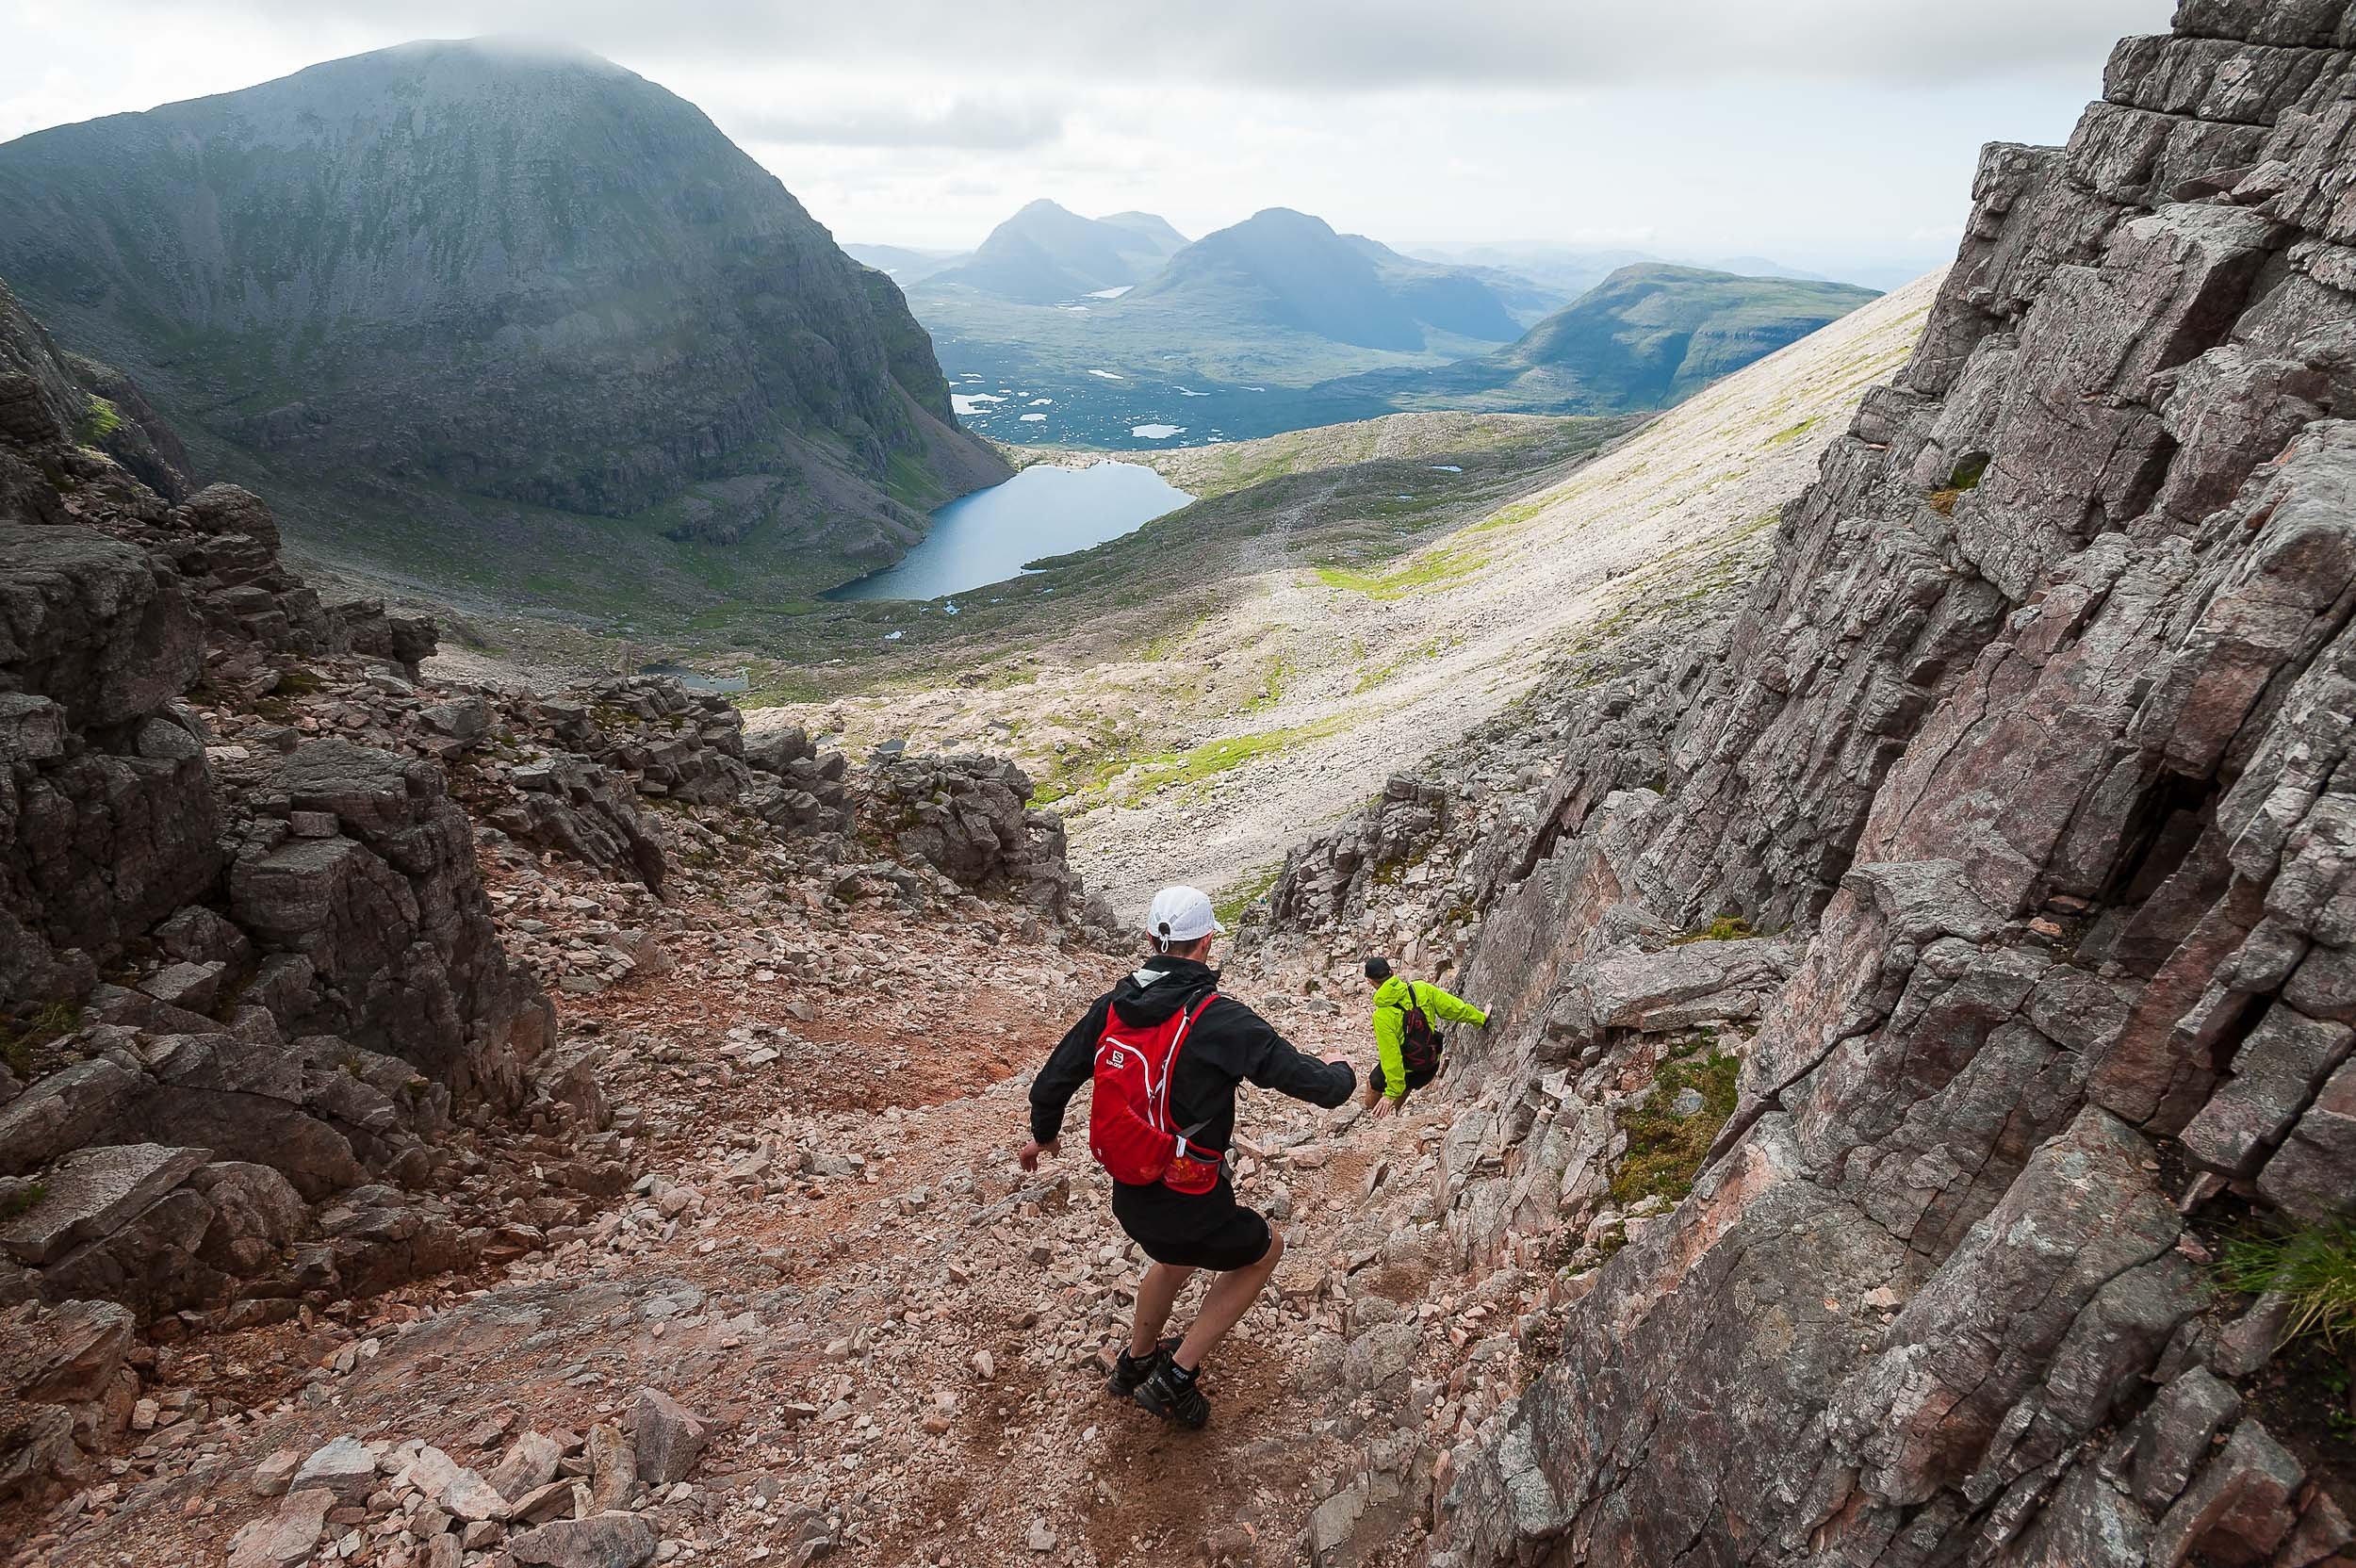
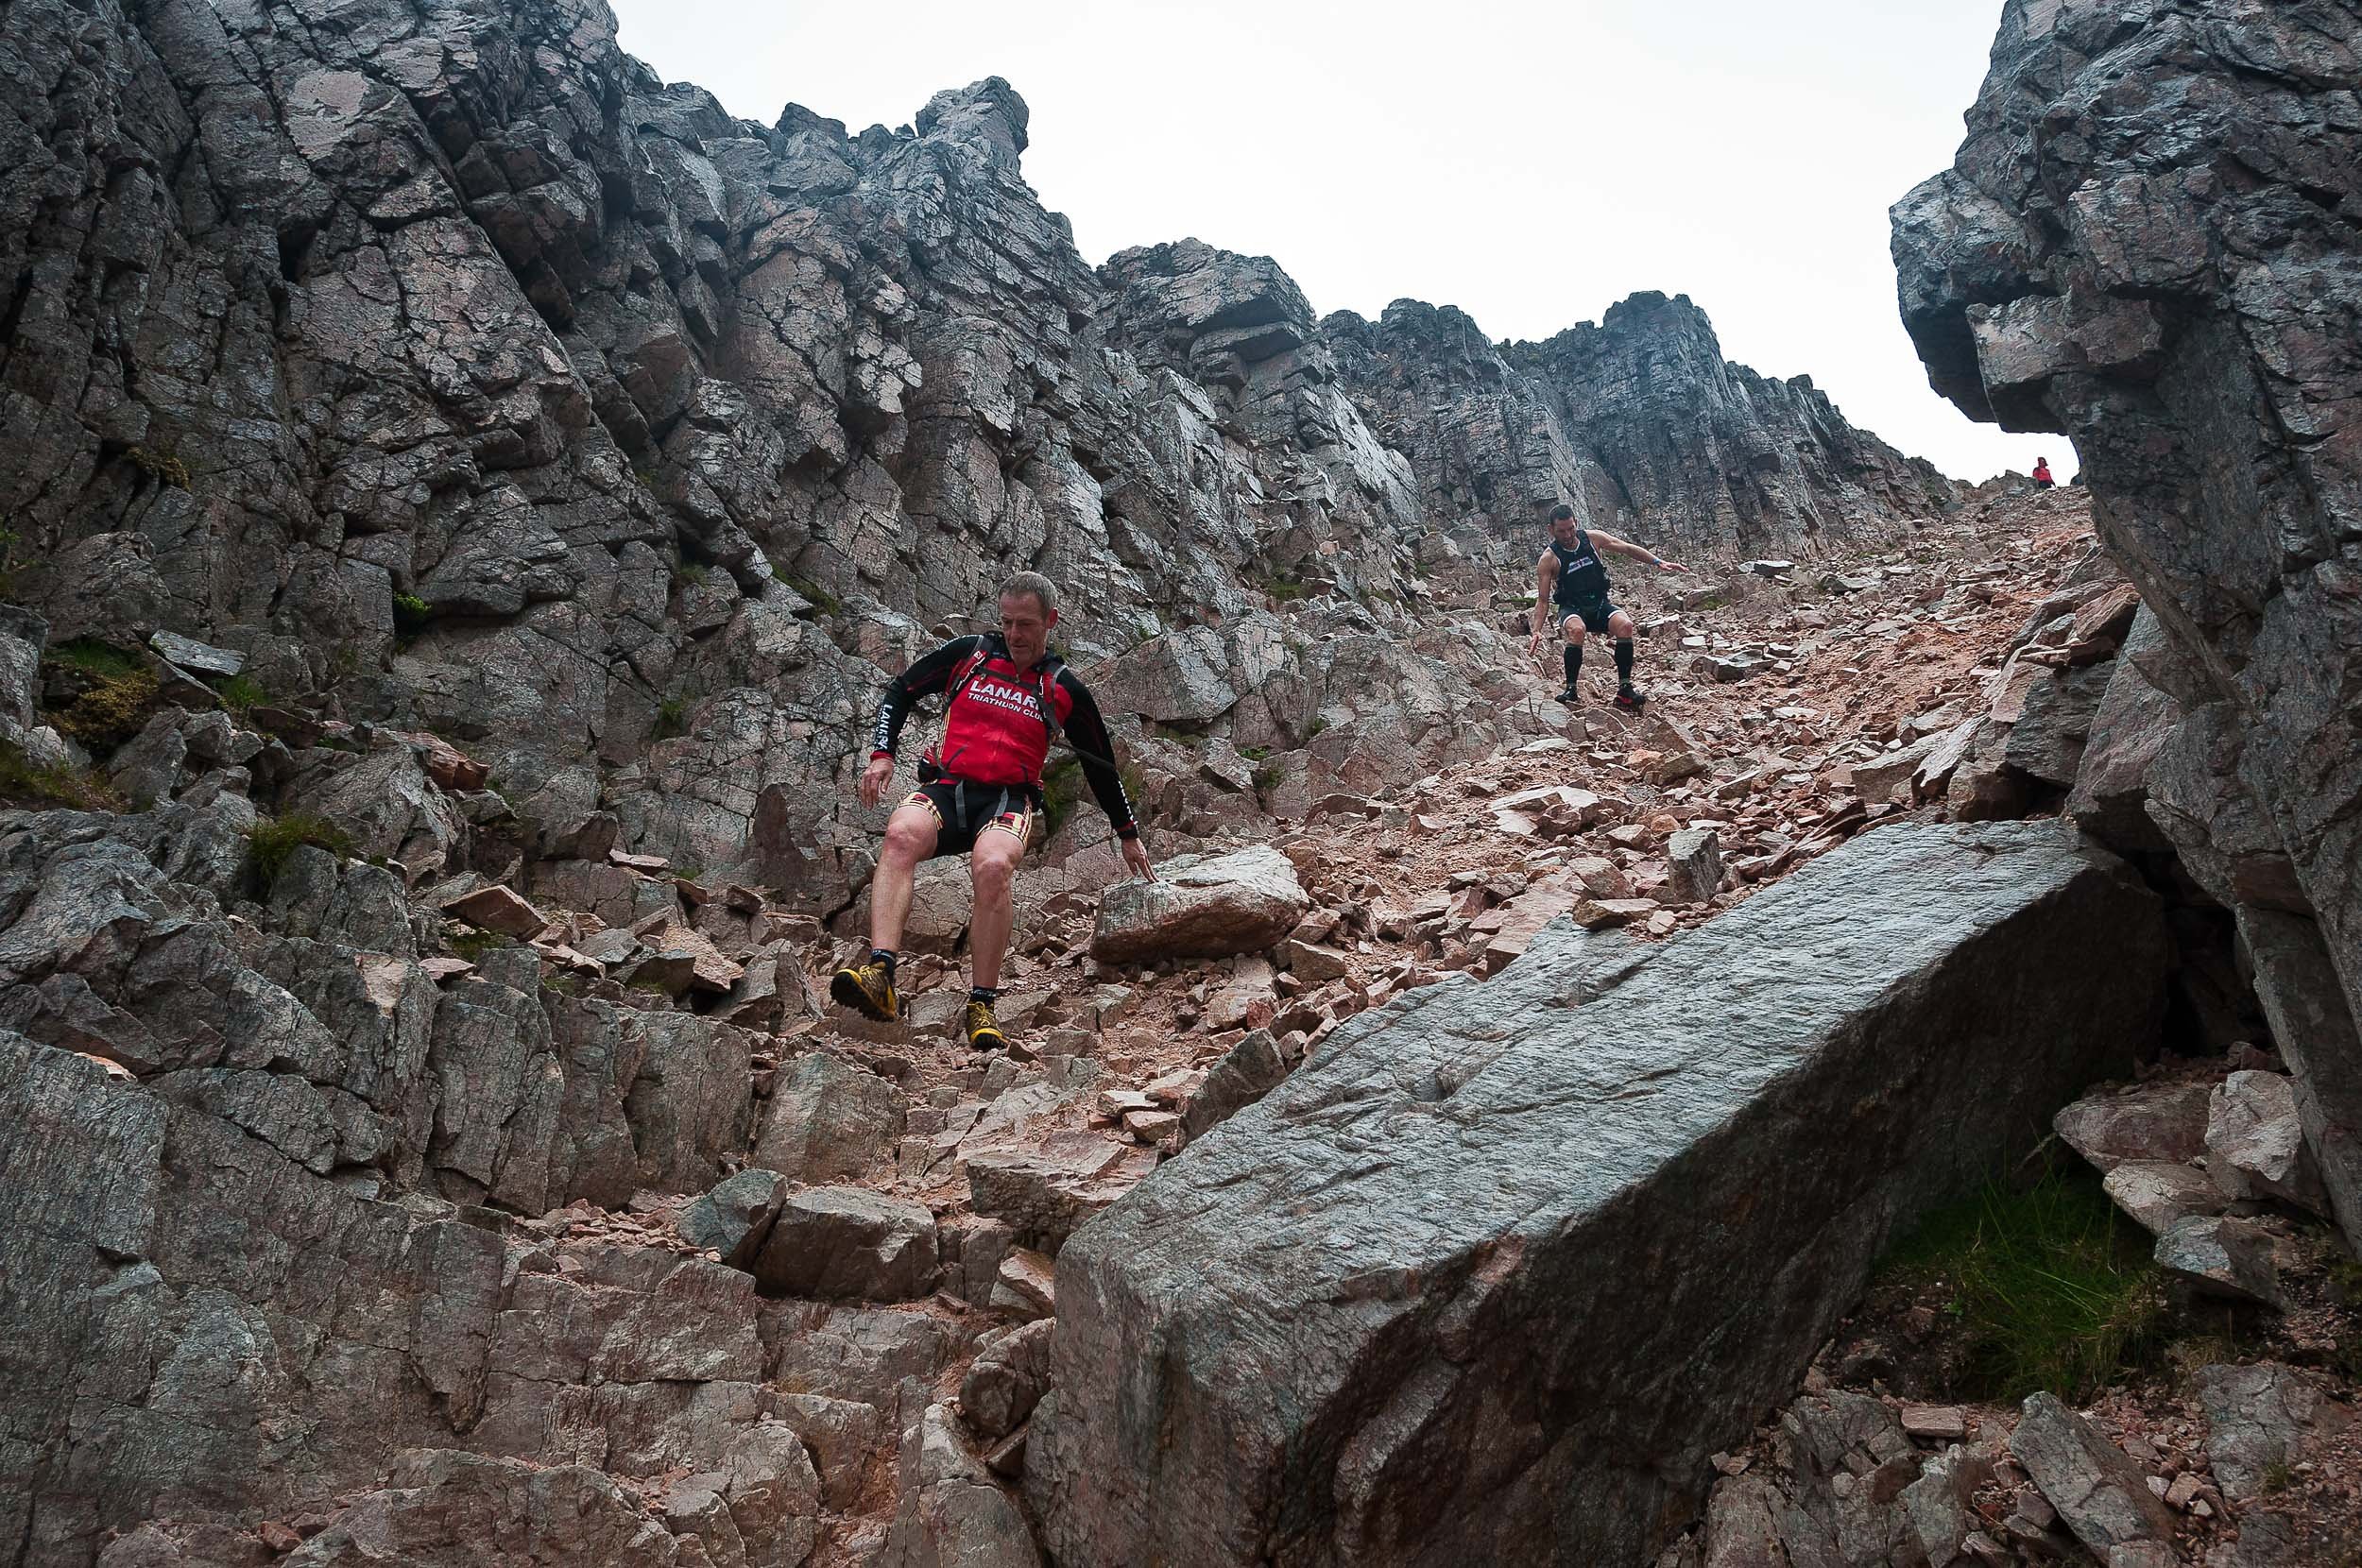
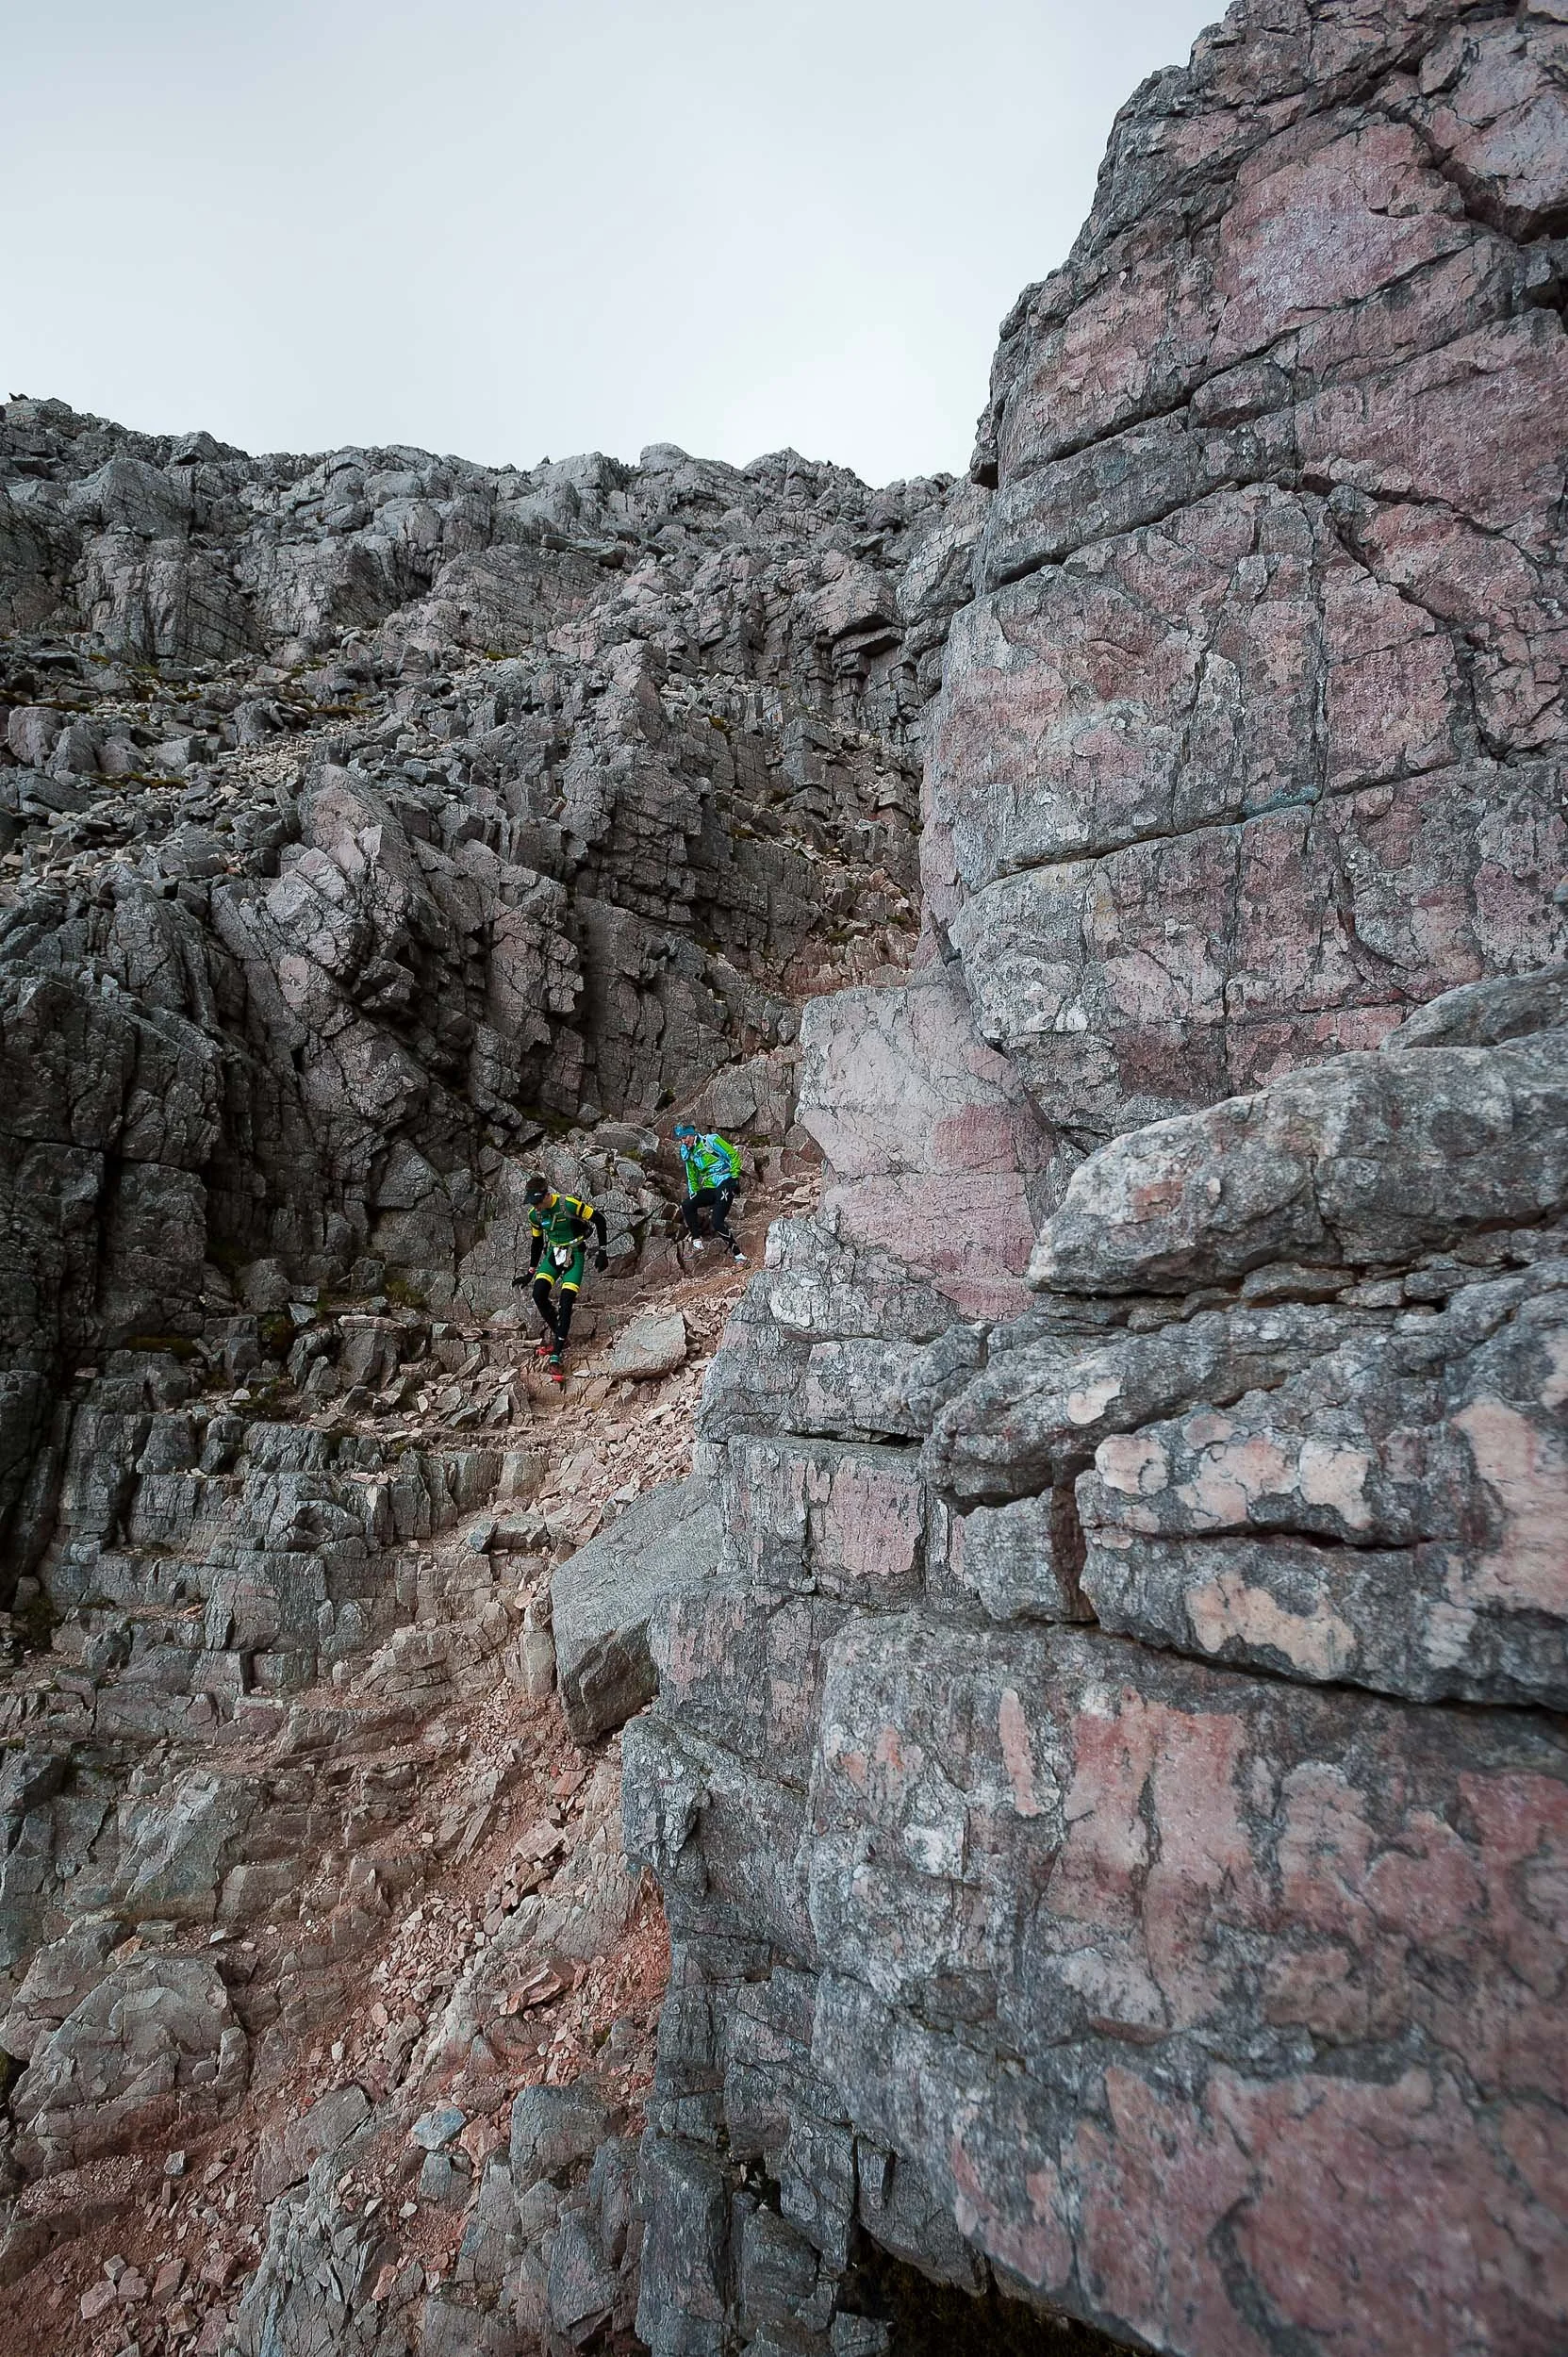
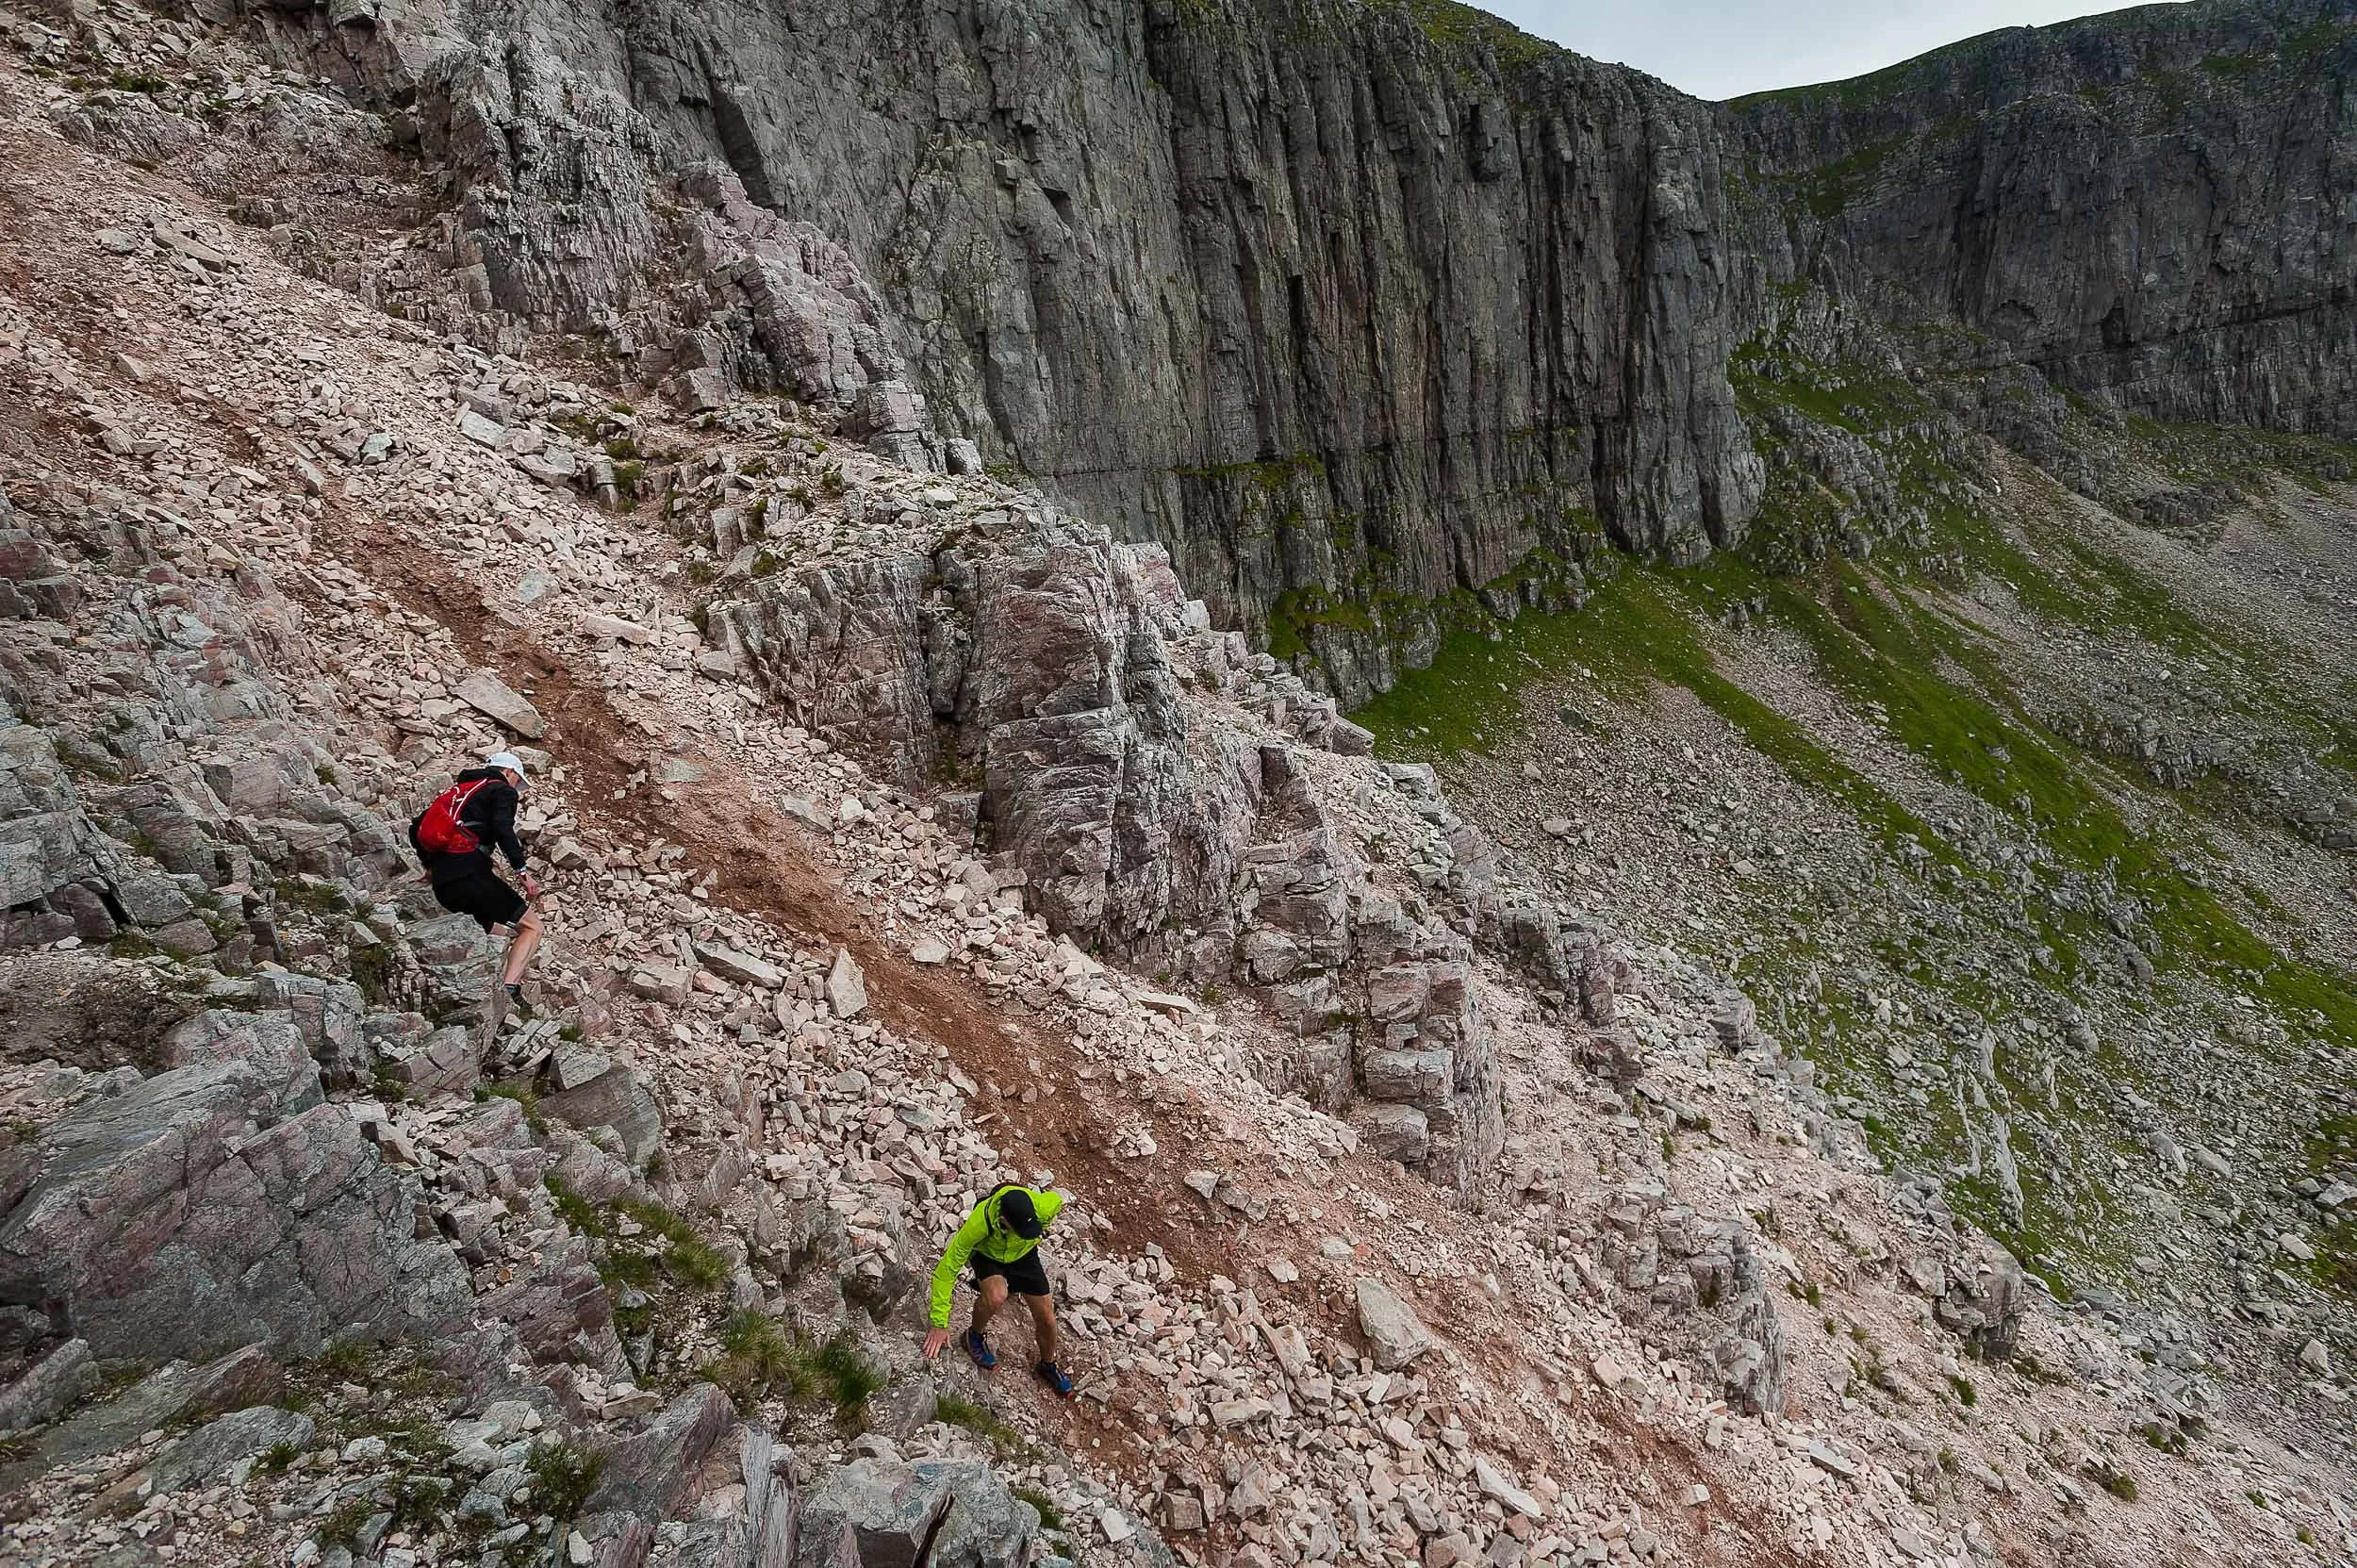

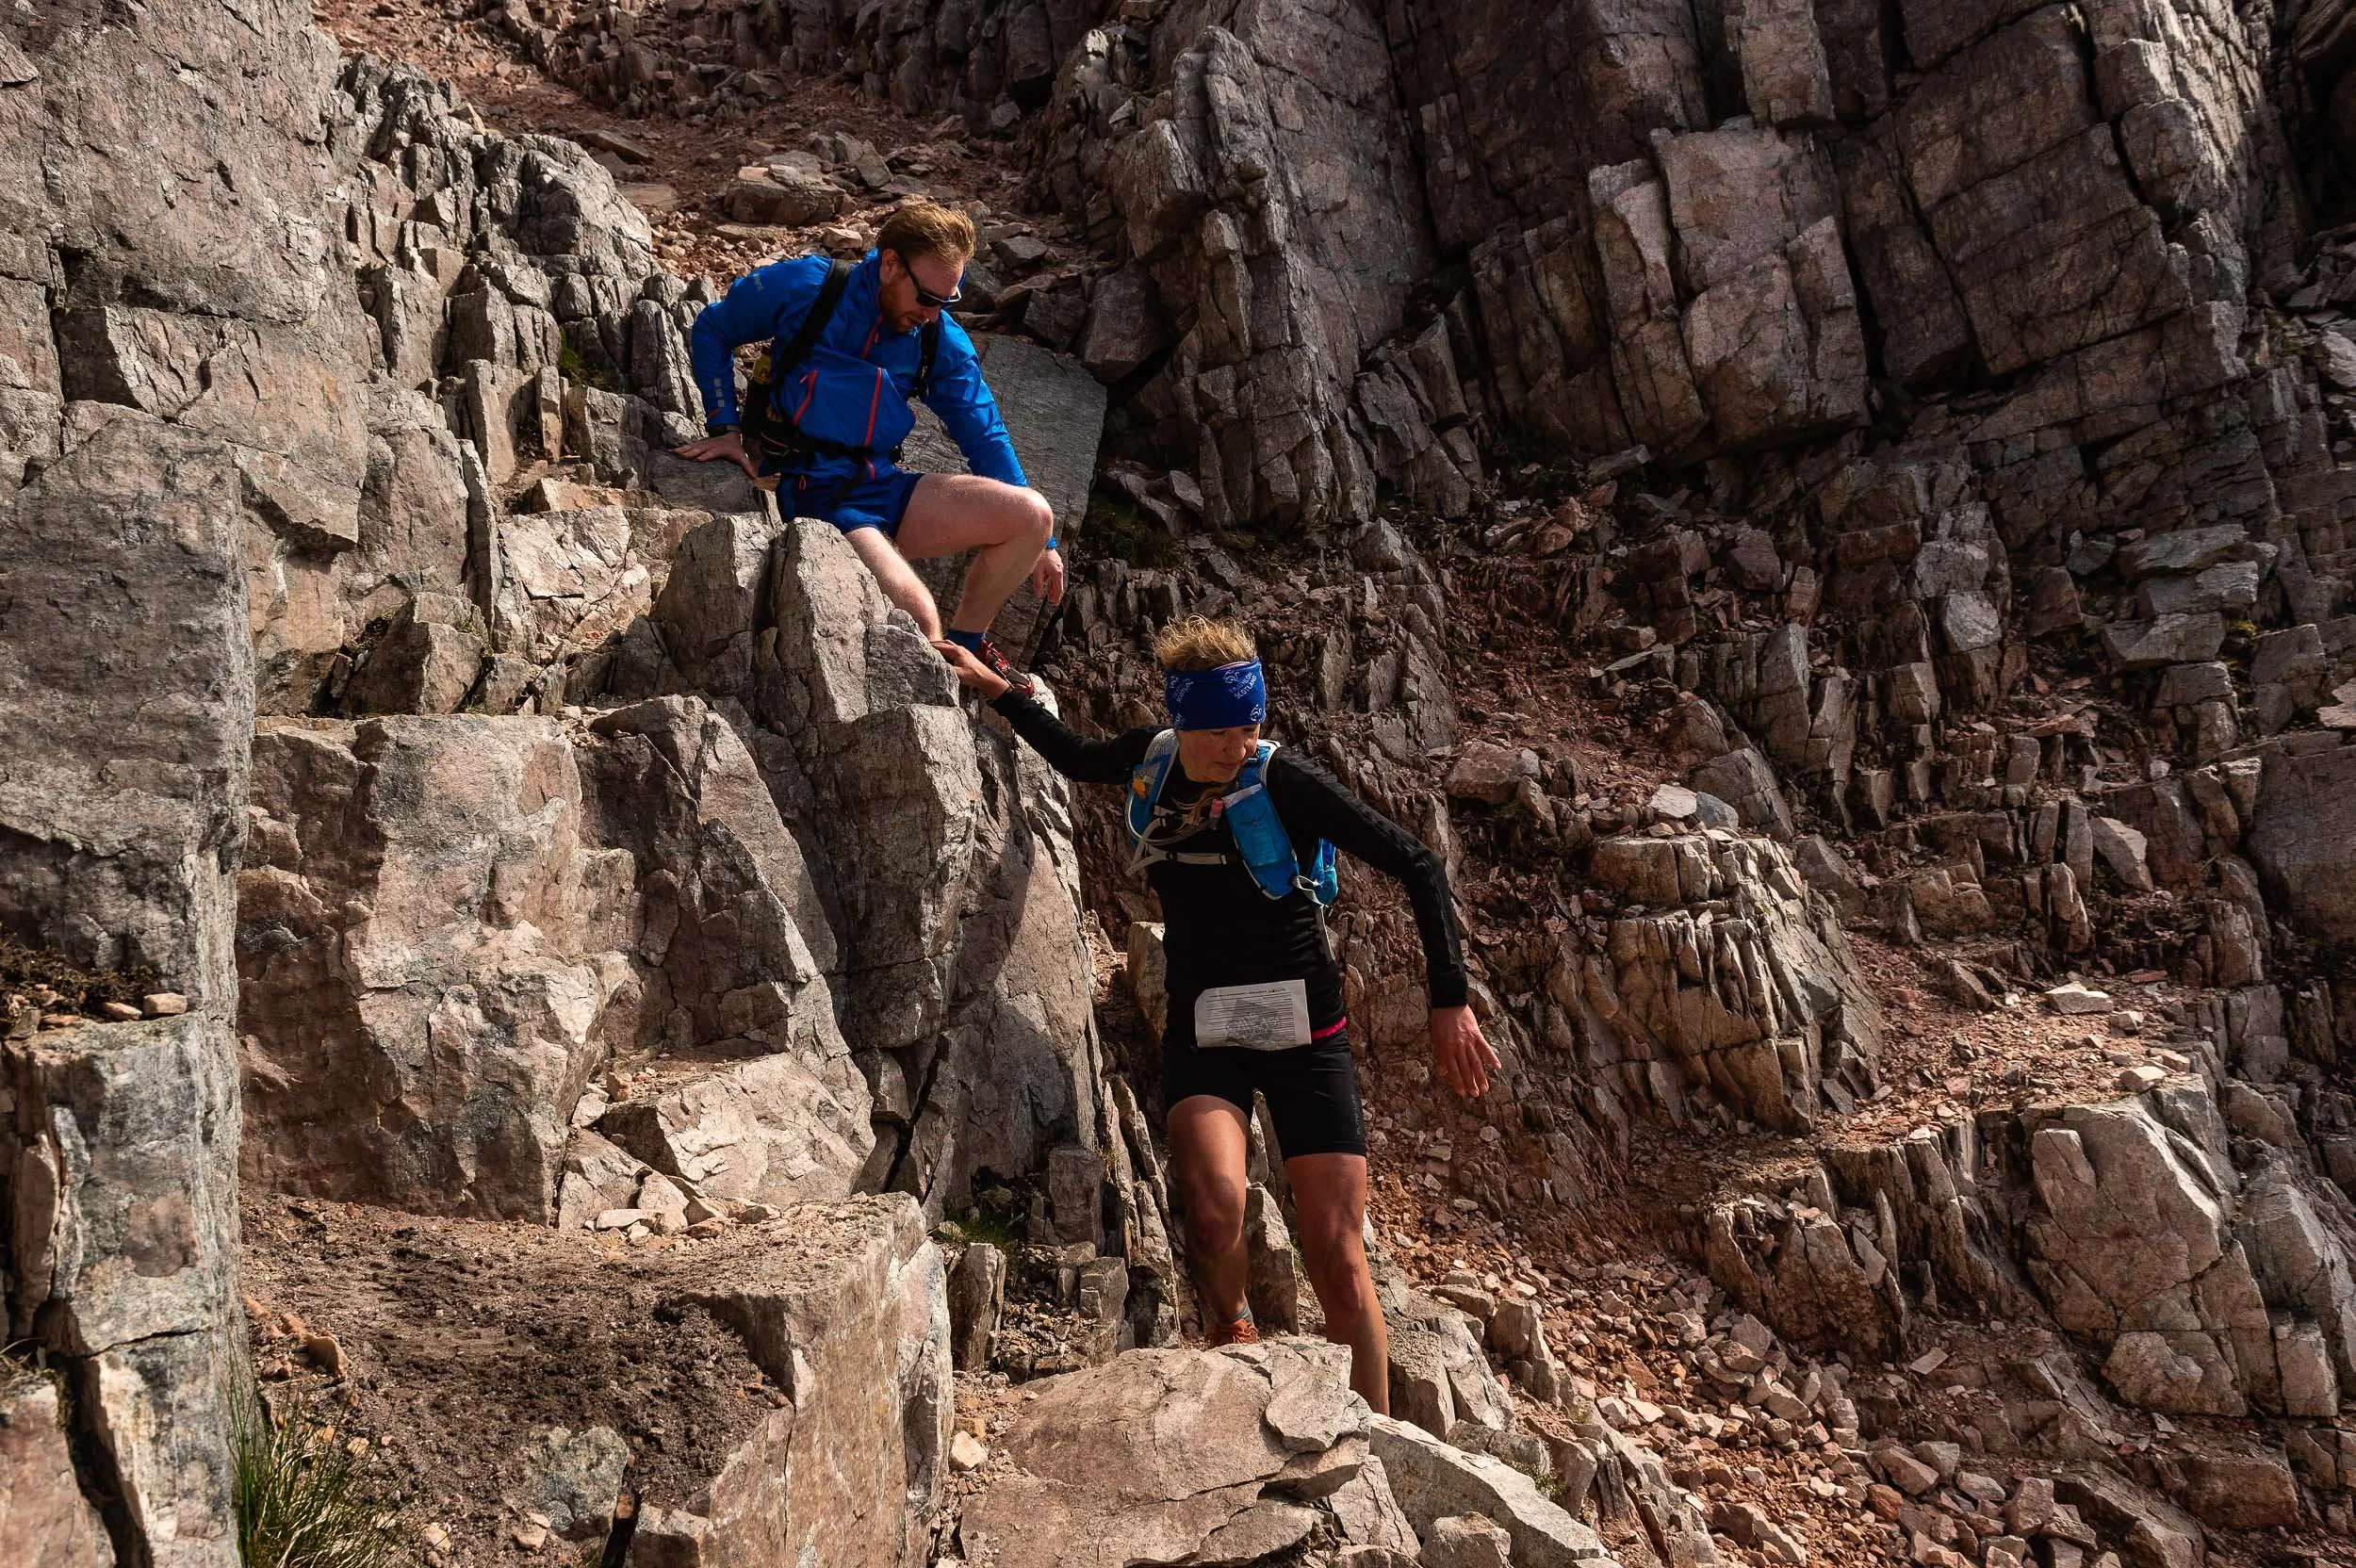
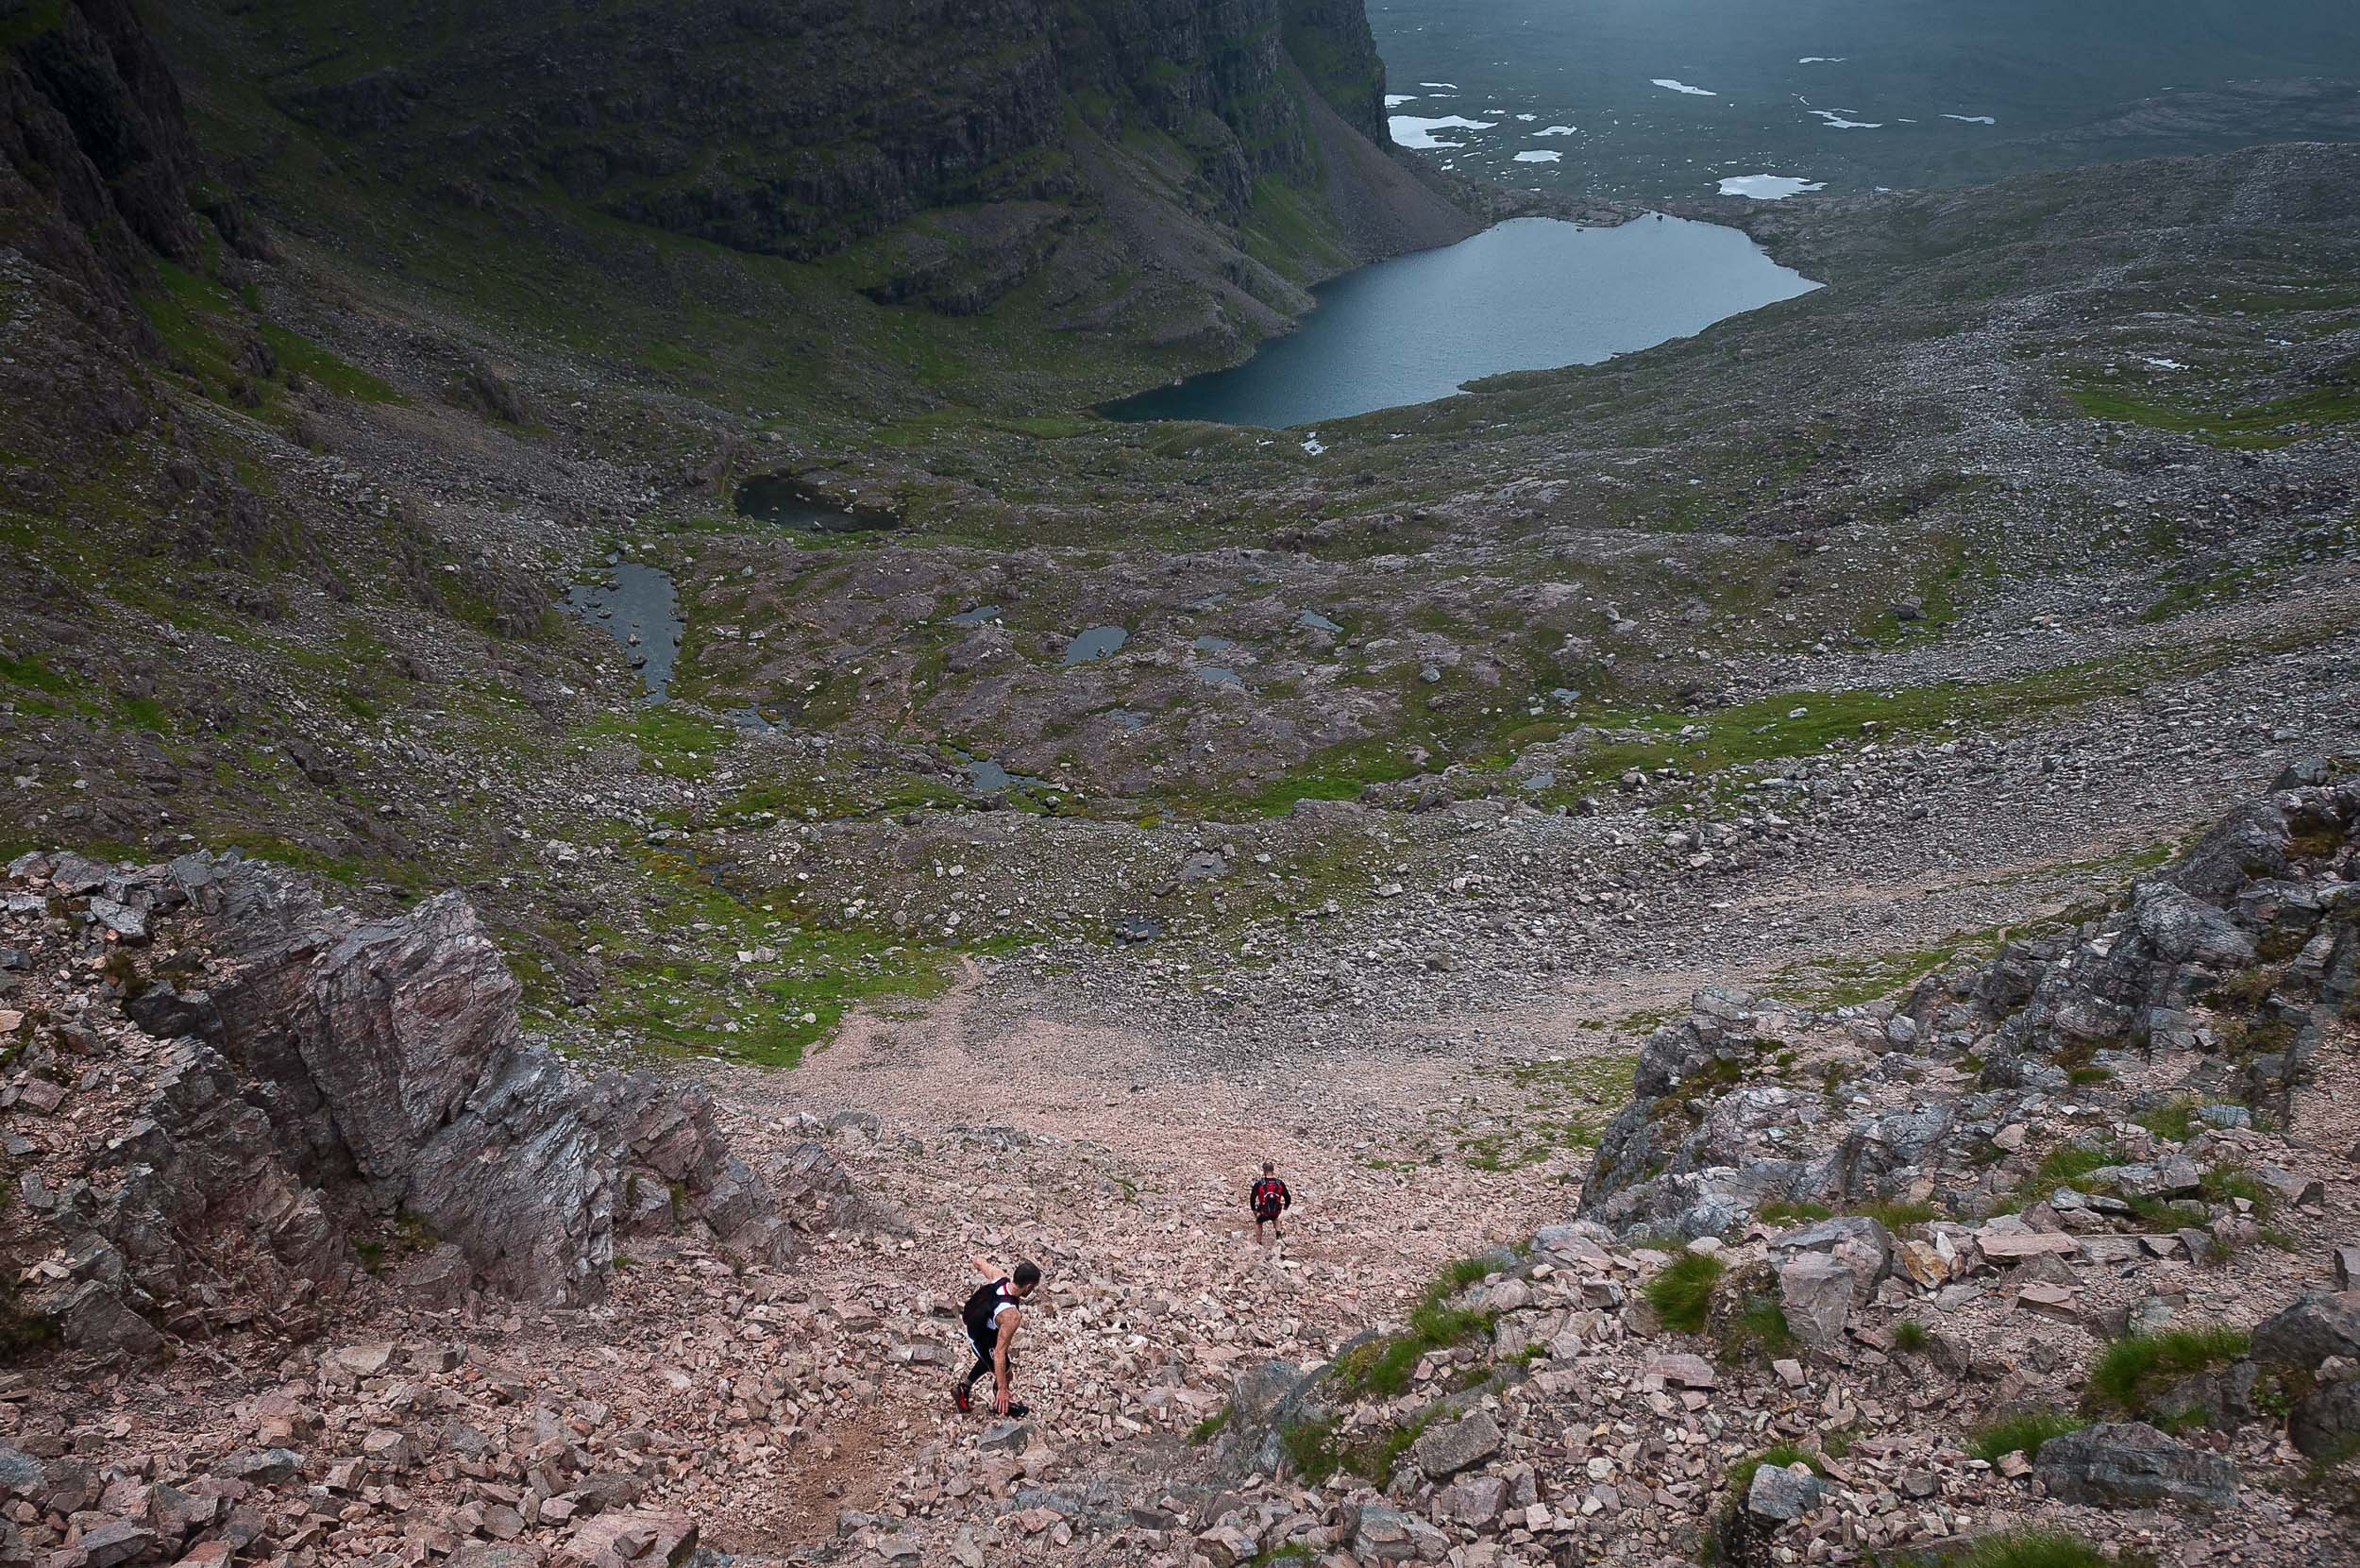
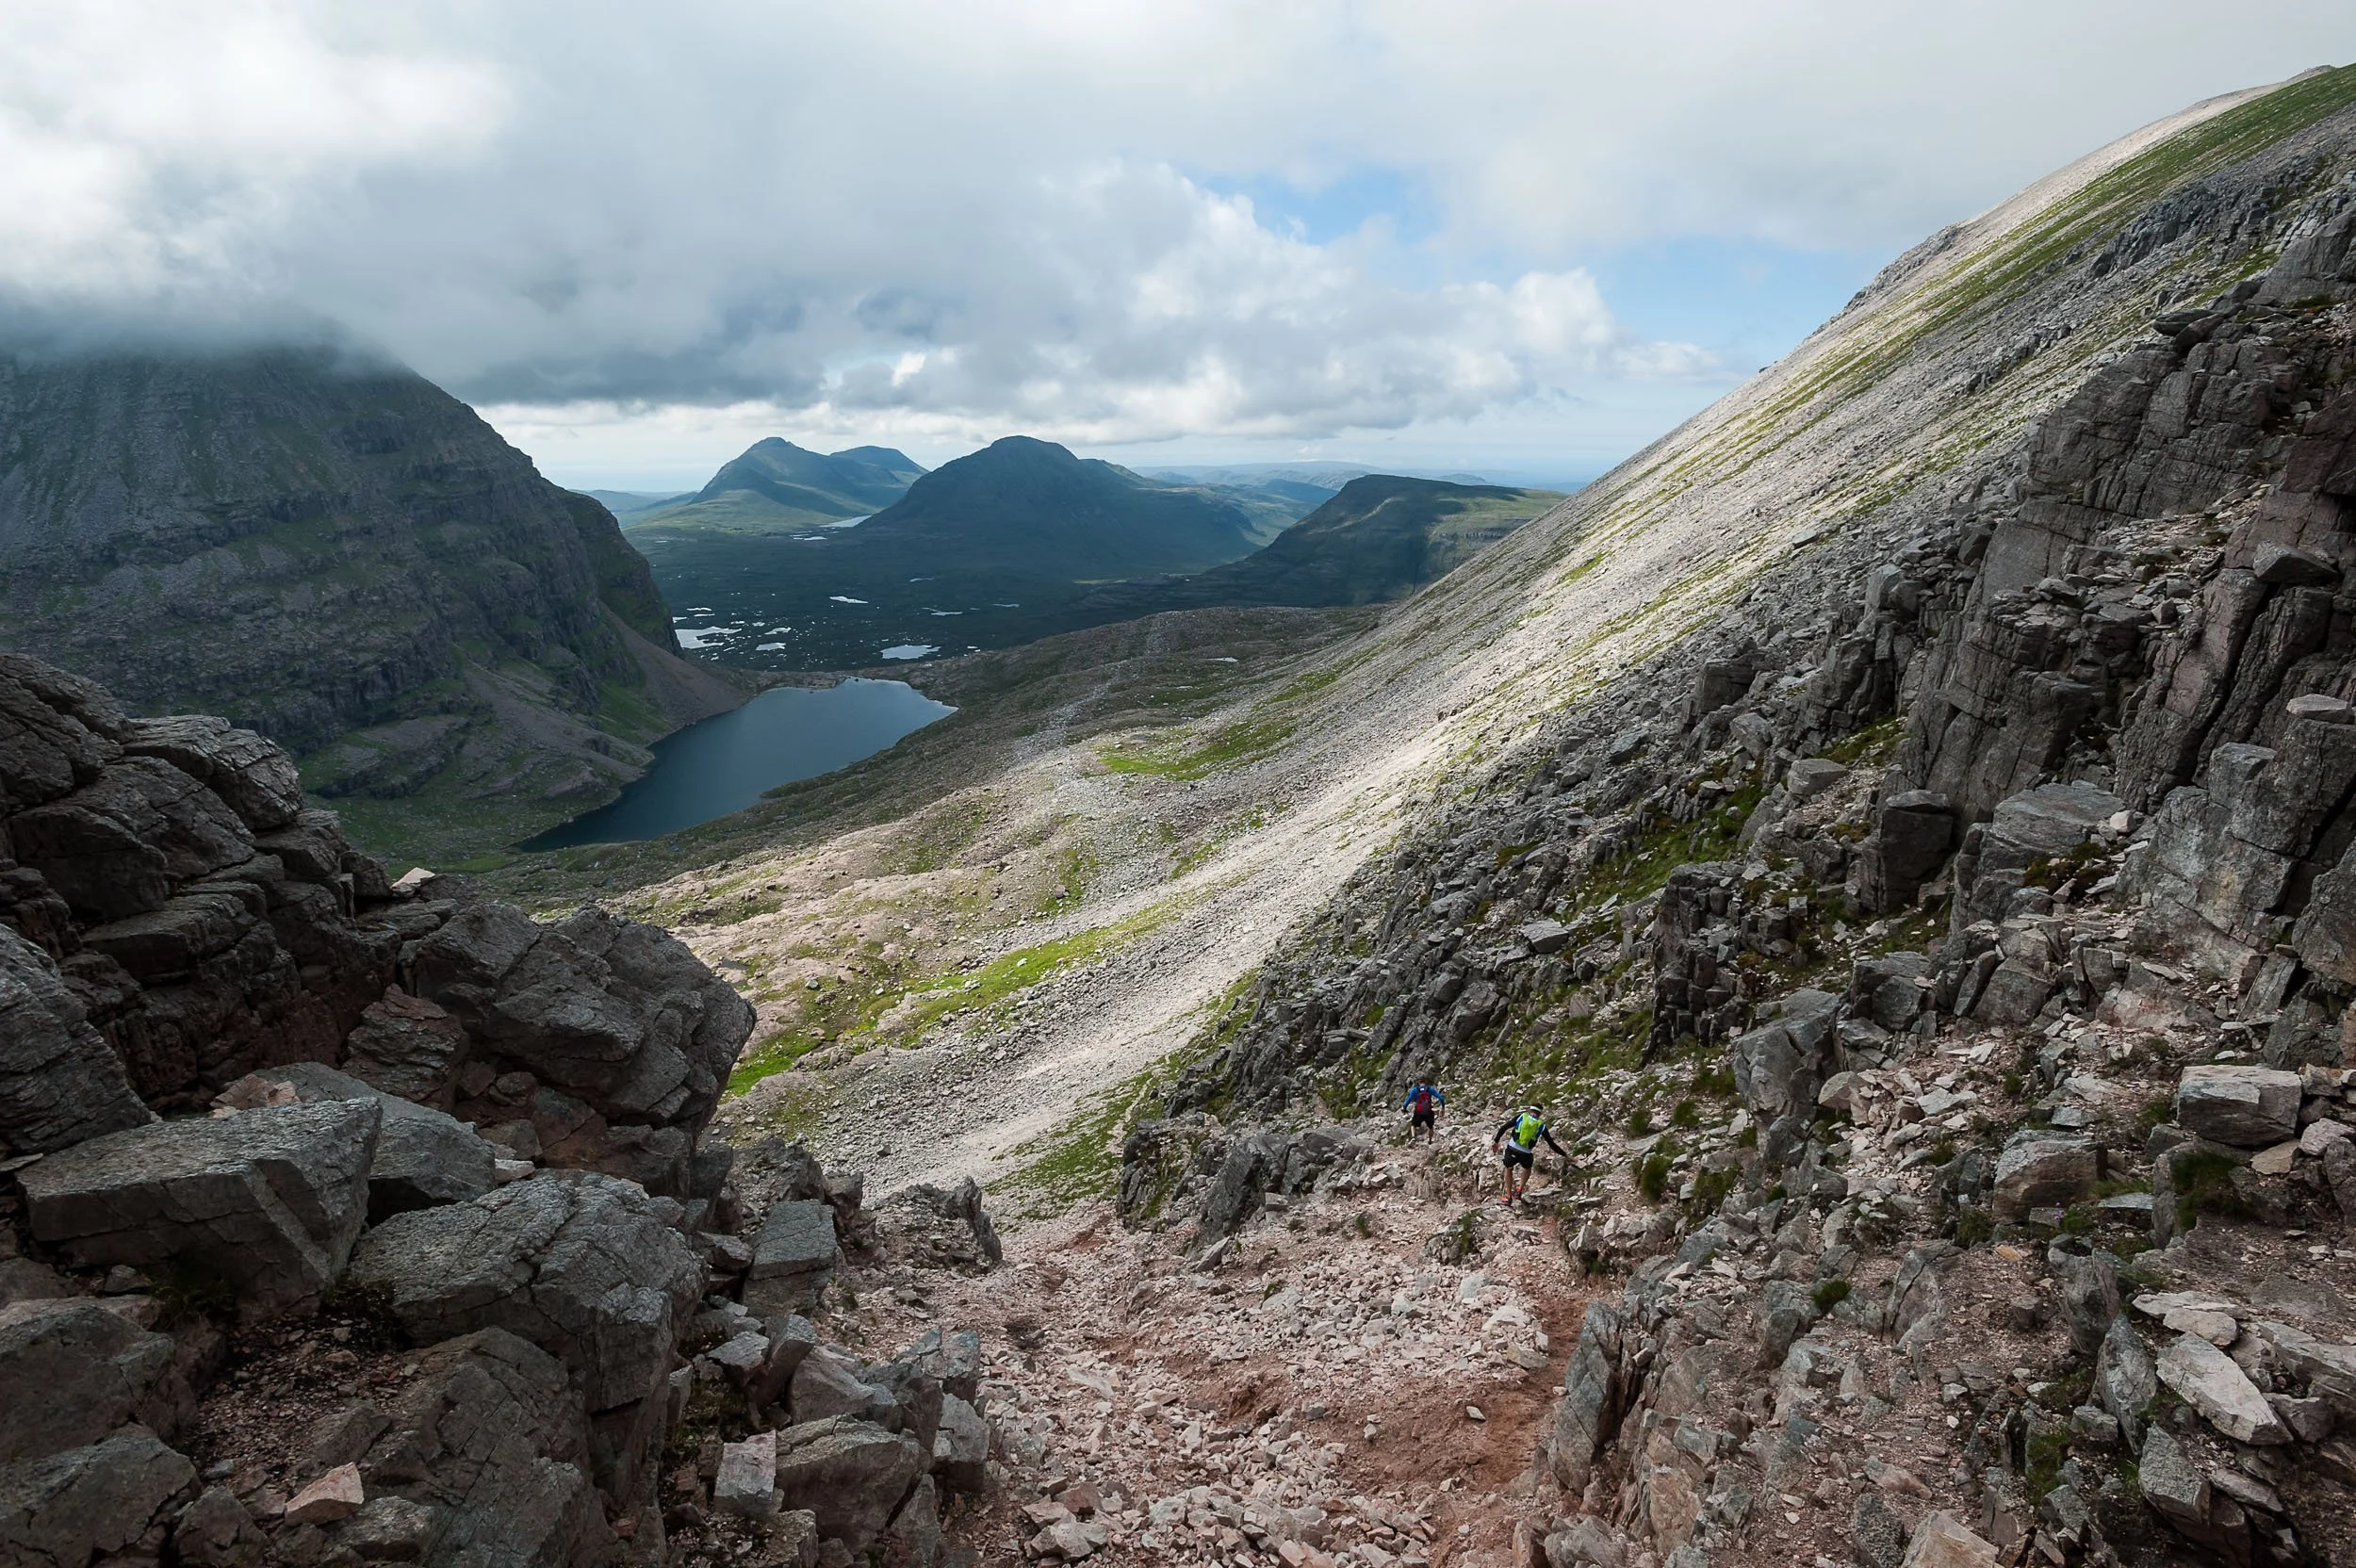
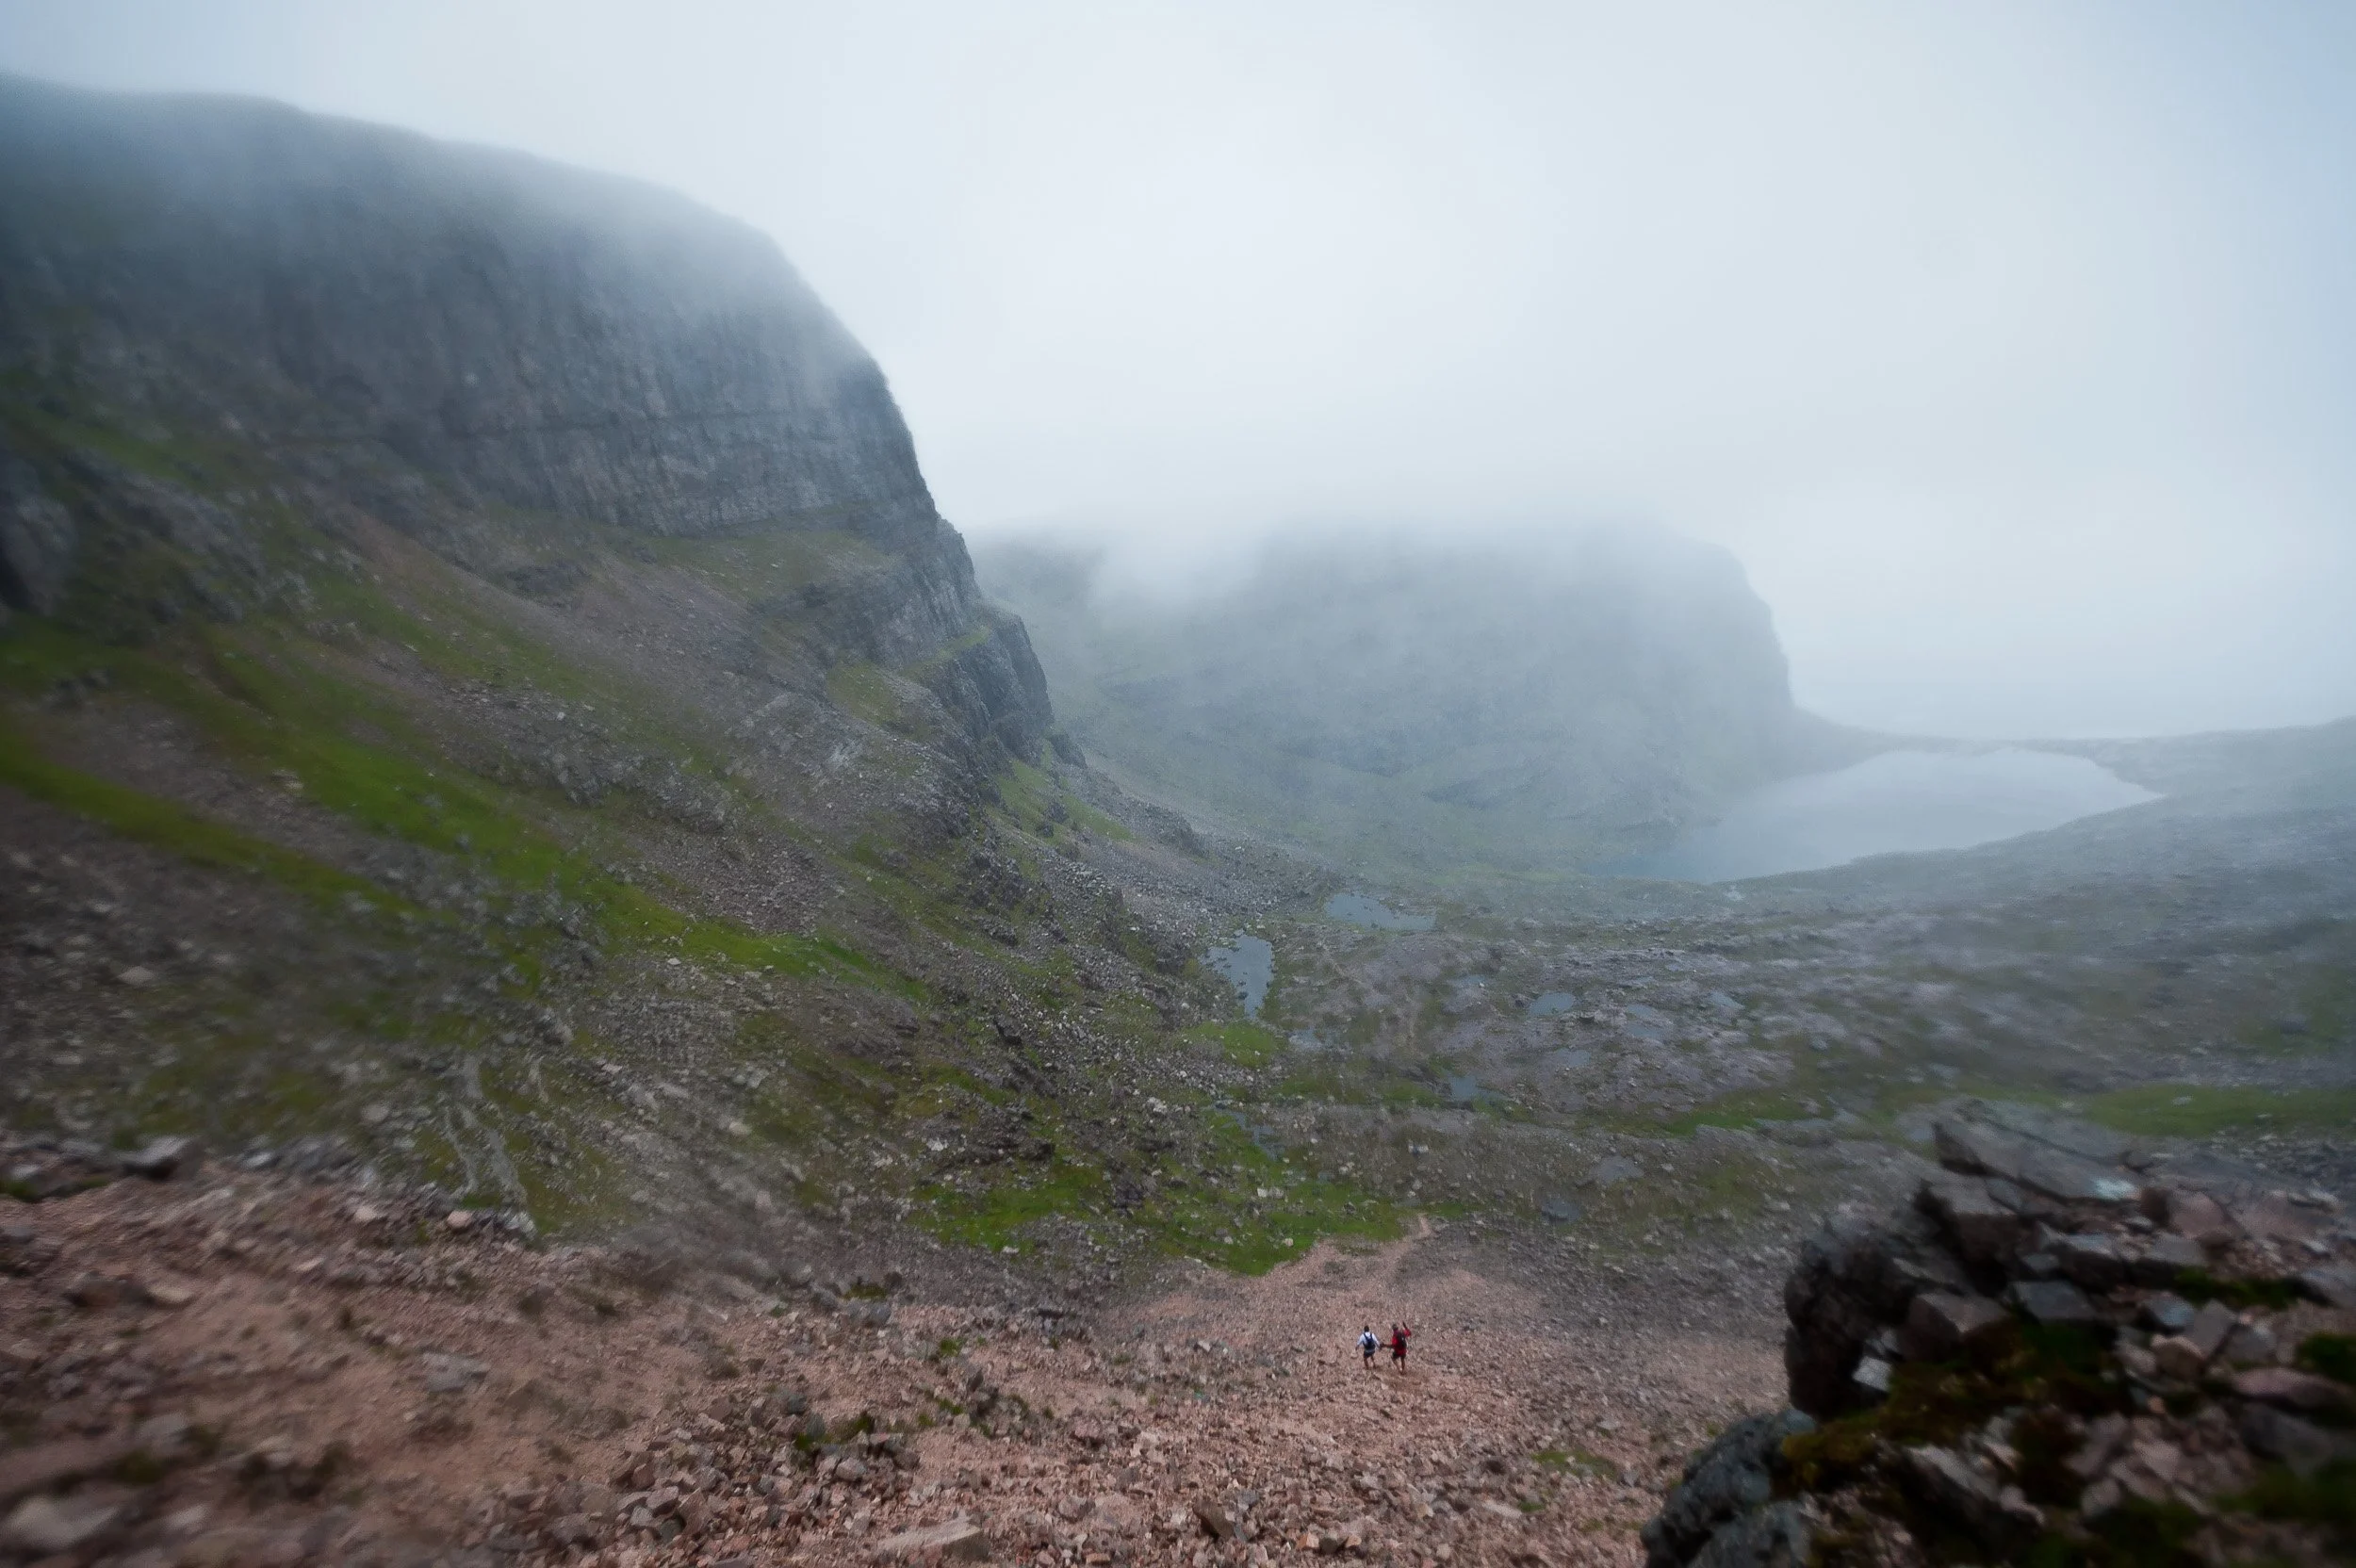
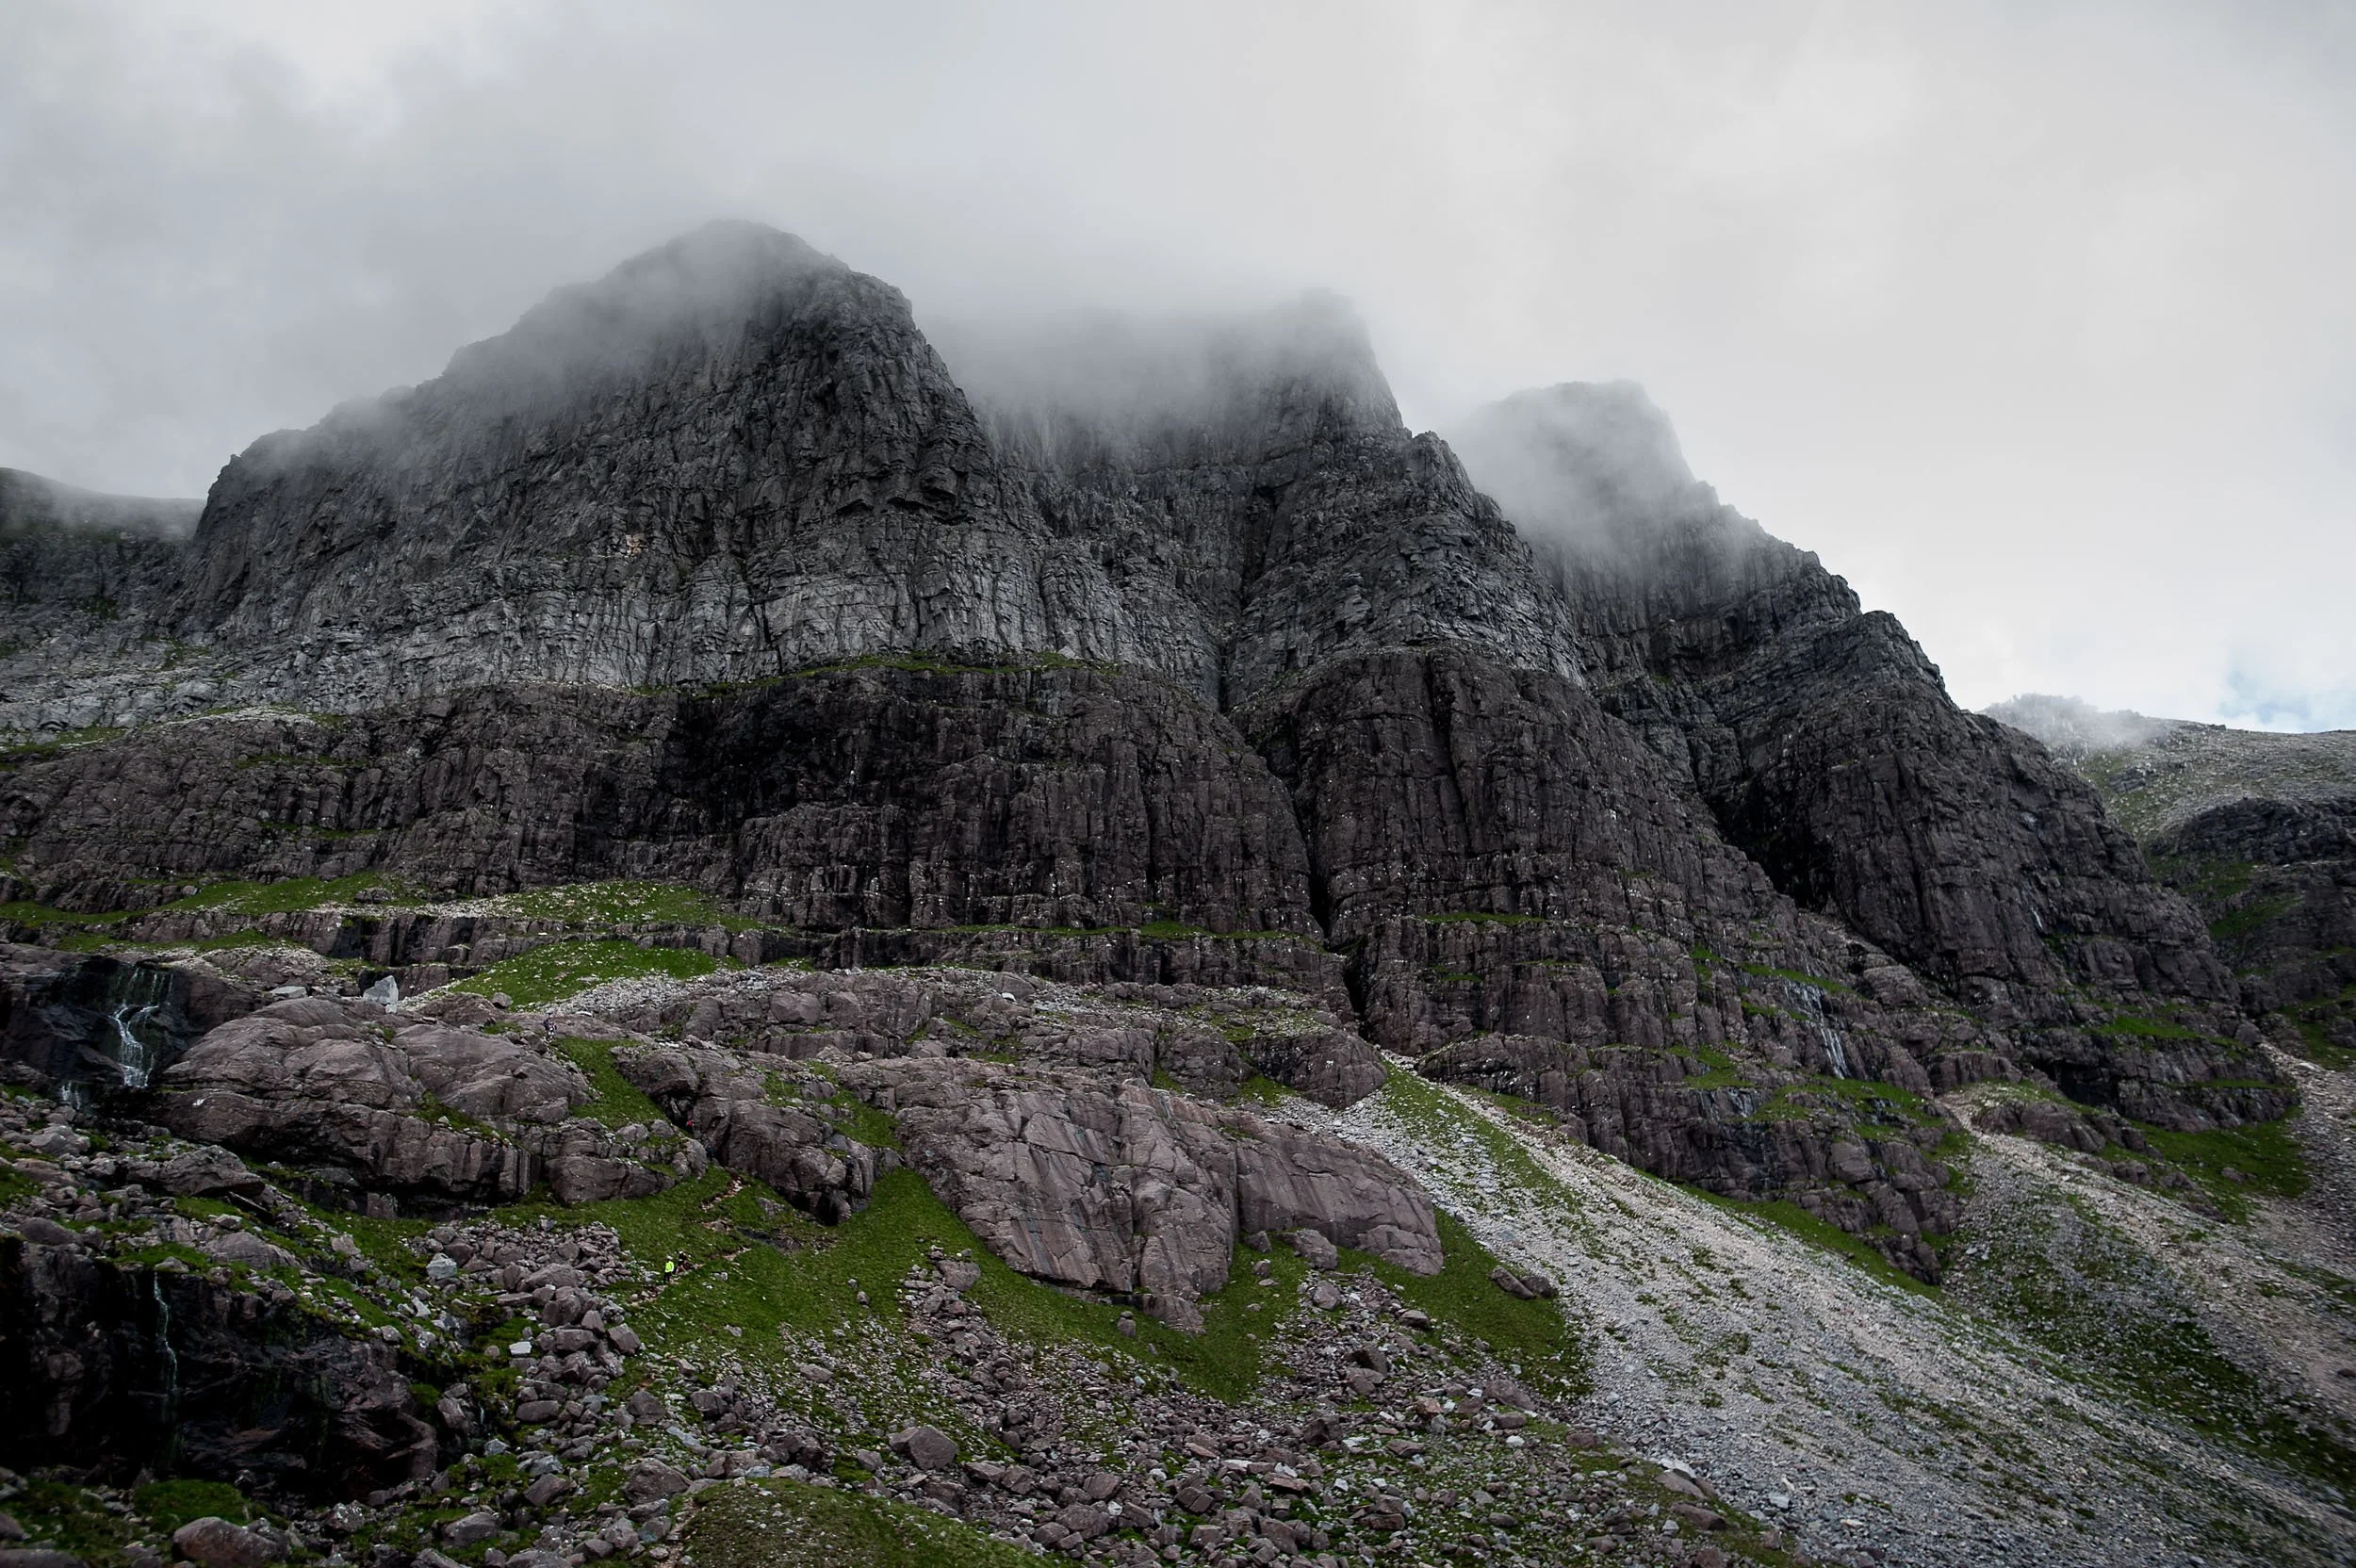
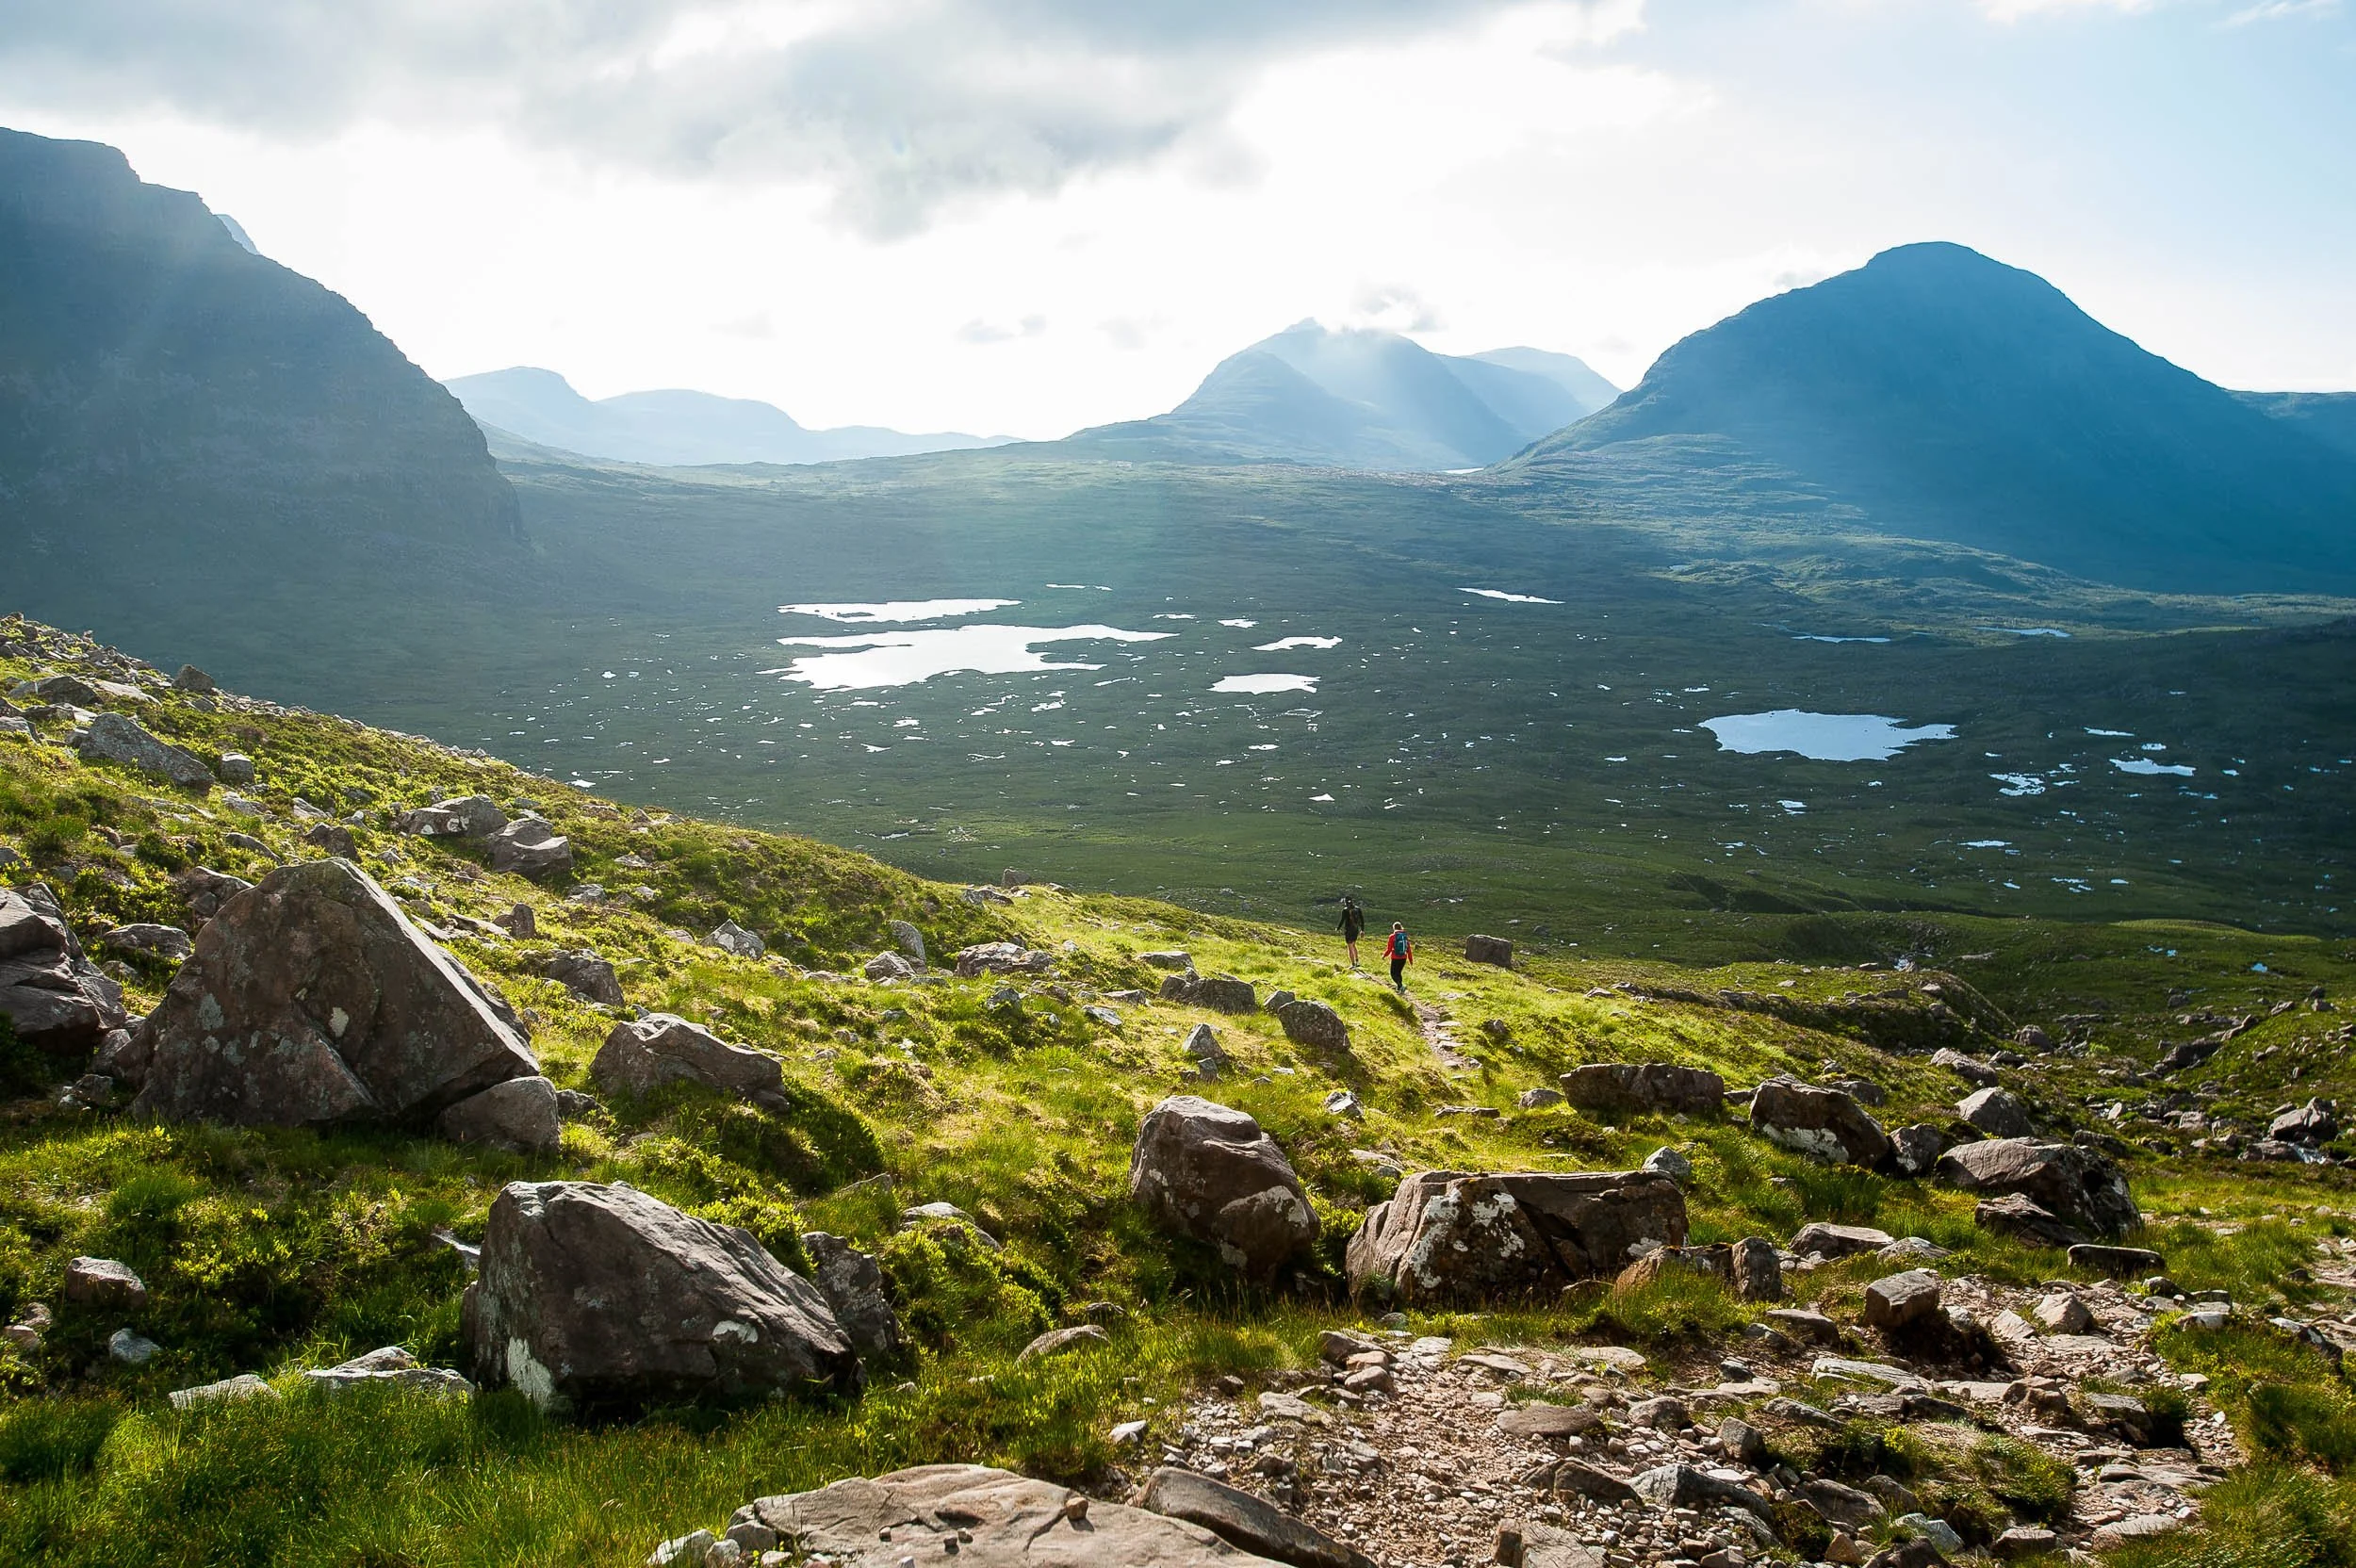


A four-day trek around Fitz Roy — Los Glaciares National Park, Patagonia
Adventure trekking on the glaciers beneath Cerro Fitz Roy in Los Glaciares National Park, Patagonia.
Published in Sidetracked magazine, Patagon Journal and UKClimbing.com

The 1600m high Supercanaleta on the west face of Cerro FitzRoy
“It’s called the Guillaumet pass. It’s generally used by climbers. There’s a little crevasse danger but as long as the weather holds it’d be fine. You’d be right underneath Monte Fitz Roy.”
The e-mail I’d opened was from a 29-year old Argentinean mountain guide, Pedro Fina. I’d first met Pedro in 2004, when he was one of two guides I’d had on a 4-week trekking expedition in South America. During that trip, we’d climbed a glacier beside two of the great peaks of the Patagonian Andes, Monte Fitz Roy (Cerro Chaltén) and Cerro Torre, and traversed a small portion of the Southern Patagonian Ice Cap, a flat expanse of thick ice — 13,000km2 — that flows west from the mountains and down into the Pacific Ocean.
My objective this year was to get much closer to the mountains, to scratch an exploratory itch I have for Patagonia and to research new treks for a guidebook I was writing to Argentina’s Los Glaciares National Park. With the help of Pedro and Rolando Garibotti, a US-based Italian-Argentine mountain guide and an expert on Patagonia climbing, I’d settled on a shorter expedition around Monte Fitz Roy, connecting small cirques and climbers’ trails with pocket glaciers and high bealachs to create a trek that I hoped would offer me the finest views possible of the Fitz Roy massif.
“I’ll pick you up at 7am. There’s a 3–4 day good weather forecast and we should take advantage of it whilst we can.”
I’d only been in Argentina a day when Pedro suggested we should leave the following morning. Neither of us had any desire to be caught out in a Patagonian storm. The weather in Patagonia is commonly said to be amongst the worst in the world. Gregory Crouch, in his book, ‘Enduring Patagonia’, describes how dark storm fronts that begin life deep in the Pacific Ocean rampage across the sea uninterrupted, the cold and wet air picking up moisture and gaining in speed as it heads towards a thick belt of low pressure, termed a circumpolar trough, ringing Antarctica. When this trough has expanded over Patagonia, as is all too often the case, the storms are dragged kicking and screaming over the Andes first. It is not uncommon to encounter wind speeds of 160 kph. When this is the case, the last place you’d want to be is up in the mountains where, as Greg quotes US climber Jim Donini in his book, “survival is not assured”.
It was this sobering thought that occupied my mind when, two days later, Pedro and I stood atop the 1700 m high Paso del Cuadrado and prepared to descend 400 m of blue, translucent ice to reach the remote and heavily-crevassed glacier we could see far below us.
We had climbed the 200 m to Paso del Cuadrado that morning, after ascending 1000 m the day before from a private campsite just outside Los Glaciares National Park and spending a dry, cold night beside a huge, black rock called Piedra Negra. Two of Pedro’s friends spent the night with us, shivering without sleeping bags as they waited to attempt a nearby peak, Aguja Guillaumet.
By 11.00am Pedro’s friends could be a world away. Having carefully descended the ice slope we’d swapped crampons for snow shoes and headed uphill towards the Fitz Roy Norte Glacier. A huge jumble of ice towers, or seracs, spilled out of a higher basin as the glacier broke up and made its way down valley. Giving this icefall a wide berth we traversed instead beneath a jagged bergschrund that had formed as the ice had torn itself away from the huge granite walls of Aguja Mermoz. Rock-fall was a distinct possibility and more than a few deep breaths were taken before we passed the seracs and could cut back onto the upper part of the glacier. As we did so, everything underfoot turned to pristine white.
Perhaps it was the uncommon lack of wind and the resultant silence or more likely my jangly nerves, but the further I walked into this glacial cirque the more the surroundings began to affect me. It wasn’t just that we were far from civilisation — a 2 day walk to the small town of El Chalten unless you could climb expertly — but that if you had seen us we would have been impossibly small. Behind us was the 400m ice slope we had just descended. We had to climb it again later in the day. To our right was a vast wall of ice-clad cliffs, 200 m high, which made up the southern side of Cerro Pollone and Cerro Piergiorgio. Beyond these cliffs was the Southern Patagonian Ice Cap, beyond that only the Pacific Ocean. In front of us was the fourth ‘wall’ of the cirque, the Filo del Hombre Sentado, or Sitting Man Ridge. At the top of this ridge the ground dropped 700 m to the Torre Glacier before it rose up the other side again to form a 3 km long incisored skyline of agujas, or needles, that culminates in three of the most recognisable and difficult to climb mountains in the world — Cerro Torre, Torre Egger and Cerro Standhardt.
Clearly visible from the ridge is the most popular route up Cerro Torre; the so-called Compressor Route, named after the Italian climber, Cesare Maestri, who drilled over 400 bolts into the mountain as he climbed it in 1970. Despite the prevailing weather, and the outcry of many a traditional climber, the bolts are still there, as is the drill itself. It is tolerated by many of today’s climbers as an opportune place to stand on an otherwise blank vertical wall. Maestri’s original claim to have summited the mountain in better style, in 1959, up the far harder north-east ridge, is still a subject of much debate. This route was not climbed without suspicion until 2005, by the afore-mentioned Rolando Garibotti and two Italian friends, Ermanno Salvaterra and Alessandro Beltrami. Rolando is one of many people who believe, not without reason, that the first people to climb Cerro Torre were a team of Italians, in 1974, via the west face.
All views paled into insignificance however by the massive, 1600 m high flange of granite that rose up on our left. Monte Fitz Roy’s huge west face is split in two — as if by a mighty axe blow — by the majestic Supercanaleta, or Super Coulouir.
If you’re the (sadly late) American climber, Dean Potter, this 60 degree, ice-filled couloir is regarded as an easy way up the mountain. In 2004, Potter raced from the bottom of the couloir to the summit of Fitz Roy, all 1600m of snow, ice and rock, in a mere 6 hours 29 minutes. He then descended the other side of the mountain the same day. In 1965, the first ascensionists of the couloir, Argentineans Jose-Luis Fonrouge and Carlos Comesana, took a more realistic 2 days, before they descended on their third day through a storm that raged around the mountains for a staggering 36 days. You can be sure this thought wasn’t far from my mind as I considered the meagre two days rations I had packed in my backpack.
“The next bit’s got the crevasses”, Pedro said, as he handed me my obligatory fix of morning coffee. “Great”, I said, but I didn’t really mean it. Although it was possible for us to have abseiled the Sitting Man Ridge and descended the Torre Glacier back to El Chalten this was outside the realms of my experience and we had chosen instead to return to Piedra Negra. It was from here that we were headed for Paso Guillaumet, a small notch in the mountains that enabled access across the east-west divide, and from there to another high mountain pass, Paso Superior, that lay right in front of Monte Fitz Roy. Both Pedro and Rolando had told me in their e-mails that the view between these passes was spectacular.
The ground up to Paso Guillaumet was similiar to the previous day; long, steep ice slopes broken up by the odd rock outcrop that we took advantage of for snack breaks. Higher up, we entered a gully system until a large, angular rock blocked the way and we were forced to move out onto a buttress for a few easy pitches of easy rock-climbing.
On reaching the pass the view opened out to the east and we could see far below us, out over the glaciers to the dry, brown Patagonian steppes and the stone-gray waters of the enormous Lago Viedma. My eyes kept darting back and forward between the contrast of the brown steppes in the distance with the whiteness of the ice cap we could see over to the west.
Once we crossed the watershed we headed up towards a rock apron that made up the lower eastern face of Aguja Guillaumet. Traversing the base of this mountain we passed the Amy Coulouir, a narrow ice hose that offers a popular way to the summit. It was this route that Pedro’s friends had taken the day before. The jagged rent of a bergschrund and other crevasse danger eventually caused us to head away from the mountains and descend towards a large, snow-covered plateau that is only hinted at from the usual treks near El Chalten. As we neared the plateau, Pedro wasn’t happy with the route we had taken and he walked back towards me, motioning for us to find another way to descend. As we did so, I looked back up to our right and could see our footprints on top of a huge, overhanging ice cliff. The gap that had opened up beneath it was big enough to swallow a house.
Once on the relative safety of the plateau, I could finally appreciate the view. The magnificent east face of Monte Fitz Roy was only half a kilometre away. It’s impossibly huge and I still can’t imagine anyone having the courage to climb it. Even to reach the bealachs either side of the peak involves 300 m of technical climbing — and the summit is still another 1,000 m higher. It was first reached in 1952, by the Frenchman, Lionel Terray, and his partner, Guido Magnone. It took their expedition many weeks to reach the top and a lot of time was spent burrowed underground in snow caves waiting out bad weather.
At the far end of the plateau, making up the southern end of the Fitz Roy skyline, was the huge granite tooth of Aguja Poincenot. The English mountaineer, Don Whillans, was the first person to climb this peak, joining a team of Irish climbers in 1957 who attempted the mountain on a Guinness sponsorship. Their descent of the mountain was hampered by strong winds and it was 20 hours before they reached the safety of their high camp at Paso Superior. When they did so they were exhausted — Pedro said this reminded him of when he and his friends had climbed the mountain in 2003; they were so tired they kept sitting down and falling asleep during their descent.
Our own traverse to Paso Superior was uneventful, if nerve-wracking. Dropping off the plateau onto a steep snow slope, we traversed above an intermittent line of blue-black crevasses that threatened to catch any fall. It was easy terrain but after two days of steep ice slopes, seracs and crevasses my nerves were frazzled and I just wanted to be on solid ground. I got my wish when, just below the pass, we encountered a 10 m rock wall with a flotsam of old fixed rope and a rope ladder that hung loosely down the rock. With no desire to put any weight on the trashed ropes I cIimbed a mixture of rock and ladder and pulled myself up over the top and out onto Paso Superior. It was empty, except for a large climbers’ haulbag sitting on the snow.
The plan had been to stay at Paso Superior for one night, using one of the existing snow caves or digging a new one, before descending 1,000 m down the glacier the following morning to reach Laguna de los Tres. This small lake at the foot of the glacier is the usual high point for trekkers in the national park. It has great views of the Fitz Roy mountains, especially in the early morning. I should have been looking forward to it. But on the plateau I’d decided I’d had enough. Enough steep snow and ice slopes. Enough thoughts of falling into a crevasse and dying a cold and unpleasant death. Turning the sight of some grey, wispy clouds I’d seen forming over Fitz Roy into the leading edge of a storm, I asked Pedro how long it would take us to get down to Laguna de los Tres. “2, maybe 3 hours?” he replied, “then another 30 minutes to Campamento Poincenot. Oh, plus another hour to get back to the car.” “What’s the ground like?”, I asked, immediately deciding it was worth it, regardless of the terrain. “Do you want to leave now?” he replied, giving me that quizzical look talented folk give you when they just don’t understand. “Yeah, I’ve got a book to write”, I said, adding “And the weather’s got to turn sometime”. “Okay” he replied, “let’s get moving. If we hurry we’ll make it all the way to El Chalten.” And with that, we packed up and headed for home.

Southern Patagonian Ice Cap Traverse — Los Glaciares National Park, Patagonia
Ice trekking across the vast polar-style landscape of the Hielo Continental, or Southern Patagonian Ice Cap.
Published in Patagon Journal - An overview of a six-day trek onto one of the largest expanses of ice outside the Polar Regions.
It’s 4am. I put on all my clothes and go outside to help dig our tent out of its snow grave. I try to ignore the view around me — because this is the second time I have been up through the night and because it is cold and very, very windy. This is Patagonia, after all.

Ducking back into my tent, I can’t help but glance across the huge expanse of ice we’re camped upon, the Hielo Continental, or Southern Patagonian Ice Cap. Silhouettes of spectacular mountains slice into the sky. The largest peak in view is the snow-covered Cerro Lautoro, an active volcano, sulfur fumes rising from its top and mixing with clouds which stream from its summit ridges. The peak is 35km away but seemingly close enough to touch. Behind Cerro Lautaro there is more of the same — ice and mountains — until the ice cap melts into the Pacific Ocean, 30 kilometres further on.
The Southern Patagonian Ice Cap is a great ocean of ice sweeping west from the southern coast of Chile to its border with Argentina. Up to 650 metres thick and almost 13,500 kilometres square, it is said to be one of the largest expanses of ice outside the Polar Regions.
Icy wastelands such as the Southern Patagonian Ice Cap, not without reason, are usually out of bounds to ‘normal’ people. But short trips onto the ice are possible, with the services of a guide, in Argentina’s Los Glaciares National Park.
Peaks in Patagonia’s Los Glaciares National Park don’t have the high altitude of the Himalaya to define their difficulty. But they rear up incredibly steeply out of an otherwise flat landscape. Cerro Fitzroy dominates the area, by virtue of its sheer size and bulk. Standing 3,441m high, it soars above its neighbours, spouting out glaciers and satellite crests that overshadow everything except the Torres Range, a collection of needle-like spires 7km south. Undisputed queen of the Torres is Cerro Torre, the Tower Mountain. It rises vertically to 3,128m in height and has long been regarded as one of the most plum mountains in the world to climb (its neighbour, Torre Egger, being termed as the hardest). This is not because of the altitude or highly technical climbing, but by virtue of its location — Cerro Torre stands sentry for the Southern Patagonian Ice Cap, located right on its edge. Described by the South Tyrolean climber Reinhold Messner as “a shriek turned to stone”, the mountain receives the full brunt of the prevailing weather. The typically maritime conditions, accompanied by high winds, regularly sees Cerro Torre and its adjacent peaks covered in a maelstrom of moisture-laden, grey-coloured storm clouds, which, when they release the peaks, leave them topped in a rime of perilous, and at times unclimbable, snow and ice ‘mushrooms’.
Most visitors see Cerro Torre from the east. A comfortable two-day journey takes you from Buenos Aires to El Chalten, where you can step into the view found in postcards all over the park’s gateway town of El Calafate. Less common — and a world away in terms of the memories you’ll come away with — is to ascend Marconi Glacier and trek south on a traverse of the Southern Patagonian Ice Cap, to a remote glacial cirque called Circos de los Altares. Here you can gape, mouth wide open, right underneath Cerro Torre’s cathedral-like proportions.
Not everyone who attempts the Patagonian Ice Cap traverse reaches Circos de los Altares. The biggest obstacle is the weather. Strong winds, which have been termed locally as Escobado de Dias, God’s Broom, are generated far out in the Pacific Ocean. Known to gather speeds of up to 200 kilometres per hour, they race across the flat surface of the ice cap and hit the mountains with great force. Any visitor to the cirque, or climbing high on the mountains at this time, is at the complete mercy of the weather gods.
Another obstacle to a successful traverse of the ice cap is crevasses, both on Marconi Glacier and at the mouth to Circos de los Altares. One of these crevasses, 30 metres across, even had a name, La Sumidero. Crystal clear water arrives in this spherical ‘sink’ before swirling counter clockwise and disappearing down a great black hole which would easily swallow a man. Then there’s your pack size. Potentially nine days round trip from El Chalten requires a lot of food and equipment and you’ll analyse the contents of your rucksack like never before. ‘Light is right’ is the mantra for any such trip and your toothbrush may not survive being in one piece.
Most people require the services of a mountain guide for the Southern Patagonian Ice Cap. You can use one of the local companies or hire a guide direct. I used Pedro Augustina Fina of Argentina. He’s a nice bloke, greyhound fit, with a naturally friendly smile. The trick is to slow him down with much of the gear, and to use your gas canisters first. He’ll be wise to that though. Pedro travels each year to El Chalten early, from Buenos Aires, to do some mountain climbing before the guiding season starts. He’s summited Mount Fitz Roy, as well as Aguja Poincenot and Aguja Guillaumet, two serious peaks either side of Fitz Roy, and once spent two days in a snow cave hiding out the weather on an ascent of Cerro Lautaro. On a different trip he took me on a partial circumnavigation of Mount Fitz Roy. But that’s another story.
About the Southern Patagonian Ice Cap Traverse
Summary
Los Glaciares National Park is a UNESCO world heritage site in Patagonia at the tip of South America. It is named after the multitude of glaciers that flow east from the Southern Patagonian Ice Cap, a great ocean of ice sweeping west from the borders of Los Glaciares National Park to the southern coast of Chile. The ice cap is up to 650 metres thick and almost 13,500 kilometres square and is said to be one of the largest expanses of ice outside the Polar Regions.
About the trek
A traverse of the full Southern Patagonia Ice Cap is a major mountaineering expedition. A shorter option however from El Chalten to Circo de los Altares is possible with the assistance of local mountain guides. This demanding trek/expedition is a fantastic and possibly unique adventure that circumnavigates the Cerro Fitz Roy and Cerro Torre mountain ranges by way of the Southern Patagonia Ice Cap. It gives the experienced trekker the opportunity to experience polar-type exploration as they travel across compact ice on snowshoes, towing their belongings behind them on a sled. The highlight of the expedition is an overnight camp in the glacial scoop of Circo de los Altares, the Cirque of the Altar. This great mountain cirque, originally termed ‘Hunger Valley’ but rechristened in 1974 by the first mountaineers to scale Cerro Torre, stands many kilometres from its two nearest exits to the ice cap; Paso Marconi and Paso del Viento. The remoteness of the cirque from these passes, and from the relative safety of El Chalten, is heightened by the sheer, kilometre-high west faces of Cerro Torre, Torre Egger and Cerro Standhardt, towering above the cirque floor.
Starting point
The village of El Chalten in Argentina
Total distance
60–70km
Time required
Budget for 6 days
When to go
November to April for the Patagonia Autumn / Spring / Summer
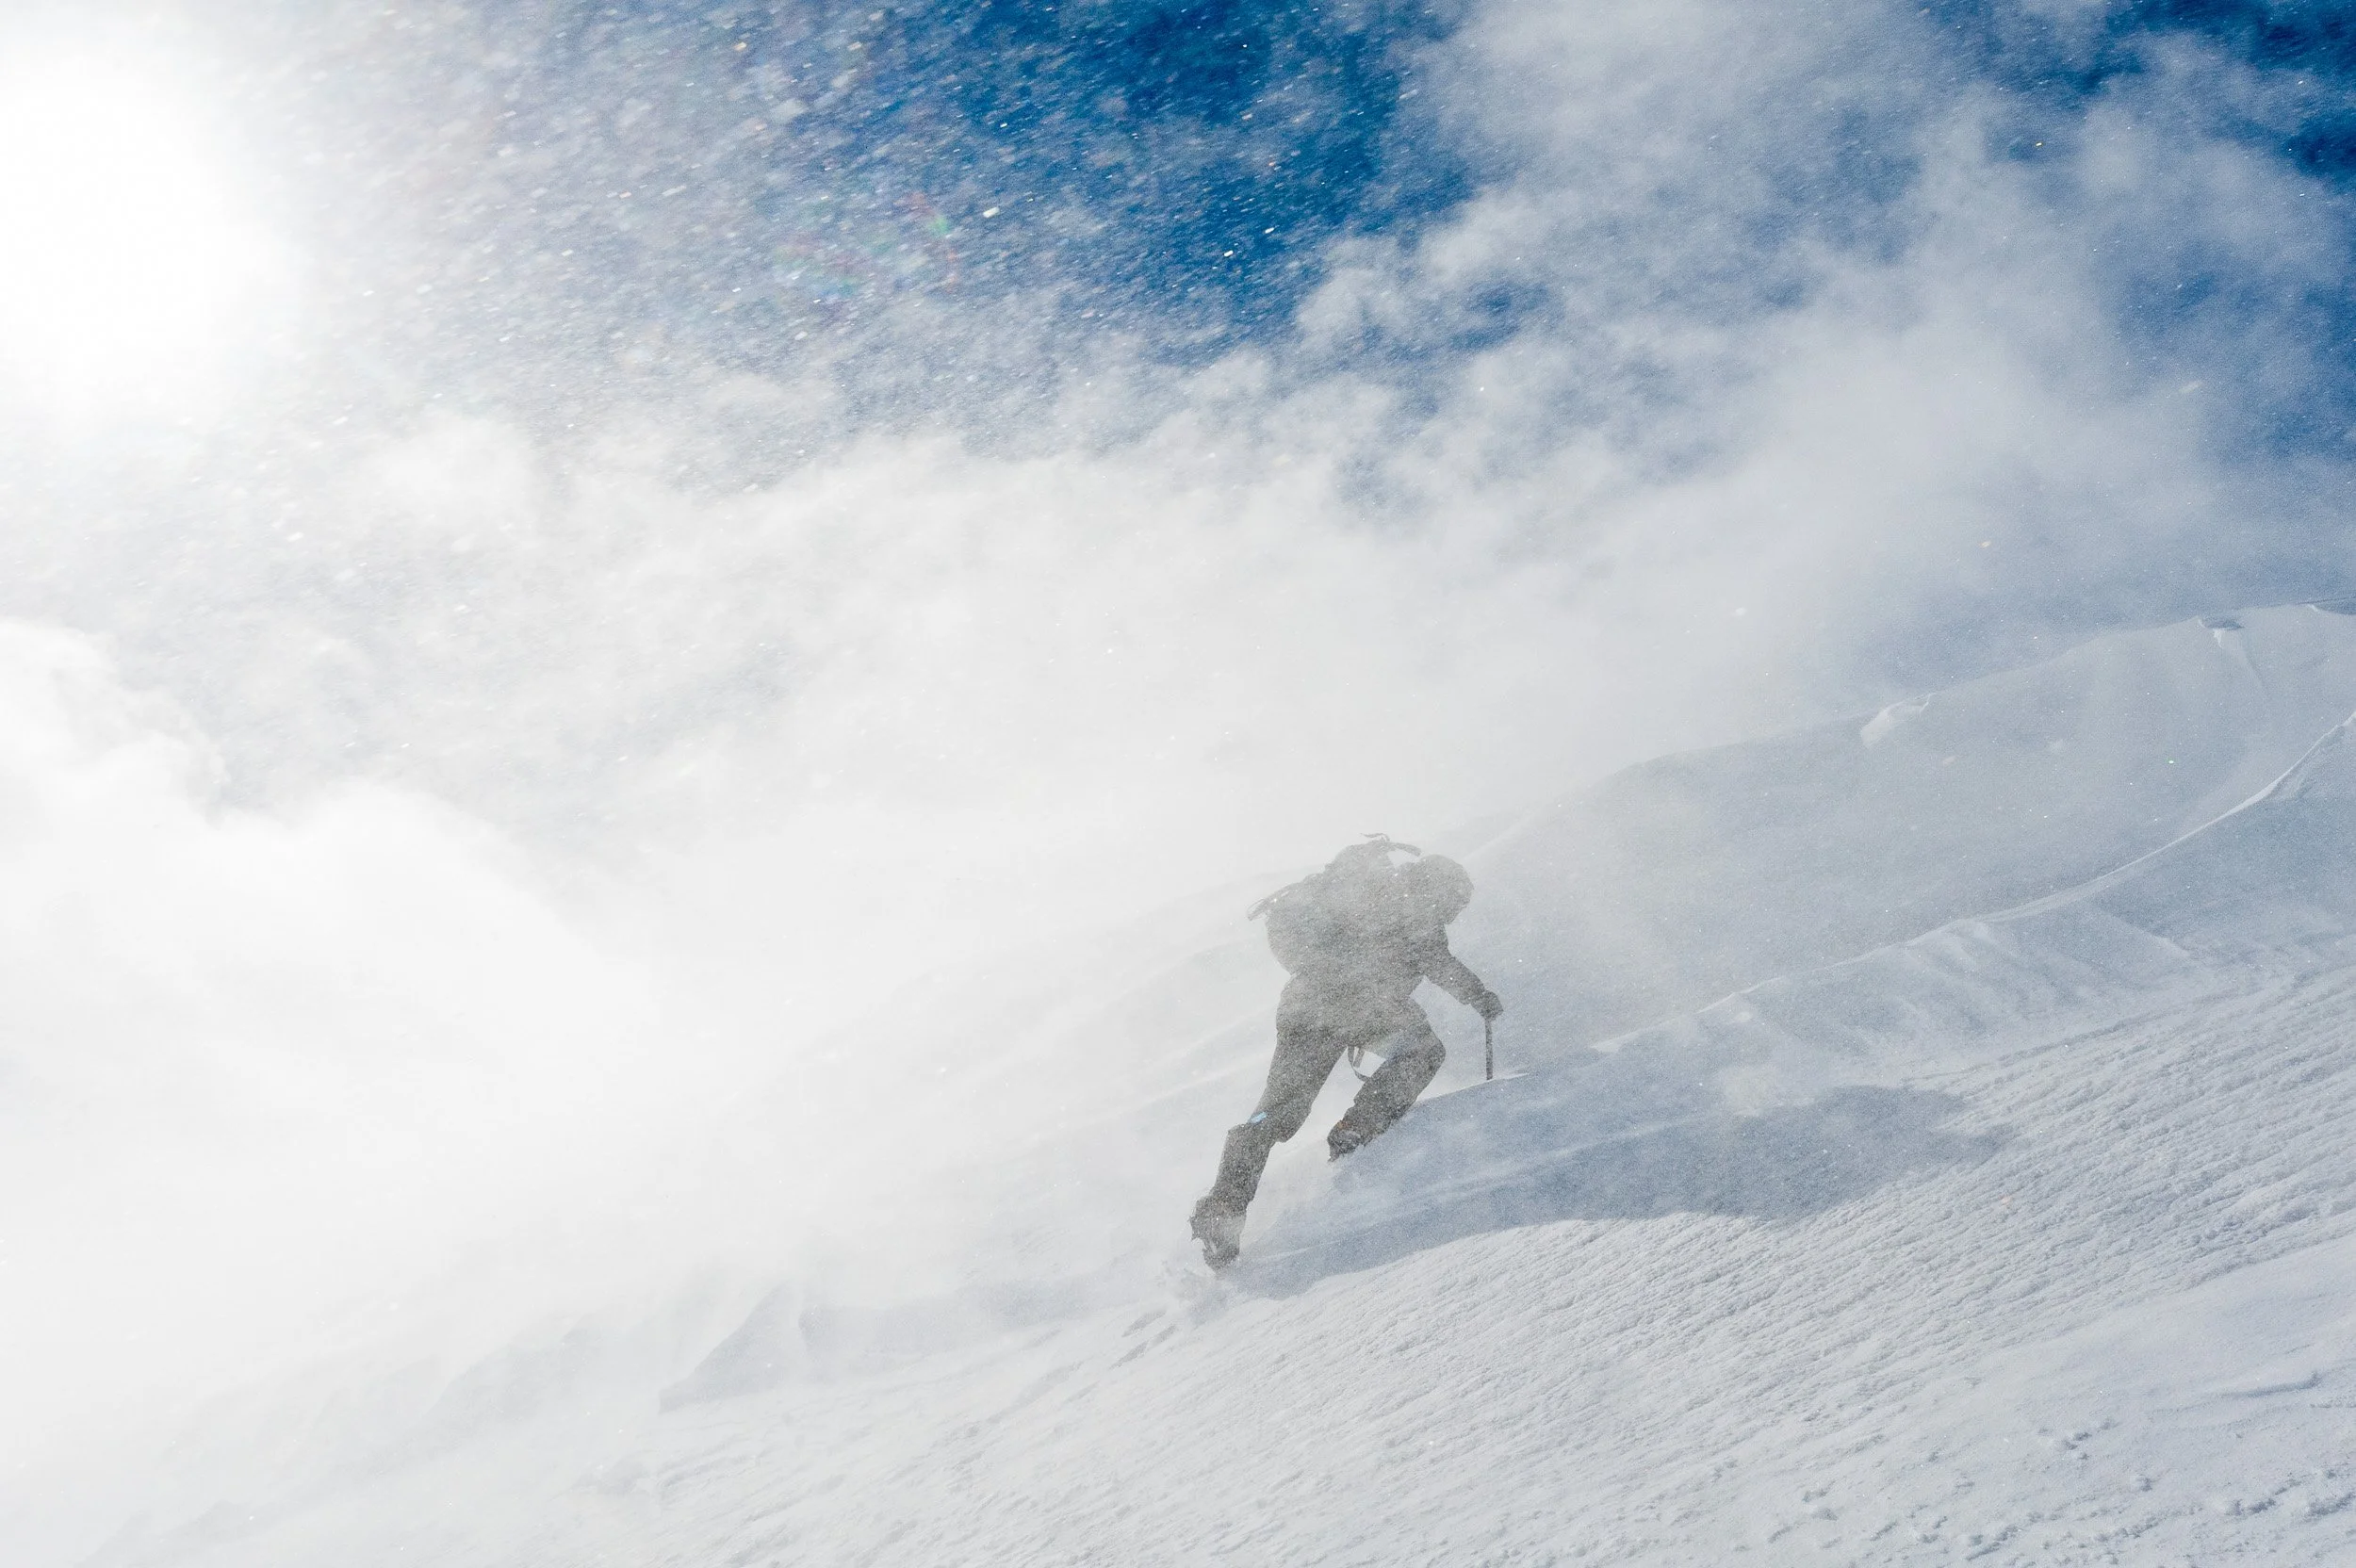
In Rigorous Hours - Scottish Winter hillwalking
A photo essay in The Great Outdoors magazine championing the Scottish Winter season for hill-walking and scrambling.
Published as an eight-page spread in The Great Outdoors magazine
On a global scale, Scotland's mountains may not be very high (our tallest mountain, Ben Nevis, is only 4,409ft) but they pack a lot of punch and together they offer the outdoor enthusiast almost unlimited opportunities for a top-class mountain adventure.

Moving upwards in a blizzard near the summit of Mayar in Cairngorms National Park, Scotland
Towards the end of each year, I'll turn my attention from summer hiking and biking and start to look forward to a winter's season spent walking and mountaineering in the Scottish Highlands. Folk often find this strange because I'm not talking about the deeply cold, snowy 'postcard' winter of, say Alaska, but the bone-chilling, 'just-above-freezing and the sleet's blowing sideways' maritime climate that myself and many other Scottish hillwalkers rejoice in.
Yes, the Scottish Winter season can be harsh and miserable, and on occasions dangerous. You'll very likely be cold and wet. And sometimes scared. But I think that is part of the fun. There's something special about being far from the road with friends, high up on a scoured plateau in the middle of a winter storm, the only things keeping you safe being your fitness, a sensible approach to outdoor clothing and your technical skills with map, compass, ice axe and crampons.
The flip-side to Scotland's wild Winter weather is the quality of the light. As a photographer, I love light and winter offers some of the best light there is. The opportunity to capture great action shots more than makes up for the early rises, the long drives on quiet, remote roads and the late finishes (we're usually not getting off the hill until well after dark).
On occasions, when I've got back to the car, I've felt, “that was borderline insane to be out in weather like that”. Or, if it was the other side of the coin, “that was awesome day to be out!”. Either way, the buzz it gives me is addictive. Whether it's a short walk up my local hill in the snow, a long day out on the Arctic plateaus of the Cairngorms or a more challenging ascent of a narrow ridge in the West Highlands, I think Scotland offers something for everyone during the winter. I'll look forward to seeing you on the hills.


